It's been about a month since I've done any work on the LCD clock. I've been needing to do some sanding and painting to finish up the enclosure. However, the weather has been brutal the last few weeks. That, and it's been one busy weekend after the other.
Finally, I had some time this past weekend, and it wasn't 100 degrees out.
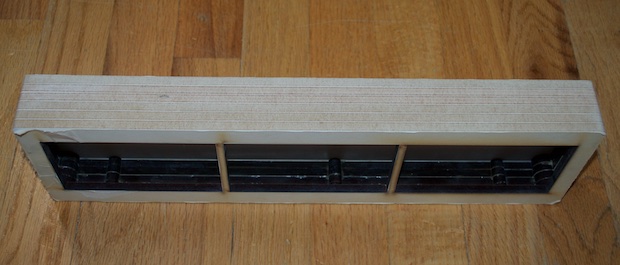
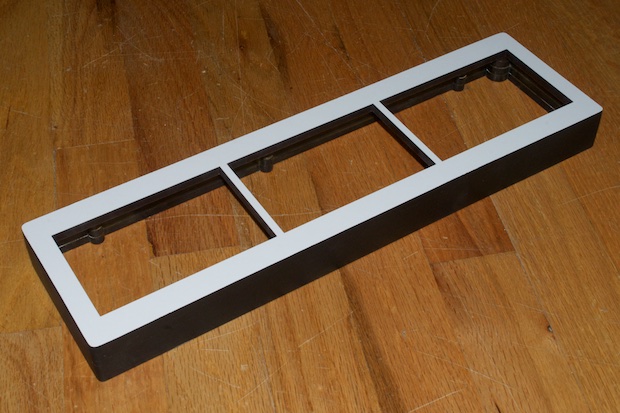
I left off with gluing the front panel to the 4 inner panels. Despite being precision laser cut, all the parts didn't line up perfectly. Maybe it was just the way that I glued them together. Whatever the case, I wasn't thrilled with the way that it looked.
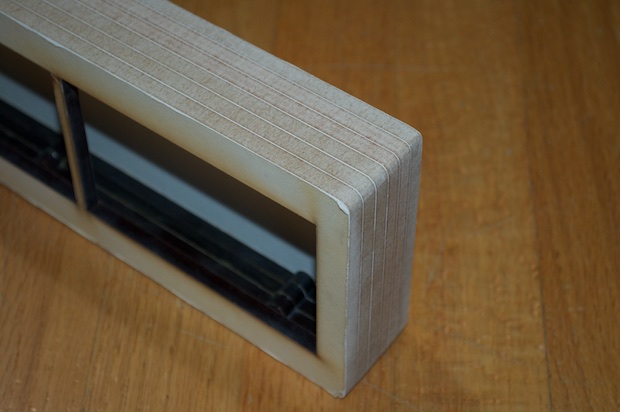
To fix that, I sanded the sides until they were super smooth.
It's as smooth as glass now after finishing it up with 800 grit paper.
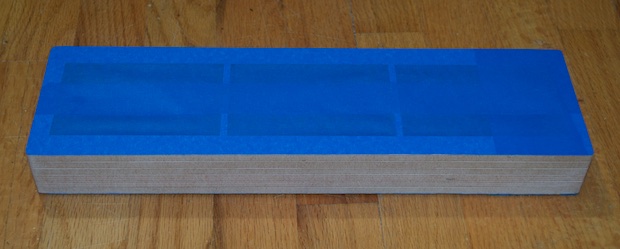
Although the MDF already had a protective film on top, some of the corners had started to peel from the sanding and excessive handling. In order to avoid getting black spray paint all over the faces of the enclosure, I masked off the back and the front with some tape.
I then gave it a few coats of black, followed by a protective clear coat.
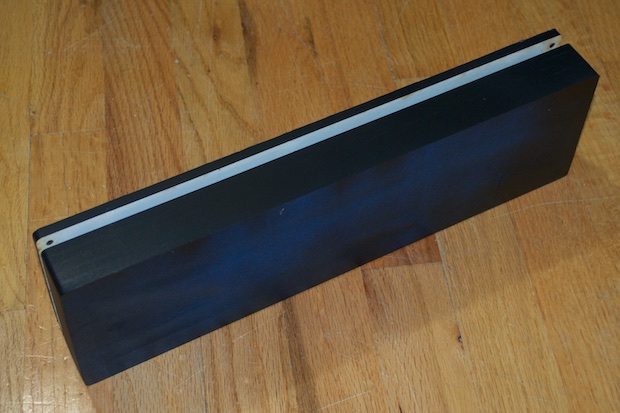
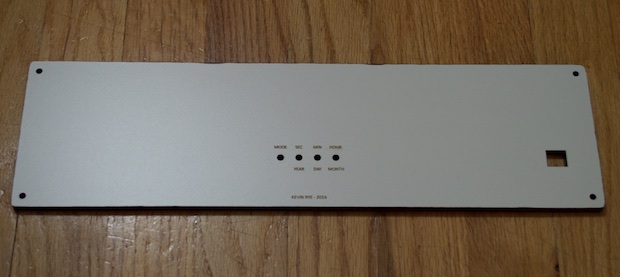
Once the paint dried, I peeled off the tape. It came out really nice.
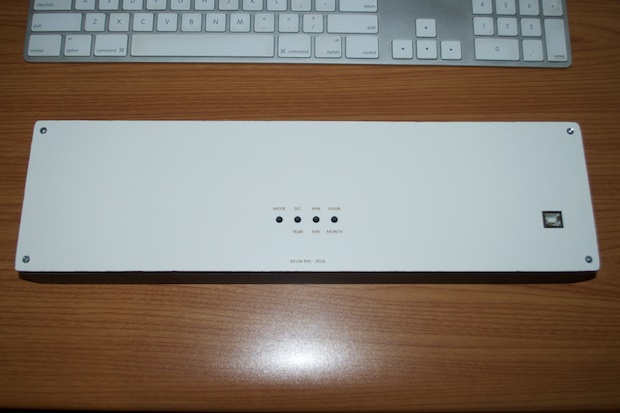
I'm pretty happy with the way that the laser engraved text came out too.
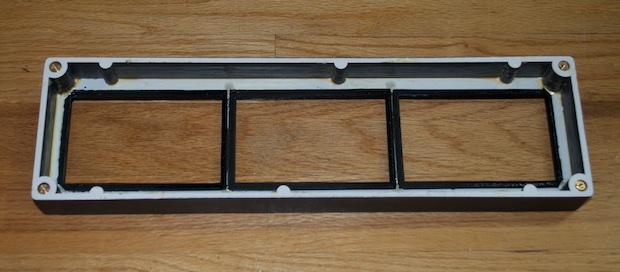
With the enclosure complete, it was time for the final assembly. I hot glued the display inserts into the enclosure.
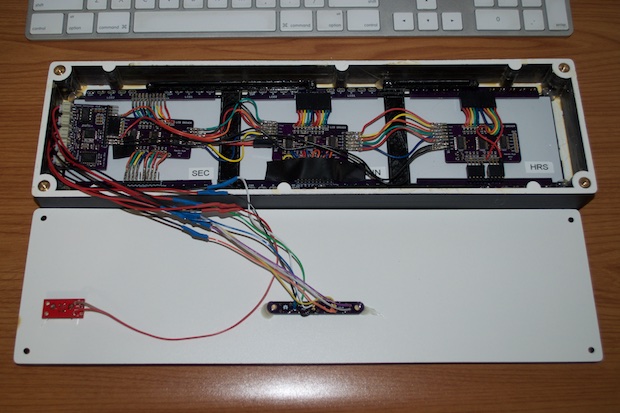
I then installed the hardware within the enclosure. I put a blob of hot glue in the four corners to secure the whole assembly.
Finally, I screwed the back cover on. I'm just using some plain old run-of-the-mill 4-40 screws to screw the back on. They're not very nice looking. I'll have to keep my eye out for some nicer looking screws. Maybe some nice thumbscrews with some knurling on them. We'll see.
This clock was so much work and it took a long time to complete, but it came out awesome. Here is the final build next to a LEGO minifig for scale.
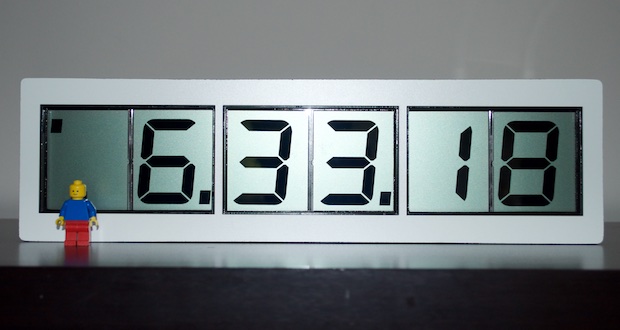
It's like they say... if it's worth doing, it's worth over-doing.
See this project from start to finish: LUMEX 3" 7-Segment Displays 3" LCD Clock - Part I 3" LCD Clock - Part II 3" LCD Clock - Part III 3" LCD Clock - Part IV 3" LCD Clock - Part V 3" LCD Clock - Part VI

