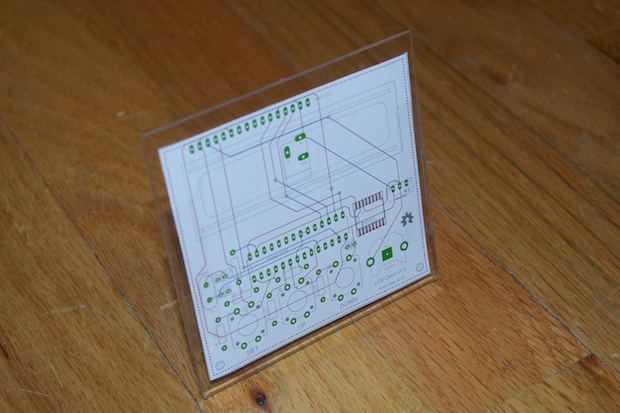
It took 17 days from when I placed my order to when the boards arrived on my doorstep. I’ll definitely have to keep that in mind the next time I make a board. In any case, I’m very happy with the boards. They look great. I can’t wait to assemble them.
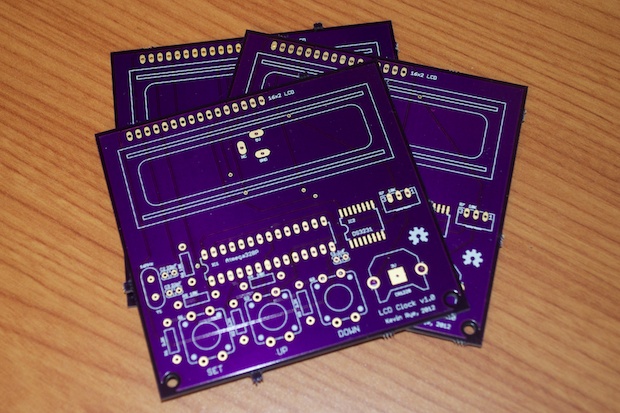
OSH Park breaks the boards apart for you, but they leave behind little tabs that need to be filed off. You can snip them with some cutters, but I prefer a more finished, professional look. I’d rather take a dremel to them and file them down. Unfortunately, I broke my Dremel. I had to order another one. It’ll be here in 2 days. So next week I’ll be able to start assembly.
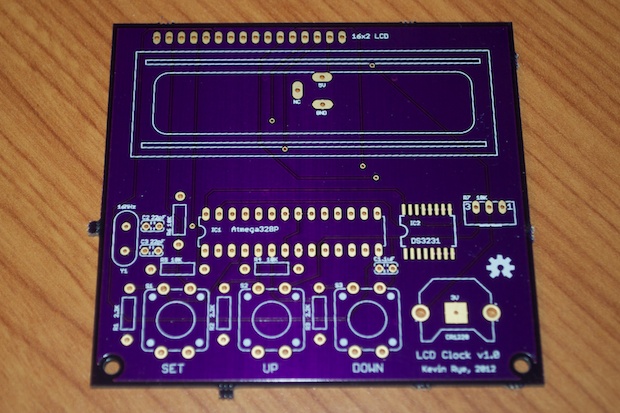
I did not put holes on the PCB for the LCD. The holes defined in the part in the Eagle library were totally off. No matter how much I tried to tweak them, I just couldn’t get them to be spot-on. I placed them exactly as defined in the spec sheet, but no matter how many times I printed it out and laid the LCD on it, the holes just didn’t line up.
I’d rather just drill my own holes rather than try and do it in Eagle and have them come out in the wrong place. There’s no coming back from that. At least this way, I can solder the LCD to the board and then just drill right through the holes already in the LCD and through the PCB. With the board stands and screw heads, you won’t even be able to tell.
I’d also like to drill the holes in the stands before I assemble the boards. I need to drill 6 holes to mount the PCB and the LCD and one hole in the back for the DC jack.
It’ll be that much easier to do it without parts being all soldered into the PCB. That way the board sits flush against the acrylic while I mark off the holes. In the meantime, I can’t do much without a Dremel. Monday can’t come soon enough!
Waiting almost 3 weeks is an eternity when you’re eager to complete a project. Waiting 3 weeks sort of puts a damper on spur-of-the moment projects. It’s hard to “fire off” a quick one when you have to wait that long for a board.
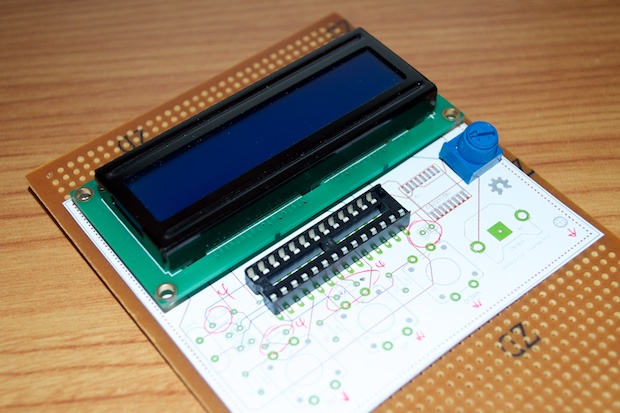
While you’re waiting for boards to come in, it’s a great time cue up the next project or throw together something to pass the time. While I wait for my Dremel to come in, I’ve already started planning the
next project.
See this project from start to finish: We Have a Clock Setting the Clock Clock Code is Complete Clock Design Decisions New DS1307 Kit ChronoDot Breakout Board Arduino LCD Clock PCB Complete Making the LCD Clock Stand - Take 1 Arduino LCD Clock PCBs Arrived!
Arduino LCD Clock Assembly Making the LCD Clock Stand - Take 2 Another Clock Stand Arduino LCD Clock: New GUI Laser Cut LCD Clock Enclosure: Take 1 Laser Cut LCD Clock Enclosure: Take 2
