I admit it: I'm a total geek. I love electronics, programming, 3D printing, 3D art, and vintage Apple hardware. I'm always juggling half a dozen projects. I also enjoy documenting it all: my successes, my failures, my experiences... and everything geeky along the way.
I was really happy with the way my Bare Bones Arduino boards came out. They’ve already come in handy for prototyping my RGB LED Night Light project. They’re pretty small and only cot me $8.59 to make. (Not counting the ATmega.)
Although I was pretty happy with them, they could be smaller. In addition to making another smaller version, I’d like the next version to forgo the headers. That way it can have a really small profile. I’ll be able to squeeze them into a really small enclosure. I’m sure whatever I end up using these for will probably only take advantage of a few pins. So it does’t really make sense to have headers on all 28 pins.
If I eliminate the headers and the reset switch, I could probably knock a good buck or two off the total cost.
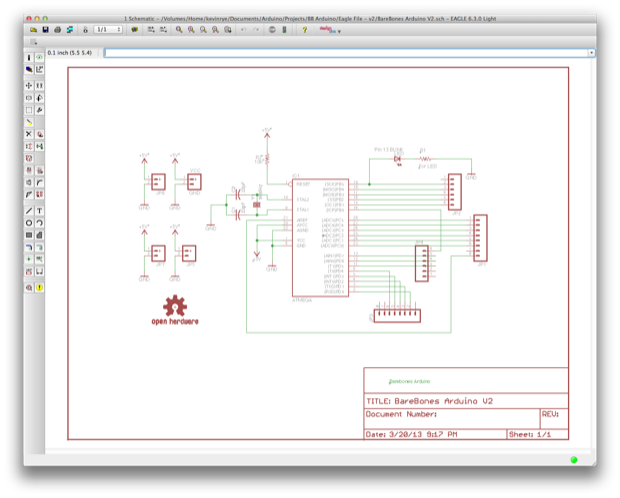
I jumped back into Eagle and started to make some changes.
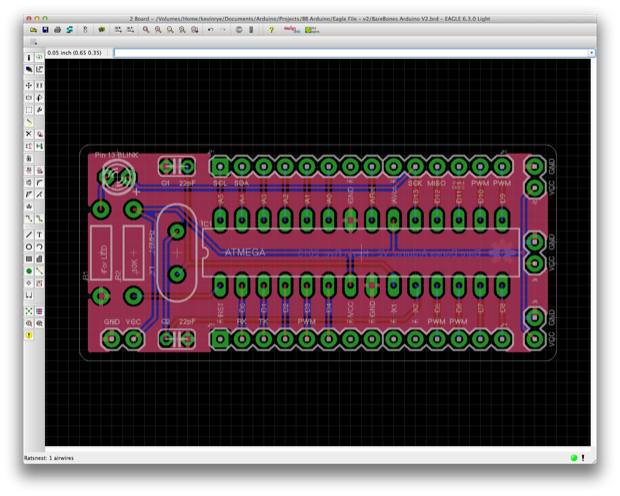
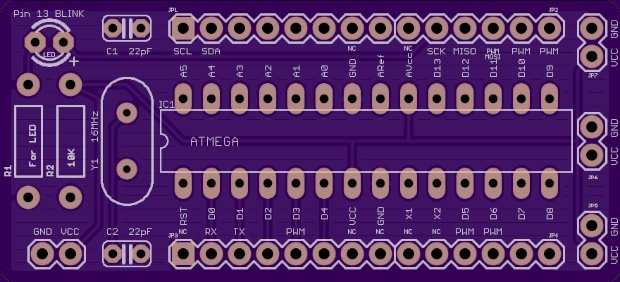
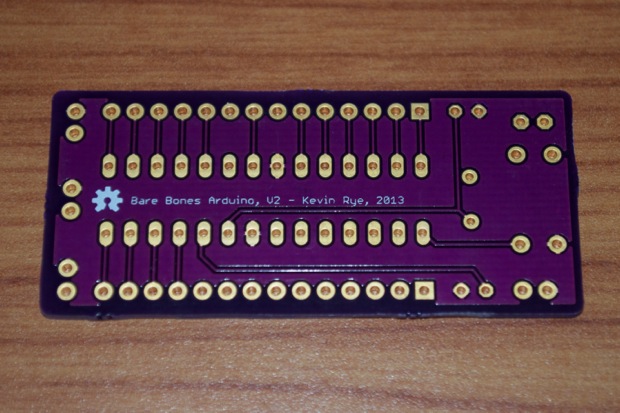
Version 2 is about a quarter inch smaller and costs .50 cents less to have made by OSH Park. I also save another .35 cents by not having to order a reset switch.
Placement looks good. The same 8 and 6-pin headers will fit if I do decide to use them.
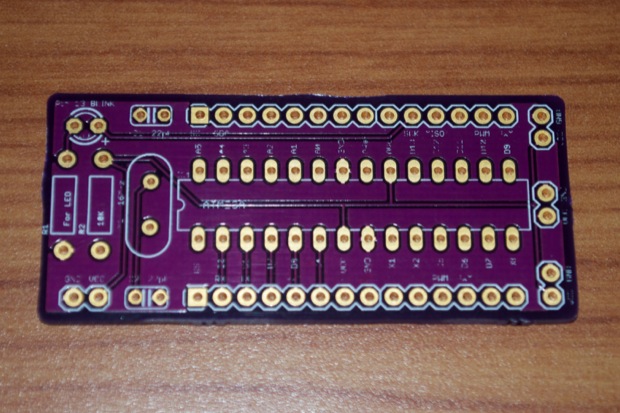
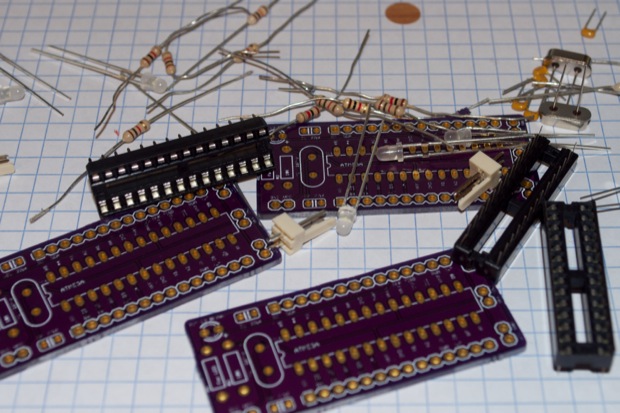
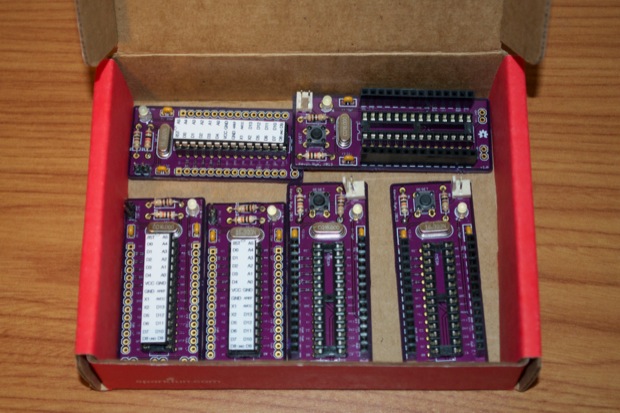
I ordered the boards and had them in-hand in about 2 weeks.
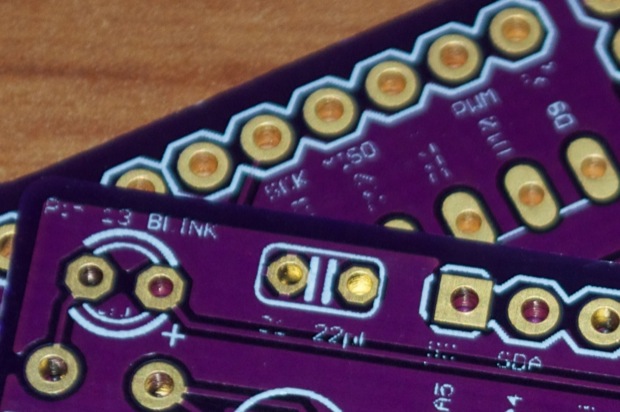
My only complaint is that it is a little hard to read some of the text. Some of it’s actually been rubbed off. I guess the boards rubbing against each other in the shipping envelope caused some of the finer text to rub off. I’ll definitely have to make the text a little bigger next time.
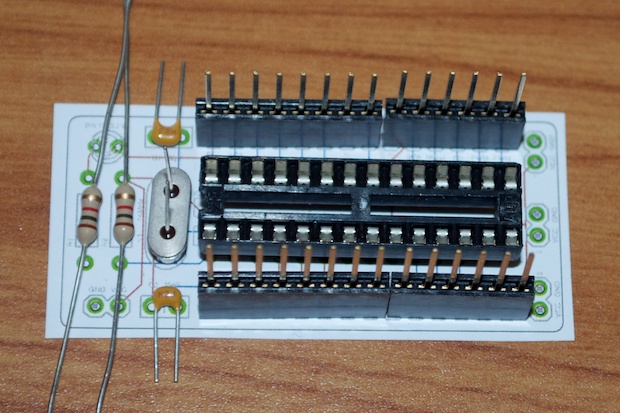
I picked out my parts, fired up my soldering iron, and put them together.
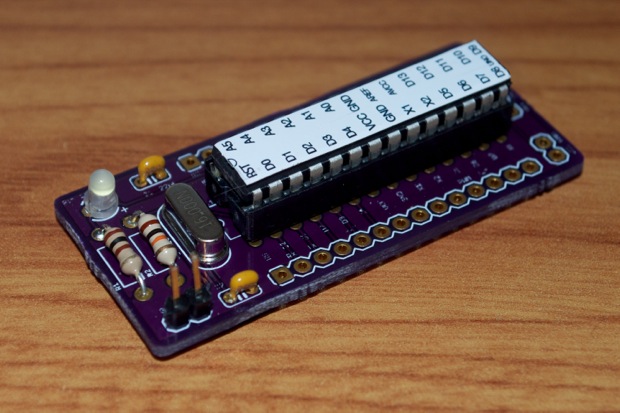
Without adding the headers, it was really easy to put these together. I think I put all 3 together in about half an hour.
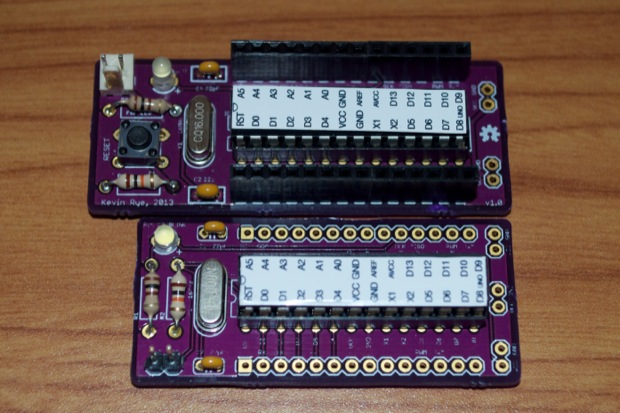
Here’s version 1 and version 2 side-by-side. I also added another Vcc/GND output to version 2. I had the space so I figured I’d use it. Omitting the switch and the headers saved me $2.35 per board. In total, version 2 cost me $6.24 each to make. Compared to the $8.59 for version 1, that’s a pretty good cost reduction. Just think, if I went with SMD parts I could probably put the caps and resistors on the bottom and shrink the board down another 1/2 inch. I think I’ll resist the temptation and leave that for when I really, really need to save some space!
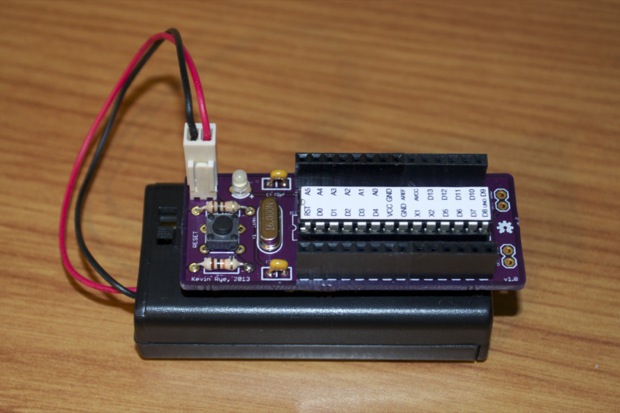
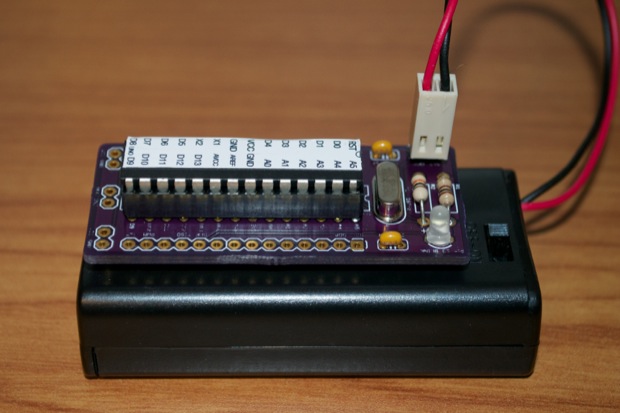
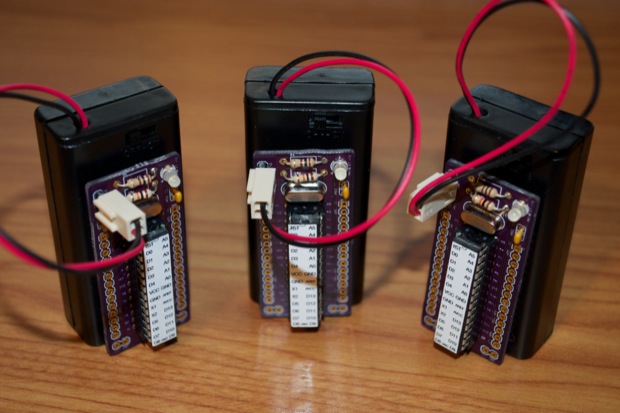
I like how version two is small enough to fit right on the battery pack and not obscure the on/off switch.
Unlike version 1, I can actually stand these on end.
I loaded the Blink sketch onto each ATmega and tried them out.
I knew these tiny SparkFun boxes would come in handy one day. Free storage!