I admit it: I'm a total geek. I love electronics, programming, 3D printing, 3D art, and vintage Apple hardware. I'm always juggling half a dozen projects. I also enjoy documenting it all: my successes, my failures, my experiences... and everything geeky along the way.
Bare Bones Arduino PCB Build | Kevin Rye.net - Main
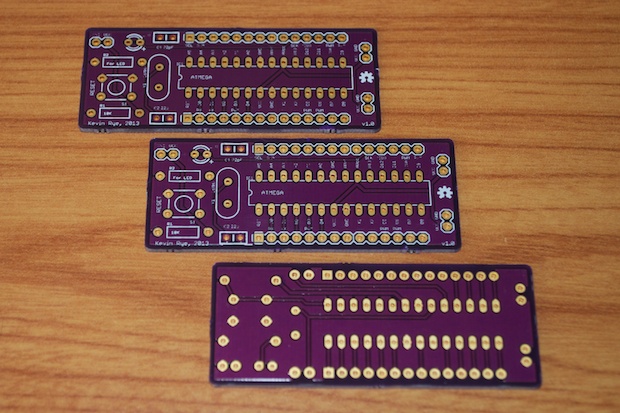
The Bare Bones Arduino PCBs that I ordered from OSH Park came back. It took 13 days to turn them around. It always seems like such an eternity! That’s why I make it a habit to always have a few projects lined up. So these waiting games don’t hold me back too much. I can always move along with another project while I wait for the boards for another.
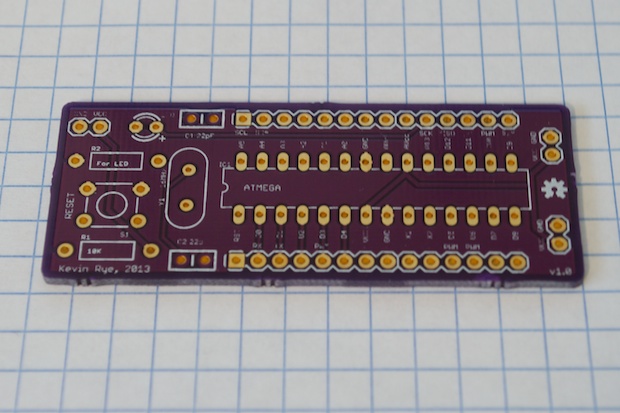
As usual, they look sweet. I really like the purple, but I fear the novelty will eventually wear off and I’ll be looking to have some red boards made from Seed Studio. The only downside with them is that you have to order at least 5 boards; and you pay extra for the colors. Who needs 5 boards? I suppose for something like my Bare Bones Arduino board it would be a pretty good idea to have a ton of them. For a one-off project like an E-Paper clock, I really don’t see the need to order 5 boards. OSH Park gives you three. That seems to be a perfect number. One extra in case you screw the first one up, and another in case the project comes out so great you want to make another as a back up, or to give away. Three boards seems to be the sweet spot. For me anyway.
I cleaned up the boards by taking my Dremel to the little nibs that are left behind from OSH Park cutting up the boards. It’s one extra step, but no biggie.
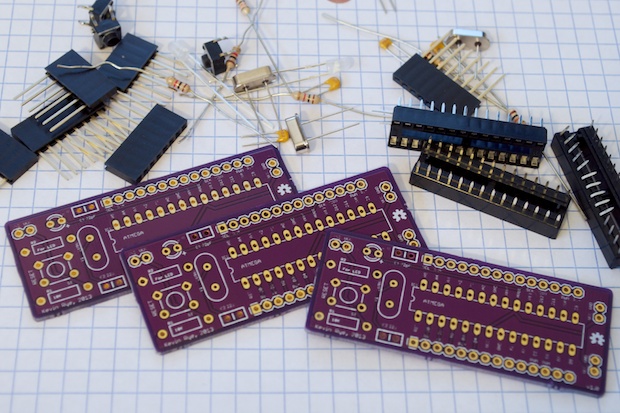
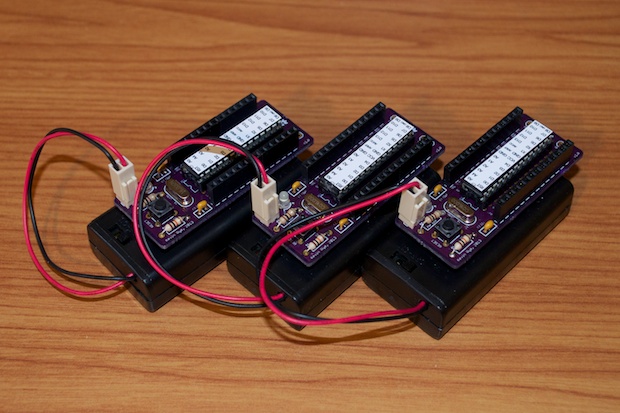
I had already ordered all the necessary components I’d need to assemble all three units. I laid them out and got to it.
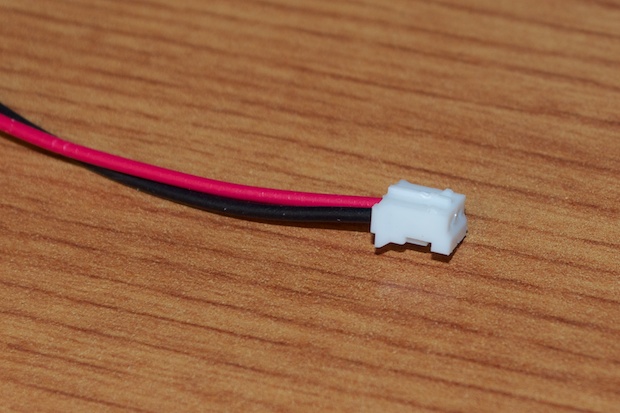
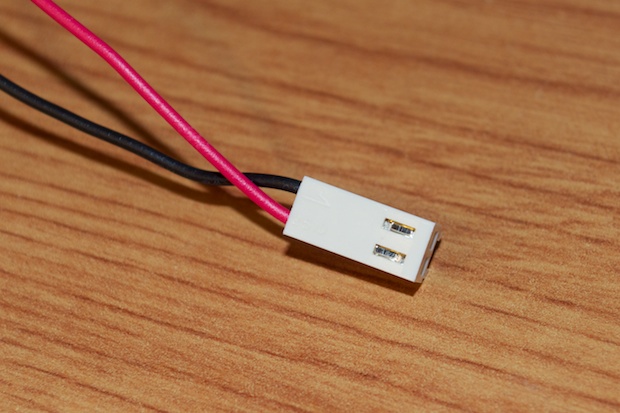
SparkFun sells some really nice AA battery holders. The great part about them is that they have ON/OFF switches. They sell a bare wire version for $1.50. Much to my surprise, they also sell a AA battery holder with a JST connector for the same $1.50. I wasn’t planing on using a JST connector since these battery packs will probably see a lot of disconnects. I also thought a JST connector wouldn’t be a suitable connector to use since they’re a real pain to disconnect without damaging them. But for the same price, I can just cut them off and save them for another day. After all, SparkFun charges 95 cents for a JST connector by itself!
Instead of ordering the bare wire version, I ordered the one with the “free” JST connector and just cut them off. I then soldered on one of the 2-pin connectors that I had left over from the Word Clock build.
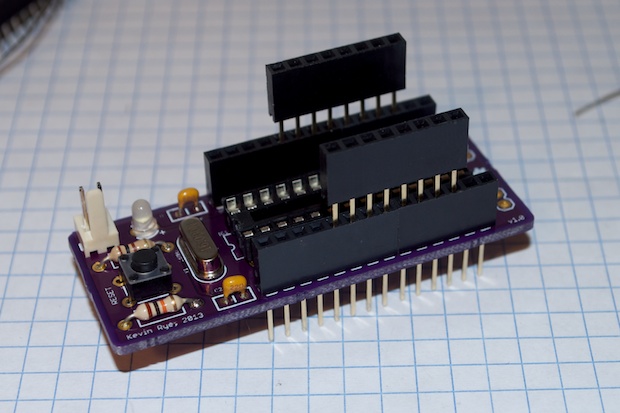
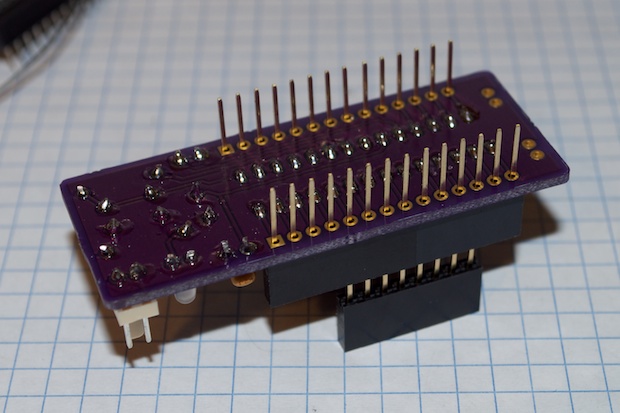
As far as soldering on the 8 and 6-pin headers, I found the best way to keep them flush with each other is to just stack on another header.
It does a really good job of keeping them flush with each other. It’s then just a matter of flipping the whole thing over and soldering away.
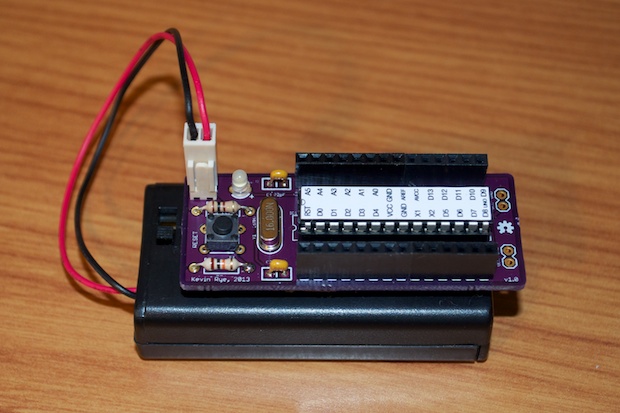
Piece of cake. These were really easy to put together. I used a little Velcro tape the secure the PCBs to the battery pack.
They’re really going to be life savers when it comes to throwing together quick little projects. Blinky lights, sounds, etc. Not to mention projects that aren’t worth the time or money to design a dedicated PCB for them. They’ll be great helpers too with prototyping when my Arduino Uno board is “tied up”.
The onboard LED is connected to D13, so I can quickly run the blink sketch and make sure everything is functional. Who knows what I’ll end up using these for? I figured the LED was a nice-to-have. Depending on the application, I might just set it HIGH and use it as an “ON” indicator. That, and it might make for a quick and easy indicator if how dead the batteries are.”
I know I previously mentioned that some bare bones boards aren’t that “bare bones”. Although my board is pretty slim, I agree the reset button is overkill. I could simply power cycle the unit with the ON/OFF switch on the batter holder. I already had the mini switches on hand, so it didn’t hurt to incorporate them into the design. I probably won’t bother including it in future revisions. That’s another 35 cents I could save, not to mention another 1/4” on the PCB. If I shrink the board down just a tad, I might be able to knock off another 50 cents. I know it’s pennies, but the initial goal was the keep these guys under $10 a piece. A little thing like a reset switch could end up costing me an extra dollar per board.