SparkFun and Adafruit both sell ATmegas with the bootloader pre-loaded. You can save yourself a buck and get it without it. You just have to burn it yourself. I figured I’d save a buck and order one from Jameco since I was ordering a bunch of other stuff anyway. Jameco doesn’t sell them with the bootloader.
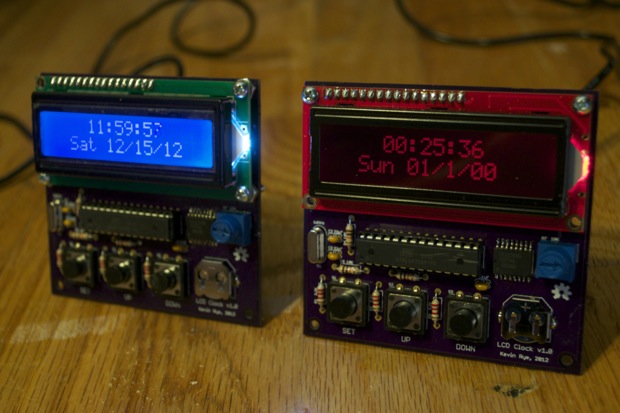
Now that I’ve assembled my
LCD Clock and verified that the PCB and code are good, I figured it was safe to go ahead and assembly another one. All I had to do was load my sketch onto another ATmega 328. I knew that the chip didn’t have a bootloader on it, but how hard can it be? I popped the chip into my Arduino and looked for something in the Arduino IDE that would burn the bootloader.
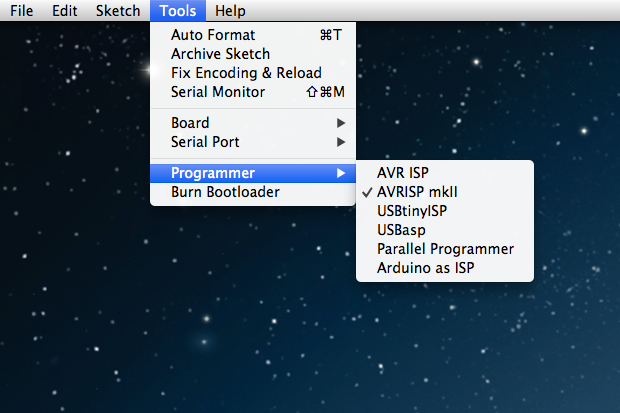
Is this it? Maybe pick “Arduino as ISP” and select “Burn Bootloader”?
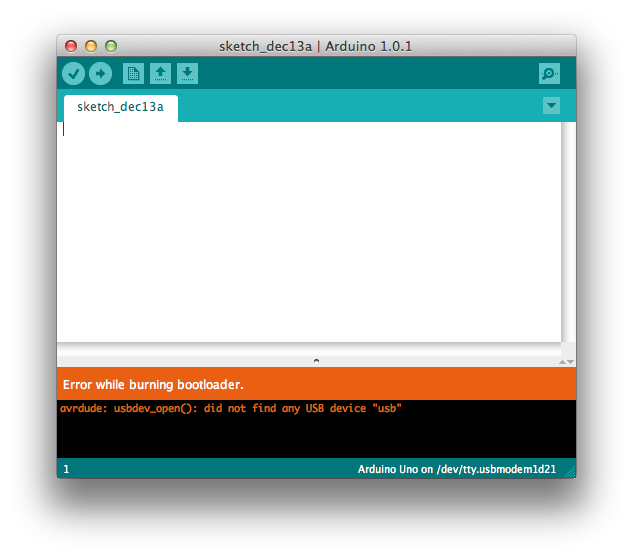
I tried that, but obviously it doesn’t do anything. “Error while burning bootloader”. That makes sense considering it looks like it’s trying to burn a blank sketch. I’m sure there’s a file or something that has to be opened first.
I searched Arduino’s site and found out how to burn the bootloader. As it turns out, the problem is that you actually need a separate programmer to burn the bootloader. You can’t just burn the bootloader on the ATmega in your Arduino, as I had thought you could. I know you can write to an ATmega in-circuit, so I thought it could be done. Maybe you can only load sketches and not a bootloader? Why would that make a difference?
I dug a little more and found that you can actually turn your Arduino into a programmer and bootload an ATmega in-circuit. I found this handy
post on Arduino’s site that shows you exactly how to do it.
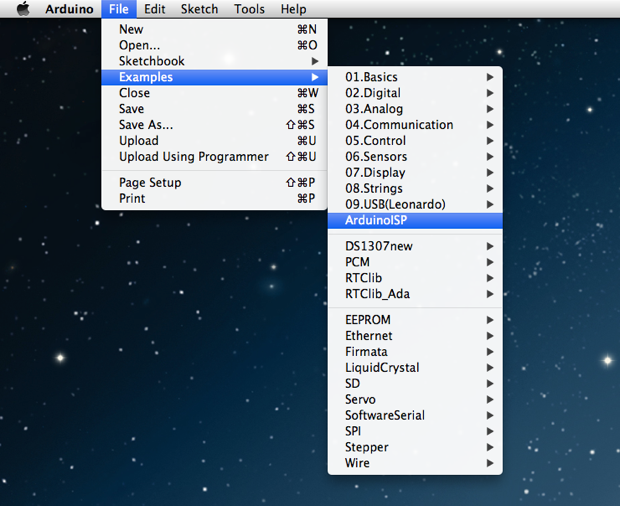
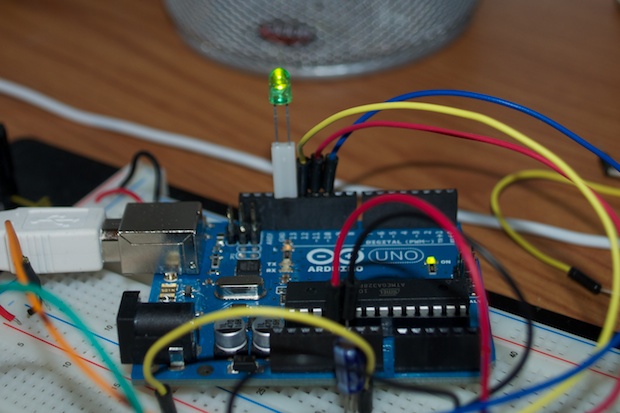
First, you need to upload the “ArduinoISP” sketch from the Examples menu to your Arduino.
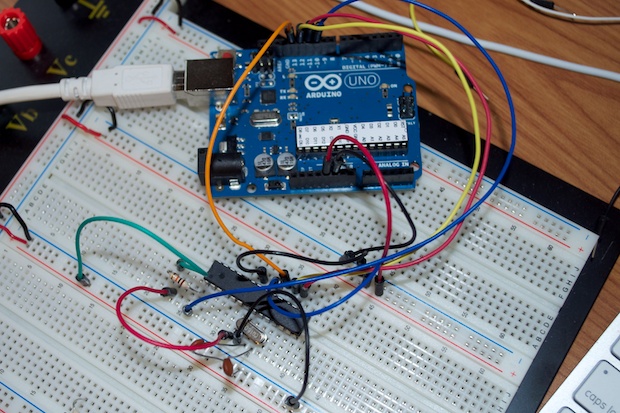
Then you have to configure your target ATmega to run on a breadboard and connect pins 10-13 of your Arduino to the ATmega on the breadboard like this:
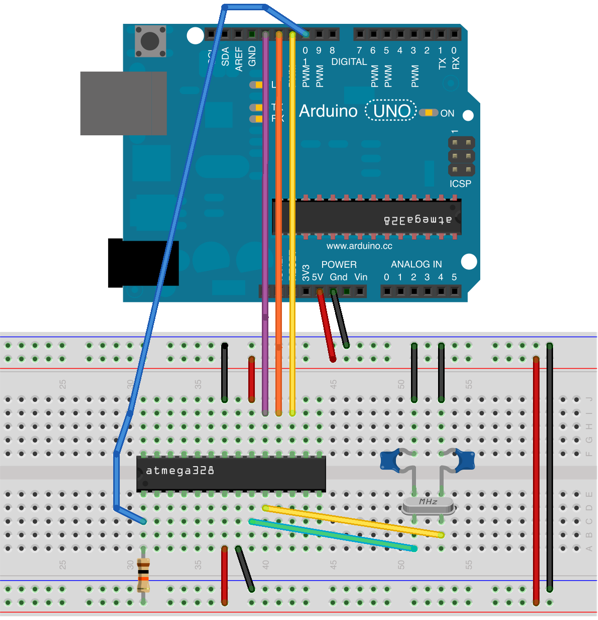
OK, easy enough, as long as you have a spare 16MHz crystal lying around. Good thing I ordered some extras.
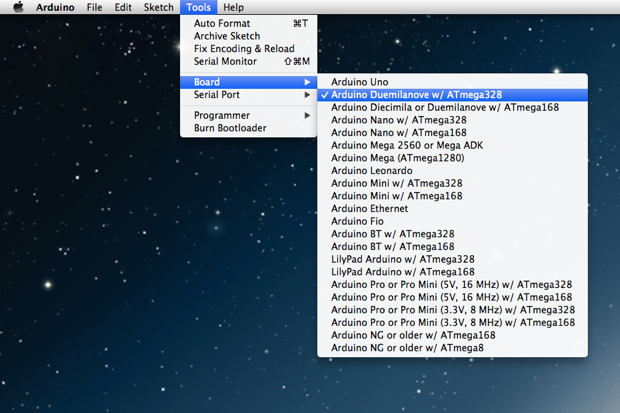
The part than didn’t make any sense to me was that you have to then select "Arduino Duemilanove or Nano w/ ATmega328" from the “Tools > Board” menu. I expected that I’d have to choose Uno, but it didn’t work when I tried that.
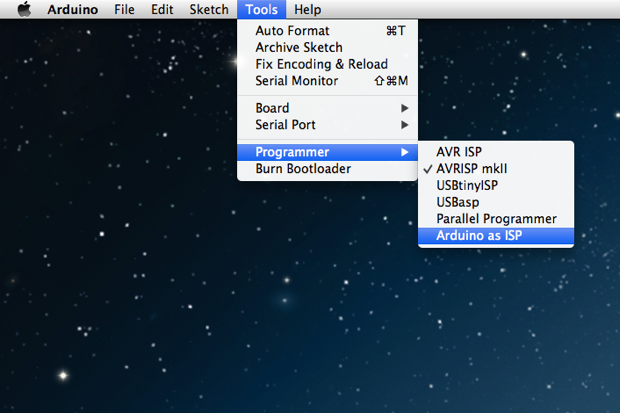
Then choose “Arduino as ISP” from the “Programmer” menu.
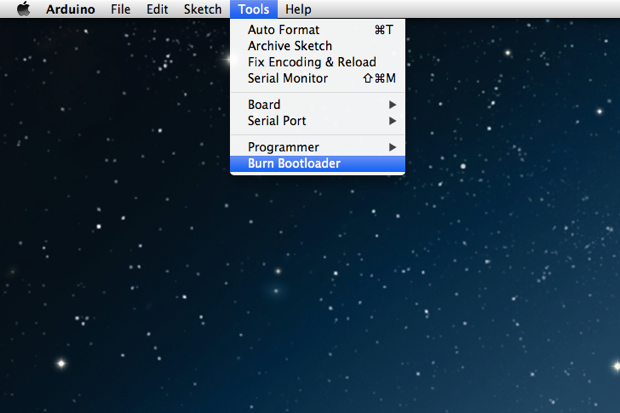
Finally, select “Burn Bootloader” from the “Tools” menu.
Once the console said that the load was complete. I popped the ATmega out of the breadboard and into my Arduino. I changed the Board setting back the “Arduino Uno” and the Programmer setting back to “AVRISP mklII”. I then ran the “Blink” sketch to see if it would load onto the chip.
Looks like this new chip has a bootloader and is blinking an LED. Success!
I then loaded my clock sketch and popped the chip into the new clock I just assembled. It works.
So it can be done, but what a pain. That’s a lot of extra work just to save a buck.
I guess you could design a little board and make your own programmer. It’s easy enough to do, but to save a buck? If you’re buying one chip here and there, it’s probably easier to just pay an extra buck and have it preloaded. If you’re going to be ordering a lot of chips and you’re looking to save some money in the long run, then maybe it makes sense to make your own permanent chip-burning fixture. To have to set this up every time is a real pain.

