After many, many years of putting off the purchase of a 3D printer, I finally bit the bullet. I really wanted the Cube 3. It just looked so nice. I'm a big fan of highly polished, finished designs. A lot of 3D printers on the market look like DIY kits thrown together out of plywood and Erector sets. I'm a big fan of aesthetics, so the Cube 3 looked right up my alley. At $1000, it's more expensive than a lot of printers on the market. However, not as expensive as some others like Makerbot and Ultimaker. I figured it was the right balance between the super-cheap, and the ultra-expensive.
I just about had the money when the reviews started to pour in. A lot of people aren't really happy with it. The proprietary cartridges are more expensive than the standard rolls that most printers use. They are supposedly not a full 1Kg either. I couldn't find anywhere on Cubify.com that stated the capacity of their cartridges, but I have read on other sites that it's not a full roll. Why pay $49 for a proprietary cartridge when you can get a full 1 Kg roll on Amazon for $25 bucks? Another complaint that I'm hearing a lot of is that those cartridges jam a lot.
In addition, a lot of reviews say that the Cube 3 is a "great 3D printer for kids and beginners". That was the deal-breaker for me. I don't want something that's for beginners. If anything, I want a pro-machine.
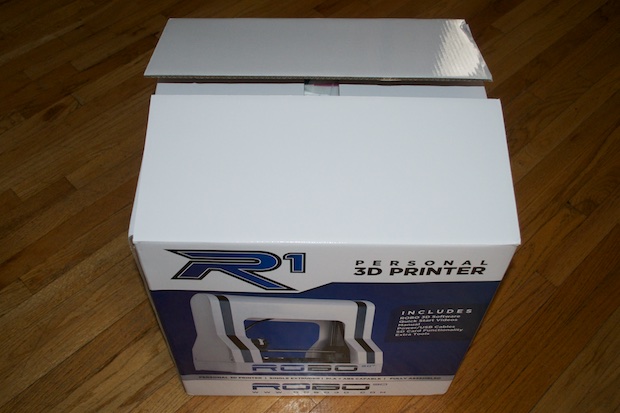
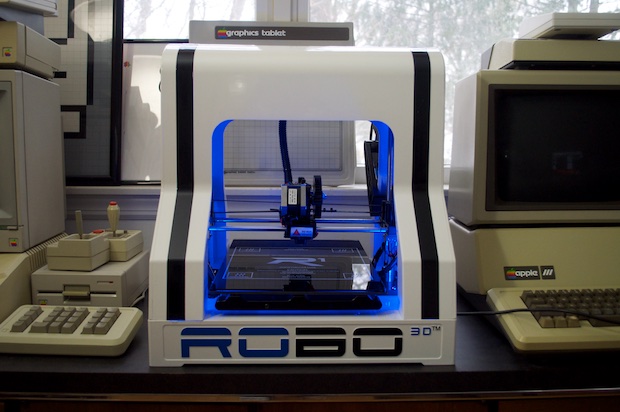
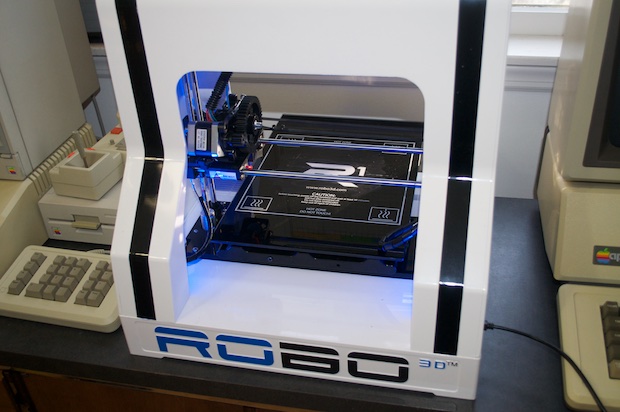
I decided to shop around some more. I'd really love a Makerbot, but they are so expensive. I can't justify a $3000 purchase on a printer. I searched and searched and found the ROBO 3D R1. It's a great looking printer at a great price. It's way bigger than the Cube 3, uses standard 1Kg rolls of ABS, PLA, as well as other filament types like wood, metal, and Ninjaflex. It's also $200 cheaper than the Cube 3.
I watched a ton of reviews and user videos on YouTube. The choice was clear. ROBO 3D it is. I told my wife that I really, really wanted one. Since we got our tax rebate back, we had some extra cash burning a hole in our pockets. Not only is it Valentine's Day, but Monday is President's Day. My wife hopped on Amazon yesterday and placed an order with overnight shipping so that I'd have it for the 3-day holiday weekend.
I was so excited to see it come in the mail this morning. Best 3-day weekend ever!
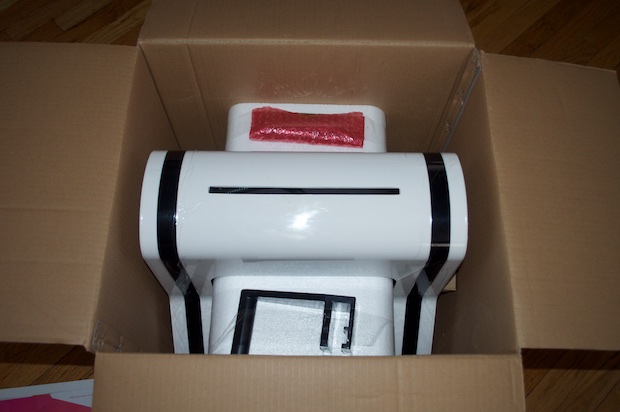
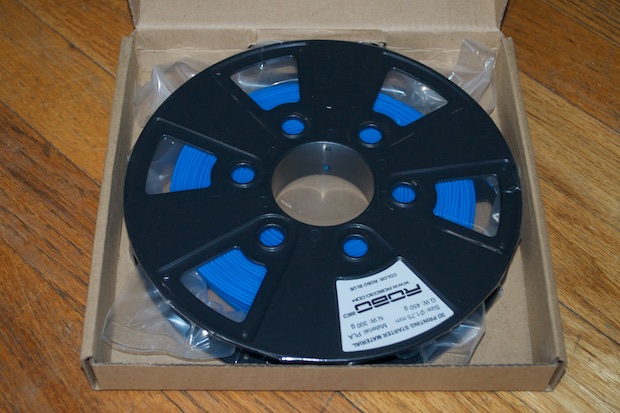
It comes with everything you need to get started. My wife also ordered me 3 additional rolls of black, white, and gray filament. Unfortunately, that stuff won't be here for a few more days. I figured the 450g roll they gave me will be more than enough to tinker around with.
The machine also comes with some tools. A very nice touch.
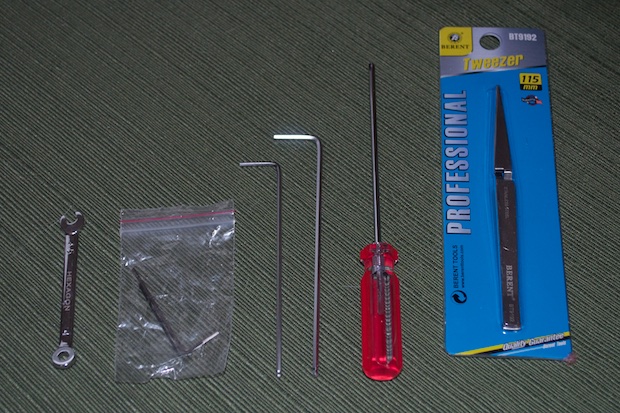
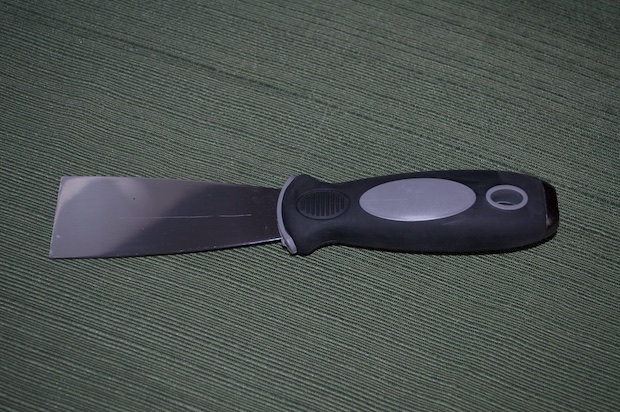
If that was't enough, you also get a scraper to clean the bed. It's really nice that even for an $800 dollar printer, you get all these extras.
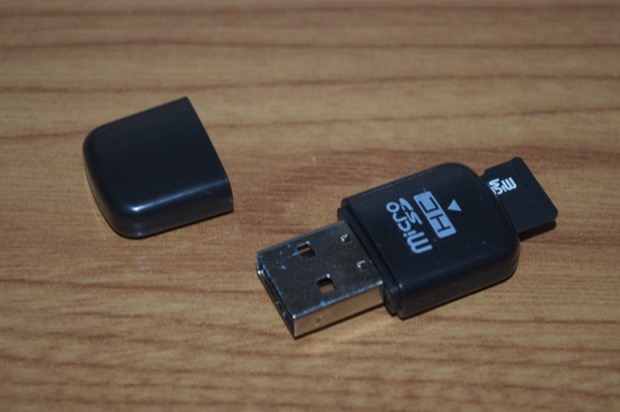
They also threw in a 4GB thumb drive with the software and a getting started video.
I set the machine up, installed the software and got ready to print.
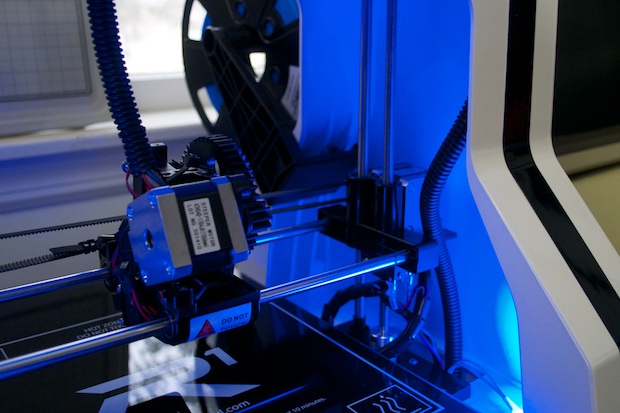
I really like the blue LEDs.
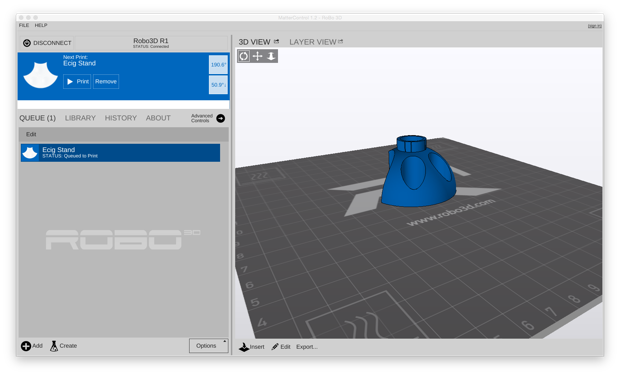
The software looks great. I was afraid, like so many printers before it, that the Mac version would be some kind of sub-standard afterthought, but it looks pretty well done.
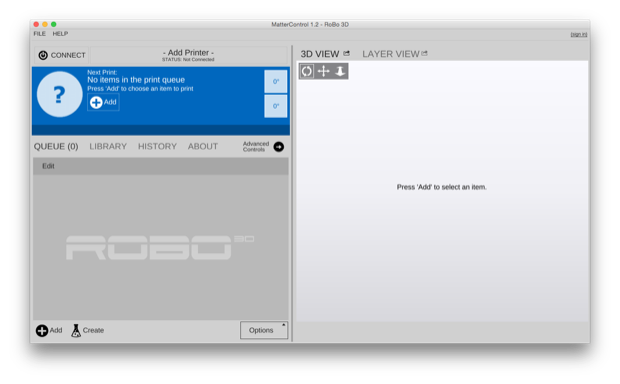
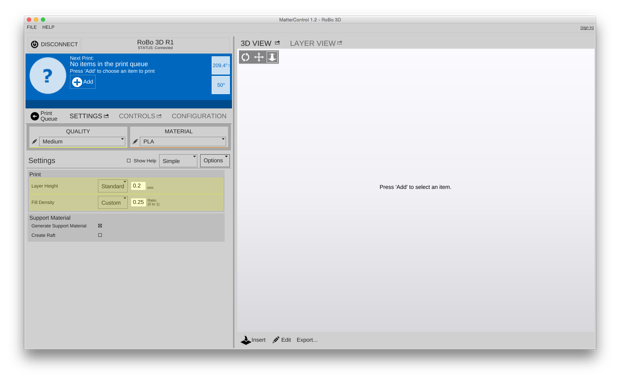
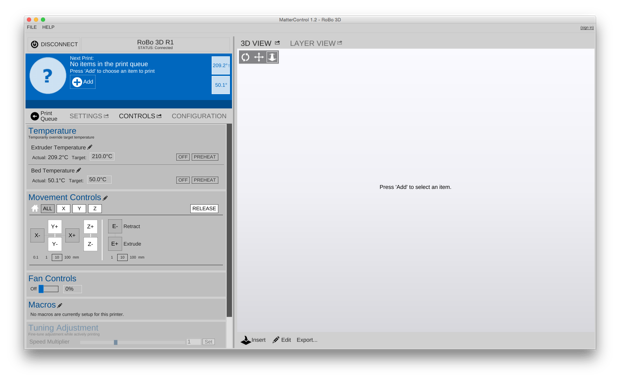
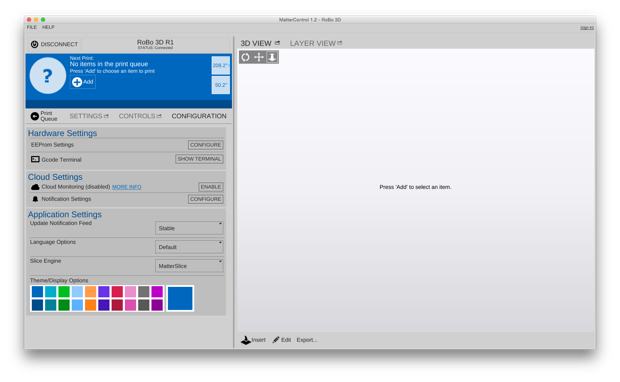
There's several tabs for various user settings, controls and configuration.
The software even comes with a library of parts you can print right away.

I decided to just try something simple to make sure the printer worked. I selected the calibration circle and let the machine heat up.
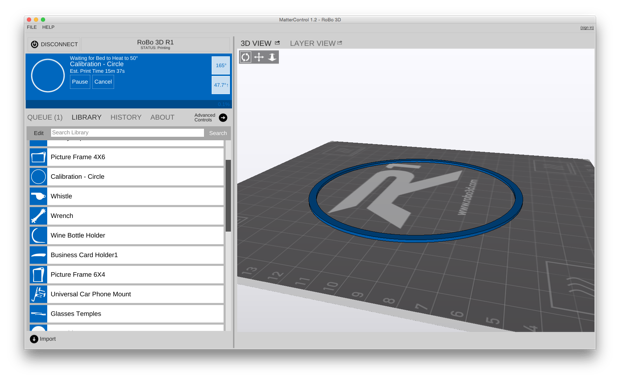
It started to print, but it was immediately apparent that the bed wan't moving. The print head was just moved back and forth in a straight line. That's not right. I stopped the print and took a peek under the bed to see what was the matter.
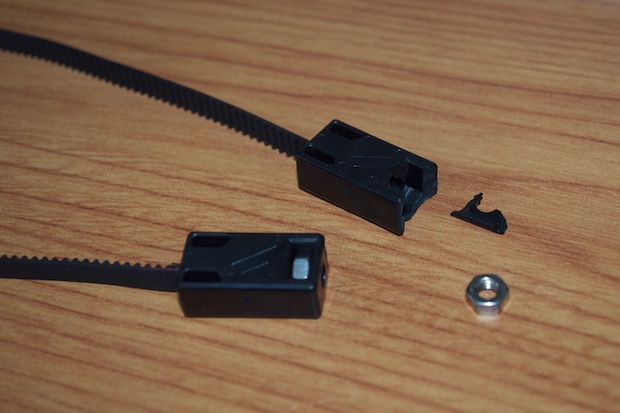
There's a belt that's supposed to be wrapped around these spindles and secured to the other end of the bed.
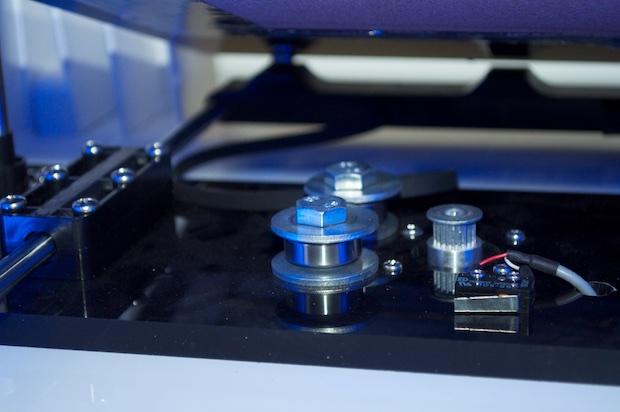
When I traced the belt to the end, I discovered that it was broken off. Bummer.
I was so upset that my wife went to all the trouble to have it shipped overnight so that I'd have it for the 3-day weekend to discover that the machine was broken. I hopped on ROBO 3D's site and took out a support ticket. Unfortunately, Saturday came and went and no one got back to me. I guess they're closed on the weekend. With Monday being a holiday, I think I won't hear back from anyone until Tuesday. I'd imagine it'll be a few days after that before a new part arrives in the mail.
It's killing me that I have this amazing machine sitting in front of me after all these years of yearning for a 3D printer, to not be able to do a thing with it. Very disappointing. Or is it?
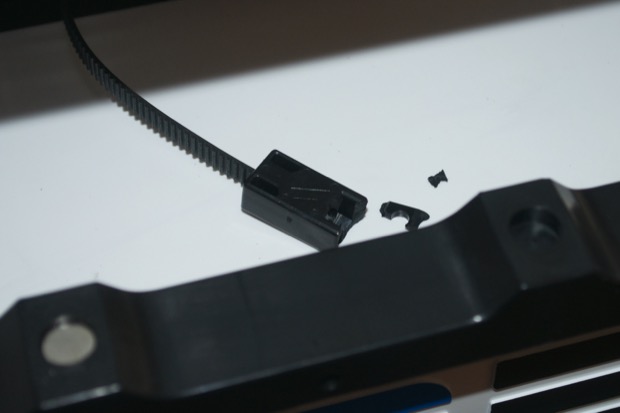
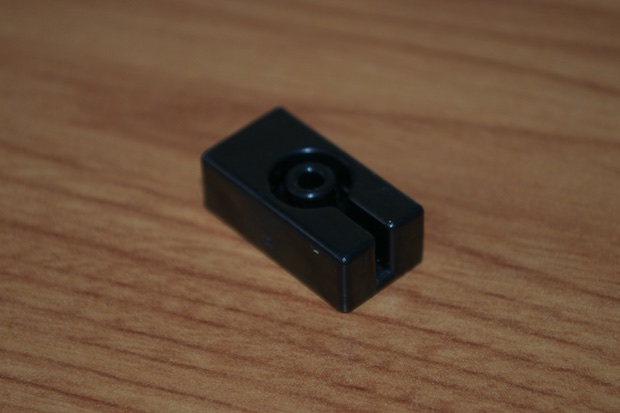
I should be able to fix this. Or at minimum, jimmy-rig it enough to print a replacement part. I hopped on Thingiverse, and lo and behold, someone actually uploaded the part that I needed.
Basically, the front of the connector that holds the screw has broken off.
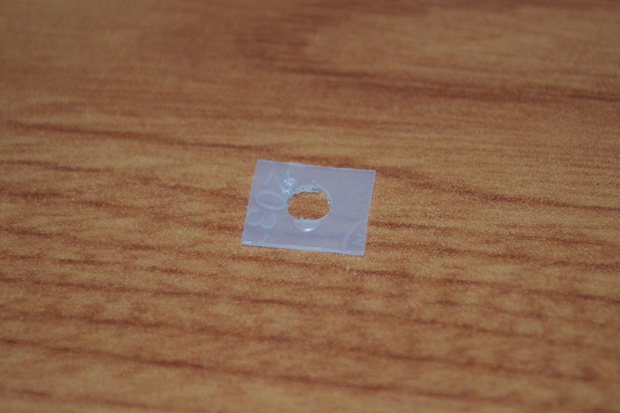
In order to re-attach the connector, I cut a small piece of plastic from a water bottle top and drilled a hole through it.
I dropped the nut inside and taped my piece of plastic to the end of the connector with black tape and secured it tightly.
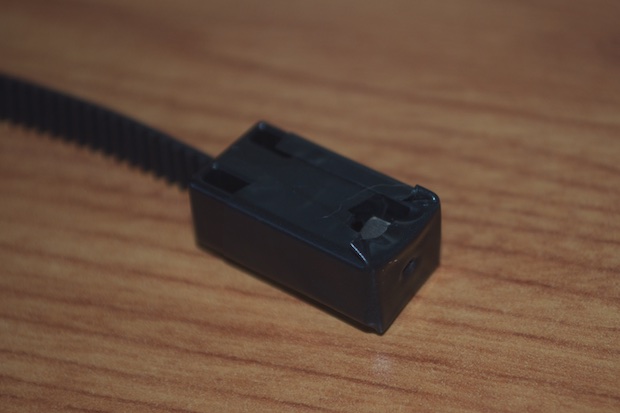
It fit like a glove. They screw threaded into the nut and went in nice and tight. Looks like it's going to work.

I fired up my ROBO 3D and printed the part. The belt started to move! It works!
After a minute or two, the part already started to take shape. This is awesome!
About 10 minutes later, the part was almost complete.
It only took 11 minutes to print the part.
Awesome! I undid my temporary fix and attempted to install the new part. As it turns out, it doesn't even fit! The slot opening for the nut is too small and it's a real bear trying to wrap the belt around the inner piece. I gave up on it and went back to my hack. It'll hold me for the weekend, but for $800 bucks, I shouldn't have to jimmy-rig my own machine. I still want ROBO 3D to send me a new connector.
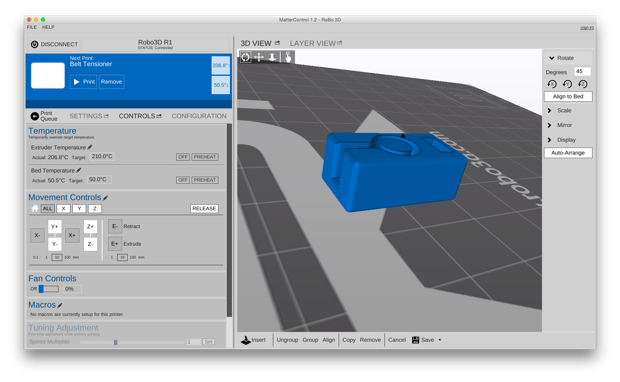
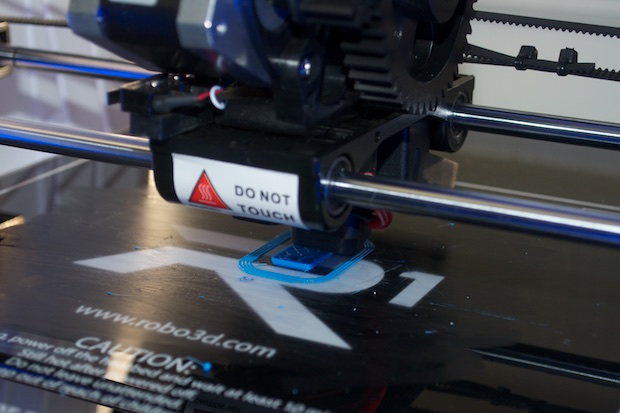
With the machine sort of up and running, I thought I'd actually have a go at making something I can use. Or at least, something my wife can use. I jumped on Thingiverse again and looked for a cool e-cig holder for her.
It turns out, there's a ton of them. I'm not ready to start designing my own parts yet. For now, I just want to print!
I left the layer height at the default .2mm. It's going take 1 hour and 11 minutes. Dropping the layer height down to .1mm would have probably gone over 2 hours.

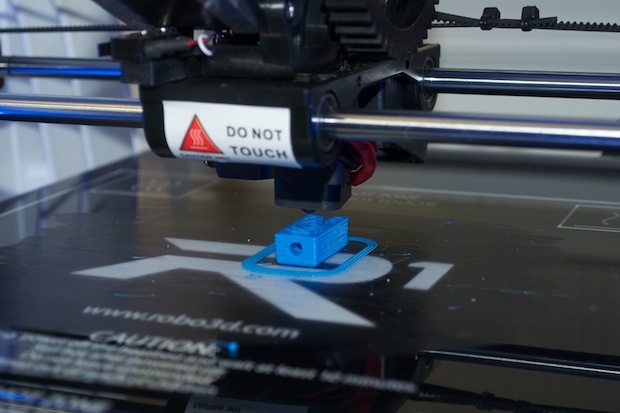
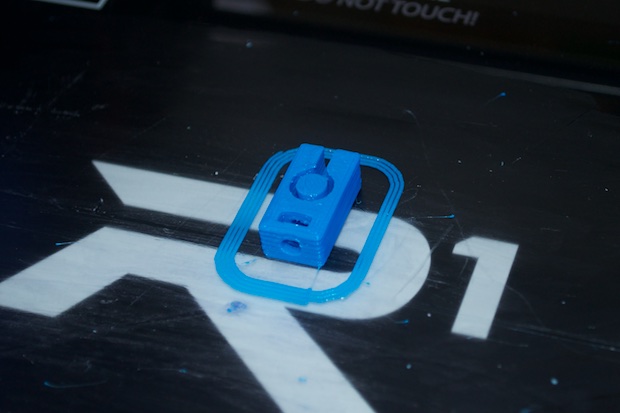
I did it's thing and it came out great!
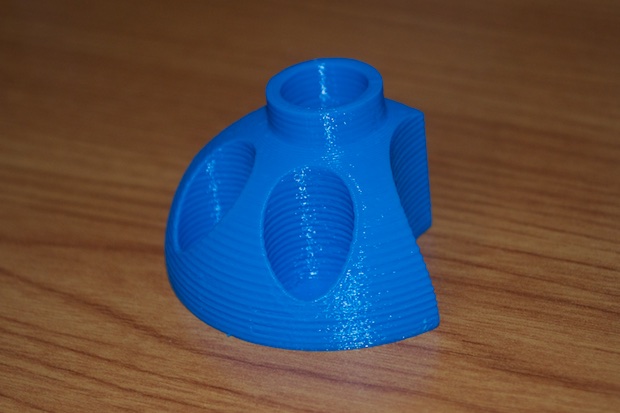
Everything fits pretty well.
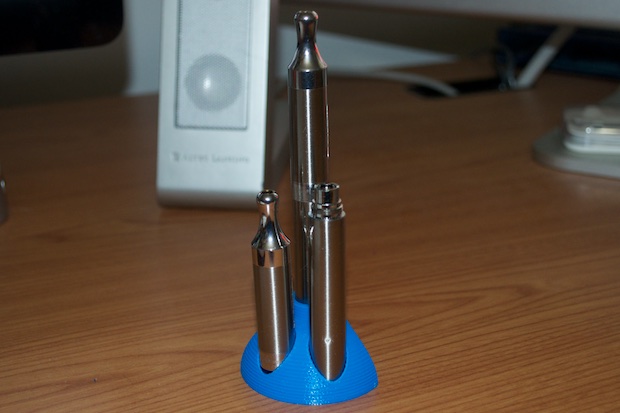
She was thrilled with it, and she was so excited that I was excited!
A few days later, a new belt tensioner arrived in the mail from ROBO 3D. My fix seemed to work pretty well, but I wouldn't trust it for the long haul. I swapped it out with the new part and I was back up and running.
This is just awesome! I can't believe I finally have a 3D printer!

