I admit it: I'm a total geek. I love electronics, programming, 3D printing, 3D art, and vintage Apple hardware. I'm always juggling half a dozen projects. I also enjoy documenting it all: my successes, my failures, my experiences... and everything geeky along the way.
Well, I’m not happy with the way version 1.5 came out. So here goes 2.0.
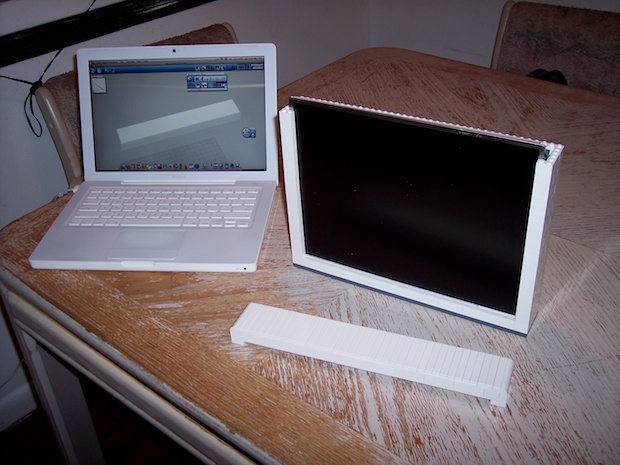
I was looking for something unique. Something solid, but simplistic and sleek. I needed to look no further than my twin 4-year olds and their infatuation with LEGO.
So that’s what I’m going to build the enclosure out of: 476 white LEGO blocks.
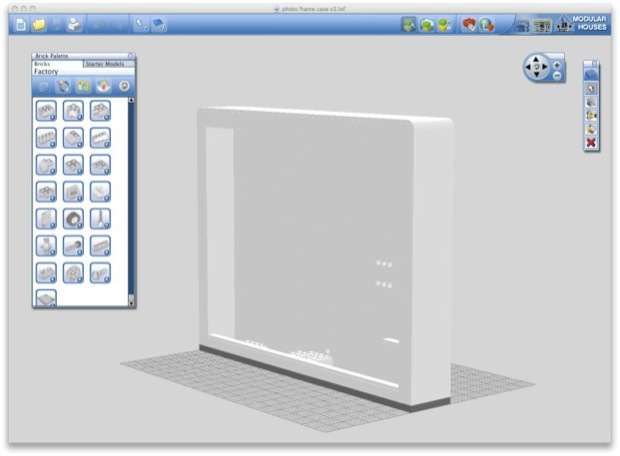
I downloaded LEGO’s Digital Designer and got to work.
The Digital Designer is an amazing piece of software for free. You can designer whatever you want completely out of LEGO in a simple 3D environment. With the press of a button, you can get a price quote, upload it to LEGO.com, and buy your custom creation right online. It’s then shipped to your door in about 2 weeks.
You can also generate a build guide and it will walk you through the whole build process. This is extremely useful once your pieces arrive.
So, 476 pieces and $70.13 later, I had my Digital Photo Frame enclosure designed and shipped to me.
I can’t wait to build it!
Here’s the workflow:
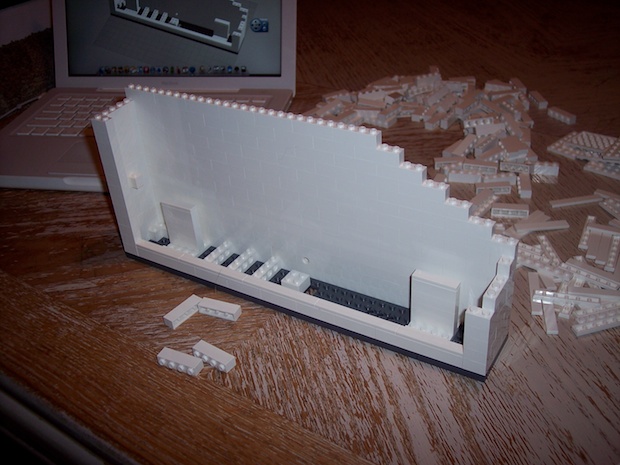
Following along with the Digital Designer build guide makes it really easy to assemble your project.
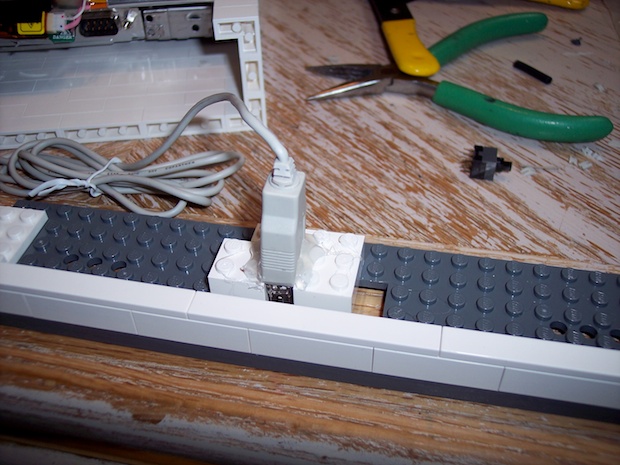
I got a little carried away and realized that the laptop won’t fit in here once I’ve assembled it.
I had to back some pieces off and build around the laptop.
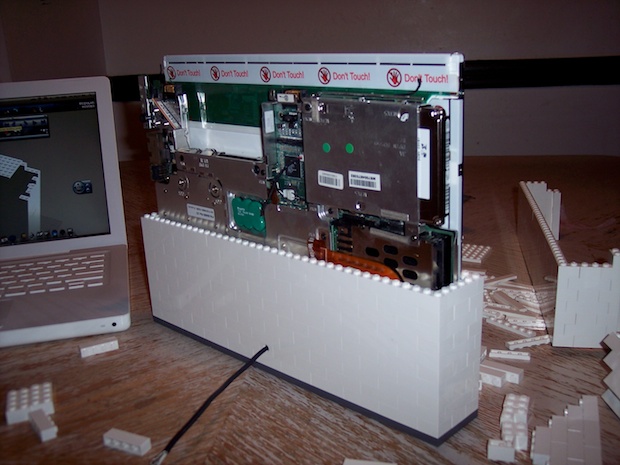
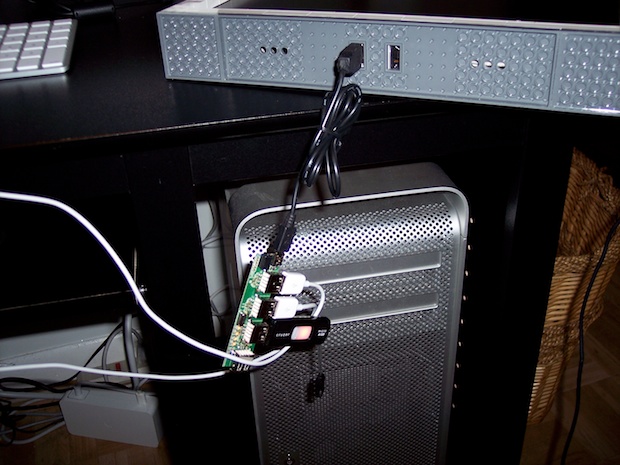
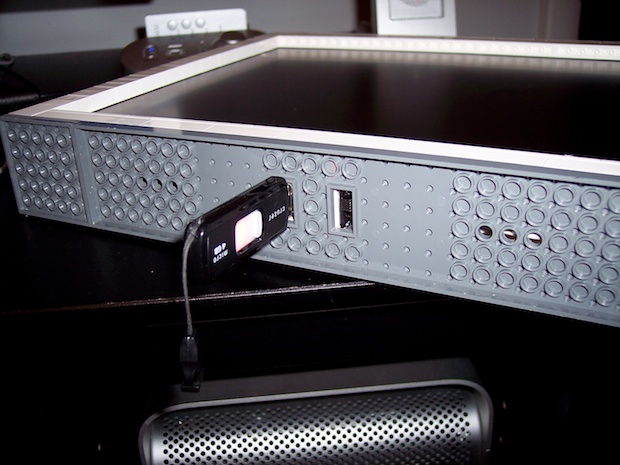
Once I had enough pieces together to support the laptop guts, I popped the bottom off and hot-glue-gunned the USB port into the base.
I then glued the power switch to the base and connected all the remaining cables to the laptop.
I secured the base and continued to build.
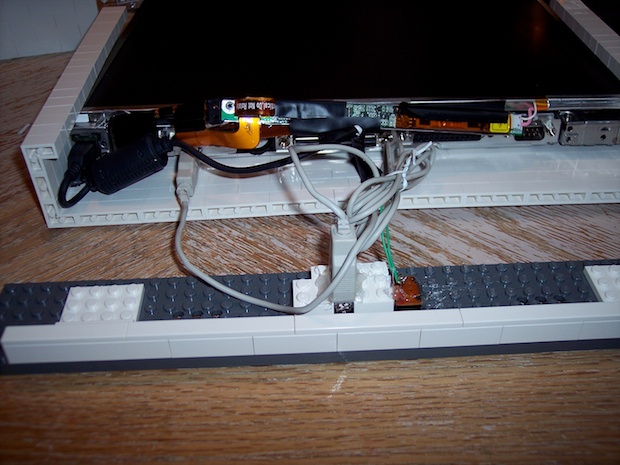
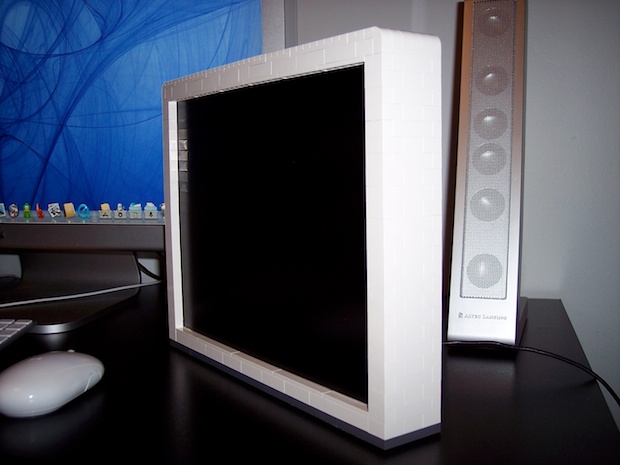
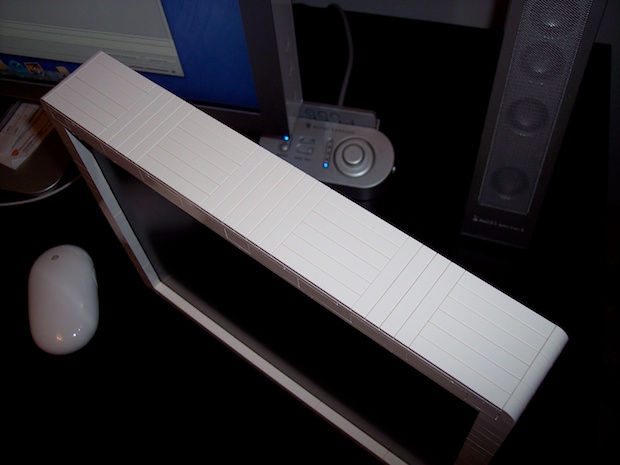
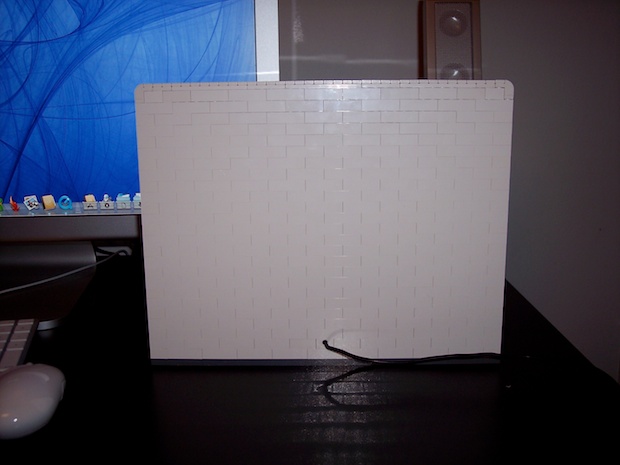
After a little clean up, it’s time to consult the build guide for the top portion.
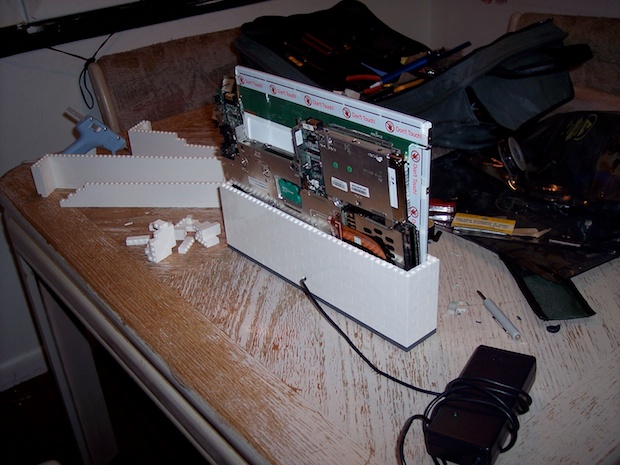
Top complete.
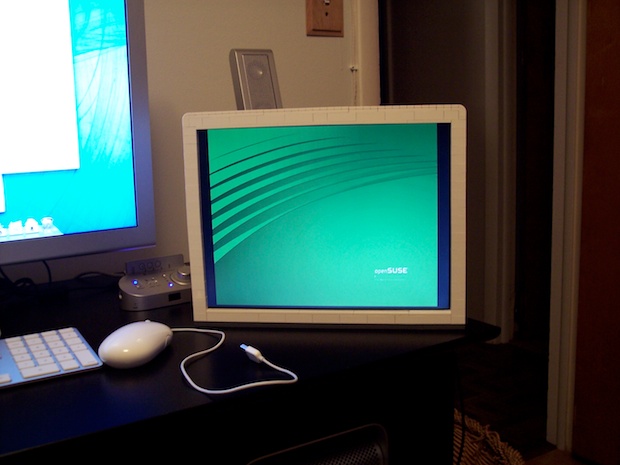
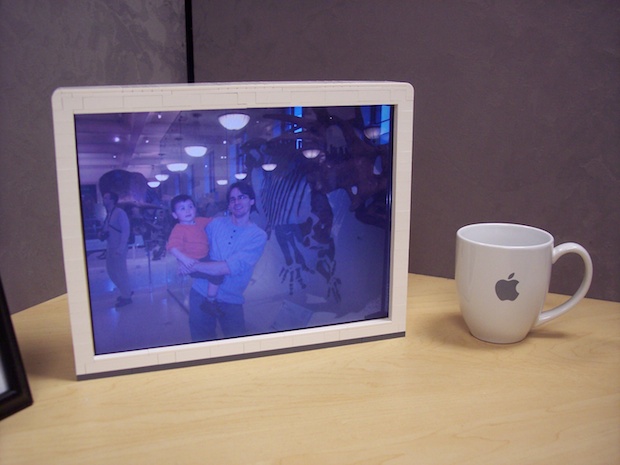
Done. It’s time for more photos and some configuration.
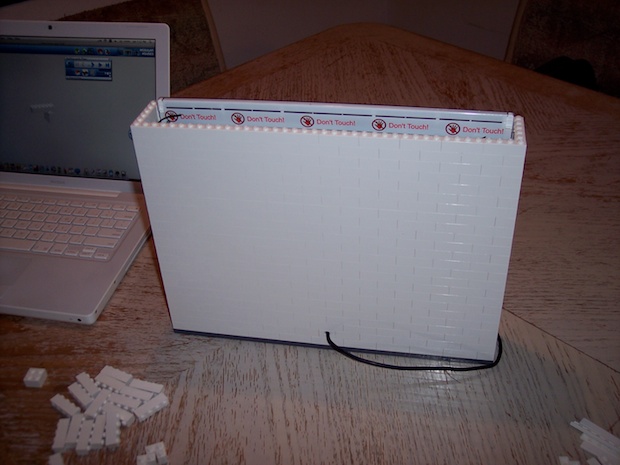
I gave the top a little pattern.
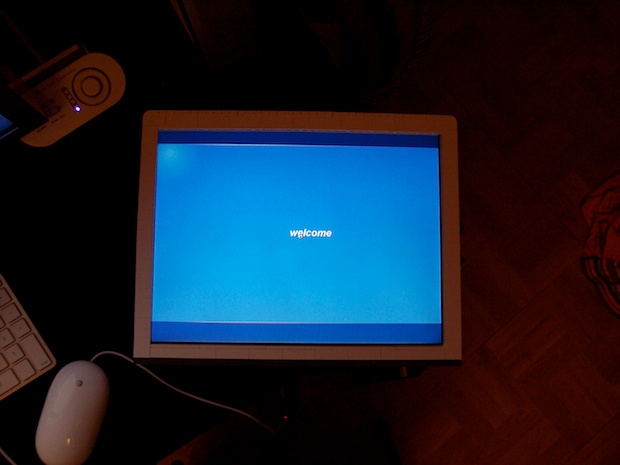
I installed Suse Linux, although I don’t like the display driver at all. Images won’t display at full screen, and there is some flickering at the bottom on the LCD. I’d hate to say it.....
...but it looks a lot better under Windows XP.
For administrative functions, the use of a USB hub is required to make use of a mouse and keyboard.
After a little configuration, images are automatically loaded into my screensaver images folder when I insert my USB drive.
Test 1: success!
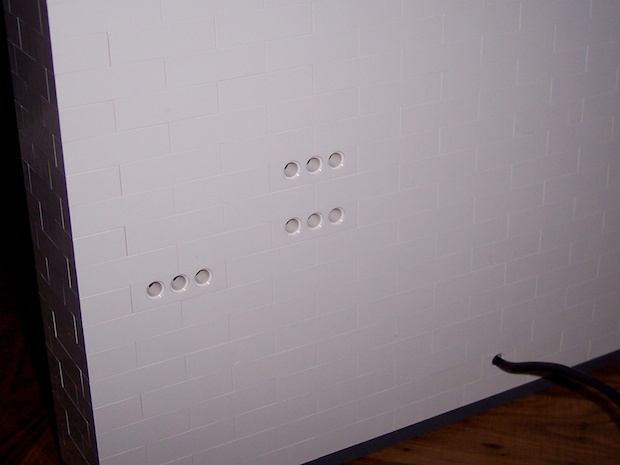
It’s been powered on for a few hours now. I’ve noticed that the frame becomes very hot. There’s no fan or any way for the heat to get out.
I swapped a few pieces out with some that have holes in them. One is over the case fan, and 2 are over the CPU heatsink. It’s been running all day now, and a lot cooler than before.