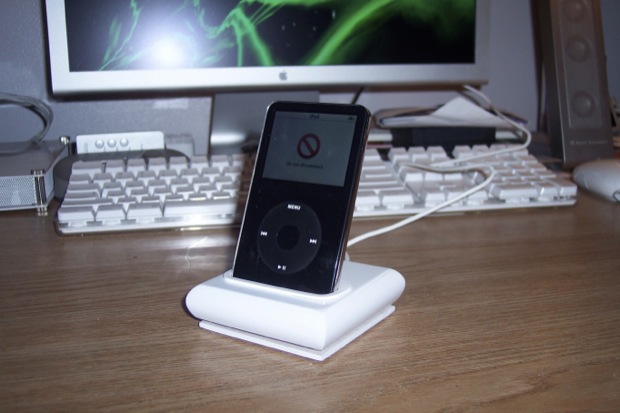
I need an iPod dock. I have the Apple Universal Dock for home, but I would like to have one on my desk at work. I can’t see myself shelling out another $40 for one. Sounds like build time...
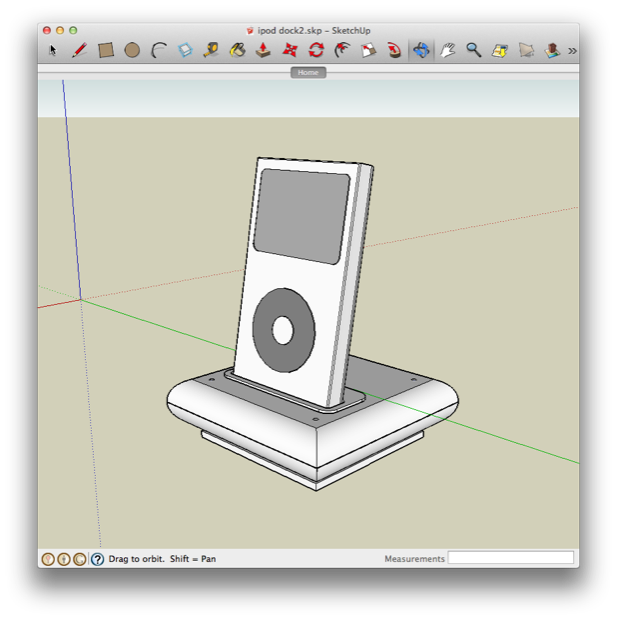
I started with an idea. I used Google SketchUp to chalk up a prototype.
Supplies:
First I had to decide if the dock was going to simply charge the iPod, or sync and charge. This will determine what parts I’ll need.
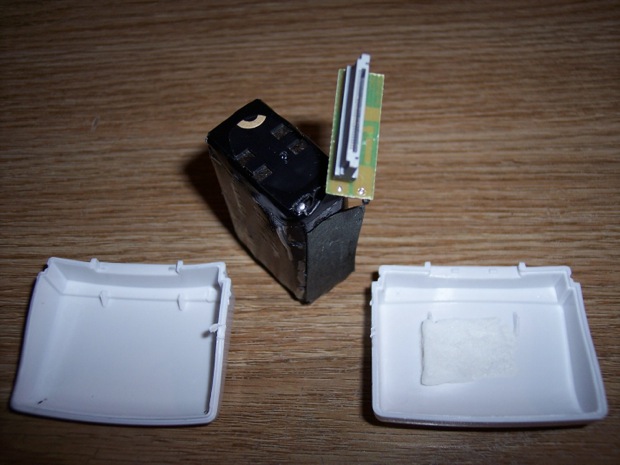
I found a cheap on-the-go charger on the clearance rack at CompUSA for $2.
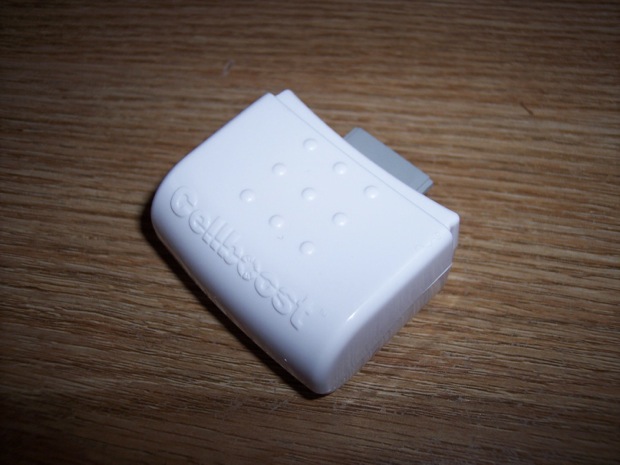
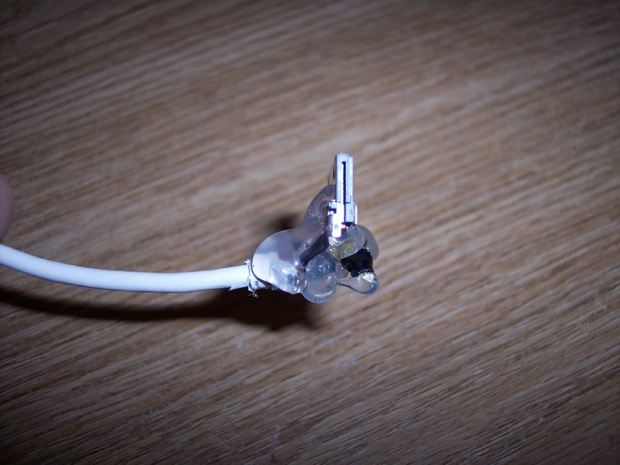
If the dock is going to just charge the IPod, then this dock connector would be perfect.
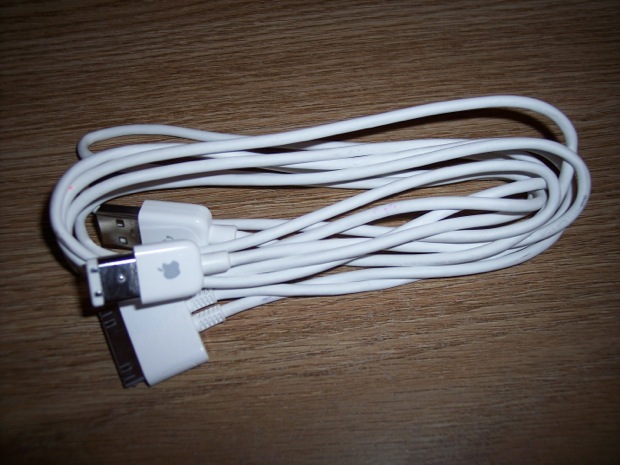
If I want the dock to sync and charge, then I’ll have to cut up an iPod cable. In this case, an old Firewire/USB cable from a 4G iPod.
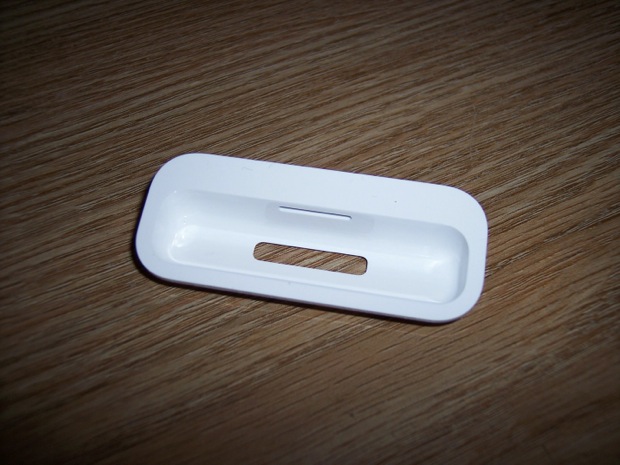
Dock Insert. Apple.com has a 3 pack for $9. I found them on clearance at CompUSA for $5. If you have a newer iPod, you can use the one that shipped with it.
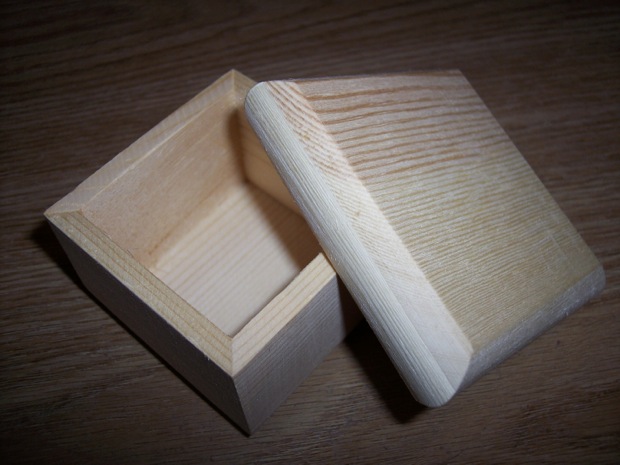
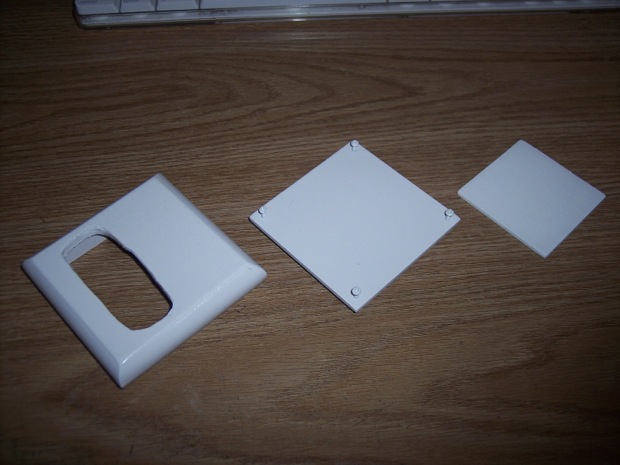
Wooden box: 99 cents at the craft store. I all need is the top.
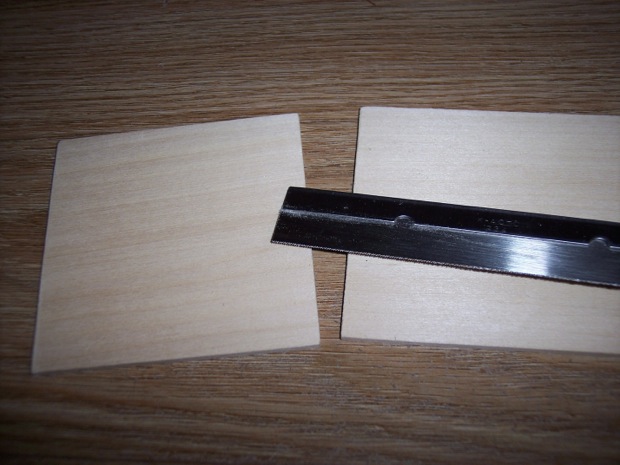
Balsa wood. Also from the craft store. I don’t have a picture, but you’ll need 4 board stands too.
Construction:
Cannibalize the USB cable and got rid of all the extra filler as necessary. I had to do a lot of trimming due to the limited real estate of my enclosure.
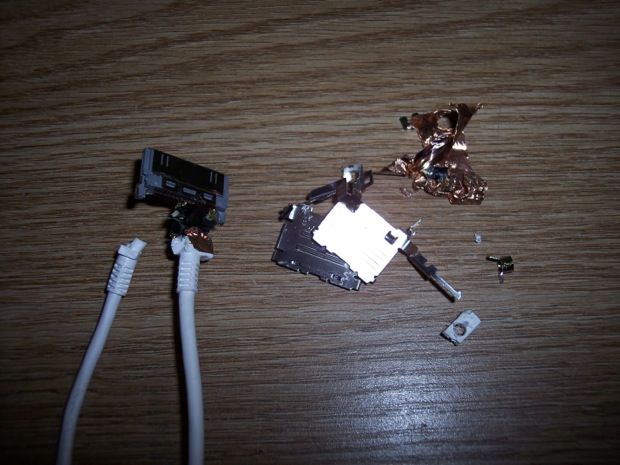
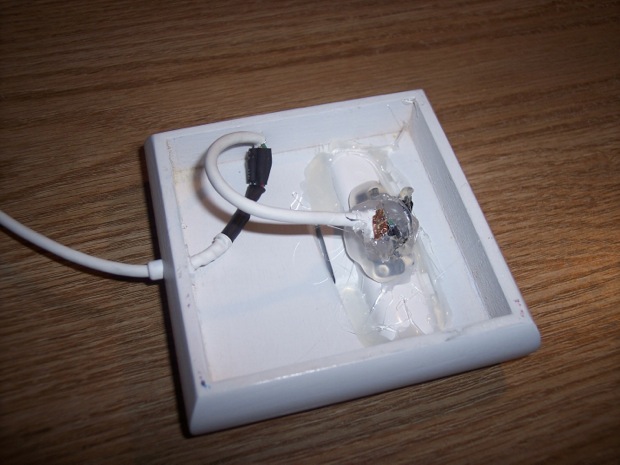
The enclosure isn’t very high, so I had to hot glue gun the connector at a tight right angle. (Also done to stop the delicate connections from breaking.)
I cut away the Firewire cable/housing and removed the rubber “thingy” to be used later.

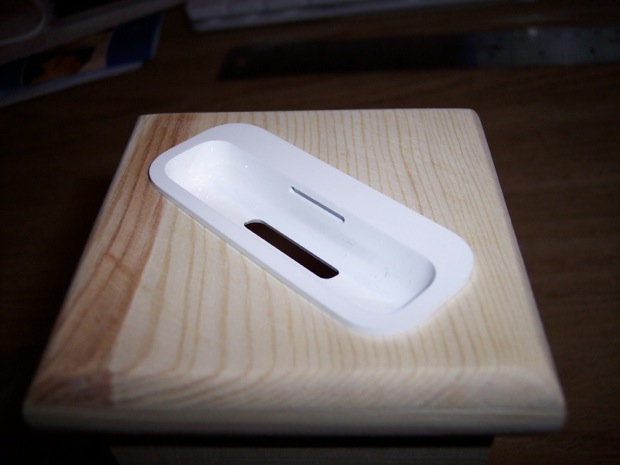
Positioned the Dock insert and cut out a hole; Dremel to the rescue.

Looks good, but I decided to orient the insert parallel to the edge in the final version. (I should have taken another photo, but it was sort of done as a last minute thing.)
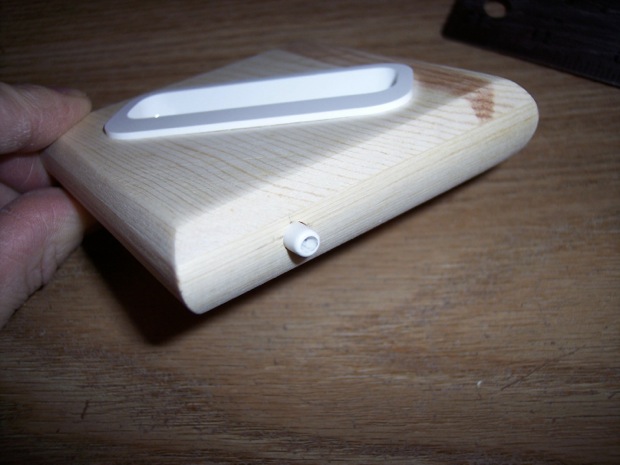
Drilled a hole in the back and inserted that rubber “thingy”. Again, on the final version, I decided to center it on the back.
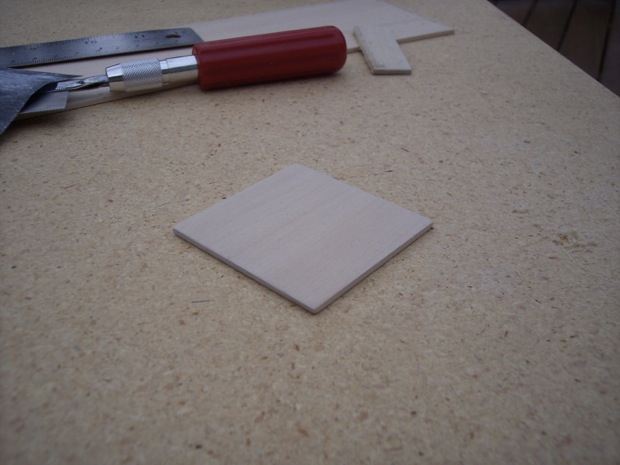
Cut a square piece of balsa wood to use as a base.
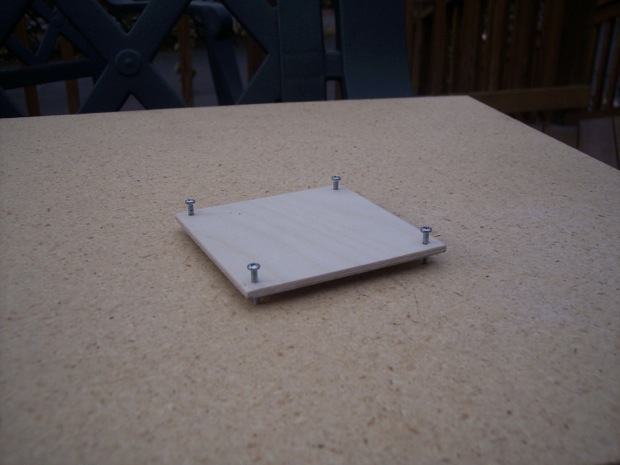
Drilled holes for board stands.
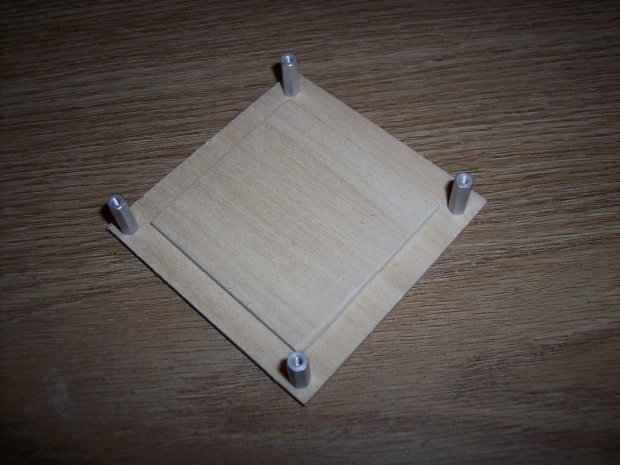
Cut another piece of wood, slightly smaller than the base. They’ll be glued together after painting.
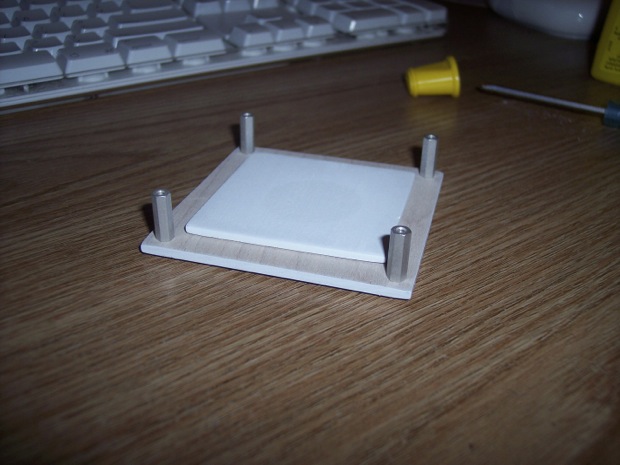
Hot glue gunned the board stands into the top portion.
OK, now that everything fits together nicely, I took the whole thing apart and painted it. As you can see, I changed my mind on the orientation of the iPod.
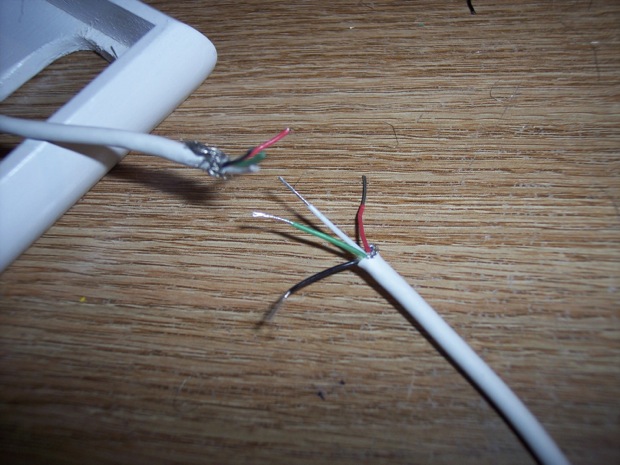
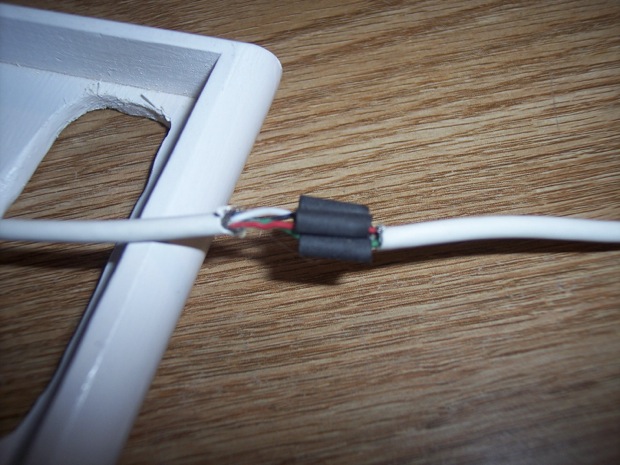
Now for the wiring. Cut the USB cable a few inches from the dock connector.
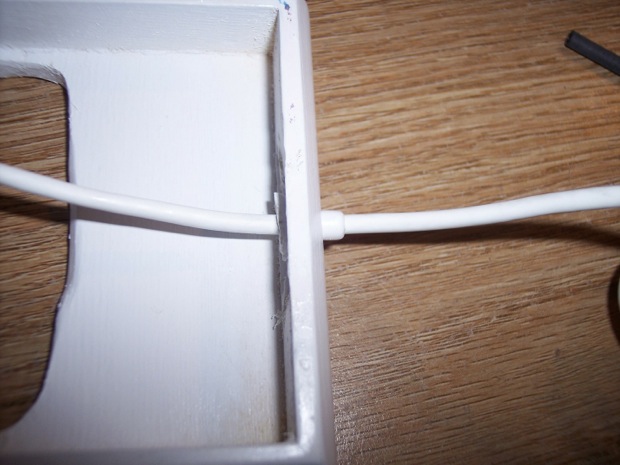
Fed the cable through the hole in the back through the rubber “thingy”.
Soldered the wires back together. Talk about micro-surgery!
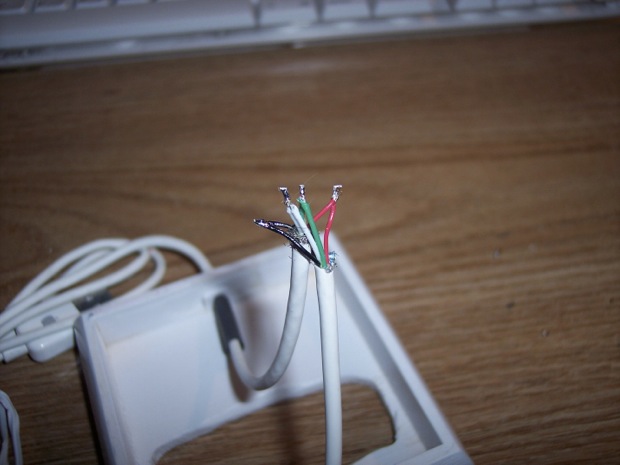
After soldering the connections, isolated them from each other with heat-shrink tubing.
Hot glue gun the insert into the housing.
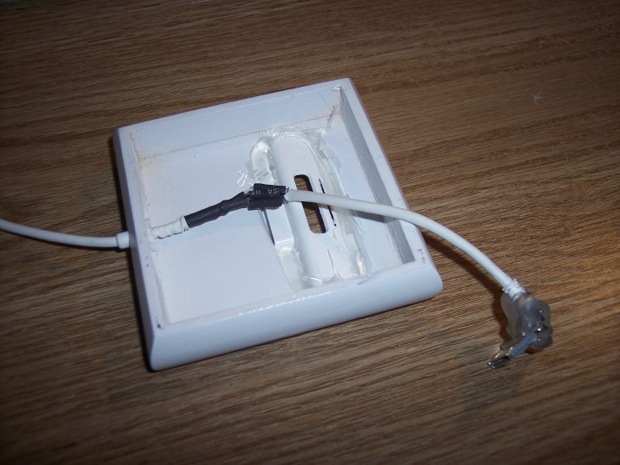
Hot glue gunned the dock connector into the insert.
Glued the two bottom pieces together and inserted the board stands. Finally, glued the board stands to the inside of the top enclosure.
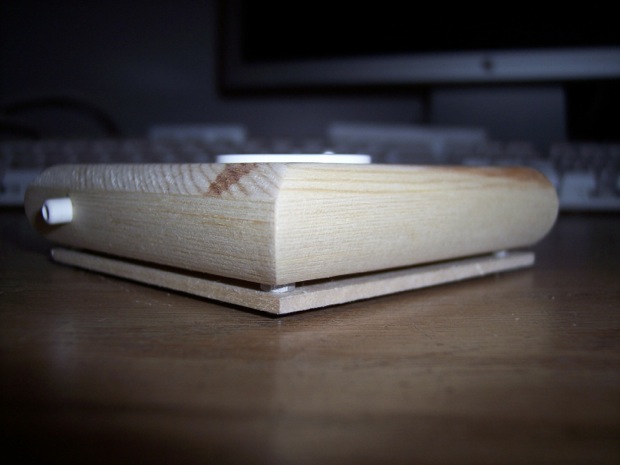
Final Assembly:
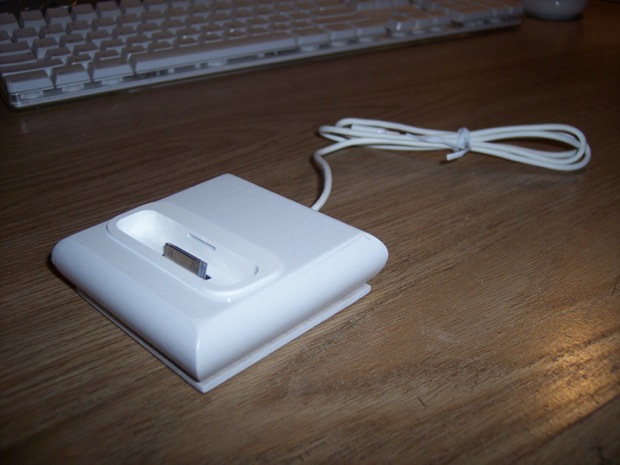
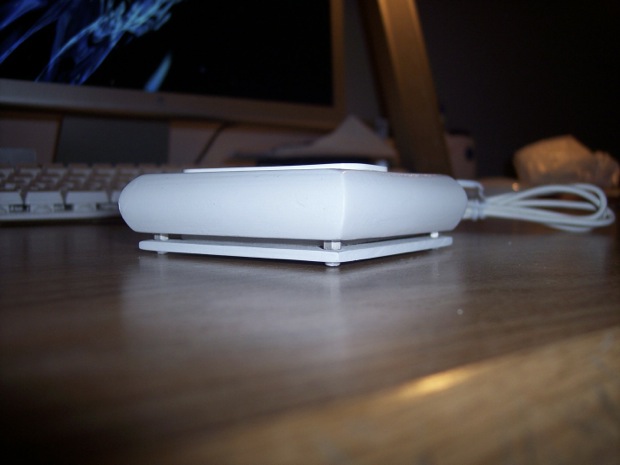
Nicely done. And if anyone at work steals it, I’m only out a couple of bucks.