I know it’s been a month since I picked up the
e-paper display, but I’ve been so busy with other projects. OK, let’s see what this thing can do…
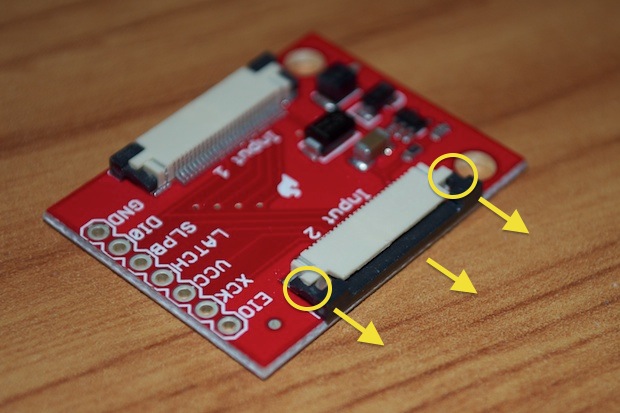
It took a few minutes to figure out how to get the display’s flat ribbon connectors into the sockets. It’s not really documented anywhere that I could find. You can’t just mash them in. I’ve worked with enough iPods to know that these little connectors usually have some kind or door or level that you have to lift up in order to insert a flat ribbon connector. I played around with it and figured out that if you look on the right and left of the connectors, you’ll see a black tab that can be slid forwards. You have to basically grab the connectors by the black edges and pull it forwards. This unlocks the connector.
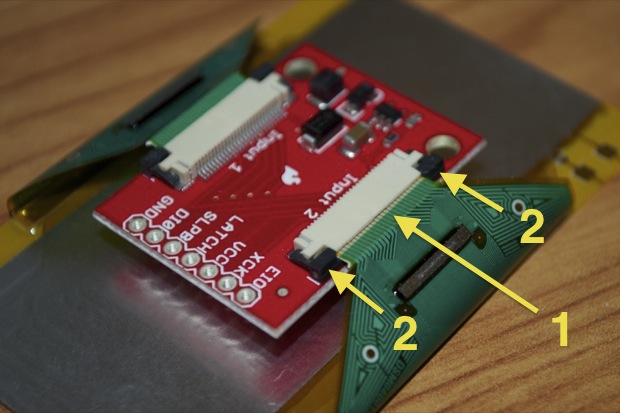
Once the black portion of the connector is out, you can slide the display ribbon right in. Then push the black connector back in to lock it down.
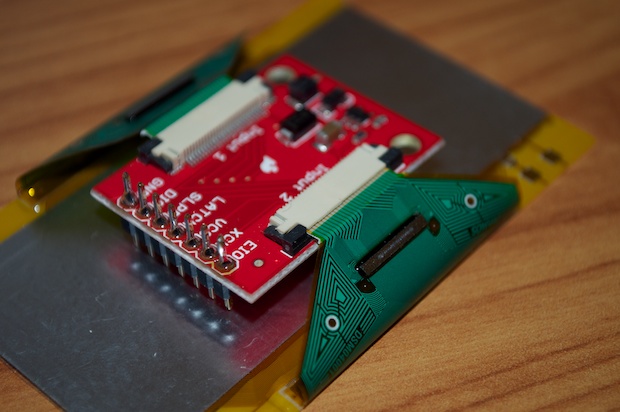
I also soldered a header onto the board so that I could plug it into my breadboard.
It’s kind of hard to plug it into the breadboard as-is. The hook-up wires get in the way. I had to use another header as a standoff.
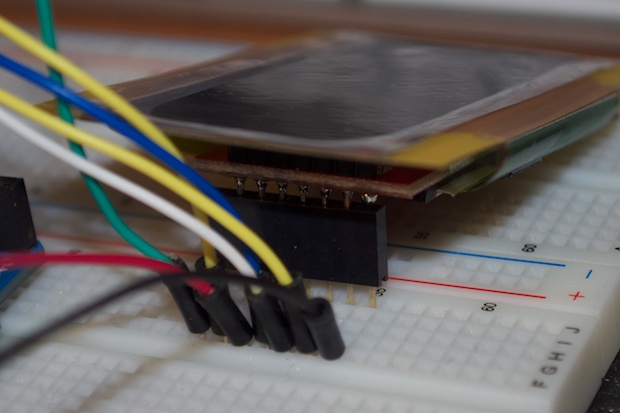
Using a handy guide I found at
bildr.org, I connected the e-paper display to my Arduino as such:
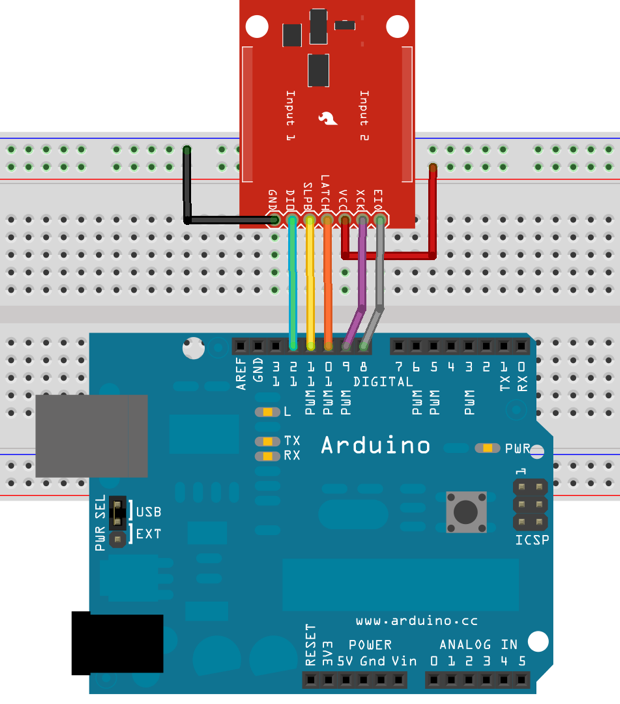
Easy enough. I then dropped the e-paper library into my Arduino library folder and fired up the IDE. I loaded the sample sketch bildr.org provided, made a few modifications and BOOM! It displayed my custom text!
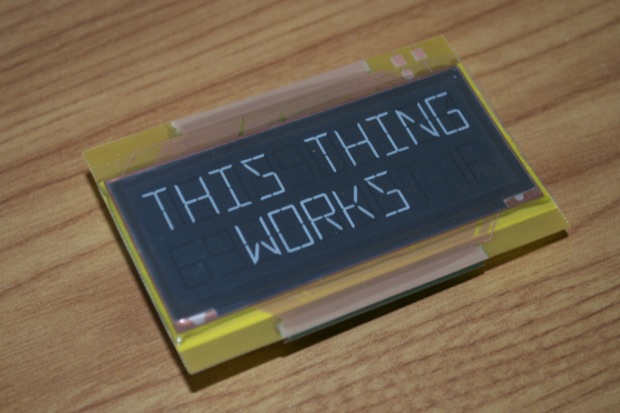
This thing works!
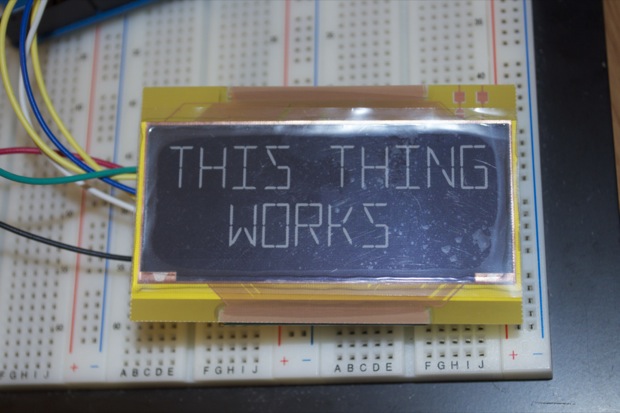
The great thing about e-paper is that it retains the image after the power has been removed.
I still don’t know what I’m going to use it for. It does take some time to write the images to the display, so having it display seconds would be impractical. Minutes would be fine. It would be cool to have it display something and then have the power cut out. Maybe something like
“Today is Monday”. I’d only have to write to it once a day. I could run it off batteries and at a rate of one write per day, the batteries would probably last years! However, that seems like a total waste of tech.
Maybe just another clock, but without the seconds. Maybe forget the whole “shut off the power” thing. Maybe make a word clock out of it.
“It is half past five” would fit. Maybe the time and temperature? I could write the temperature to the display every 5 minutes or so. There’s so many possibilities.
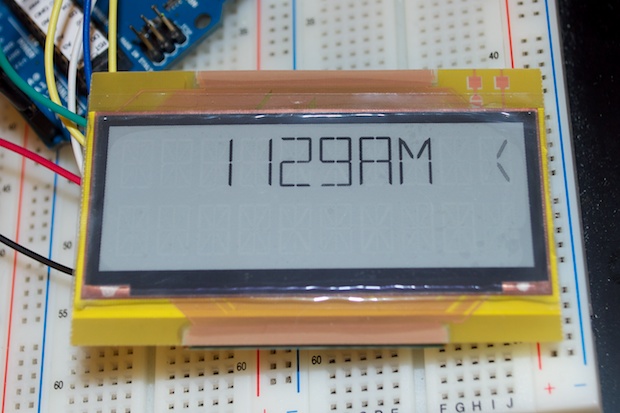
OK, let’s get going. I’ll admit, this is a very tricky display to interface with. The library is very limited as compared to the LCD crystal library. Basically, the display functions expect to be passed a char, as opposed to an integer. For starters, I just hard-coded the time just to get an idea of what it would look like, as well as nail down the spacing.
epaper.writeTop("  1033AM    ");
epaper.writeDisplay();
I experimented with a few different characters and even tried my hand at making my own. At some point, I wrote a “K” to the last digit on the top row. I don’t know what happened, but now 2 segments of the display remain illuminated. I can’t seem to get rid of it.
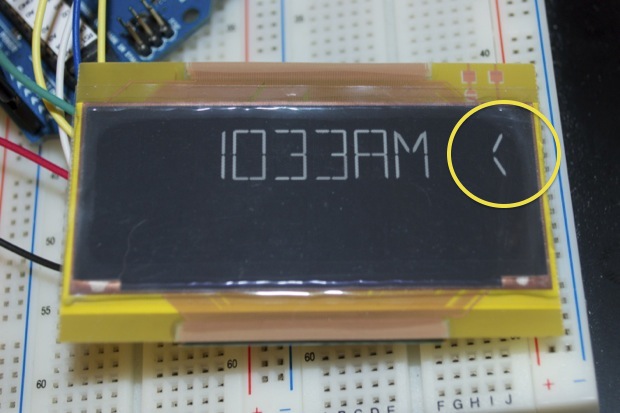
I tried a ton of stuff and played around with it for hours. I even tried inverting the display hoping that it would do the trick, but it’s still like that. It’s not as “bright” as the other digits, so it’s some sort of residual leftover character. Some people call it “ghosting”, but I usually goes away as soon as you write over it. I think it’s just a defective display. I contacted SparkFun and they agreed to send me a new one.
To invert the display you have to hop into the epaper.cpp file of the epaper library and make the following changes:
For white text on a black background (the default):
  digitalWrite(_EIO, LOW);
  if (bw)
    digitalWrite(_DI0, HIGH);
  else
    digitalWrite(_DI0, LOW);
  delayMicroseconds(1);
  clock();     // Y0
  digitalWrite(_EIO, HIGH);

  for(int i = 0; i<160; i++)
  {
    if (displayBottom[i])
      digitalWrite(_DI0, LOW);
    else
      digitalWrite(_DI0, HIGH);
    delayMicroseconds(1);
    clock();
  }
  if (com)
    digitalWrite(_DI0, HIGH);
  else
    digitalWrite(_DI0, LOW);
  clock();     // Y161

  //--- 2nd display ---

  if (bw)
    digitalWrite(_DI0, HIGH);
  else
    digitalWrite(_DI0, LOW);

  clock();     // Y0

  for(int i = 0; i<160; i++)
  {
    if (displayTop[i])
      digitalWrite(_DI0, LOW);
    else
      digitalWrite(_DI0, HIGH);
    delayMicroseconds(1);
    clock();
  }
  if (com)
    digitalWrite(_DI0, HIGH);
  else
    digitalWrite(_DI0, LOW);
  delayMicroseconds(1);
  clock();     // Y161

  latch();
For, black text on a white background:
  digitalWrite(_EIO, LOW);
  if (bw)
    digitalWrite(_DI0, LOW);
  else
    digitalWrite(_DI0, HIGH);
  delayMicroseconds(1);
  clock();     // Y0
  digitalWrite(_EIO, LOW);

  for(int i = 0; i<160; i++)
  {
    if (displayBottom[i])
      digitalWrite(_DI0, HIGH);
    else
      digitalWrite(_DI0, LOW);
    delayMicroseconds(1);
    clock();
  }
  if (com)
    digitalWrite(_DI0, LOW);
  else
    digitalWrite(_DI0, HIGH);
  clock();     // Y161

  //--- 2nd display ---

  if (bw)
    digitalWrite(_DI0, LOW);
  else
    digitalWrite(_DI0, HIGH);

  clock();     // Y0

  for(int i = 0; i<160; i++)
  {
    if (displayTop[i])
      digitalWrite(_DI0, HIGH);
    else
      digitalWrite(_DI0, LOW);
    delayMicroseconds(1);
    clock();
  }
  if (com)
    digitalWrite(_DI0, LOW);
  else
    digitalWrite(_DI0, HIGH);
  delayMicroseconds(1);
  clock();     // Y161

  latch();
Even though the display is defective and SparkFun is sending me a new one, I figured in the meantime I could go ahead and push-on with the prototyping.
After a few hours, I’d managed to interface with my ChronoDot breakout board, pull in the time, and convert the integers to strings. I then pass them all to a char array and send them to the display.
//construct the time string to be displayed
String timeStr = (space + hrStr + “-“ + minStr + suffix);

//convert the string to be displayed into a char array, limit to 10 places
char timeChr[10];
timeStr.toCharArray(timeChr, 10);

//construct the date string to be displayed
String dateStr = (dayOfWeekStr + " " + month + “-“ + dayOfMonth);

//convert the string to be displayed into a char array, limit to 10 places
char dateChr[10];
dateStr.toCharArray(dateChr, 10);

//clear the display and write the char arrays
epaper.writeBottom(dateChr);
epaper.writeTop(timeChr);
epaper.writeDisplay();
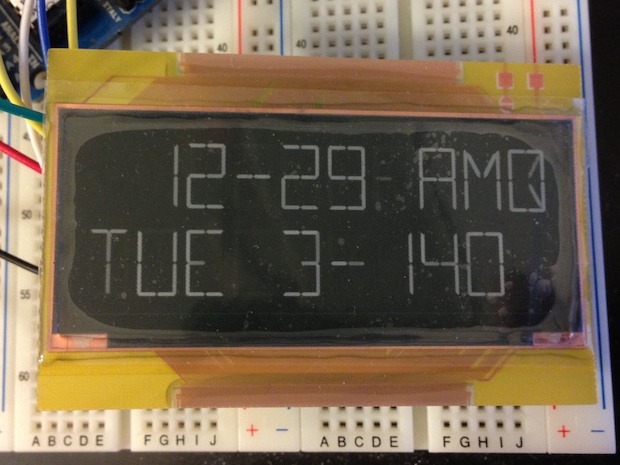
The serial window shows the strings to be what they should be, but I’m getting 0s at the ends of both strings. That’s another thing I can’t seem to figure out. I wonder if it’s some other defect.
I thought maybe it was having a problem handling the dashes, so I changed them to spaces, and a mix of both. No change. Finally, I changed them to Z’s just to see what it would do. Basically, it doesn’t matter what I display, the last characters of each string always appears as a zero. The serial window shows that my string is “Z1229ZAMZ
Z”, but, as you can see, the display shows “Z1229ZAMZ
0”. As far as I can tell, it’s not the code. So what gives?
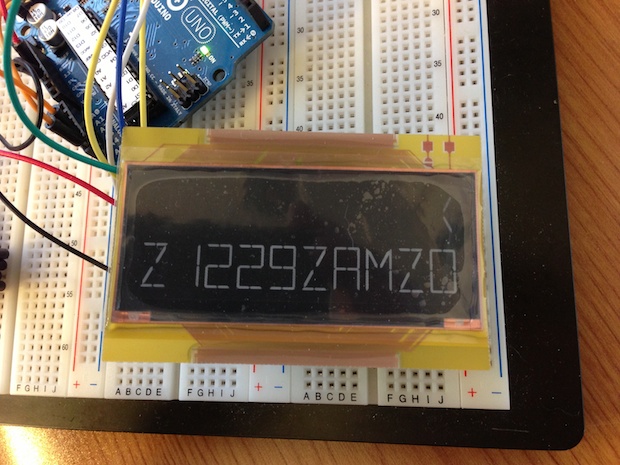
I don’t get the 0s when I pass it plain text.
As soon as I pass it a char array ,it throws a zero at the end, If I play around with the char buffer length, the display just puts up a whole line of 0s. It’s probably a bug, but I just can’t figure it out. All things considered, I think I’ve made some pretty decent progress regardless, but I’ll have to sleep on it for a bit. I don’t want to drive myself nuts if it turns out to be a defective display. I’ll wait for the new display to come in and I’ll have another crack at it.
See this project from start to finish:
E-Paper Display E-Paper Clock Prototyping, Part I
E-Paper Clock Prototyping, Part II E-Paper Clock Prototyping, Part III E-Paper Clock Final Assembly
