I needed to pick up a few more parts for the
Word Clock. I’m still waiting for the PCBs to come in, but I already identified the need for a few more switches and connectors to finish it up once the boards come in. I figured while I was at it, I’d shop around SparkFun for some cool parts to be used in future projects.
I found this really cool e-paper display for $25 bucks. They also sell a breakout board for those tiny connectors. The breakout board is another $15 bucks.
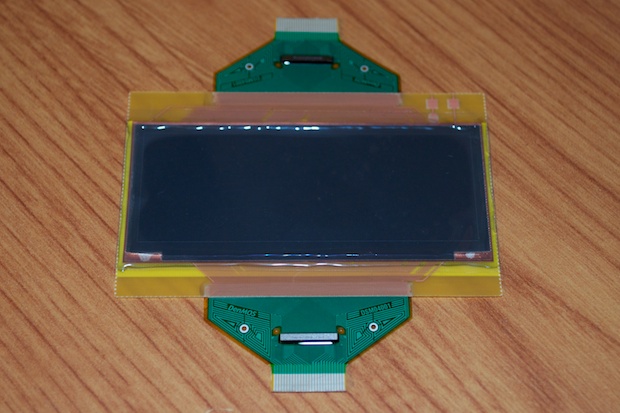
When you see a picture like this, it’s easy to imagine that it’s a good 4 or 5 inches long. Unfortunately, it’s much smaller than that. I basically bought this for the novelty of it. Otherwise, I don’t think it’s worth the $25 I paid. ($40 if you count the breakout board).
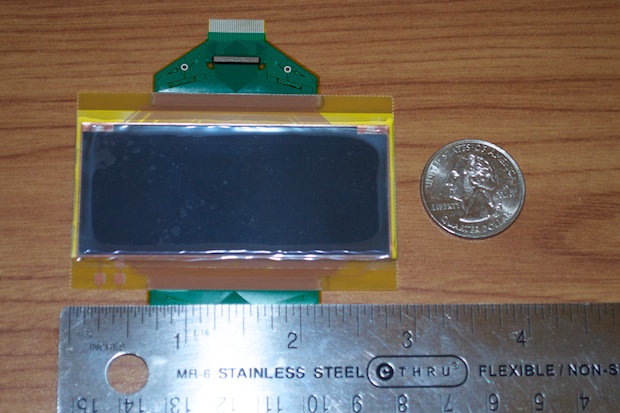
It really is smaller than I thought it was going to be. Sure, SparkFun shows it next to a quarter, but still. You have to have it in your hands to realize how small it really is. Not to mention it’s paper-thin, thus the name.
Here’s the breakout board.
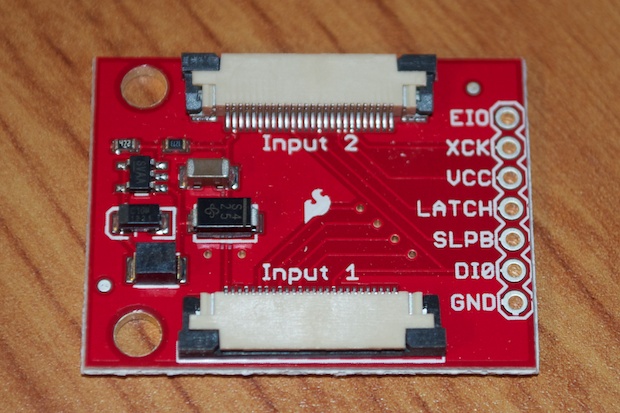
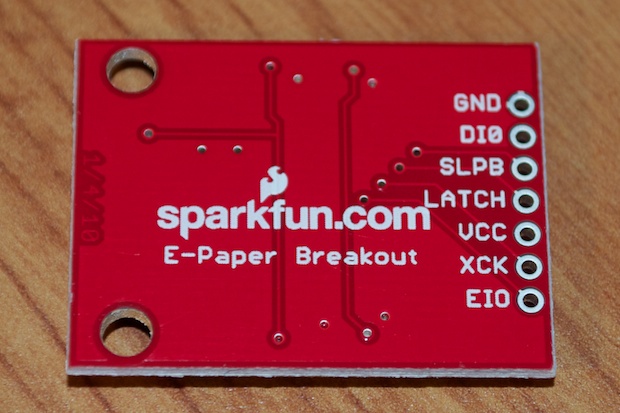
You could make your own since they do sell the connectors for .95 cents, but it’s easier to just buy the breakout board. Otherwise, there’s no way to prototype with it having those two super tiny connectors. Not to mention the display needs 30V to work. The breakout board will ramp either 3.3 or 5V up to the 30V that it needs. Normally I’d prototype my design with the breakout board and then incorporate the design in to my final board, but I think I’m going to just include the whole breakout board into my PCB as a daughterboard. I don’t think I’m ever going to need this again. This is sort of a one-off project. Besides, soldering those tiny SMD connectors would probably be pretty messy.
It’s definitely going to make a super-small, light and thin clock. When I thought that this display was a good 6 inches long, I was thinking about adding GPS to it so that it can set the time on its own. I also considered adding a temperature sensor too. Maybe a speaker and an alarm function. Basically, some cool features that my
LCD clock doesn’t have. That all went out the window once I held the display in my hand. What’s the point of having a really thin and small display if the clock ends up becoming huge by adding a ton of features? It defeats the point of using such a diminutive display.
I envision this clock being super thin and super light; no more than a display and a PCB tightly sandwiched between some acrylic.
Since it’s e-paper, the display will retain an image after power has been lost. It’ll actually run off 3.3V too. I even considered making it battery powered. It might not even be a clock at all, maybe just a calendar. I can write the date to the display and then shut it off. I’d only have to write to it once a day. I suspect that any battery I use would last a very long time. I could maybe even use one of the really thin Lithium Ion batteries that SparkFun sells. That’ll keep it thin.
$40 for the display and breakout, $10 for a battery, $20 for a PCB, some switches, an Atmel, a RTC………after all is said and done, I can see this clock easily costing $100 to complete. That’s crazy for such a small clock. So yeh, totally for the novelty of it!
See this project from start to finish:
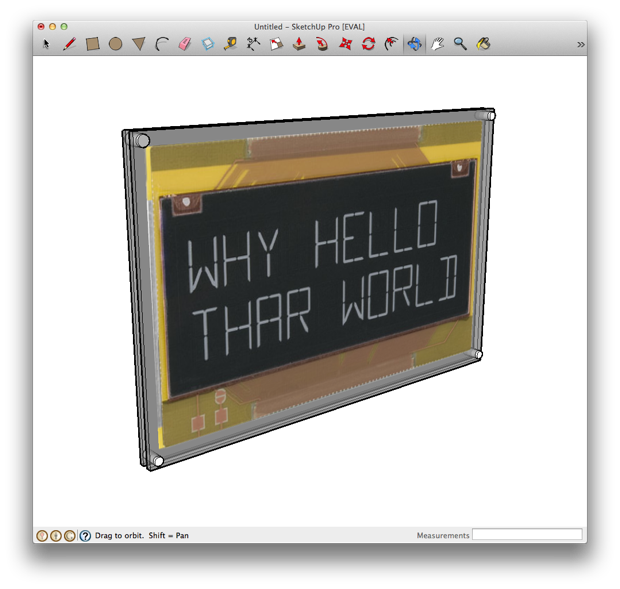
E-Paper Display
E-Paper Clock Prototyping, Part I E-Paper Clock Prototyping, Part II E-Paper Clock Prototyping, Part III E-Paper Clock Final Assembly
