With the Word Clock
display’s electronics complete, it’s time to make the light baffle and overlay.
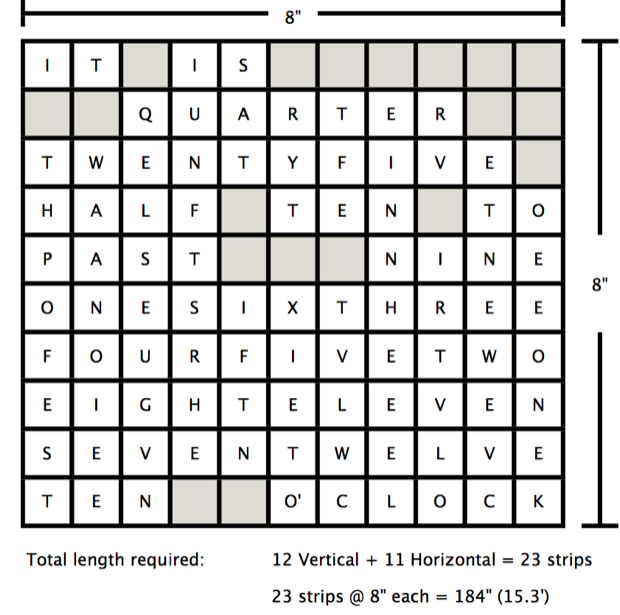
I wanted to make the baffle out of something sturdy, like balsa wood strips from the craft store, but how much do I need?
The front of the clock is 8” x 8”. To make the baffle, I’d need 12 vertical strips and 11 horizontal strips. That’s 23 strips at 8” each. That’s 15 feet of balsa! I’m sure 5 or so 3’ strips would do. I swung by the craft store on the way home from work, but they didn’t have anything suitable. They had some 1” wide strips, but I’d have to cut them all in half longways since I only want the baffle to stand about a 1/4” high. That seemed like too much work for something that could easily be made out of cardboard (for free).
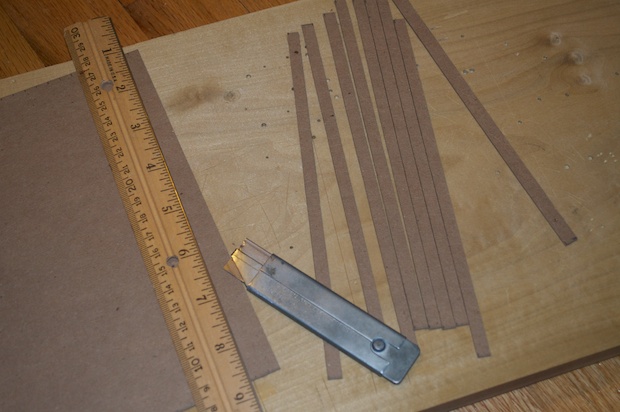
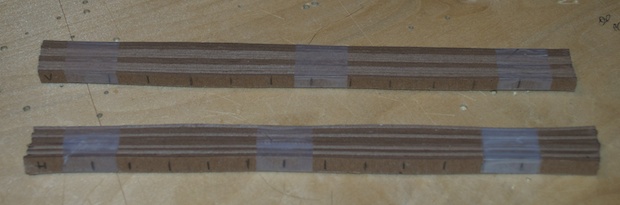
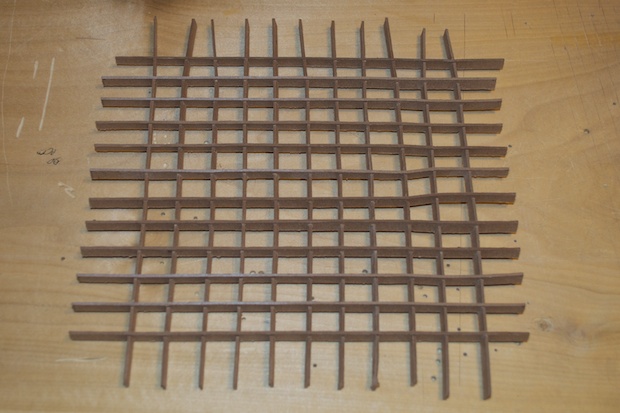
I started by cutting 23 strips of cardboard 8” long by 1/4” wide.
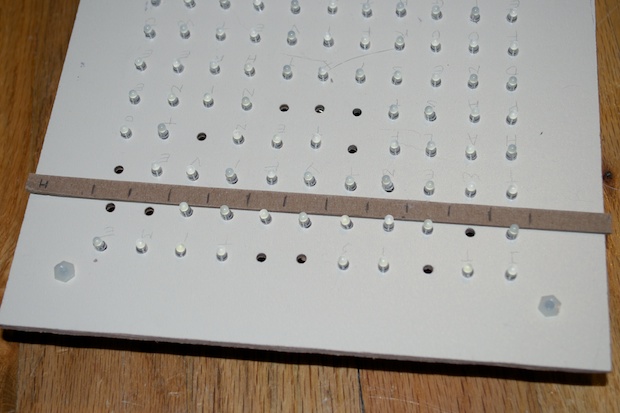
I then laid one horizontal and vertical strip onto the clock’s display to get an idea of the LED spacing. The LEDs are just about 5/8” apart. I marked off each cardboard strip.
I then tightly bound the horizontal and vertical strips together with tape.
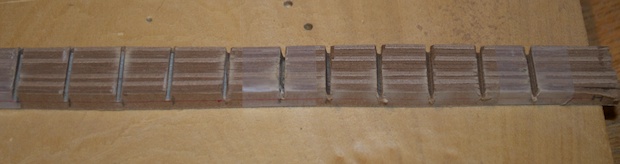
I marked off the tops, and then cut half way down with a Dremel cut-off wheel.
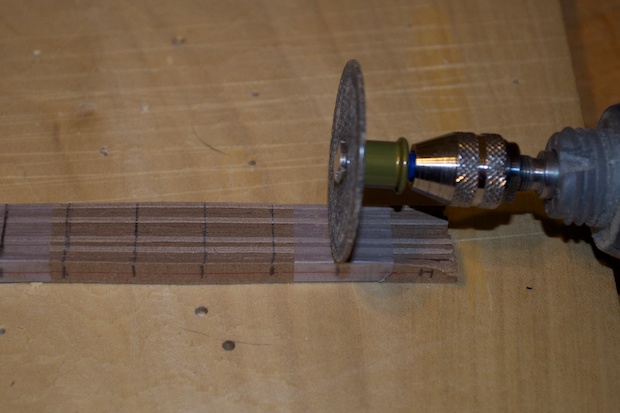
Even though the strips are pretty thin, it’s like a solid block of wood when bound together.
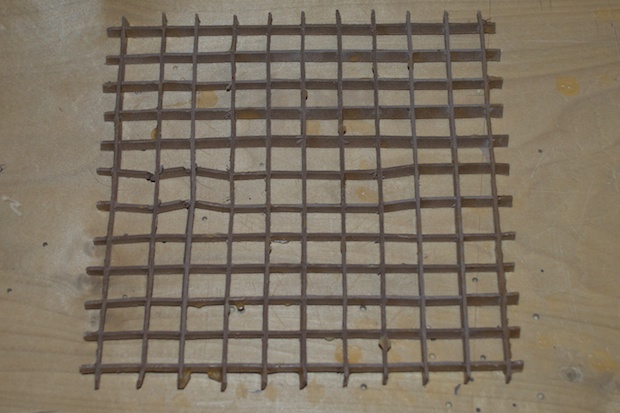
Once the cuts were made, I separated the strips and assembled the baffle.
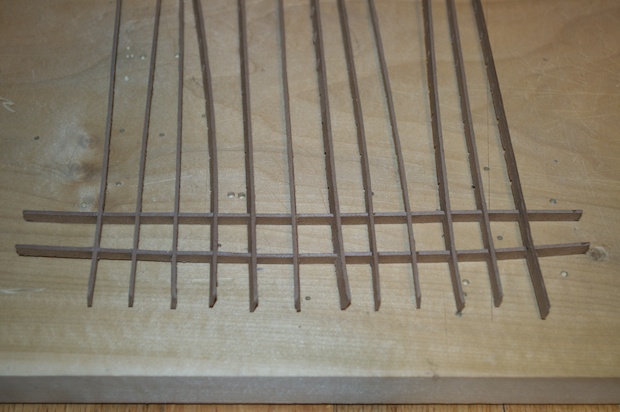
Not too shabby. It’s not perfect, but it’ll do the job.
I trimmed the ends off so that they were nice and even. I then dropped some blobs of glue here and there to help keep the whole thing together. I placed a heavy book over it and let it dry overnight. Some of the cuts were a little off so some sections look a little squirrelly, but it’ll do.
Happy with the results, I glued it down to the clock display with some hot glue. I just need to clean off some of the stringy bits.
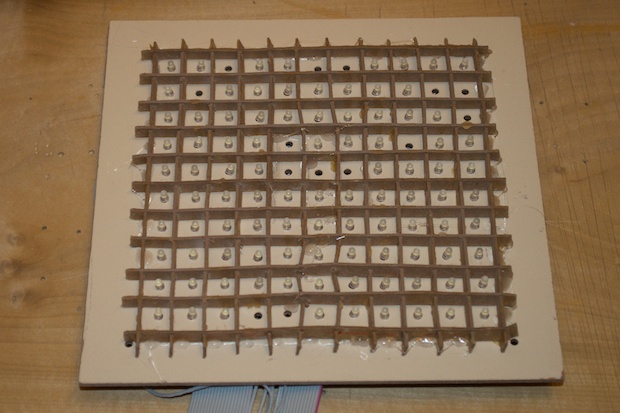
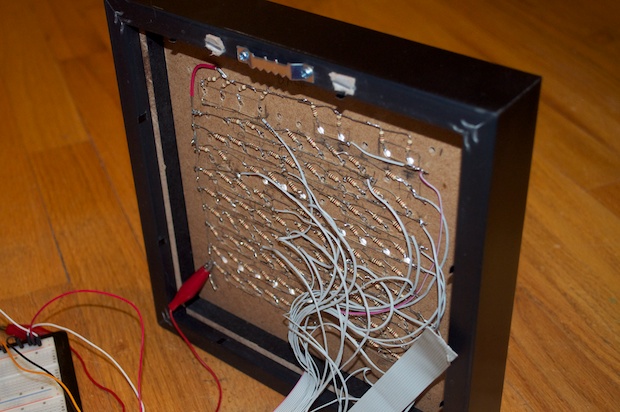
It fits in the enclosure well and leaves enough space for the logic behind it.
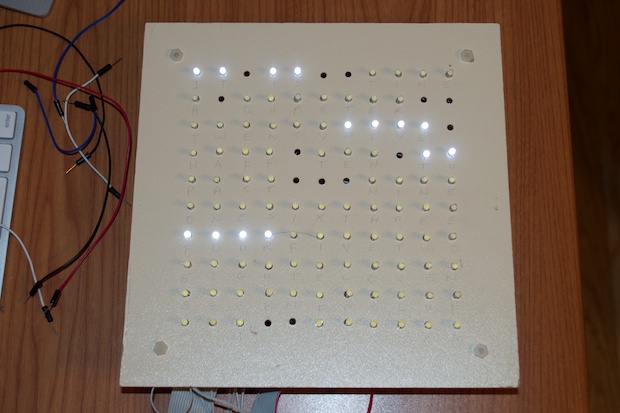
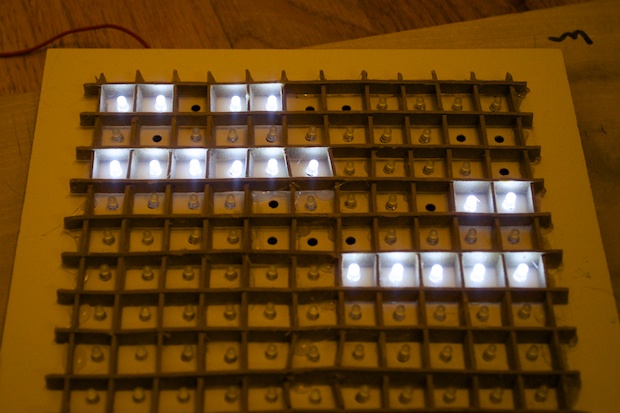
I then connected power to a couple of LED segments to get an idea of how well the baffle contains the light for each word. Looks pretty effective.
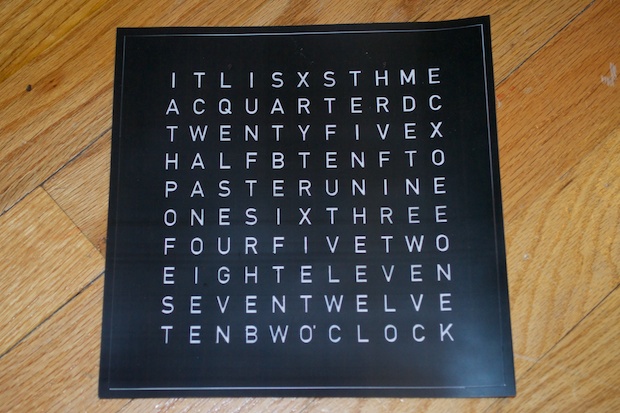
I then printed out my overlay pattern onto a few overhead transparencies.
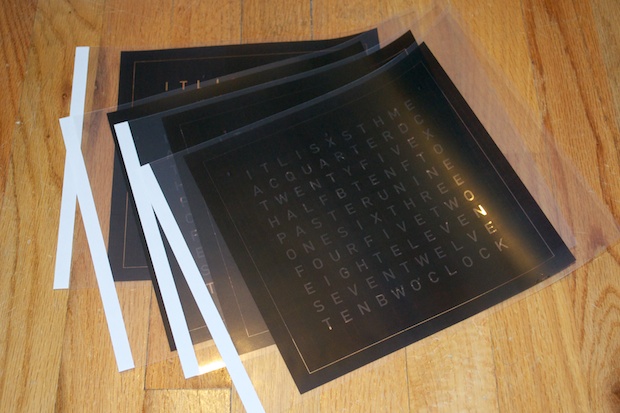
I’ll have to experiment with stacking them on top of each other in order to get a good display. I’ll probably also need to put a white piece of paper underneath it to help diffuse the light. If not, you’ll be able to see the LEDs through the letters.
I first tried one transparency without any paper. As suspected, you can see the LEDS. The transparency is also too thin. You can see all the light within each box. I only want the light to be visible through the letters.
Four transparencies helps thicken the black, but you can still see the LEDs pretty clearly. I definitely need a white peice of paper to diffuse the light.

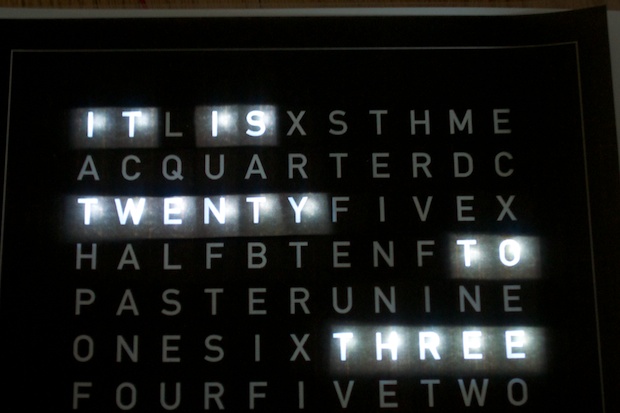
After experimenting further, I decided to print out another overlay onto a sheet of white paper. This helps diffuse the light and thicken the black at the same time. With one overlay printed onto white paper and one onto a transparency, I get this effect:

Not too bad. It looks better in person.
I don’t think I’ll be happy with it until it’s all put together and I can stare at it. I might have to try it out in a few different rooms to see if it’s easy to read with different ambient lighting conditions.
I took my two printouts and glued them together. I taped them to the window so that I could line them up perfectly.
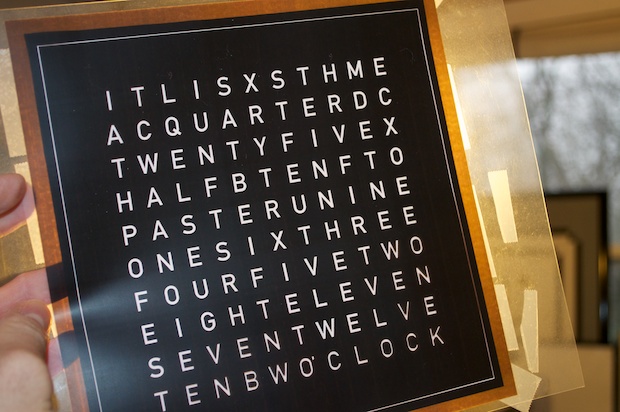
I then cut them to size.
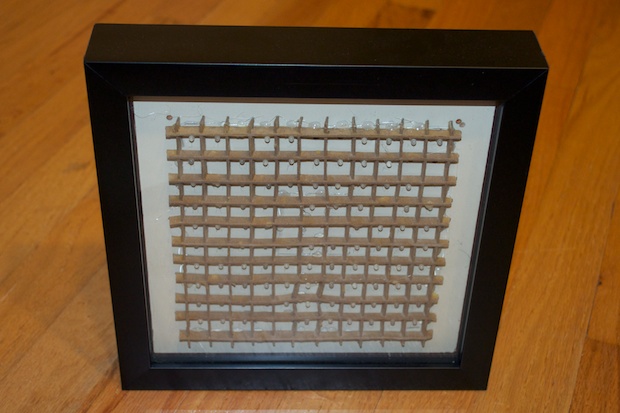
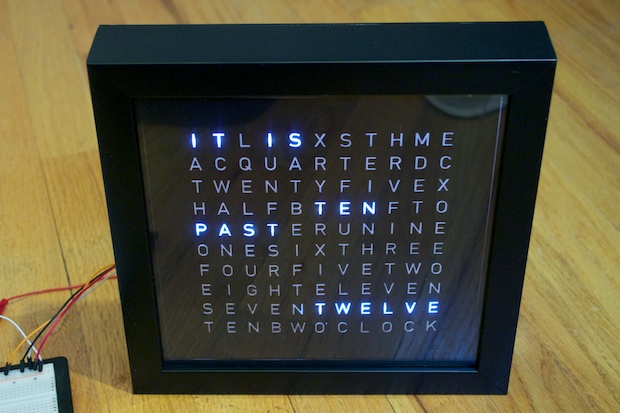
I put the overlay into the frame and followed with the display. I hooked up a few words to have another look at how it will appear in the box.
It’s not bad, but I’m sure I can do better. It might need a few more tweaks before all is said and done.
 See this project from start to finish: Word Clock Testing 200 White LEDs Started the Word Clock Completed The Word Clock PCB
 Finishing the Word Clock Display
Started the Word Clock PCB Build Completed the Word Clock
