I admit it: I'm a total geek. I love electronics, programming, 3D printing, 3D art, and vintage Apple hardware. I'm always juggling half a dozen projects. I also enjoy documenting it all: my successes, my failures, my experiences... and everything geeky along the way.
Flashing a Nixie with an Arduino | Kevin Rye.net - Main
I’m starting to source parts for my nixie tube experiments. I’m in the very early stages of prototyping a nixie clock. My Breakout Boards were a bust, but that’s not stopping me from pushing on with the nixie-tinkering.
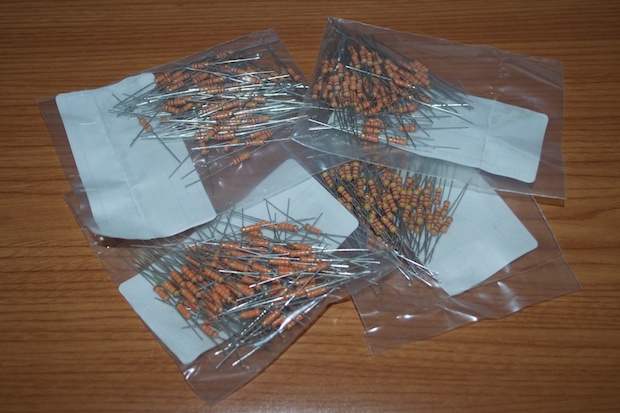
When it comes to resistors, it’s so much cheaper to buy in bulk. It’ll take me a lifetime to use up these 3.3K, 4.7K, 27K, and 33K resistors, but when you buy a bag of 100 from Digi-Key, they’re only 3 cents a piece.
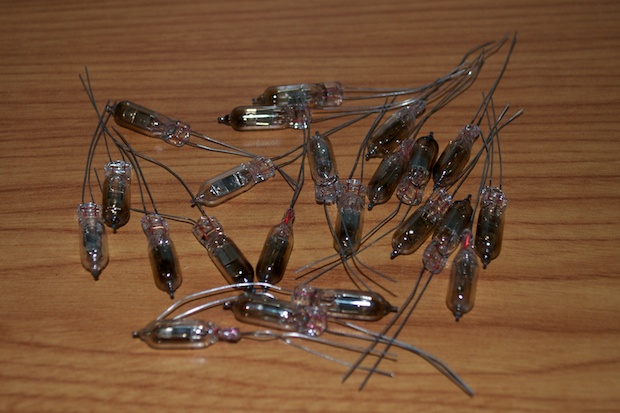
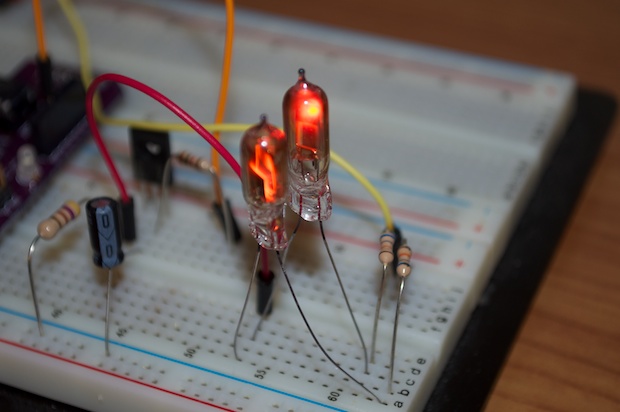
I already have the IN-12s I’ll be using for the clock, I just needed to order some IN-3s to serve as colons. The eBay seller swears these are new-old-stock. I was surprised to see have brown they are. Maybe that’s just what happens to them after a few decades in the box. I looked at a bunch of auctions on eBay. Pretty much all of them being sold as “new” are this brown. So I guess it’s normal.
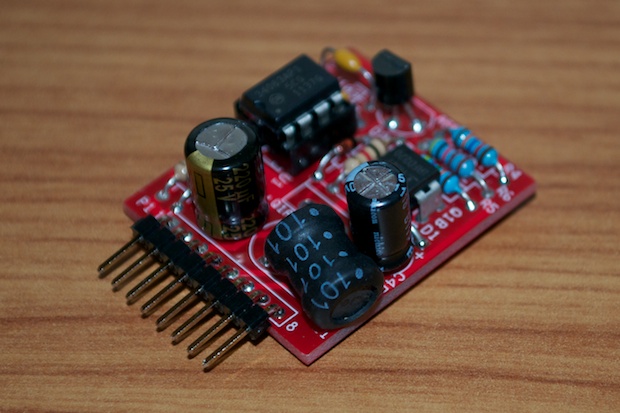
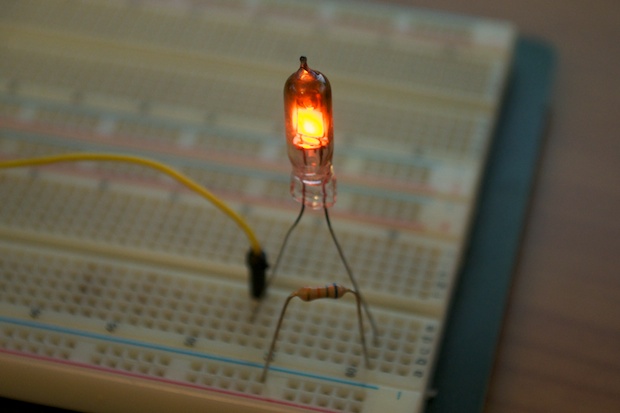
The firing voltage for the IN-3s is 90 volts, so I’ll be using my new nixie tube power supply.
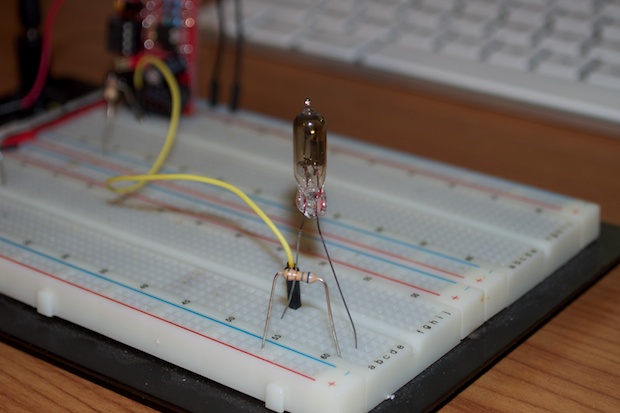
I connected an IN-3 to 170 volts through a 68K resistor and fired it up.
That’s awesome.
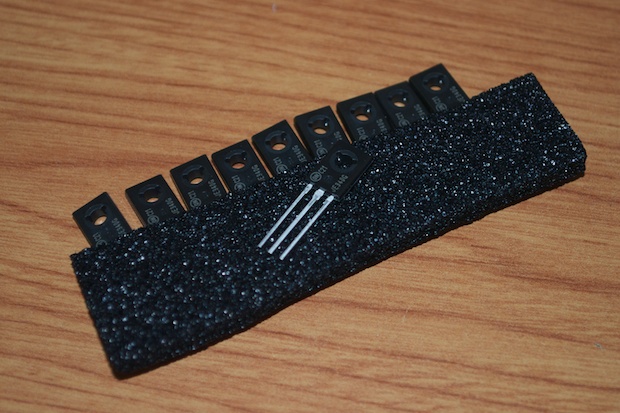
I should be able to use a digital pin on my Arduino to turn on an IN-3 through a transistor, so I picked up some MJE340 power transistors. It’s then just a matter of a few lines of code to make it flash on and off.
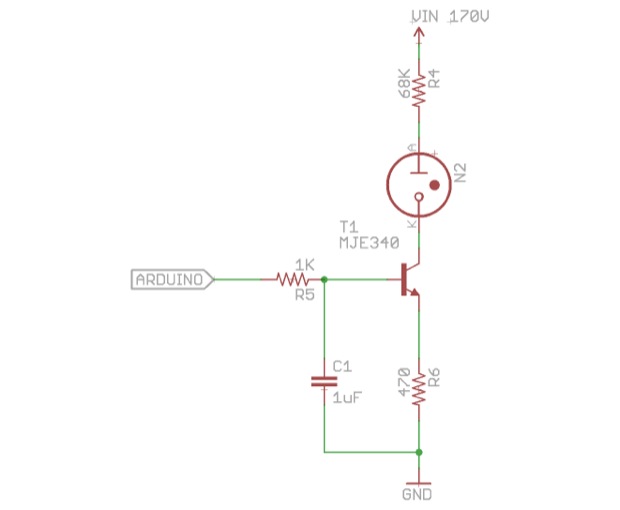
I designed the following schematic using the MJE340.
I didn’t want to run the risk of letting the magical blue smoke out of my Arduino, so I opted to use one of my cheap ATtiny85 breakout boards. I loaded the Blink sketch onto it and connected D3 to the transistor’s base.
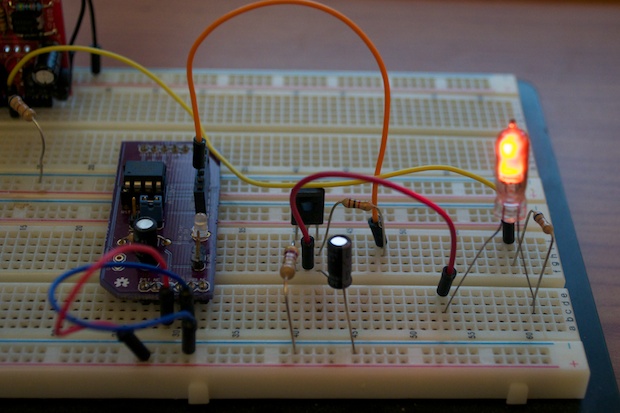
It works like a charm.
One more IN-3 and resistor and I have a blinking colon.
Here’s a video of it in action.
Pretty cool.
I feel like I actually made some progress with nixies today! Now, if only version 2 of my IN-12 Breakout Board would show up!