With the display electronics complete, it was time to move beyond the concept phase and begin the actual prototyping of the 3D-printed frame.
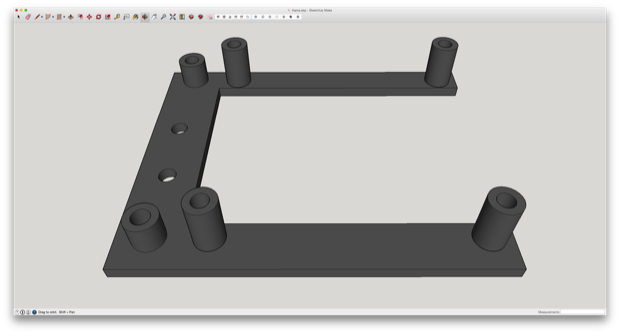
Rather than try and print the entire assembly all at once, I wanted to first work with a small portion in order to make sure I had the standoffs positioned correctly. I also suspected that I'd have to spin a few prints before I nailed the inner diameter of the holes. I wasn’t actually going to attempt to print the standoffs with a 4-40 thread. I just hoped that if I could make the inner holes small enough, a 4-40 screw would tap it on it's own. If I printed it with a medium layer height, the "ridges" formed from each layer might be thick enough to just act as threads.
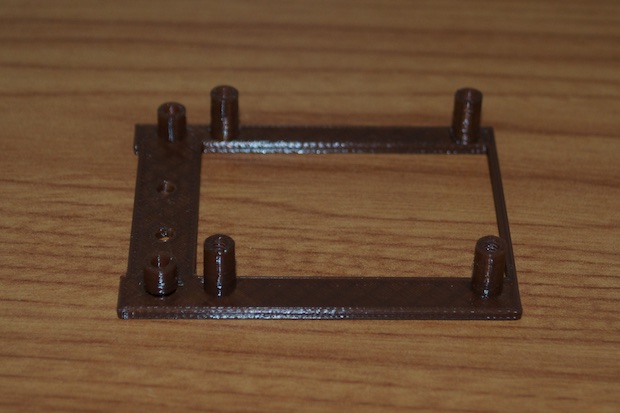
My original concept art was just a rough-cut, but for the most part, the holes and standoffs are the proper size. I just cut away enough of the model to allow the mounting of one 7-segment display PCB and one colon PCB.
I fine-tuned the standoffs, and with the aid of my trusty caliper, determined that an inner diameter of 2.7 mm should be perfect for a 4-40 machine screw.
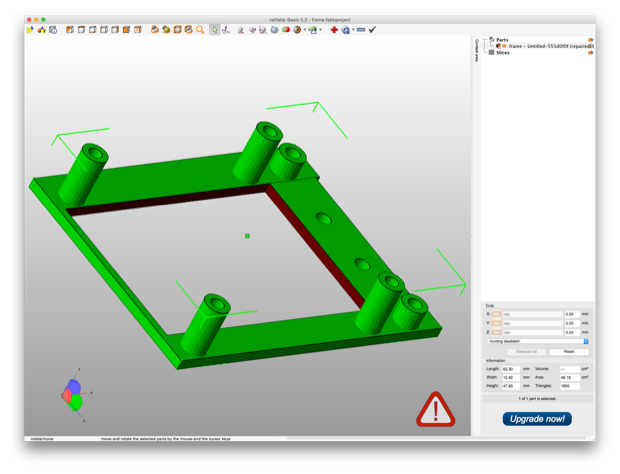
I then exported the model as an .stl and took it into Netfabb to repair the mesh. I didn't know if it needed to be repaired, but rather than attempt a print, have it fail, and have to start over, I opted to just pass it though Netfabb anyway. What's a few more mouse clicks?
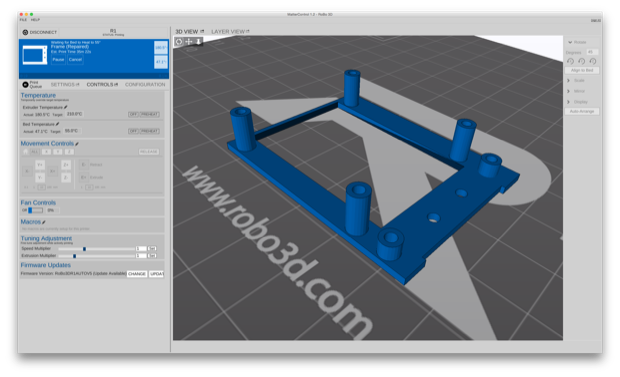
I then exported the .stl file again and took it into MatterControl for printing. So far so good. The slicer engine had no problem cutting it up.
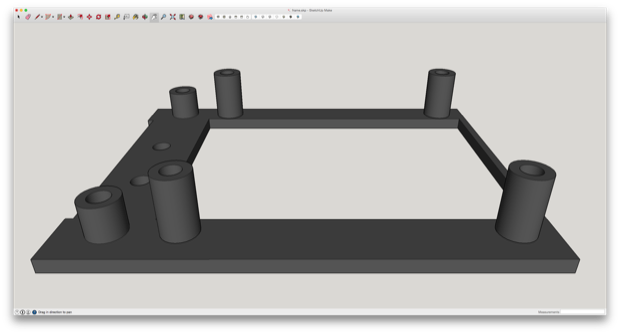
I nailed the inner diameter of the board stands on the first print. The screws go in perfectly. However, the window for the 7-segment LEDs was just a hair too small. You can't fit a 1" peg into a 1" hole, so I had to make it a little bigger and print another one.
It's perfect. I printed it in brown since that was the spool that was already sitting in the printer. For the prototype, it might as well be neon purple. The final version will be black.
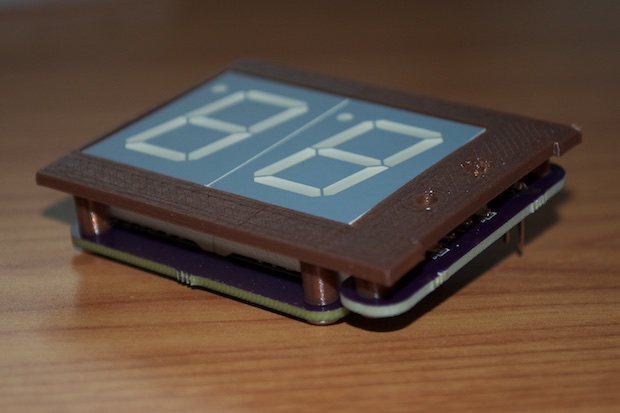
Everything is right on the money. The screws thread in nice and tight without having to bear down on them too much. They're not coming out without breaking the standoffs.
Even though this frame will be sitting behind some red-tinted acrylic, I can't assume that any imperfections or shortcomings in the design will be obscured by it. It has to look as nice as possible. This is why I chose to give the opening in the frame a nice tight fit.
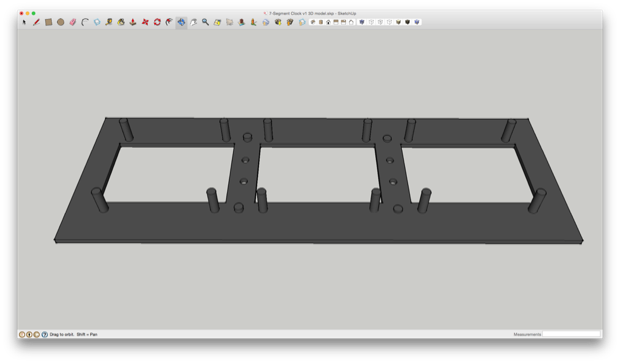
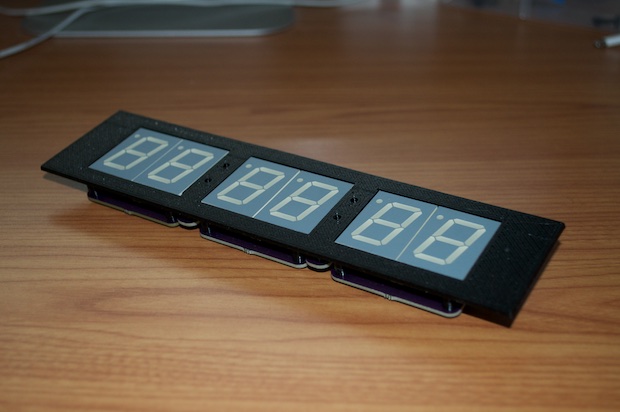
With the design validated, it was time to make the full assembly. I trimmed the initial design and made it so that I could just copy, paste, and align.
I started out by duplicating the piece in triplicate. I then aligned them at the edges.
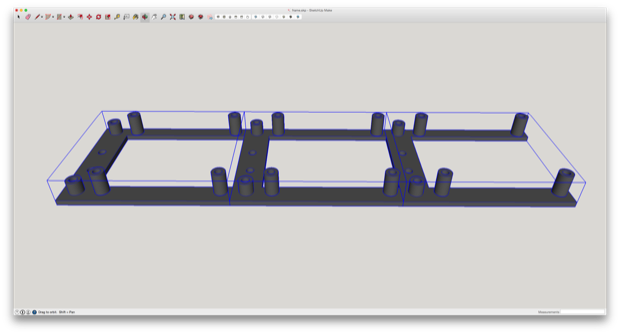
With the 3 pieces aligned, I merged them together, deleted the extra colon holes on the left portion, and extended the edges so that there was a good 20mm length at both ends. This should give me enough material to glue to the inside of the enclosure.

I then exported the model to an .stl file and took it into Netfabb to optimize the mesh.
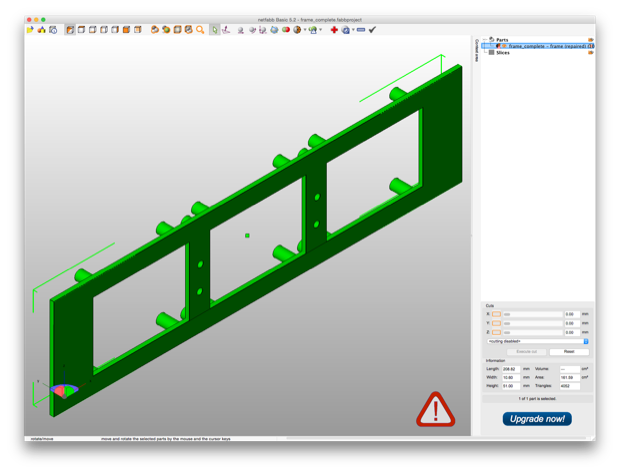
Lastly, I opened it in MatterControl and printed it.
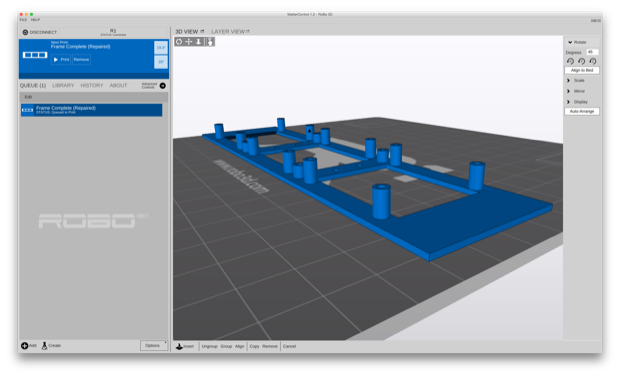
It only took an hour and twenty minutes to print with a .2mm layer height.

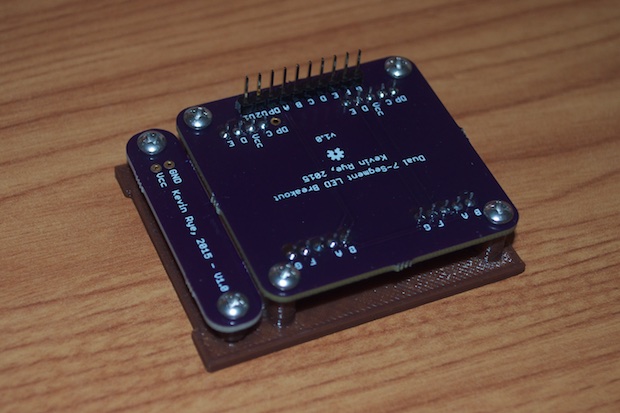
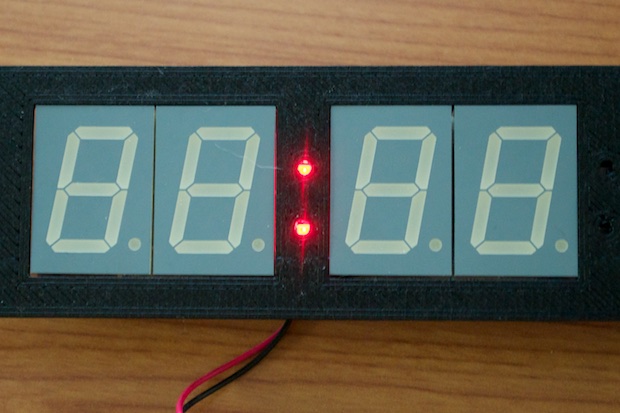
All that remained was to screw everything together. It came out better than I could have anticipated. It still blows me away that I can do this stuff at home!
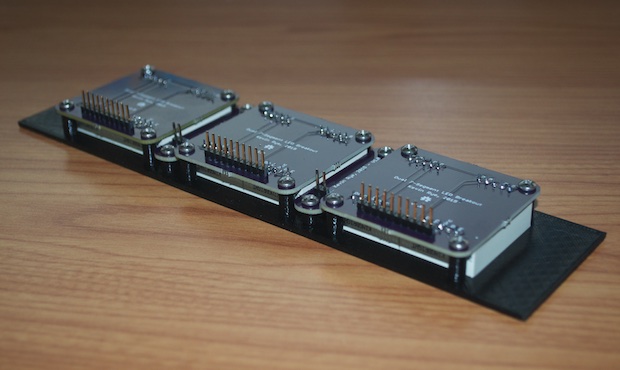
I totally nailed it!
Just for a sanity check, I connected a AA battery pack to one of the colon PCBs to make sure that they were still visible through the holes. Looks good!
I should have the controller PCB in 2 days. I can't wait!
See this project from start to finish:
Large 7-Segment Clock, Part I Large 7-Segment Clock, Part II Large 7-Segment Clock, Part III
Large 7-Segment Clock, Part IV
