Although I was pretty happy with the wooden DIY stands that I made for my
Arduino LCD Clock, I thought they looked a little too homebrew. I was looking for more of a “finished product” kind of look. I imagined something fashioned out of acrylic.
That didn’t work. I threw around the idea of getting some acrylic laser cut, but I didn’t know the first thing about doing it.
After some research, I found
Ponoko. Their process looks pretty easy. You upload a design file, pick your material, and they laser cut it for you. It’s pretty cheap too. The most expensive part about it is the shipping. I did a little more research to see what was involved and thought that I figured it out.
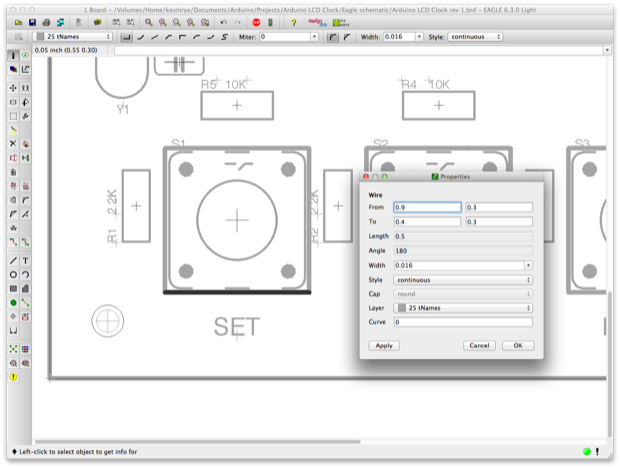
I jumped into Eagle and got all the X,Y coordinates for the front panel, buttons, and LCD locations.
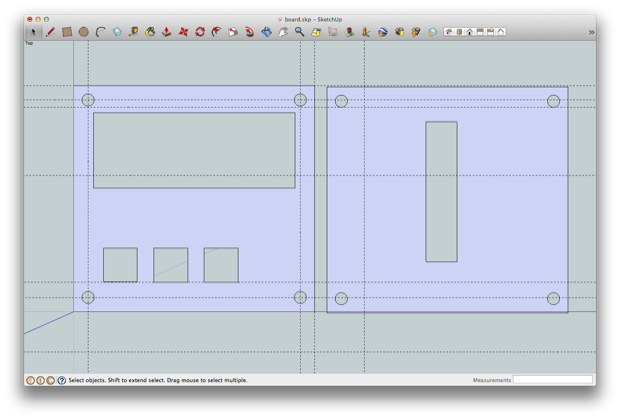
Using SketchUp, I made a 2D model of my design using those X,Y values. So far so good.
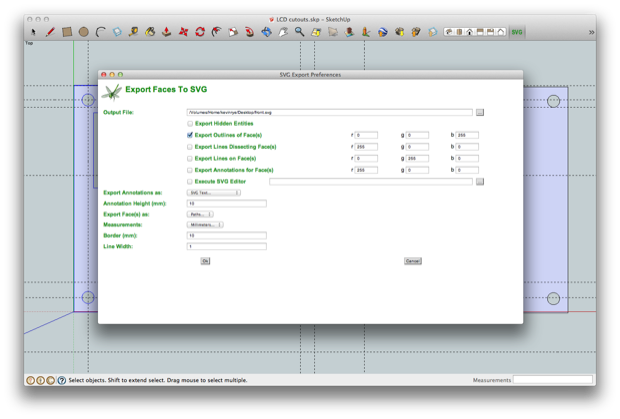
I then exported the models as SVG files. That’s the file format that laser cutters use to figure out what to cut and what to engrave.
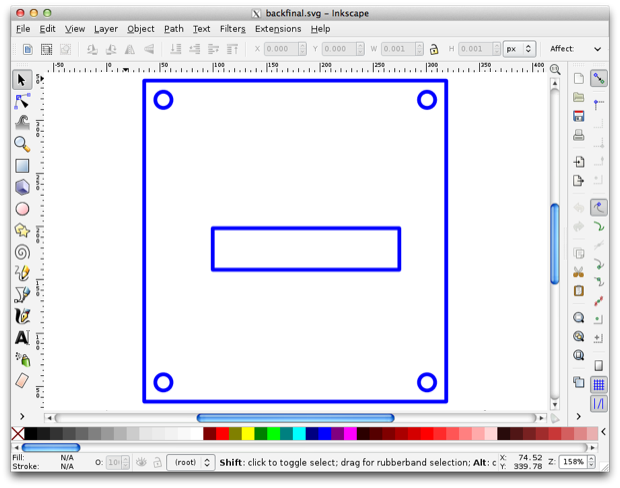
I opened the SVG files using Inkscape. OK, this seems to work.
I then printed them out. I laid out the designs onto my clock and made sure that everything was where it should be.
Everything looked good, so I placed my order.
I placed the order on 4/5. It arrived on 4/25. That’s 20 days! It seemed like an eternity.
Twenty days is a long time to wait to find out you screwed it up.
When you receive your order, you receive the entire 8” x 8” panel you paid for. If I knew that, I would have throw a few more designs on there with varying tolerances to allow for error. Lesson learned.
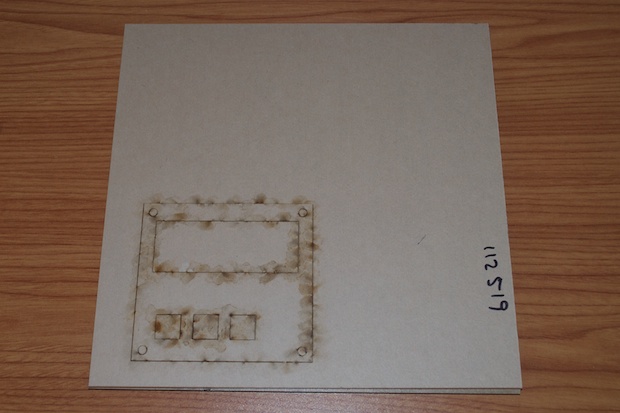
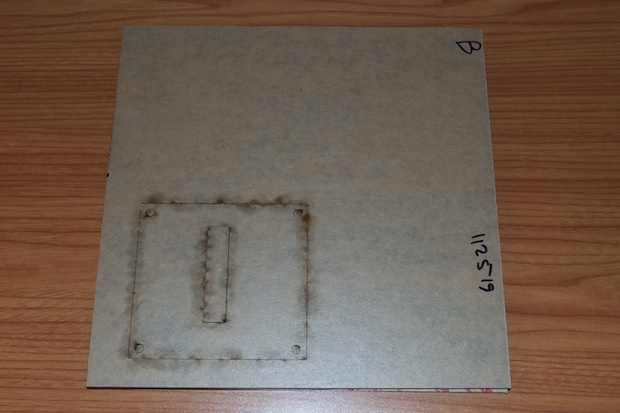
I popped out the front and back panels. They look awesome. I could never in a million years make this on my own. There’s definitely something to be said for custom laser cut acrylic. I think once I “master the art” that’s all I’m going use to house my projects.
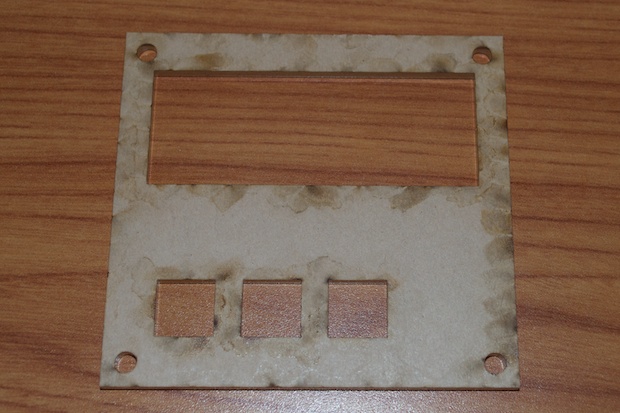
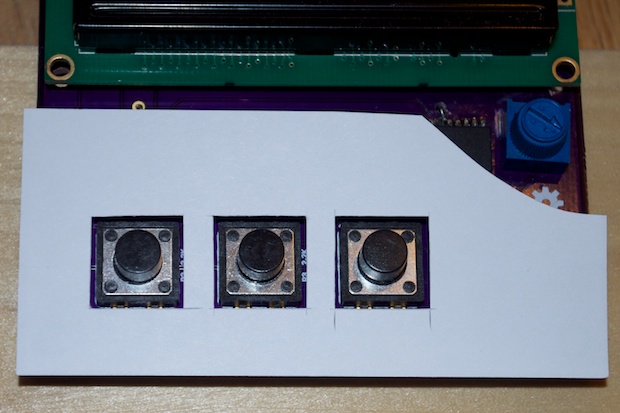
I held the front panel up to my clock and I could immediately tell that I screwed up the design. I don’t see how. I triple checked everything. I even printed it out on paper and it matched up perfectly with my clock. I don’t know if Ponoko screwed it up, or there was some wacky +/- tolerance I didn’t know about.
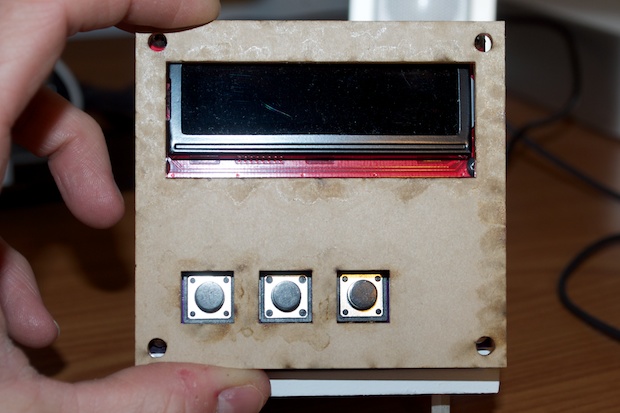
I assembled two clocks. One with a SparkFun display and one with an Adafruit display. I tried both of them with the same results. That front panel just doesn’t fit. Nothing lines up to where it should be. Bummer.
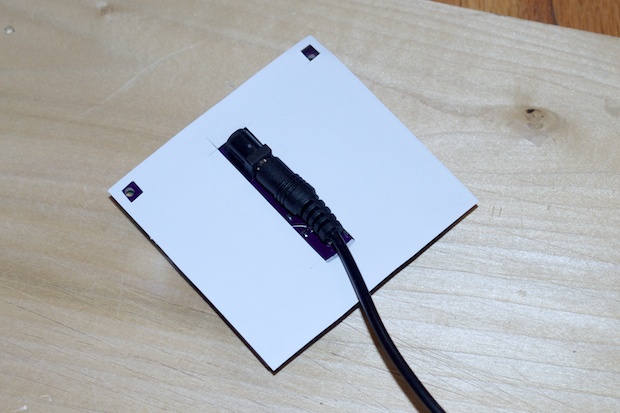
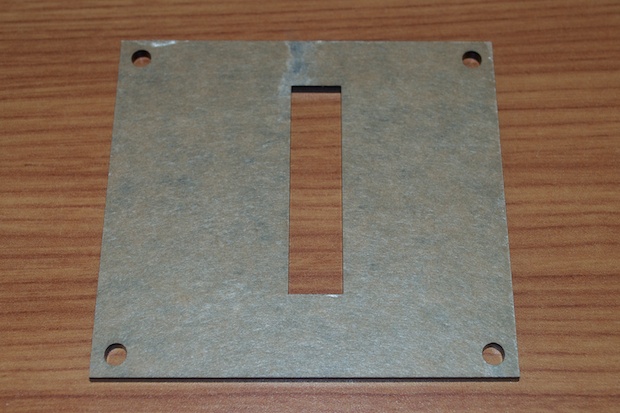
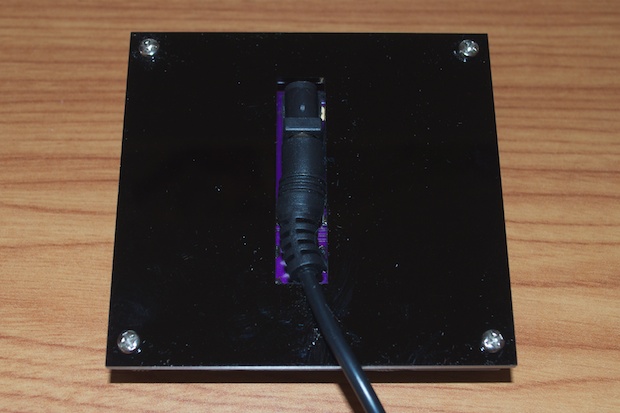
The good news is that the back is OK. I don’t know if that was by accident or not. At least I only have to redo one panel.
I’ll have to redo the front panel and submit another order. It would have been awesome if I nailed the design the first time around. For now, I’ll chalk this one up as a learning experience.
Here’s to another month of waiting………
See this project from start to finish: We Have a Clock Setting the Clock Clock Code is Complete Clock Design Decisions New DS1307 Kit ChronoDot Breakout Board Arduino LCD Clock PCB Complete Making the LCD Clock Stand - Take 1 Arduino LCD Clock PCBs Arrived! Arduino LCD Clock Assembly Making the LCD Clock Stand - Take 2 Another Clock Stand Arduino LCD Clock: New GUI Laser Cut LCD Clock Enclosure: Take 1
Laser Cut LCD Clock Enclosure: Take 2
