The
first attempt at a stand wasn’t that great.
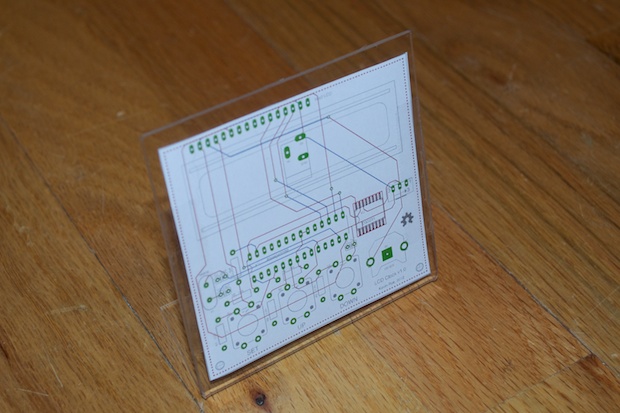
Working with acrylic is tricky. I tried my best to mask the whole thing off with tape, but it’s inevitable that you’re going to get scratches on it at some point with all the drilling and cutting. What I wouldn’t do for a laser cutter! In addition, the acrylic was too light and the whole clock just kept falling forward. I needed to try something a little heavier.
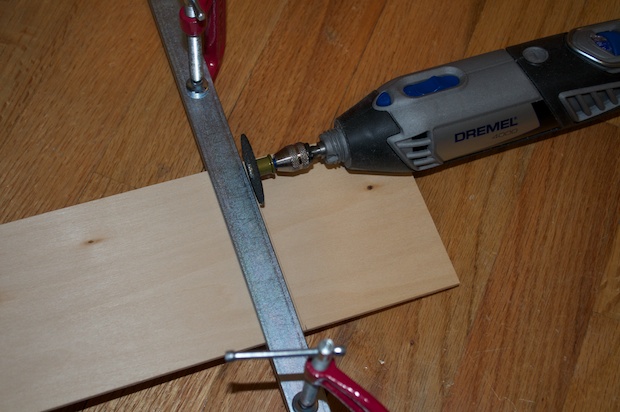
Now that I have a new
Dremel, I decided to have a go at making one out of wood.
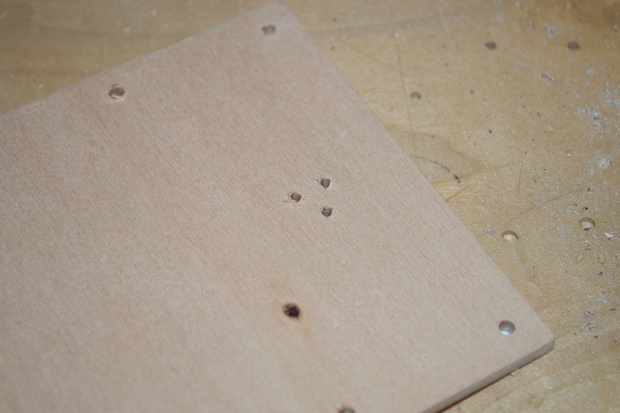
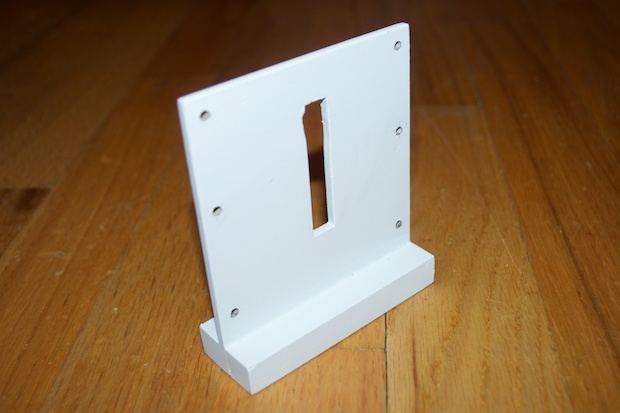
I cut a bass wood board to size to serve as a backboard for the PCB.
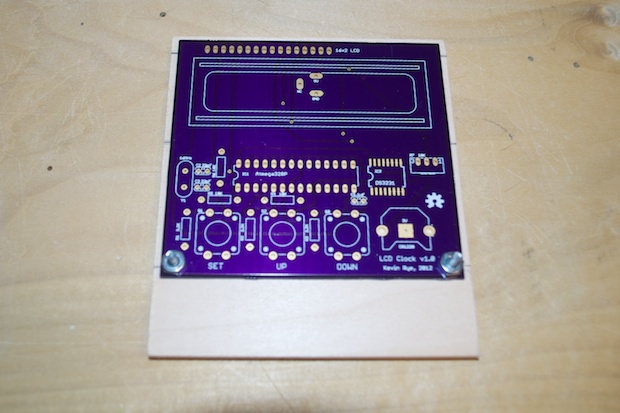
I screwed one of the PCBs to the board in order to hold it into position.
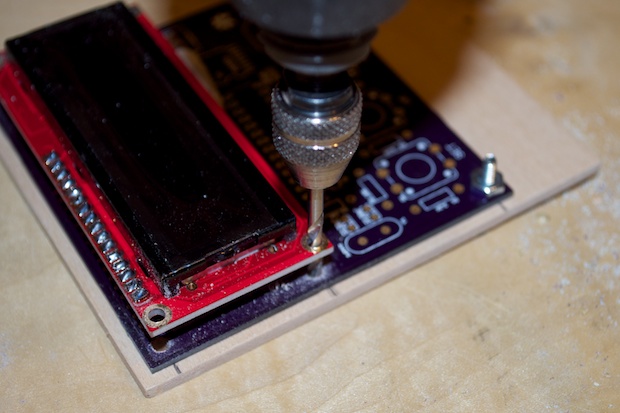
I then used an LCD as a guide for the holes. I drilled right through the PCB and through the wood.
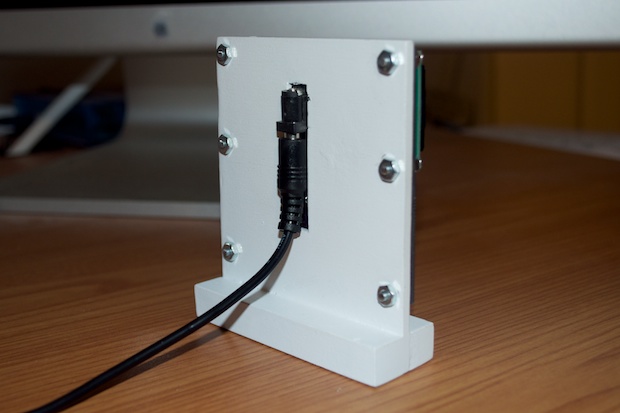
For the power jack, I used a printout.
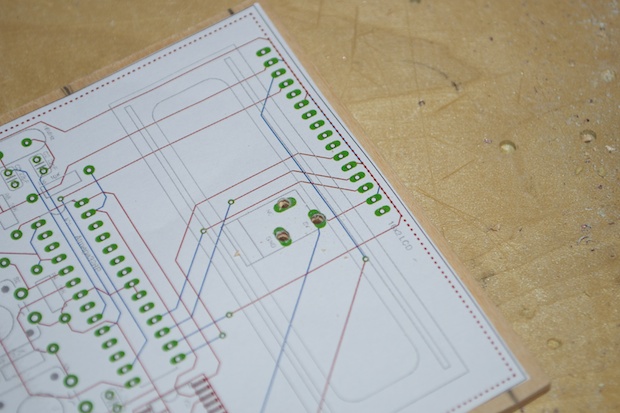
I was able to drill three holes and make sure that the power jack lined up.
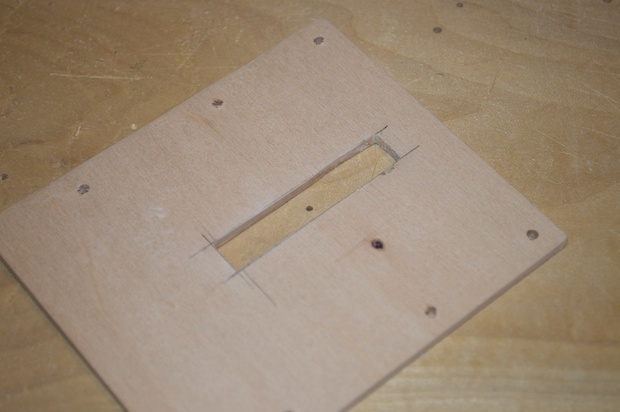
I then drilled out a hole and filed the sides so that they were nice and straight.
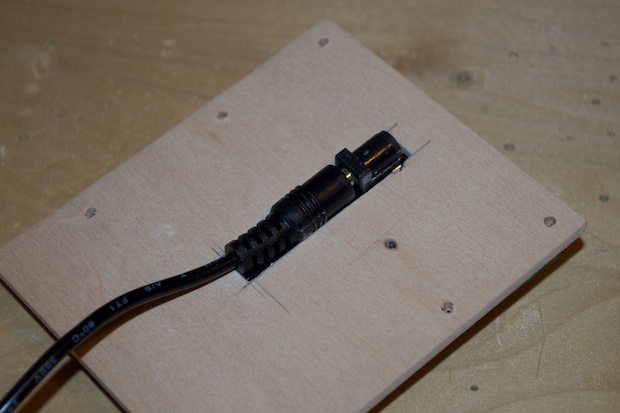
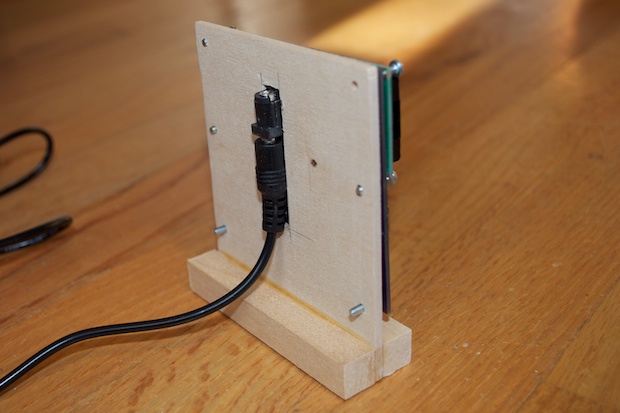
The power jack and cord fit nicely.
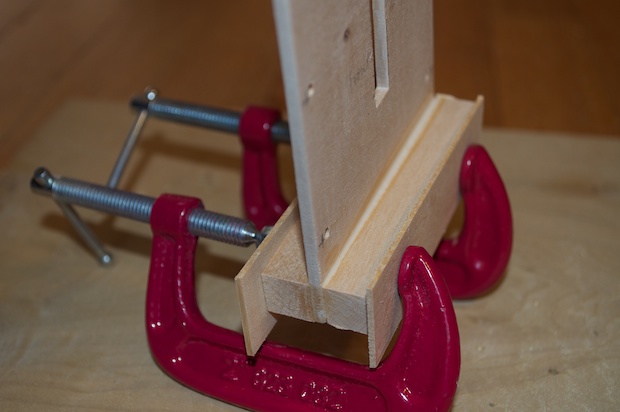
I then cut two pieces of wood and glued them to the front and back to make a base. I held them together while they dried with a set of clamps.
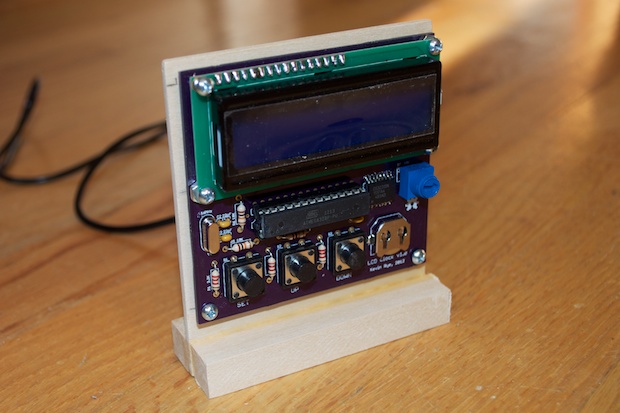
Once it was dry I attached the clock to the stand to make sure that it didn’t tip over.
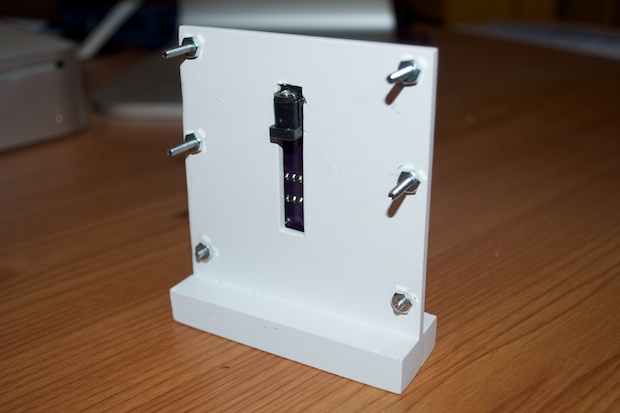
I knew I should have bought 1” screws. I though 1/2” ones would do the trick, but they are just a little bit too short. There’s no way to attach a nut. I’ll have to pick up some 1” screws and trim then down if need be.
In any case, it looks like the stand will do the job. It’s not tipping over. Time to give it a paint job.
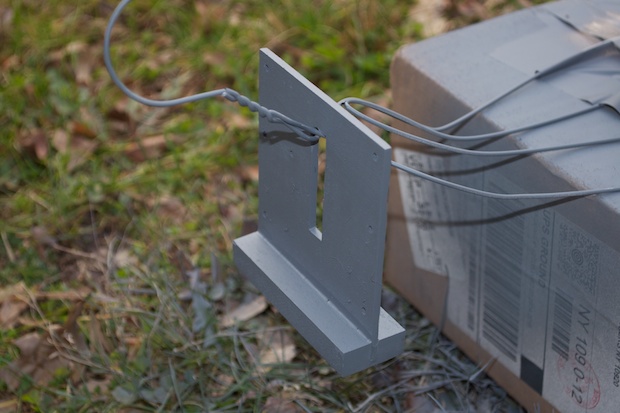
I made a makeshift painting rig out of a box and a hanger and gave the stand a few coats of primer.
Once I was happy with the way it looked, I gave it a light sanding and a few coats of white.
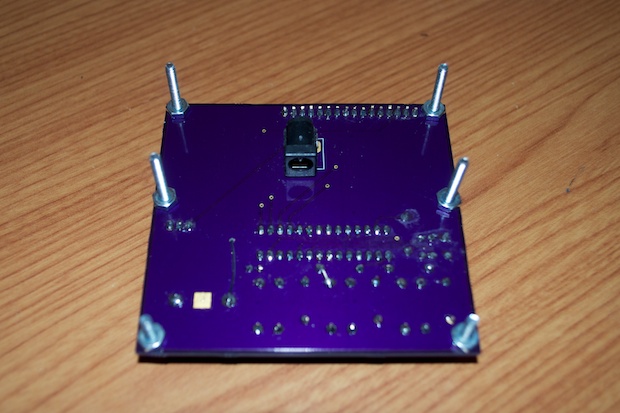
I put the screws through the PCB holes and put nuts on the backs. This ensures that the PCB sits evenly against the stand.
I then slid the screws through the holes on the stand and secured them with nuts.
I then trimmed the excess off with my Dremel.
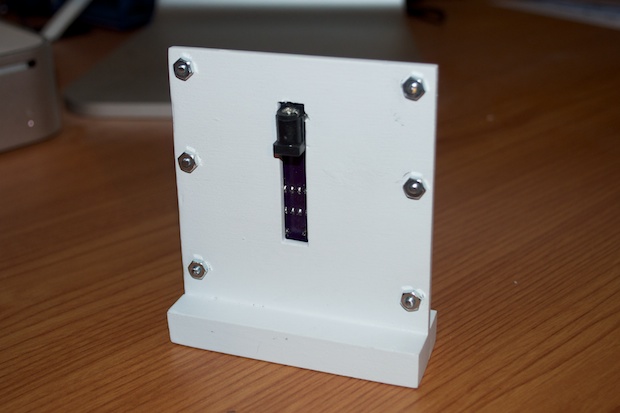
Plugged it in...
…and admired my finished clock!
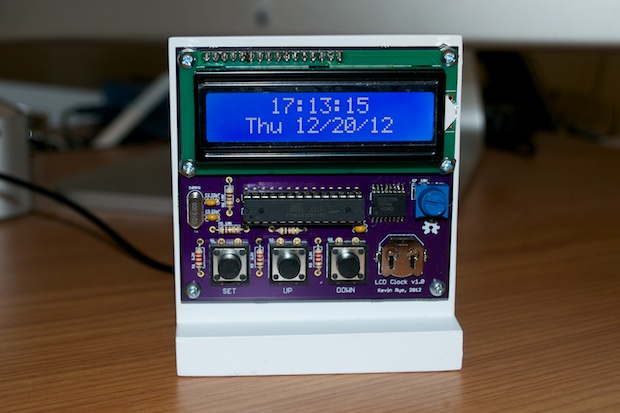
A job well done if I don’t mind saying so myself! I’m very happy with the way this clock turned out.
See this project from start to finish: We Have a Clock Setting the Clock Clock Code is Complete Clock Design Decisions New DS1307 Kit ChronoDot Breakout Board Arduino LCD Clock PCB Complete Making the LCD Clock Stand - Take 1 Arduino LCD Clock PCBs Arrived! Arduino LCD Clock Assembly Making the LCD Clock Stand - Take 2
Another Clock Stand Arduino LCD Clock: New GUI Laser Cut LCD Clock Enclosure: Take 1 Laser Cut LCD Clock Enclosure: Take 2
