I admit it: I'm a total geek. I love electronics, programming, 3D printing, 3D art, and vintage Apple hardware. I'm always juggling half a dozen projects. I also enjoy documenting it all: my successes, my failures, my experiences... and everything geeky along the way.
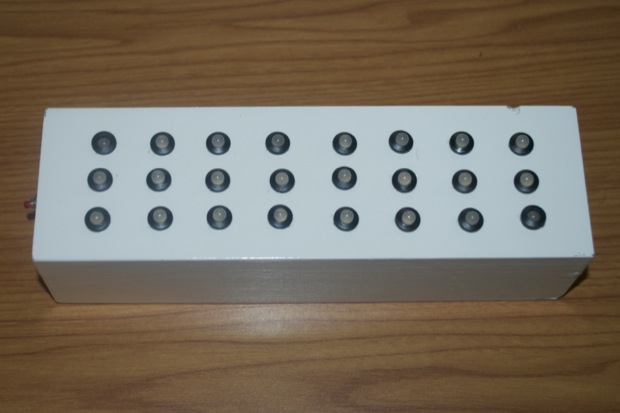
It’s only been 8 months since I put together the RGB Nightlight for the kids, and already it’s on the way out. Kids: they’ll break your stuff.
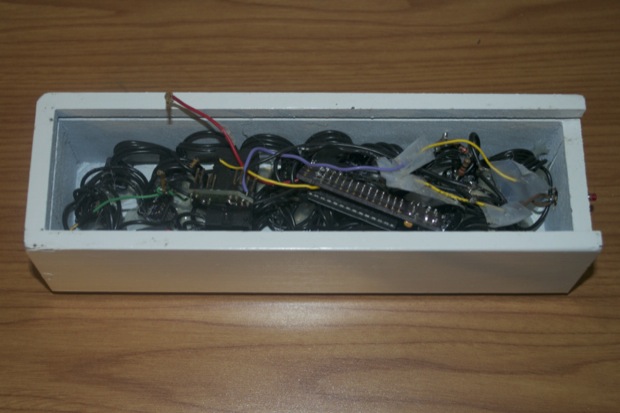
They’ve dropped it and knocked it over more times that I can count. The switch broke off. I had to jimmy-rig another one in. A few of the wires inside broke off too and I had to solder them back in. One of the main problems with the night light was that there were too many wires crammed into such a tiny little box. Needless to say, some of the wires inside would touch every now and then and short the whole thing out. I put some tape on the offending connections and it seemed to do the trick, but it’s ugly.
I really liked the way that the Tesseract came out. It was supposed to be the Night Light 2.0, but after some research it became apparent that blue LEDs mess with your sleep patterns. Blue LEDs aren’t exactly the ideal thing for a kid’s night light.
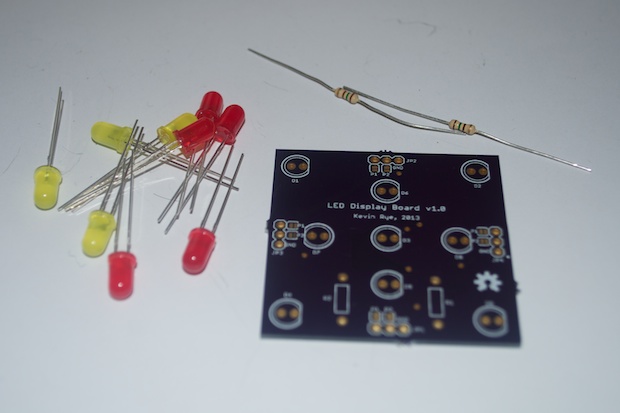
I had ordered 6 PCBs for the Tesseract, but only used 5. I had one left over. It would be a shame to leave it sitting in a drawer, so I figured I’d use it for the Night Light 2.0. I thought something with a mix of red, yellow, and orange would look like some kind of fire thing. I have a few assorted 3mm and 5mm red and yellow LEDs that I've pulled from various things over the years, but I figured it would look that much nicer if I just ordered a set of all-new LEDs for it.
I hopped on SparkFun and ordered a few new red and yellow LEDs. I have resistors coming out of my ears, so I was all set to go.
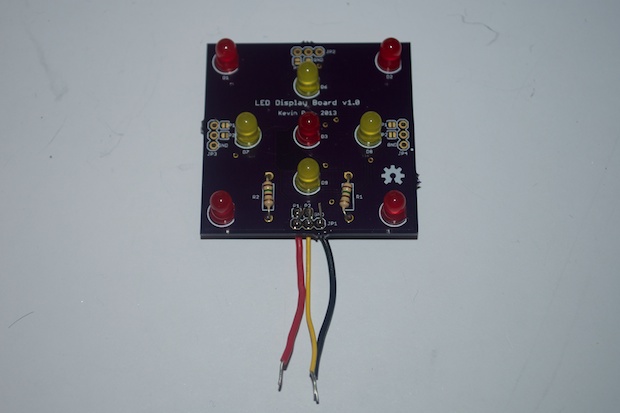
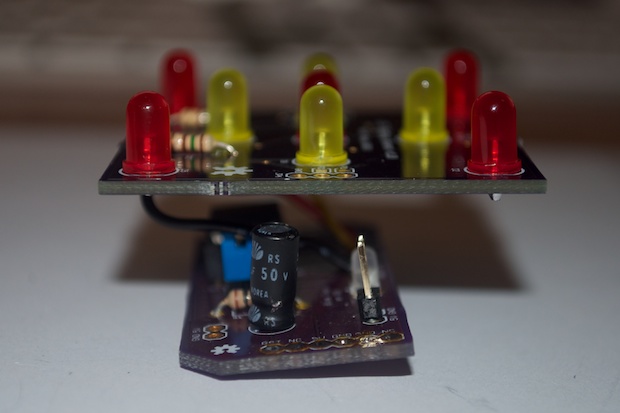
Putting it together was a snap.
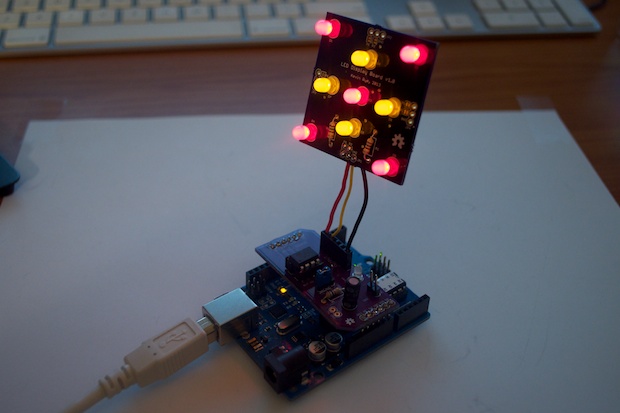
Since I'm only using 2 PWM channels, I decided to keep things simple (read: cheap) and use one of my ATtiny85 shields; no need to use up a Bare Bones Arduino 3 PCB. I connected it to the header and loaded a test sketch.
Works like a charm with the ATtiny’s two PWM channels.
The LED animations on this one aren’t going to be as elaborate as the Tesseract. I basically just want the LEDs to pulse in and out. Jeremy Saglimbeni from thecustomgeek.com, has some nice code for making LEDs “breath”. I modified his code to accommodate my two different colors.
int red = 0;
int yellow = 1;
int i = 0;

void setup() {

  pinMode(red, OUTPUT);
  pinMode(yellow, OUTPUT);

}

void loop() {
  //red up
  for(i = 10 ; i <= 255; i+=1)
  {
    analogWrite(red, i);
    if (i > 150) {
      delay(4);
    }
    if ((i > 125) && (i < 151)) {
      delay(5);
    }
    if (( i > 100) && (i < 126)) {
      delay(7);
    }
    if (( i > 75) && (i < 101)) {
      delay(10);
    }
    if (( i > 50) && (i < 76)) {
      delay(14);
    }
    if (( i > 25) && (i < 51)) {
      delay(18);
    }
    if (( i > 1) && (i < 26)) {
      delay(19);
    }
  }

  //yellow up
  for(i = 0 ; i <= 255; i+=2)
  {
    analogWrite(yellow, i);
    if (i > 150) {
      delay(8);
    }
    if ((i > 125) && (i < 151)) {
      delay(10);
    }
    if (( i > 100) && (i < 126)) {
      delay(14);
    }
    if (( i > 75) && (i < 101)) {
      delay(20);
    }
    if (( i > 50) && (i < 76)) {
      delay(28);
    }
    if (( i > 25) && (i < 51)) {
      delay(36);
    }
    if (( i > 1) && (i < 26)) {
      delay(38);
    }
  }

  //yellow down
  for(i = 255; i >=0; i-=2)
  {
    analogWrite(yellow, i);
    if (i > 150) {
      delay(8);
    }
    if ((i > 125) && (i < 151)) {
      delay(10);
    }
    if (( i > 100) && (i < 126)) {
      delay(14);
    }
    if (( i > 75) && (i < 101)) {
      delay(20);
    }
    if (( i > 50) && (i < 76)) {
      delay(28);
    }
    if (( i > 25) && (i < 51)) {
      delay(36);
    }
    if (( i > 1) && (i < 26)) {
      delay(38);
    }
  }

  //red down
  for(i = 255; i >=10; i-=1)
  {
    analogWrite(red, i);
    if (i > 150) {
      delay(4);
    }
    if ((i > 125) && (i < 151)) {
      delay(5);
    }
    if (( i > 100) && (i < 126)) {
      delay(7);
    }
    if (( i > 75) && (i < 101)) {
      delay(10);
    }
    if (( i > 50) && (i < 76)) {
      delay(14);
    }
    if (( i > 25) && (i < 51)) {
      delay(18);
    }
    if (( i > 1) && (i < 26)) {
      delay(19);
    }
  }
  delay(1000);
}
I haven’t decided what I’m doing about an enclosure yet, but I removed all the headers from the ATtiny Programming Shield just to make the internals as small as possible. I also soldered the 3 wires from the LED Display Board directly to it.
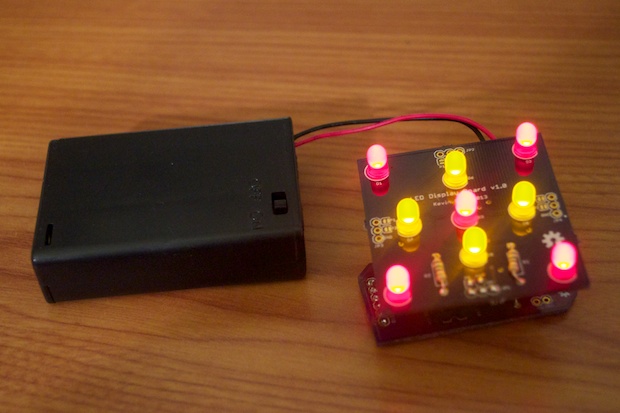
I then connected a battery pack.
I placed it under a white bucket just to see how it looks with a little diffusion. It’s pretty cool
Now I just need to find something to put it in. I really wanted to try out some 3D printing stuff, but it’s just way to expensive. I threw together a quick model and uploaded it to Ponoko. They wanted something like $30 bucks for a 2x2x2 cube. Insanity. It’s only a matter of time before I buy my own 3D printer and juts do it myself. I think I’ll stick with laser cut acrylic for now.
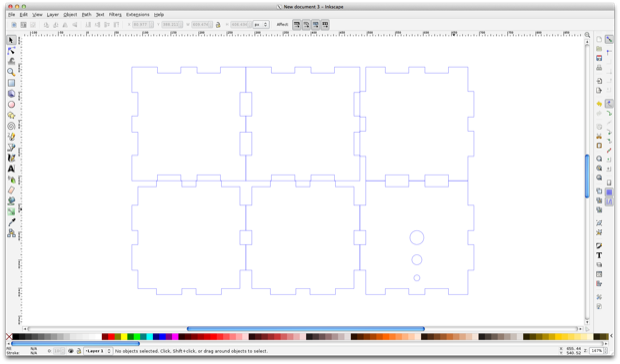
I jumped into Inkscape and designed a 2” x 2” x 2” enclosure that should be easily to put together.
I uploaded it to Ponoko to be laser cut out of white acrylic. It’ll only cost $7.13 for the materials and cutting.