I admit it: I'm a total geek. I love electronics, programming, 3D printing, 3D art, and vintage Apple hardware. I'm always juggling half a dozen projects. I also enjoy documenting it all: my successes, my failures, my experiences... and everything geeky along the way.
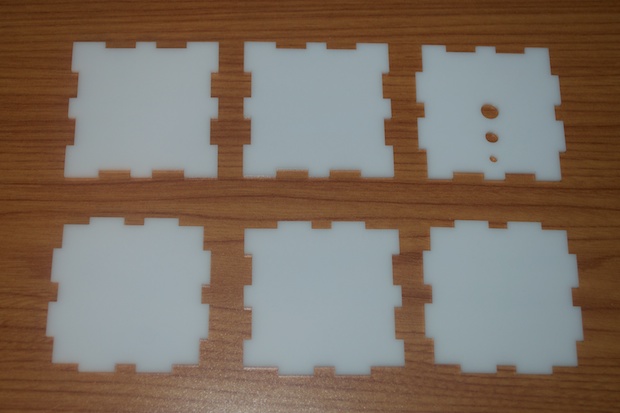
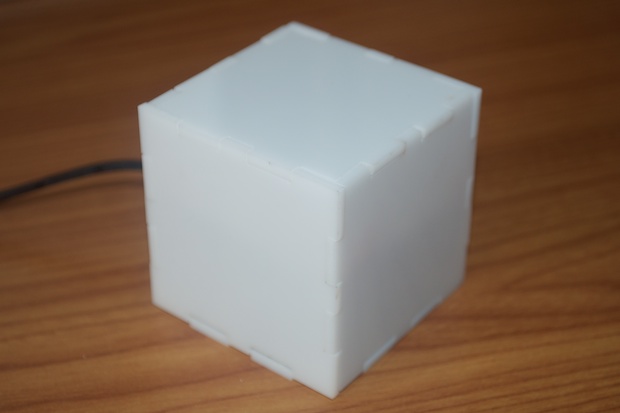
I finally received the laser-cut acrylic for the 2” x 2” box I designed for the Night Light 2.0.
I’ve never been a big fan of these notched cases, but I wanted this to be a quick-and-dirty-just-get-it-done-kind-of-thing. I found a website that will generate a template for you based on the size you specify.
I guess the tolerancing was a little off. Maybe I had my line thickness a little too thin, because the notches are the same size as the slots. It’s like trying to stick a 1” peg into a 1” inch hole. Anyone with any experience with GD&T will tell you that it’s just not going to happen. I don’t know if I screwed it up, if it was the website, or if it’s just the way that Ponoko cut it. Needless to say, I had to take my Dremel to the tabs and give them all a little trim in order to make it fit together. I’m really not happy with the way it looks, but I’m going to use it anyway just to be done with this project.
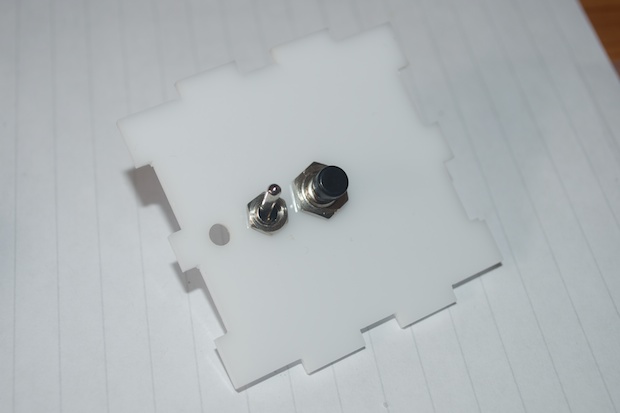
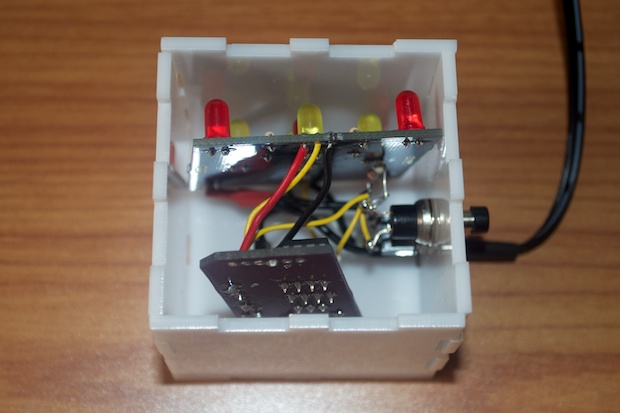
I installed my switch and mode select button...
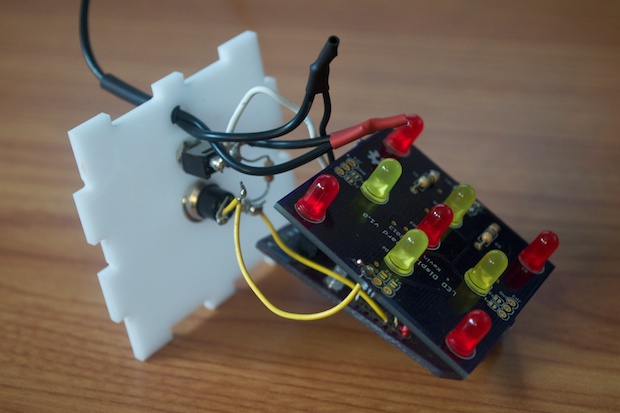
...and then soldered all the electronics together.
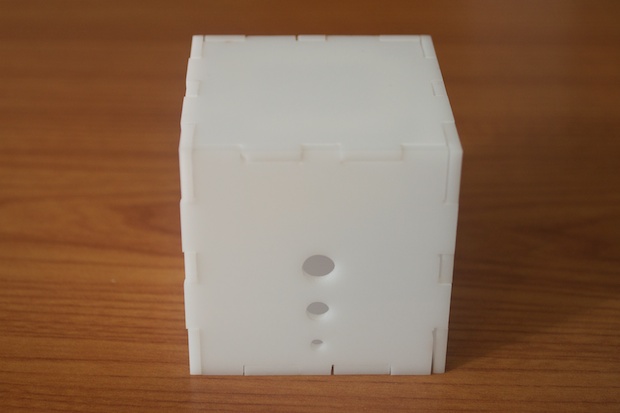
The one thing I got right was the size of the box. 2” x 2” was just big enough to house the LED display board and my ATtiny breakout.
And there it is. Definitely not my best work, but it’ll do. I just wanted to use up that last PCB left over from the Tesseract build. I guess it was better to use the PCB for something rather than have it sitting in a parts drawer.
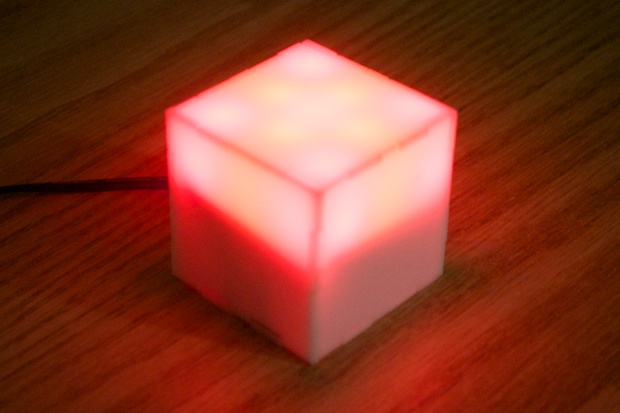
I imagined the entire cube being lit up, but seeing as the LED board is sitting on top of the ATtiny breakout, only the top half of the cube is illuminated. Not exactly what I had envisioned, but it does give off a nice swirly red and yellow glow. The pictures don’t do it justice.
Maybe a little video then?
Regular Mode:
You can really see the PWM flicker due to the speed of the camera, but in reality it’s nice and smooth.
Alternate Mode:
The original plan was to have alternate display modes that could be triggered with the press of the mode button on the back, but I didn’t bother putting anything in beyond that of a simple flash test. Like I said, I just want to wrap this one up.