Printing with
colorFabb's woodfill PLA is much easier than I anticipated. I've read several posts online that highlight the increased difficulties in printing with this newer material. I've also read that colorFabb's woodfill jams up printers less than the rest. In my case, I never had a single jam. The material extruded perfectly at 210 degrees and adhered to my print bed at 50 degrees on blue tape.
However, I'm not taking any chances. I clear the nozzle after each print by pushing a few inches of regular PLA through the extruder. They say not to let the woodfill cool off in the nozzle, or it'll get stuck. I don't know if it's true, but I'm not about to test that theory.

In addition to the woodfill PLA, I also picked up some red mahogany stain. Let's see if the reports are true that you can stain woodfill PLA just like wood.

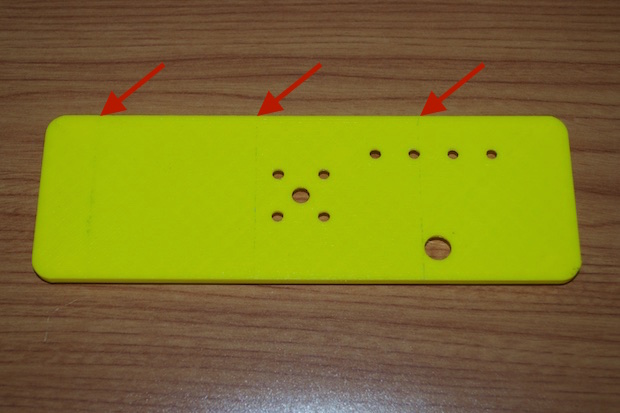
If you look at the previous test print for the back cover, you can see lines running across the part. That's where the strips of blue painter's tape laid side-by-side on the print bed. I thought about sanding it on the final print, but I didn't want to run the risk of blurring the lines. I think the lines will help the material look like wood gain. Plus, too much sanding and I might run the risk of exposing the infill material a few layers down. If I try and stain the parts without removing the lines, they are going to be even more visible.
In order to avoid lines on the part, I had to use a wider tape. I ran back down to the hardware store and picked up some 2.88" tape. It's the widest they had. I basically just eyeballed the middle of the print bed and crossed my fingers. Nailed it. The whole part fits on the tape.
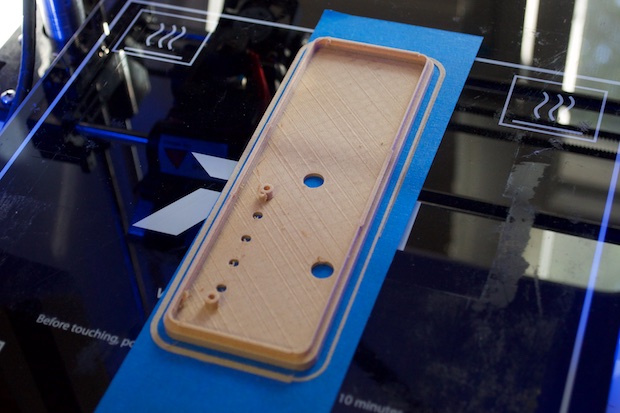
It came out great. It is a little softer than I'd like. It seems kind of fragile. Maybe I should have increased the infill. Maybe it'll firm up as it cools.
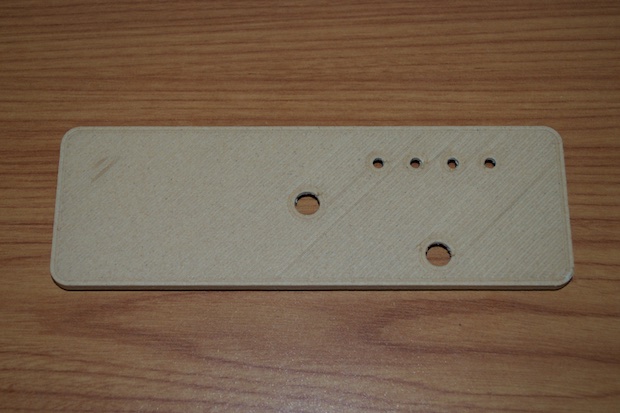
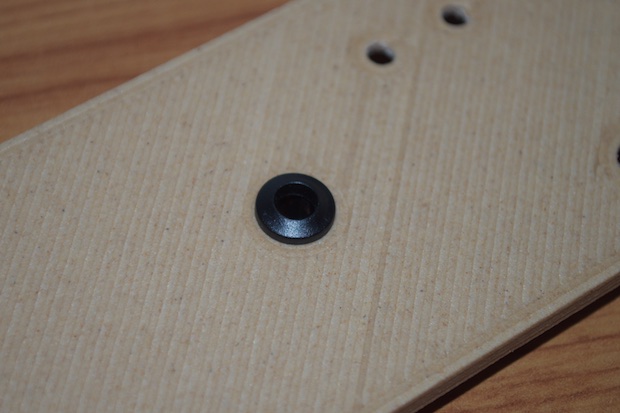
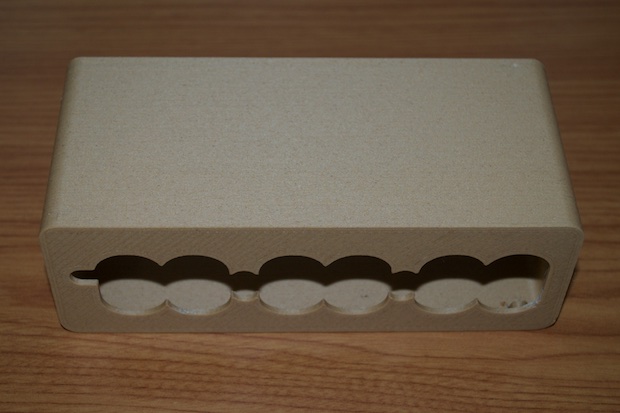
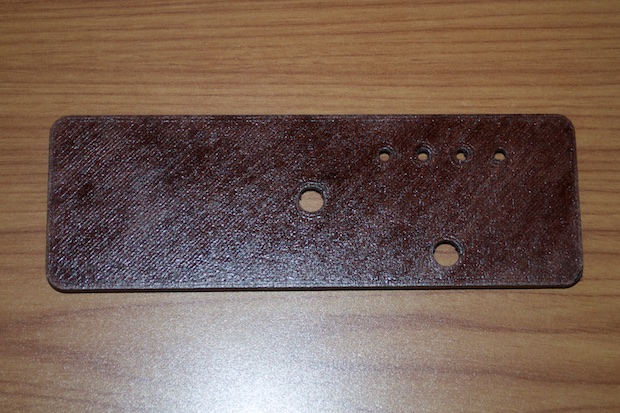
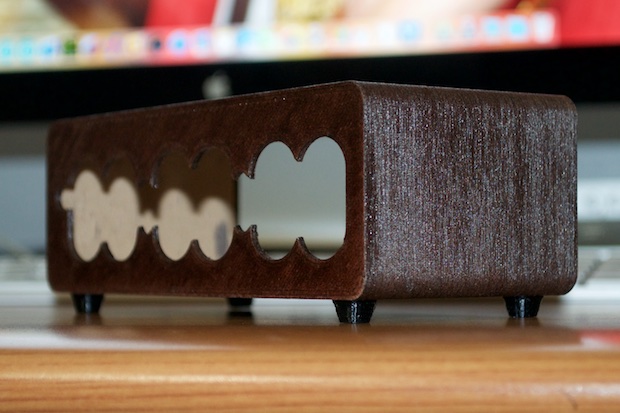
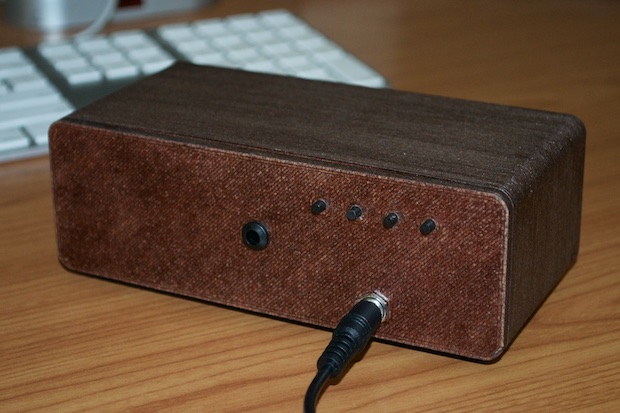
After completing the alarm code and realizing just how loud this clock is, I felt that having five holes in the back of the clock for a speaker grill was overkill. I changed it to just one hole. I also resized it so that I could fit it with a 5mm LED bezel. I thought that this would give it a nice finished look. Sort of like a grommet.
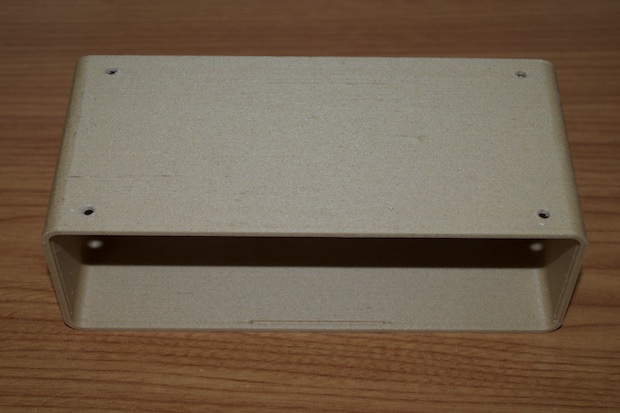
Next up was the main housing. It took about 7 hours to print with a .2mm layer height. It came out amazing. It looks just like wood.
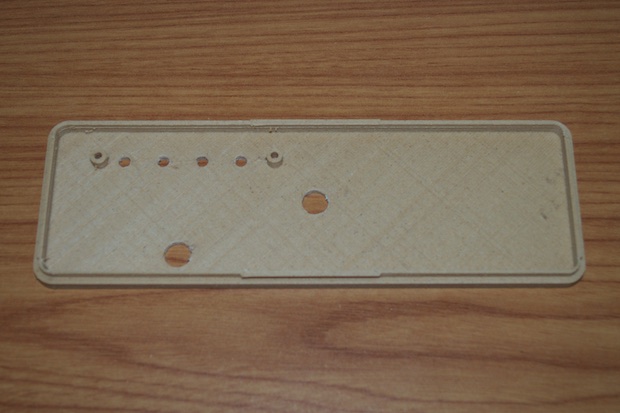
For the final print, I also incorporated some holes for feet. A lot of vintage tech, be it tape deck or a stereo, usually had some kind of feet. Maybe it was to avoid scratching the wood finish. Maybe it just looked cool. I figured I'd put some feet on the bottom of the clock so that the wood finish on the bottom doesn't get all scuffed up from being slid around.
I gave them both a quick coat of stain and let them sit for 15 minutes. I then took a paper towel, wiped off the excess, and let them dry for a few days.
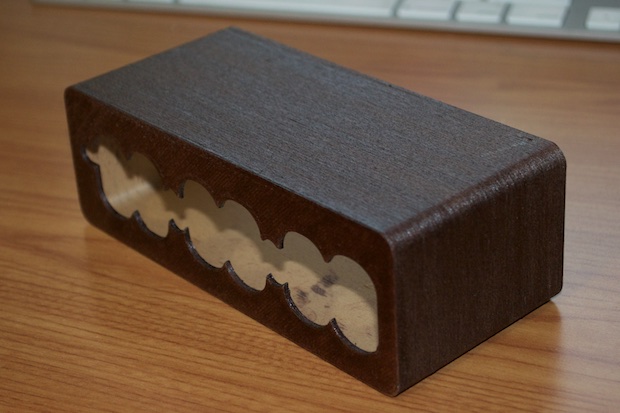
The results are better than I had hoped. They really look like wood that has been stained and not plastic that has been painted.
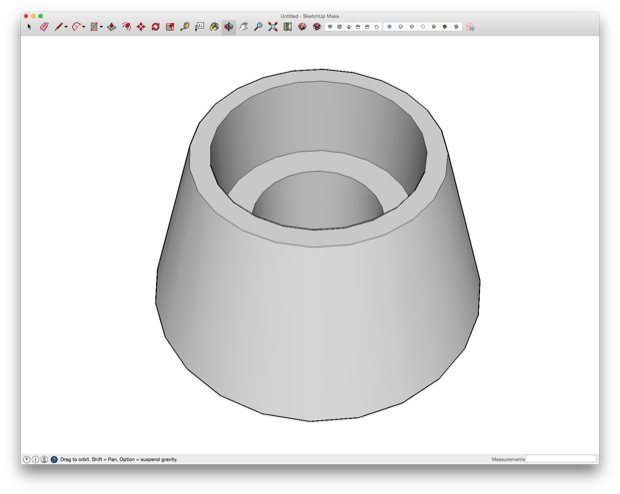
I jumped into SketchUp and designed some feet. I'll probably just print them in black PLA.
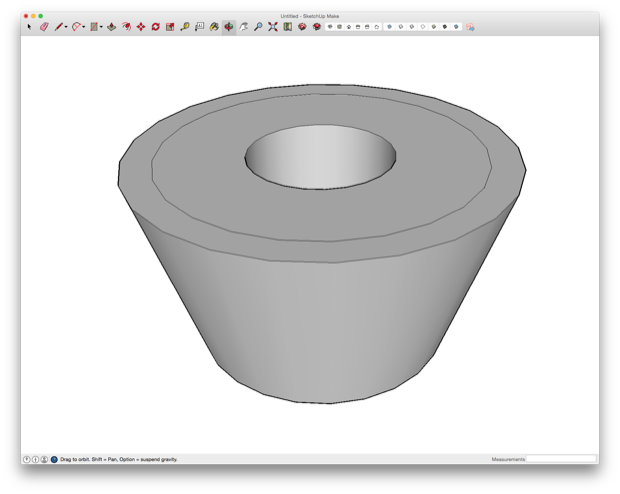
I made them so that I can pass a screw in from the bottom and hide the head. The screws will then be secured to the inside of the housing with a nut.
About 20 minutes later, I had 4 really nice looking feet.
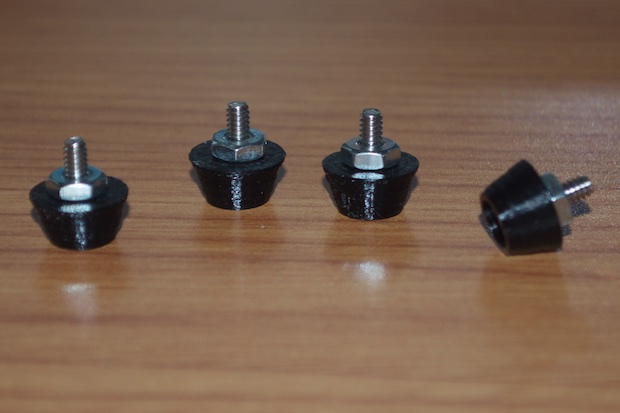
They look great.
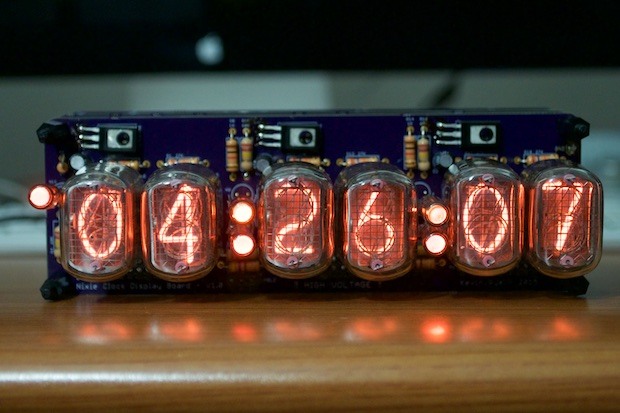
As I mentioned in a
previous post, I found some IN-1s that looked much better than the IN-3s that I was using for the colons. I swapped them out. What a difference they make.
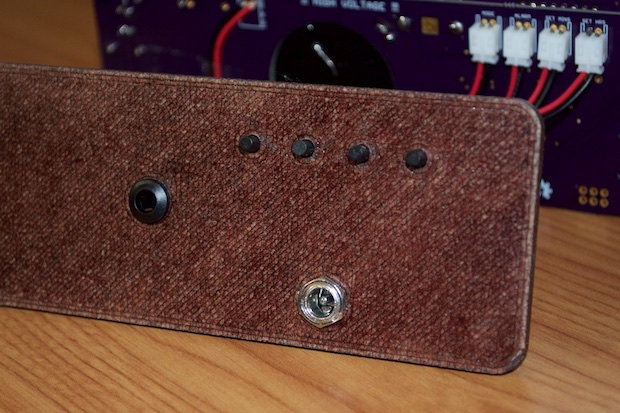
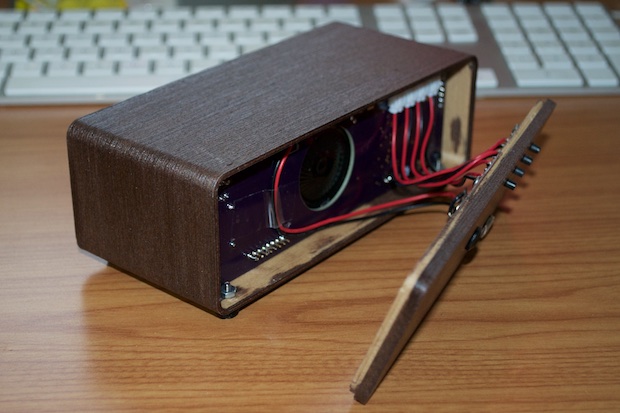
I attached the button board, the power jack, and inserted a 5mm LED bezel into the hole for the speaker.
I might put a little laser engraved panel over the buttons with labels. We'll see.
I slide the entire assembly into the housing and clipped the back on.
Awesome.
It came out way better than I could have ever imagined.

Since this is my first nixie clock, I really wanted it to be something special. I've been wanting to build a nixie clock for over 15 years. I started out with a 7-segment
clock back in 2001 just to get my feet wet, but I just never got around to it. I'm so glad that I bit the bullet and just went for it. I put a lot of work into this clock, and spared no expense. I learned a lot from this project, and I'm sure the next nixie clock will come out even better.
See this project from start to finish: Nixies! Got My Nixies Powered! IN-12 Nixie Breakout Board, Part 1 Flashing a Nixie with an Arduino IN-12 Nixie Breakout Board, Part 2 Driving a Nixie with a 74141 BCD Decoder More Nixie Tube Experiments Nixie Clock 5V / 12V Power Supply Nixie Clock PCBs / EAGLE Upgrade Nixie Clock Main Board PCB Build Nixie Clock Final Build, Part I Nixie Clock Final Build, Part II Nixie Clock Final Build, Part III
Clock Button Panels
