At long last! My
nixie main boards arrived. This project has been long in the making, but it's finally starting to come together.
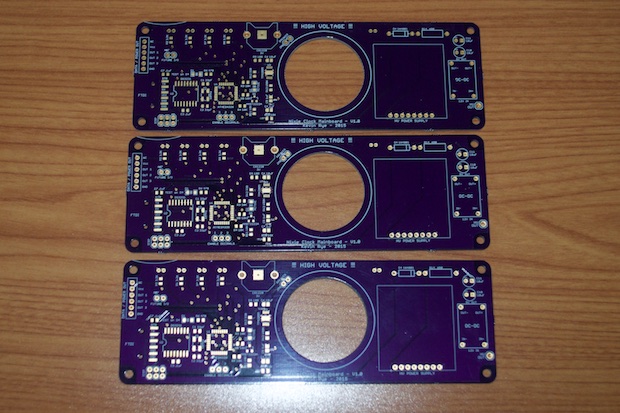
You might notice that there's an arc printed on the top left-hand side of the PCB. I was a little disappointed to see this anomaly on my $58 PCBs. I'd brush it off if this was a $10 board, but for almost $60 bucks, I really wanted these to be perfect. Just to double check myself, I looked again at the OSH Park render. There's nothing there. Since OSH Park panelizes their boards, the guy next to me must have had some silk outside the area of his board. What a noobie mistake. You would think that OSH Park would have something in their board layout script that truncated anything outside the board.
Other than that, they came out pretty good.
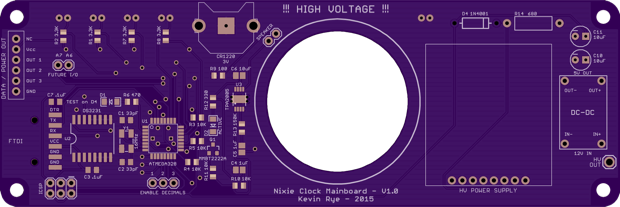
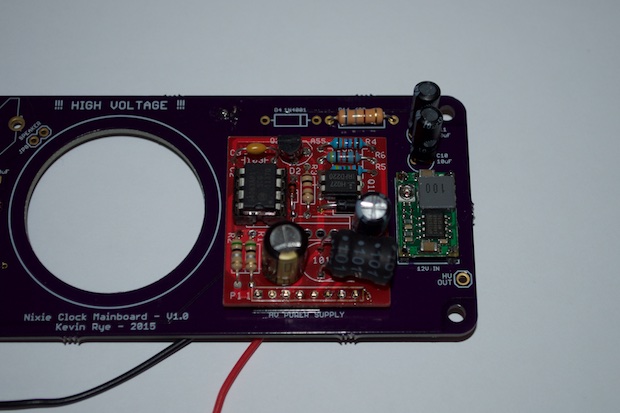
Never put an entire PCB together without testing it as you go. If it doesn't work, you've not only wasted a lot of components, but you've made it that much harder to troubleshoot. For this build, it was very important to test the power stuff first. I wanted to make sure I get 5V to the logic, 12V to the nixie power board, and 170V out.
I installed the 12V and 5V components and applied power.
The PCB immediately let out the magic blue smoke. I burnt up the traces on the back of the board! As it turns out, the "+" and "-" indicators on the JST connector were backwards. This in turn caused me to not only connect the diode backwards, but the caps as well. I tried to flip the inputs and bypass the diode, but the damage was done, This board is toast.
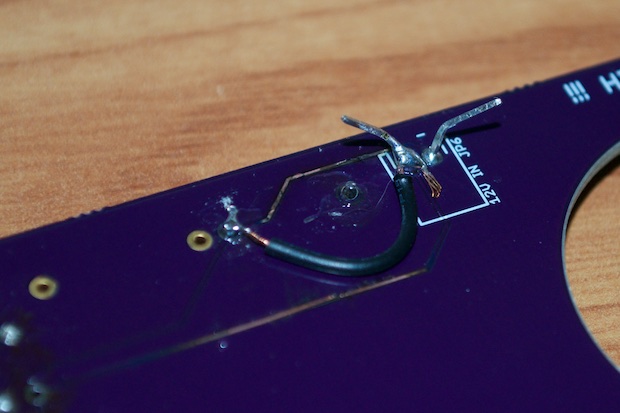
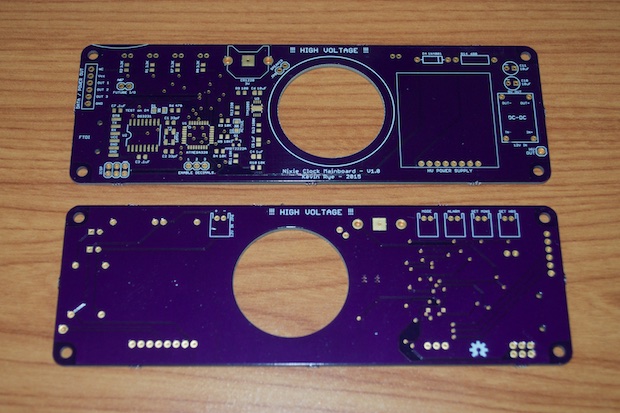
I then started out fresh with a second PCB. Instead of using the backwards JST connector, I soldered my input leads in the proper way and omitted the diode altogether. I put the diode in just as an added precaution, so there's no harm in omitting it. Once the barrel jack is connected, it'll be impossible for me to connect power backwards anyway.
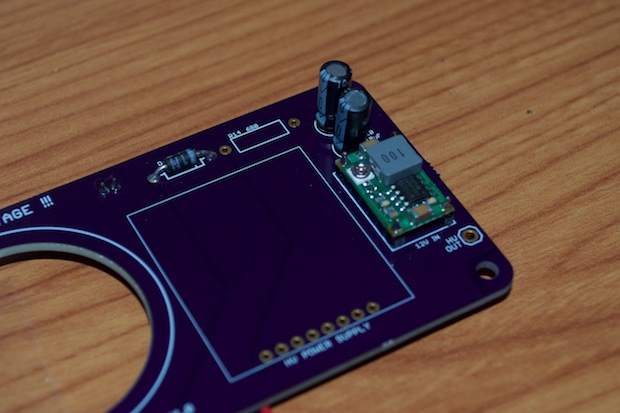
With that fixed, I had 12 volts in and 5 volts out. Twelve volts goes to the nixie board, and 170 volts go out. I didn't want to solder in the nixie supply just yet. I just placed it on top of the pins to try it out. I'm going to add that last. I'll have to power it up again when I burn the bootloader and upload some sample code to try things out, so I'm not too comfortable working on it in that state with a live 170 volts.
After I installed everything else, I burned the bootloader and uploaded a sample sketch from the Tone library. Everything works.
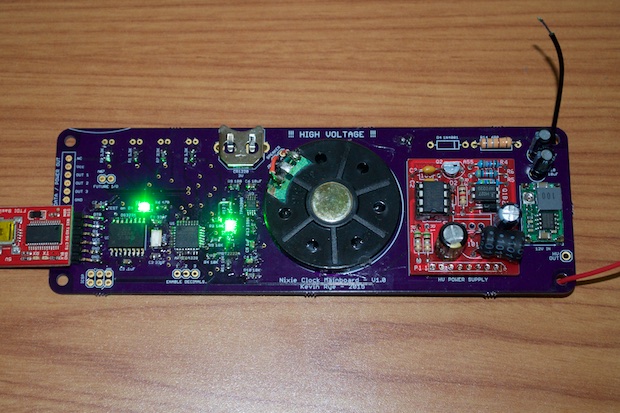
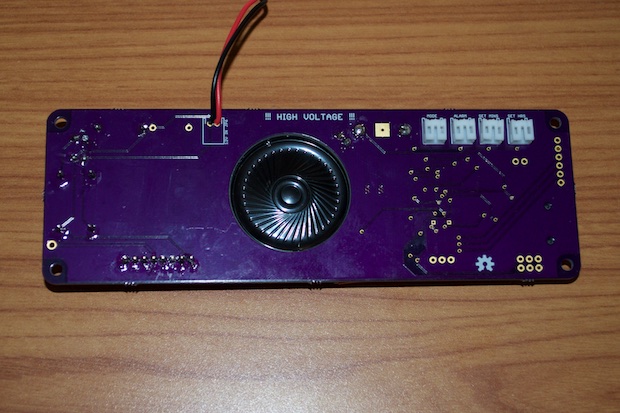
With the speaker installed, maybe now it'll be more obvious why there's a giant hole in the PCB. I could have just as easily glued the speaker to the back side of the board, but then it would have added an unnecessary 1/4" to the overall board thickness. This way, the bulky components are all on one side of the PCB. This will allow me to mount the PCB very close the wall of the enclosure. I'll then incorporate some holes in the back of the PCB so that the speaker can be heard.
A few days later, my JST connectors arrived and I completed the build…for now. I can't solder anything to the 6-pin data out header until I have the driver boards in hand.
 See this project from start to finish: Nixies! Got My Nixies Powered! IN-12 Nixie Breakout Board, Part 1 Flashing a Nixie with an Arduino IN-12 Nixie Breakout Board, Part 2 Driving a Nixie with a 74141 BCD Decoder More Nixie Tube Experiments Nixie Clock 5V / 12V Power Supply Nixie Clock PCBs / EAGLE Upgrade
 Nixie Clock Main Board PCB Build
Nixie Clock Final Build, Part I Nixie Clock Final Build, Part II Nixie Clock Final Build, Part III Clock Button Panels
