I just can't sit still. I always have something in the works. I need to always have something in the works. This is especially true when I'm waiting two weeks for a board. I think most of my projects start during the lull of another. I especially like it when a project goes from concept to a PCB order in about an hour! If only every project was like this. I'd have a room full of gizmos!
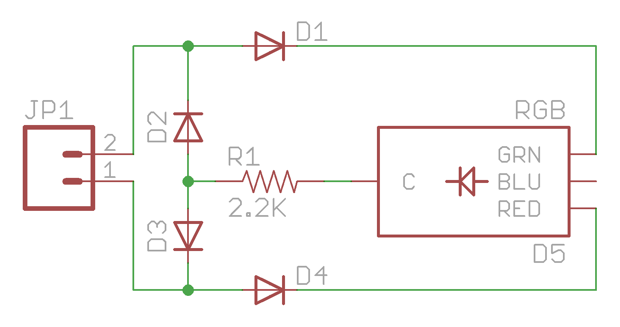
This is a schematic for a simple little polarity checker I came up with. Many a time have I needed to know which pin is positive and which is negative. I thought it would be a cool little gadget to throw together.
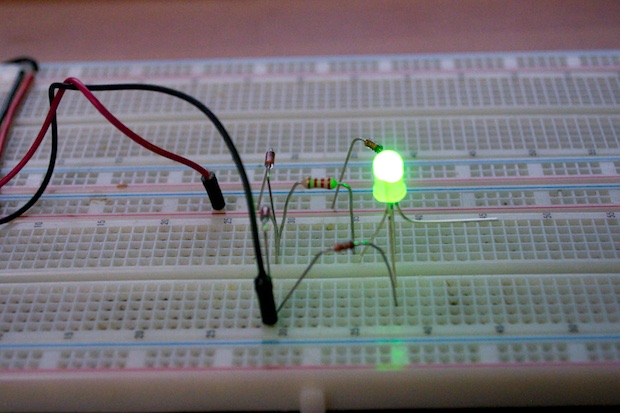
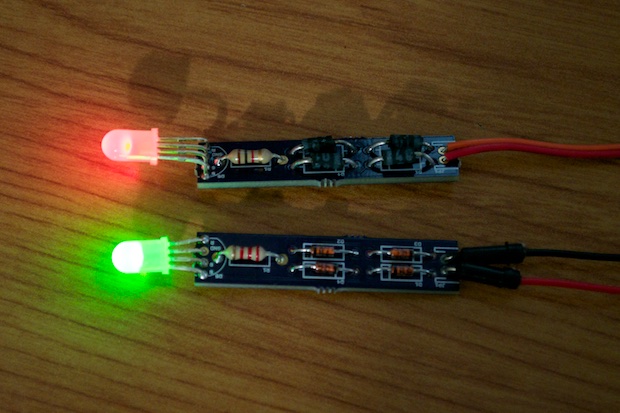
Everything always looks good on paper, so I thew it onto my breadboard just for a sanity check. Placing the positive lead on the "+" side and the negative lead on the "-" side gives you a green light. All is good.
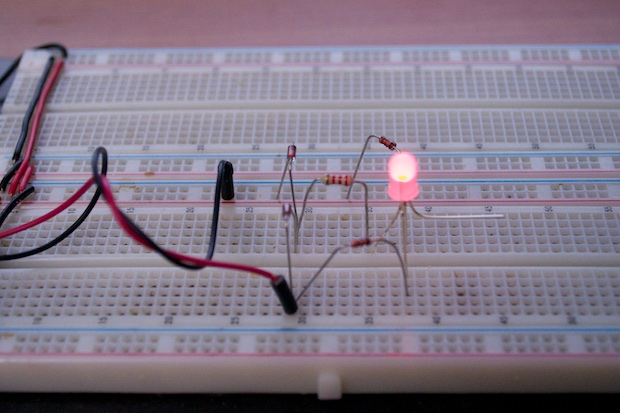
Swapping the leads, effectively connecting them backwards, illuminates the red LED. It totally works.
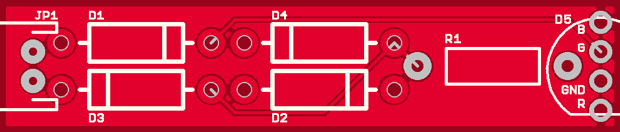
I then got to work on the schematic.
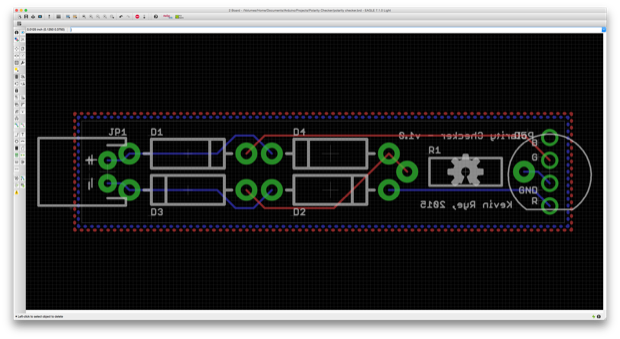
I tried to make it as small as I possibly could. I guess I could have used SMD parts too, but I'd have to order some diodes and pay for shipping. I'm not looking to spend $20 bucks on this. Three PCBs from OSH Park are only going to cost $2.85. I can easily put this together with the PTH parts I already have.
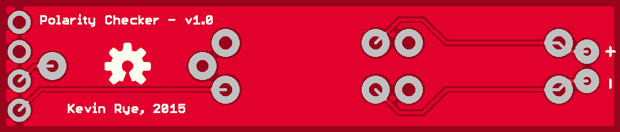
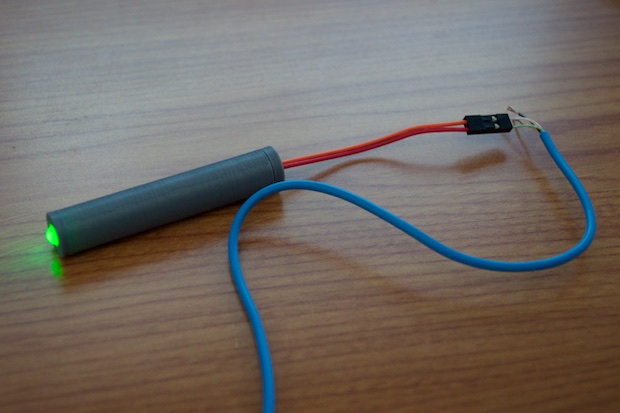
Just how small is it? I bet I could fit this inside a pen. Well, maybe a thick marker. In any case, I'm going to 3D-print something to put it in.
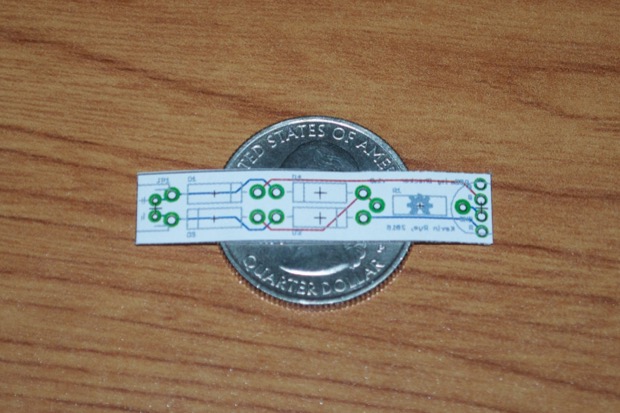
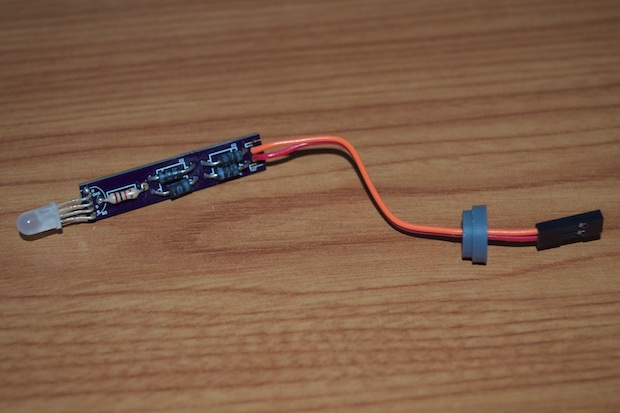
Two weeks later, my PCBs arrived. Man, are they small!
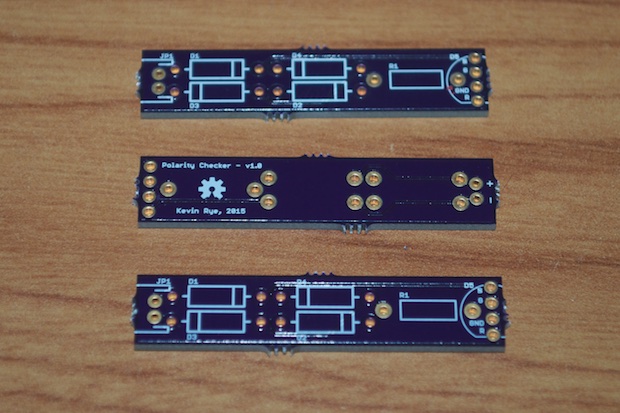
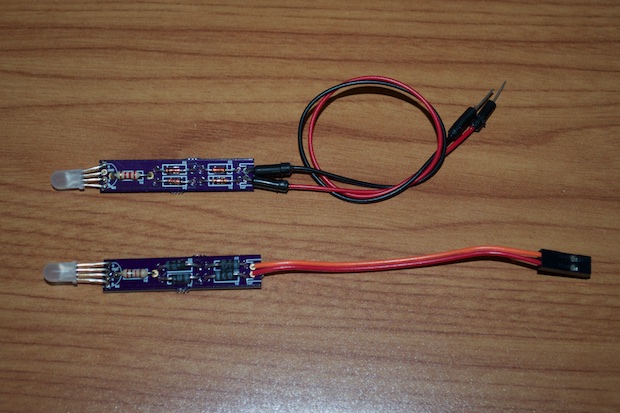
I decided to only assemble two for now. One with a socket for a 2-pin header, and one with pins. Actually, now that I think about it, I should have just ganged the cables together and made it multi-probed. I used two types of diodes for no particular reason other than I had them. They're both plain-old rectifier diodes.
I connected a power source to each, one the correct way, and one backwards. Success!
In order to design a case for it, I built a 3D model in 123D Design. I tried it in SketchUp first, but whenever I make tiny little models in SketchUp, all 3 slicer engines in MatterControl barf.
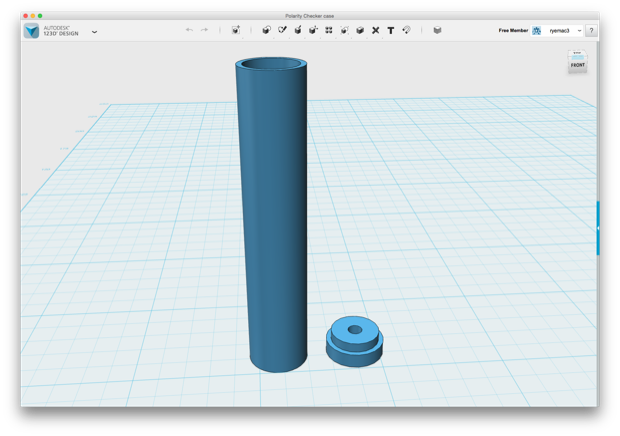
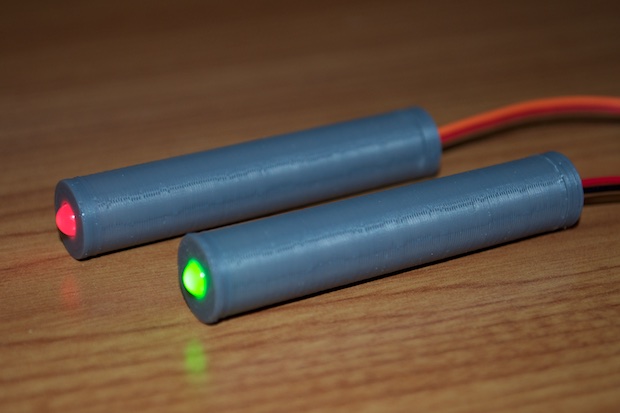
The enclosure is a tube with holes at both ends. The diameter is a little smaller than a AA battery, and a little longer. The cap just snaps right in. It's nice and tight too, so there's no way it's coming out without a fight. I then dropped it into MatterControl and printed it. MatterSlice had no problem with this model.
I decided to unsolder the leads and pass them thought the hole and then solder them back on. This way I could make the hole in the cap that much smaller.
They came out perfect.
One great use for the polarity checker is when I need to cut up a cheapie USB cable to use as a power cord. Most of the time the positive and negative leads are red and black. However, sometimes they're not. Like this one for example. The leads were black, green, and white. I plugged the cable into a USB brick and used the polarity checker to figure out which was positive and which was negative. Awesome. So much easier than whipping out the DMM and measuring the resistance from end to end.