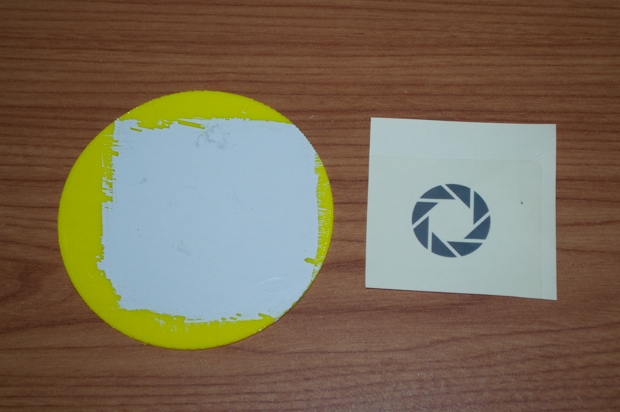
One of the last kinks I needed to work out was how to paint the Aperture Science logo onto the centers. I thought about making my own stencil. I took a piece of scrap PLA and painted it with light gray acrylic paint. I then printed out the Aperture Science logo onto an address label.
I then taped the address label to a piece of cardboard and cut out the logo with a blade.
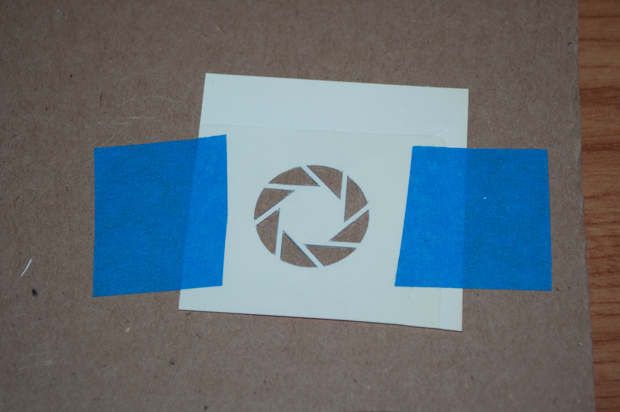
I then peeled the back off the label and stuck it to the plastic. It sticks pretty well, maybe too well.
I then hit it with some gray spray paint.
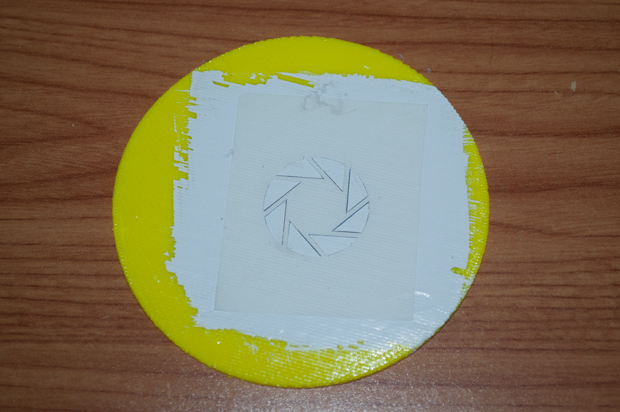
This was a pretty good test. As you can see by the results, it's not perfect. I wonder if I should spend the money to get a stencil laser cut. In addition, the label took some of the light gray paint with it. That could be a problem. I might have to experiment with a stencil material that is not as sticky as the average address label.
I slept on it for a night, but in the end decided to do it right and order a laser-cut stencil. I jumped into SketchUp and designed my own logo. The plan was to export it as a SVG. Unfortunately, the flightsofideas SVG exporter that I've been using for years (and seems to be the only plugin for SketchUp) no longer works on the 2017 version of SketchUp. I have versions 2014, 2015, and 2016 on my Mac, and much to my dismay, it also seems to be broken there too. Even if I install an older version of SketchUp on my laptop, I'd have to redesign the logo from scratch, as my 2017 SketchUp file will not open in an older version.
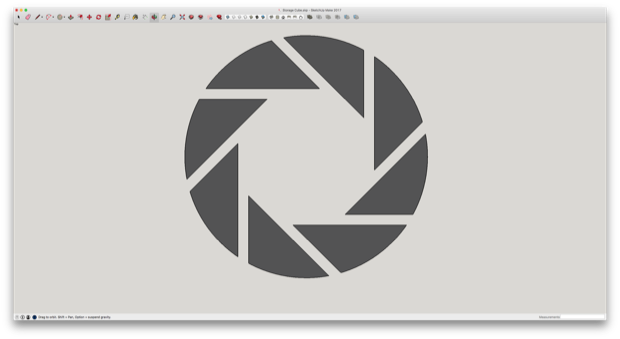
In order to save myself a few hours of frustration, I decided to scour the Internet for an SVG, and to no surprise, someone already beat me to it. I dragged it into Inkscape and scaled it down to size.
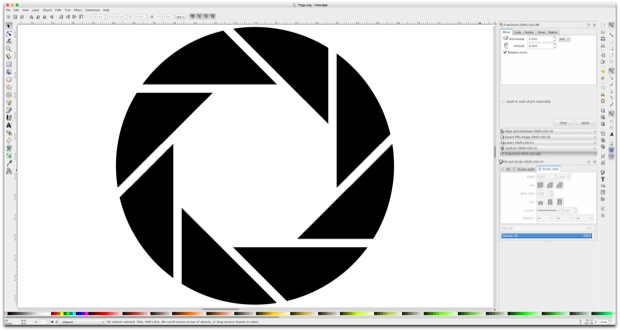
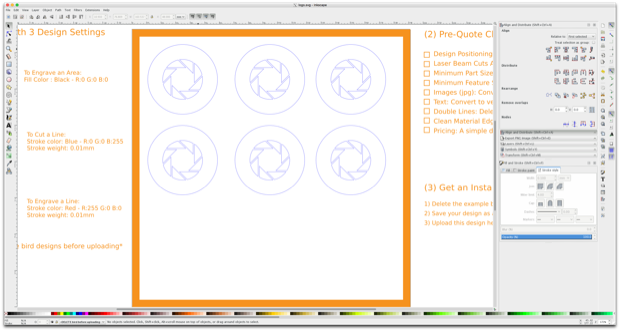
I then made it into a stencil that will fit perfectly over the Cube's centers. Rather than use the same stencil over and over again, I decided to just have six made. I'm getting it cut out of card stock, so it's really cheap.
A few days later, my stencils arrived in the mail. They look really good.
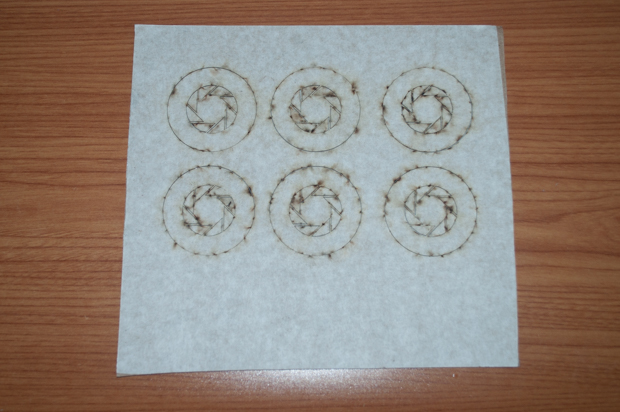
I laid one on top of one of my center pieces. It's the perfect size.
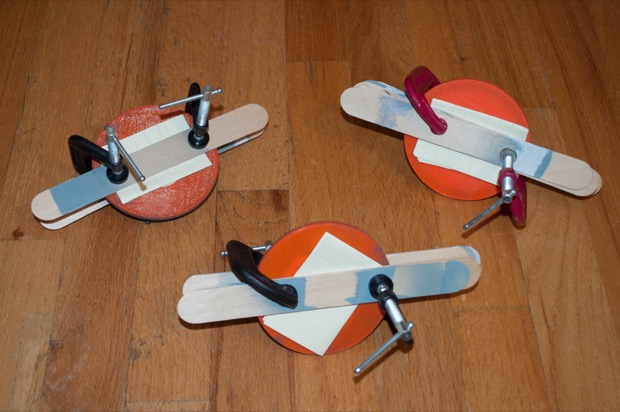
I made a painting and gluing jig. It will allow me to perfectly center the stencil on top of a center piece. It will then allow me to center the logos onto the acrylic so that I can glue them into place.
I flipped it over and placed the center piece and a stencil in place.
I then held it in place with some blue tape.
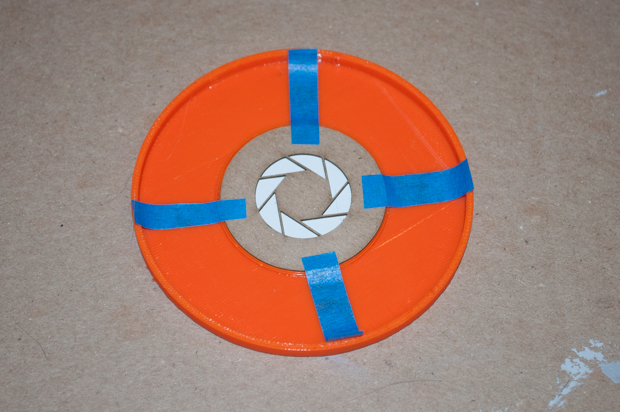
I then spray painted it.
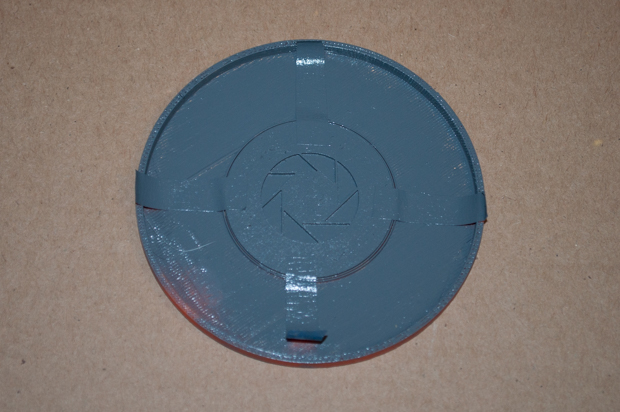
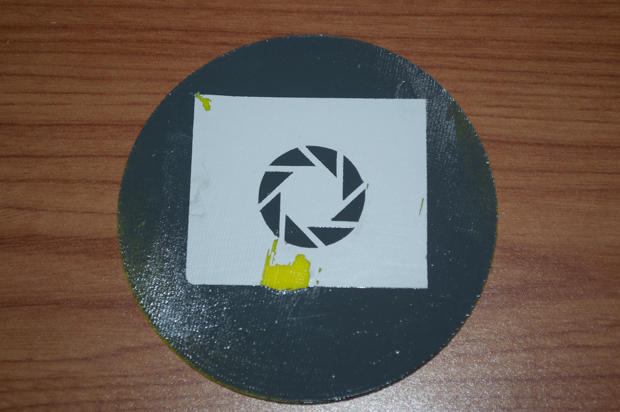
After it dried for a bit, I removed the tape and the stencil. Oh no! That looks terrible!
Apparently, the cardboard stencil doesn't sit as flush to the piece as well as I thought. The spray paint went right under it. I had to sand it off and repaint it.
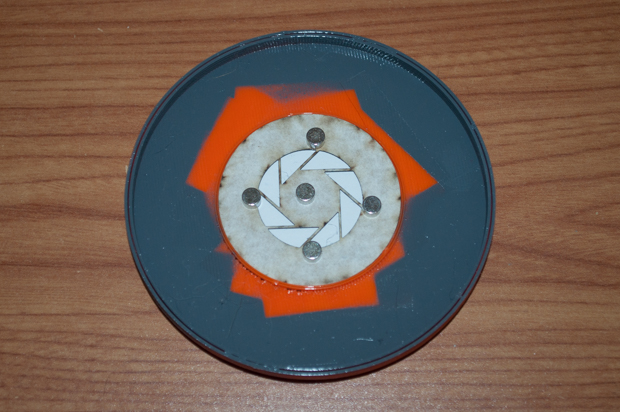
While the paint dried on that, I tried it again with another one. This time, I held the stencil down in place with the aid of some really strong magnets. These are the same magnets I used in the removable LED holder.
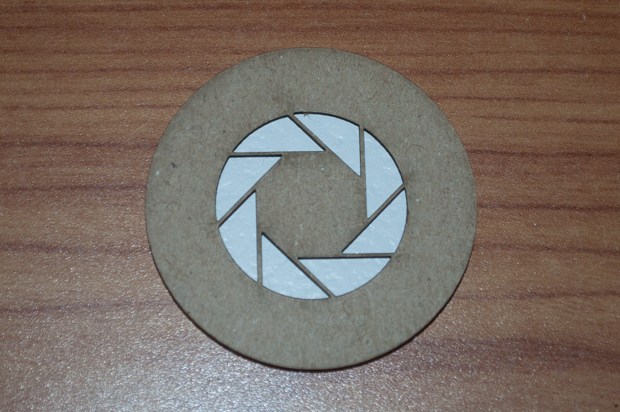
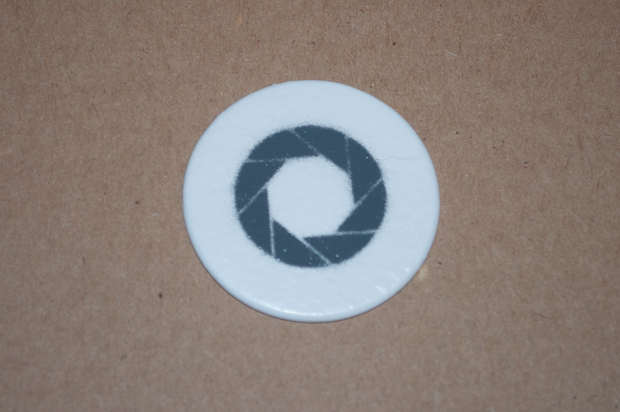
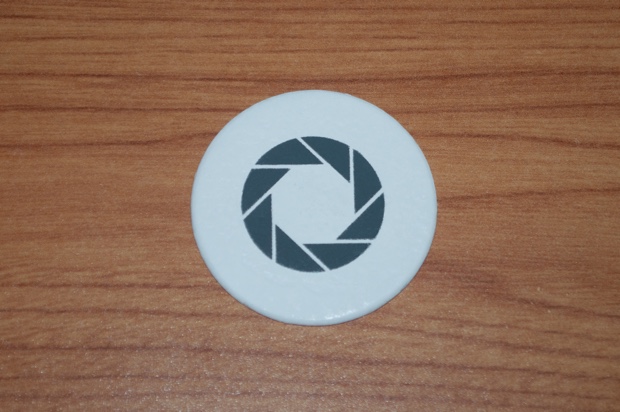
I then took it back outside and spray painted it again. What a difference! It came out almost perfect. I just had to take a small file and clean up some of the lines and it looked amazing. I don't think I can make them any better than this.
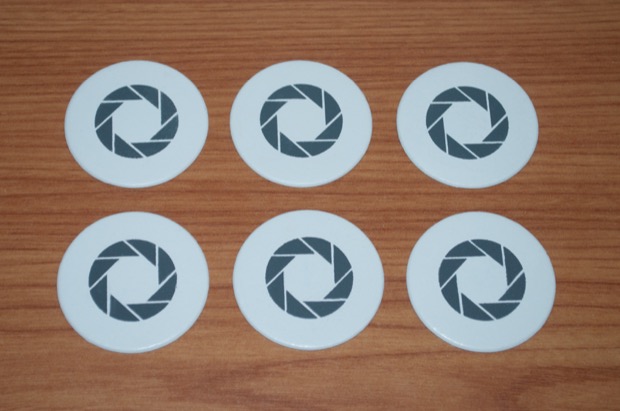
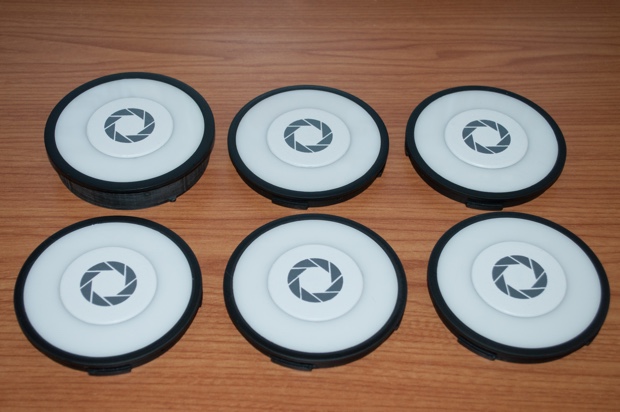
I then went ahead and made five more to complete the set.
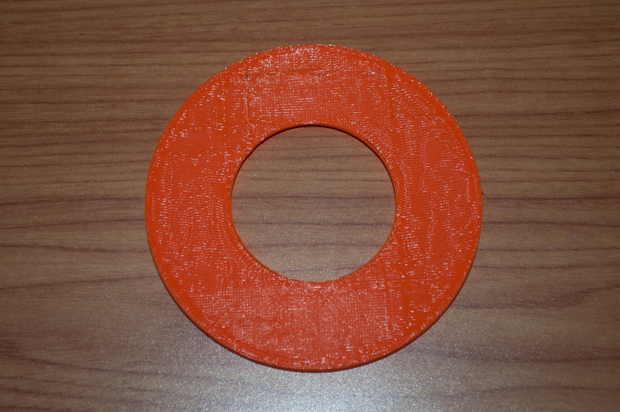
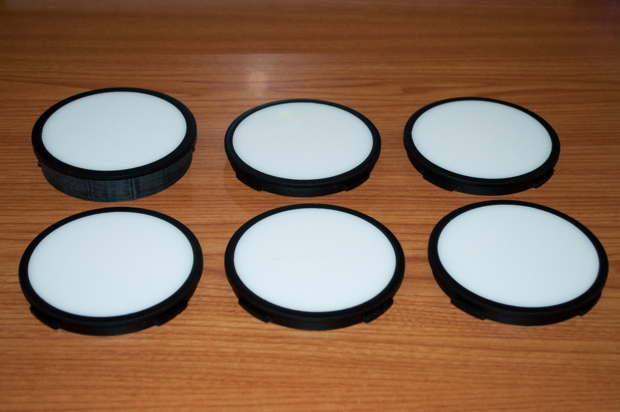
I then press-fit the acrylic into the bezels.
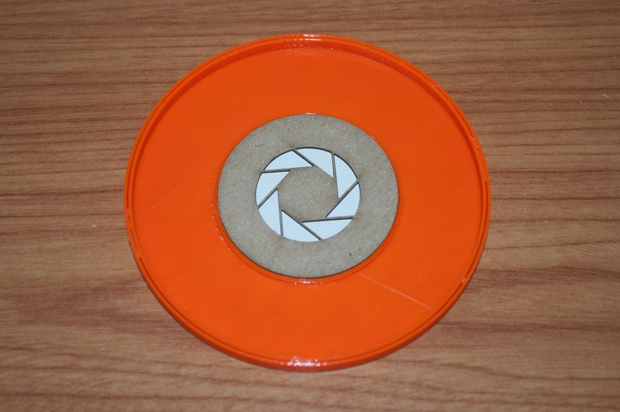
Then, using my trusty gluing jigs, I centered the logos and glued them in place with some epoxy. I first roughed up the acrylic with my Dremel so that the epoxy had something to bond to.
I then clammed them down until the epoxy set. Since I only made three jigs, I had to rinse and repeat until all six were glued.
They came out awesome.
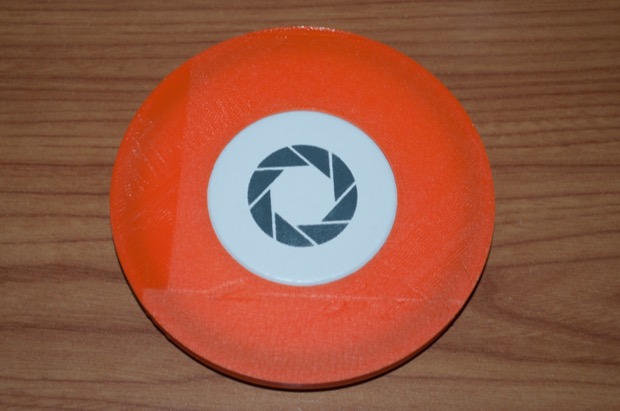
After a month of some really hard work, I was minutes away from finishing my Portal Weighted Storage Cube. All I had to do was install the centers. Unfortunately, the little tabs that I put on the bezels made it really hard to pop them in. They worked flawlessly without the acrylic in them. I guess they were a little more flexible without the acrylic. Now that the acrylic has been press-fit into the bezels, there's no way to push them in without breaking the tabs off. I was going to also put a few drops of glue on the back to stop them from rotating, so I guessed it was probably OK to take my Dremel and grind them off. If I'm going to secure them with glue, then the tabs are of no value.
I took my Dremel, ground the tabs off, and secured them in place with some epoxy. They're in there for good now.
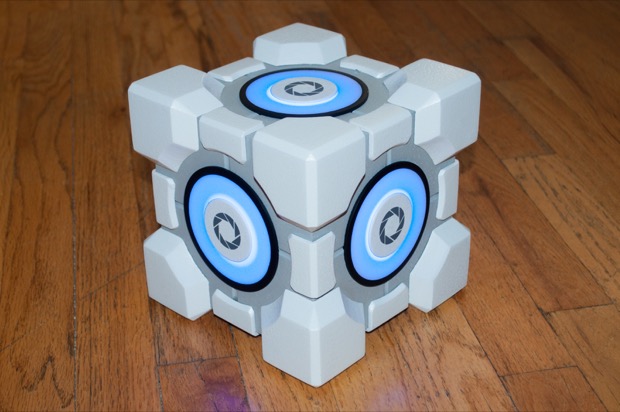
It came out AWESOME!!!! I'm really happy with the way that it looks.

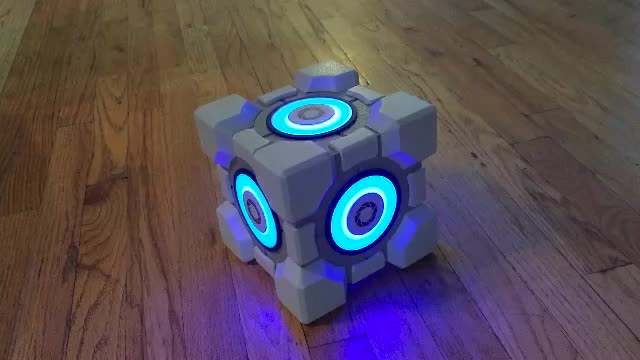
Here it is in action:
This was such a great project because it had a little bit of everything: 3D modeling, 3D printing, laser cutting, painting, electronics, and coding. I got to do some things that I'm really good at as well try a few new things.
See this project from start to finish:
Portal Weighted Storage Cube - Part I Portal Weighted Storage Cube - Part II
Portal Weighted Storage Cube - Part III Portal Weighted Storage Cube - Part IV
