My first "official"
3D print of Mei Lin came out pretty good. However, it could be better. Everything can always be better! Not to mention, I discovered a shortcoming in the ROBO 3D firmware that messes with the z-axis.
Take my
4X LEGO Minifig for example. I printed this before I discovered the z-axis problem. Looks OK, right?
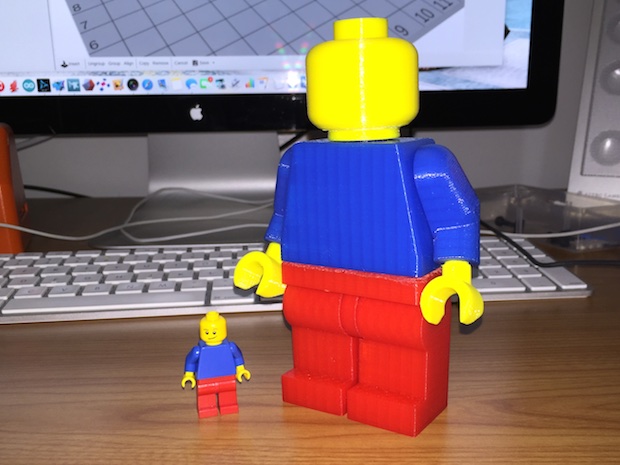
Well, at first glance it looks OK. However, after staring at it for a few days sitting next to an original minifig, it became apparent that there was something about it that just didn't look right. It looked kind of squished.
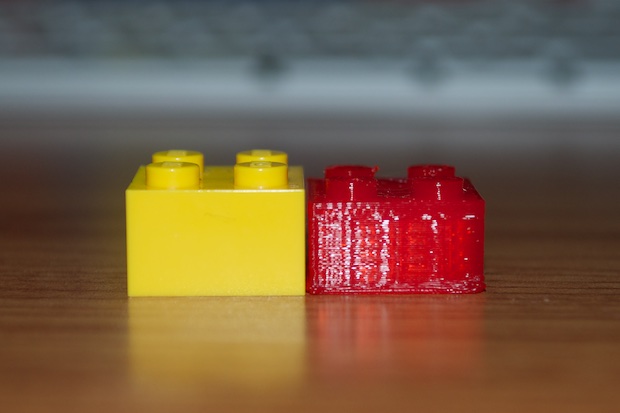
I decided to print a 2x2 LEGO brick and compare it to a real brick. The problem was immediately apparent. No matter what I printed, it just wasn't as tall as it was supposed to be.
I searched online for a solution and discovered that I was not the only one with this problem. The ROBO 3D originally shipped with 5/16 rods on the Z-axis. At some point, they switched them to M8 rods. There's a 3-threads-per-inch difference between the 2 rod types. Print a 12" model and you'll notice a considerable difference in height. This thread difference was not addressed by my printer's current firmware. All I needed to do was flash the printer with a firmware update. It was easy enough using the Arduino IDE.
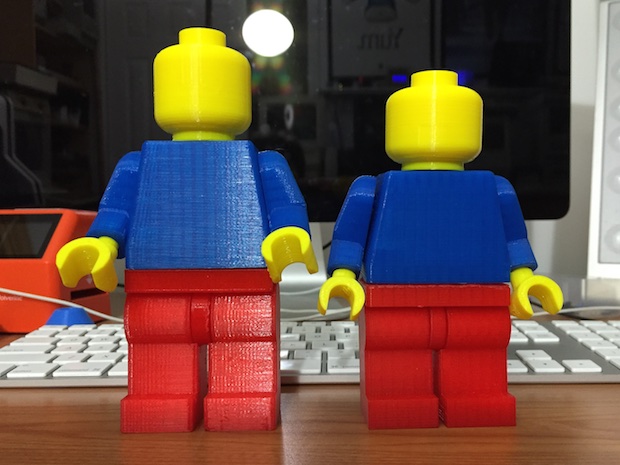
I went back and reprinted the LEGO minifig. What a difference!
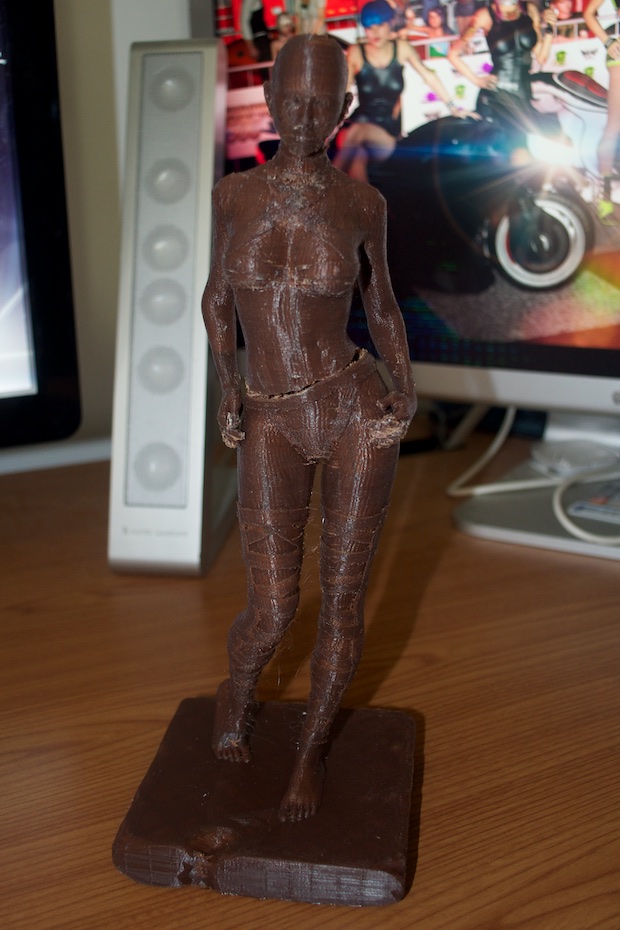
It's no wonder
my last Mei Lin print was only 11" tall! I know I eye-balled the height, but I thought I was pretty darn close to 12 inches. Knowing now that my model was probably "squished", I decided to have another go at printing it. This would also afford me the opportunity to try and cut the model in a way that it wouldn't leave any horrible looking seams that would need to be filled with clay and sanded.
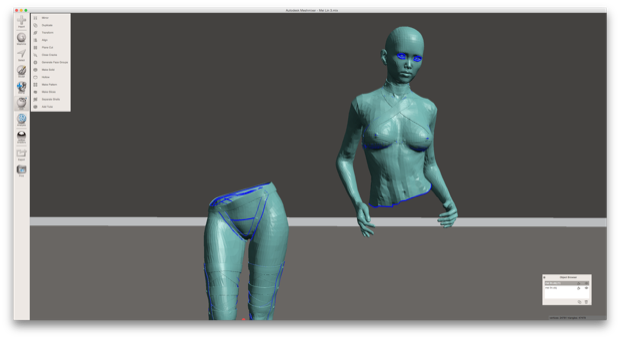
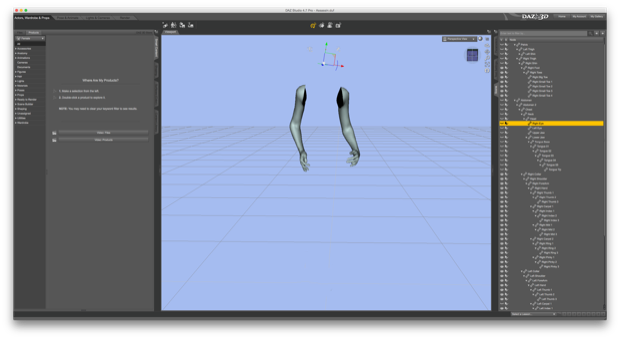
I started out with Meshmixer and imported 2 models.
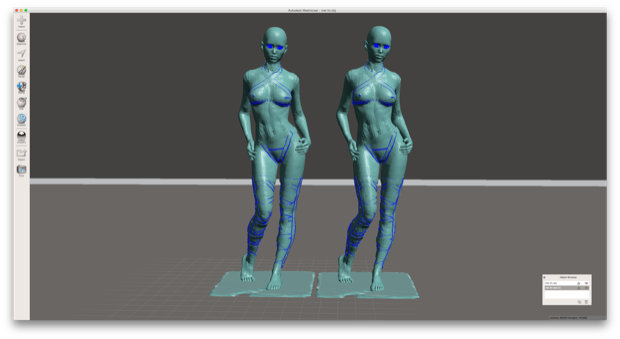
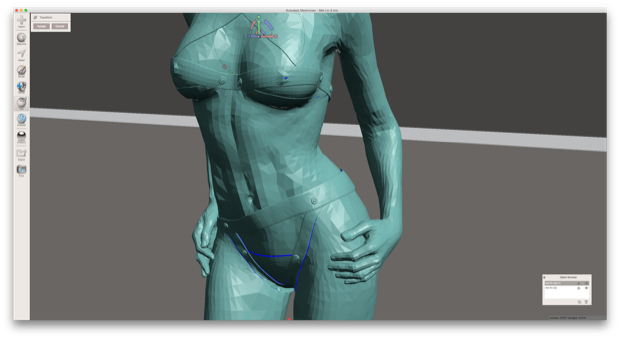
I then cut each one above and below the belt line.
They slide right into each other. I'll just have to cross my fingers that it'll be this easy in "real life".
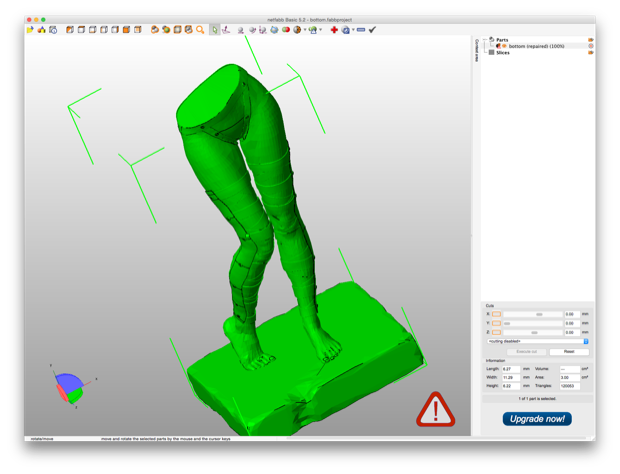
I then took the two halves and repaired them in Netfabb.

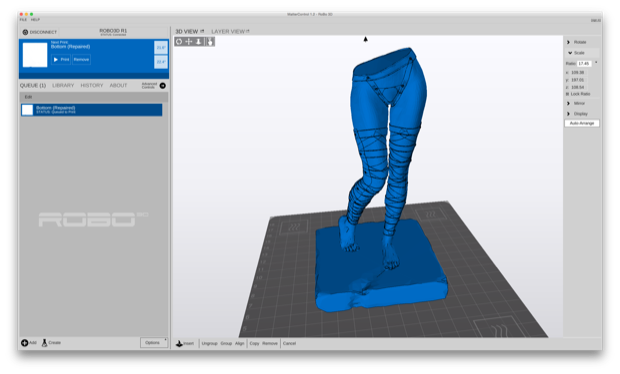
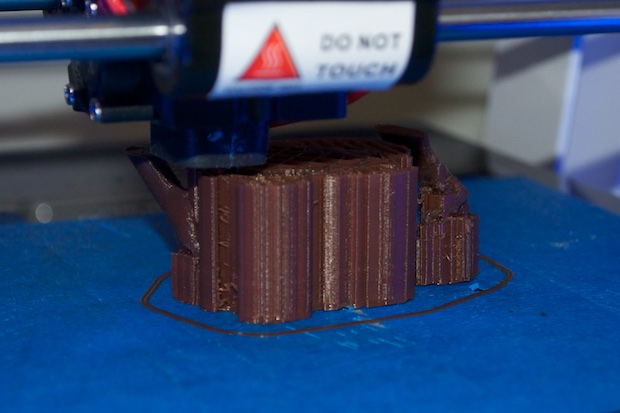
It was then time to print the two halves.
The results were striking. Even without the top portion, I could already tell how much taller this model was going to be.
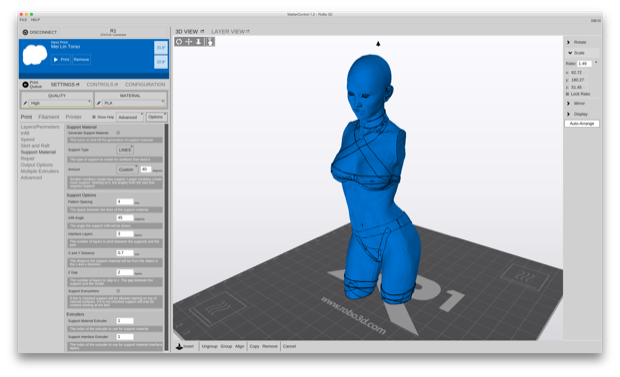
She's just sitting on her finger tips, so the top portion had to be printed with a ton of support material.
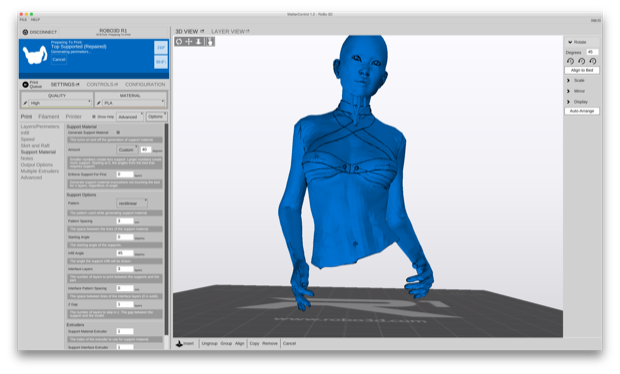
A few hours in and it was already apparent just how much support material would be required. Man, is this going to be a pain to remove!
Wow. That's a lot of support material!
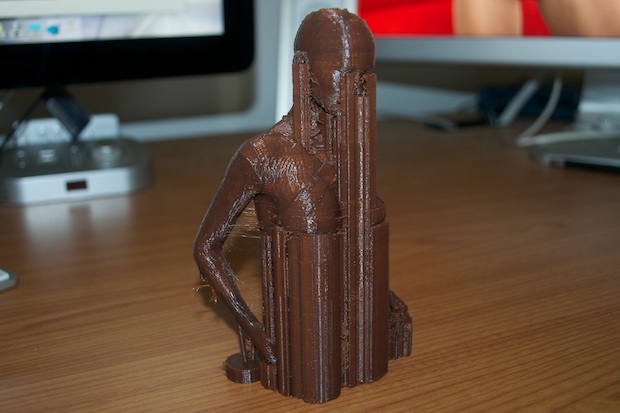
I'm afraid that whatever I gained by creating a nice looking seam, will be lost in the amount of clean up work that'll be required as a function of adding so much support material.

I would't exactly say it was easy removing the support material, but it was easier than I had anticipated.

There's still a lot of messy parts that need to be cleaned up, but I figured it'll be a waste of time if the two parts don't go together nicely.

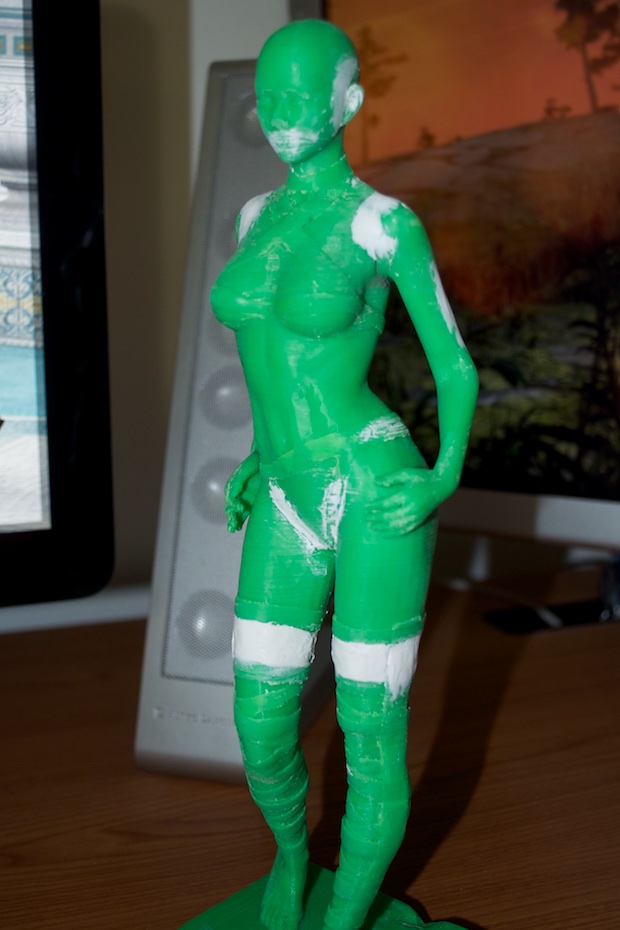
Sadly, it's just a mess. Not to mention, I printed this model with an infill ratio of .10. My first print had an infill ratio of .25. My first print fell very solid and had some nice weight to it. This one feels light and chintzy.
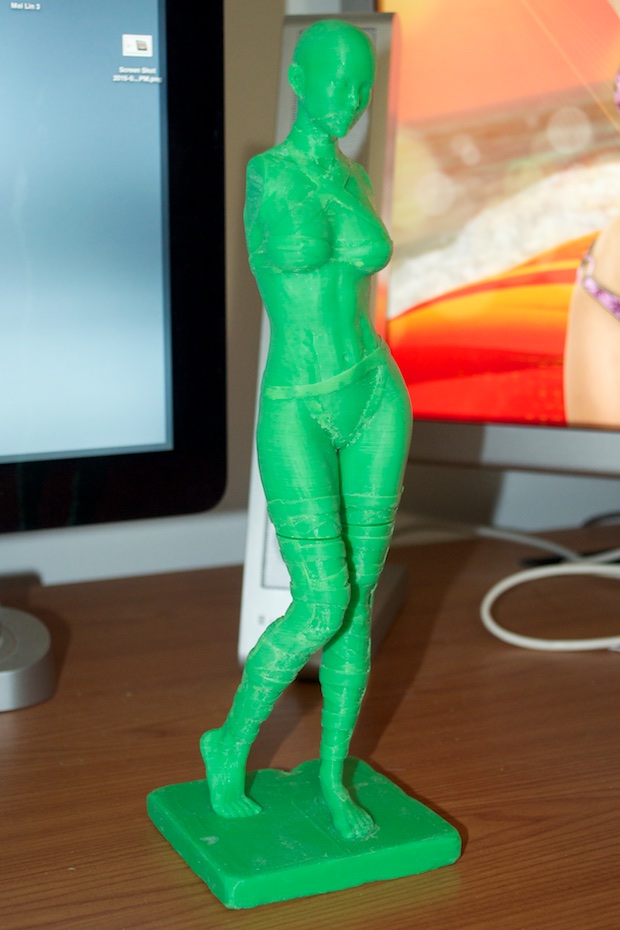
As I suspected, it's a good inch taller than the original. Stretching the model up another inch definitely gives her a thinner waist and slender legs.
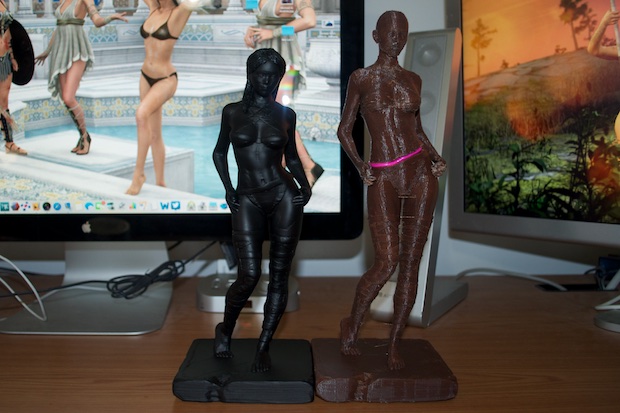
Too bad it's not a keeper. I need print this one again. This time, I'll make the base a little smaller since the previous bases have been overkill. So much material! It takes a good 4 hours just to print the base.
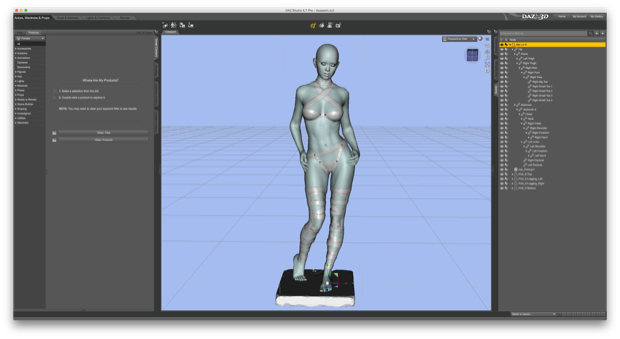
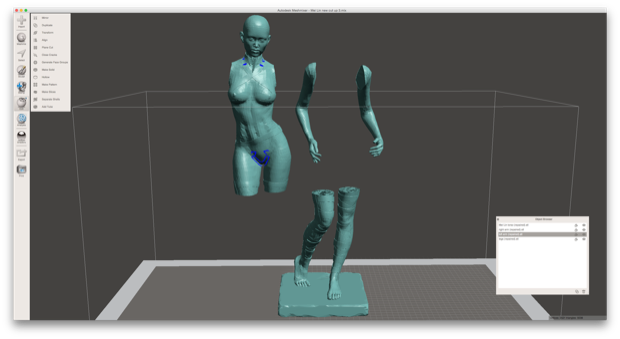
I'm also going to try and print this model with the arms cut off. With the arms out of the way, it might make it that much easier to sand and clean up the torso. I hid the arms and exported the model.
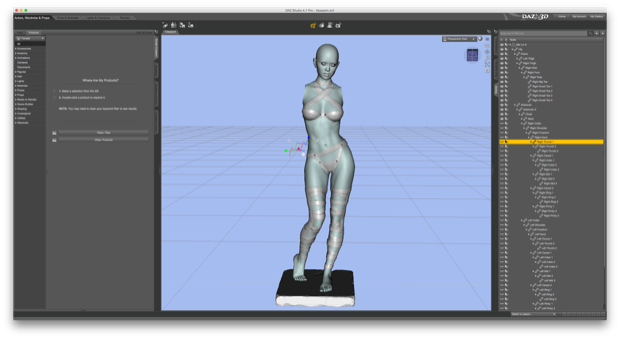
I then hid everything but the arms, and exported those. This way I know the seams will be a perfect match.
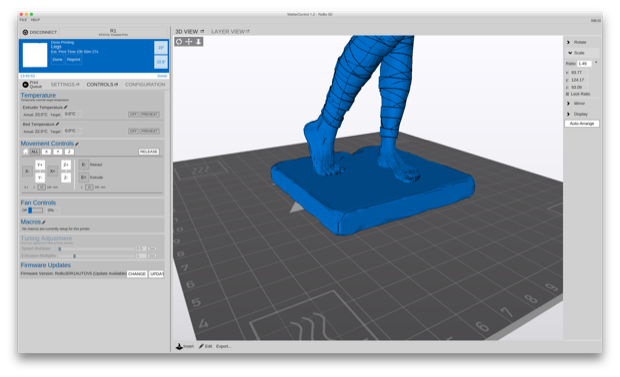
I took the models into Meshmixer and cut the body in half. Instead of cutting the model in half at the thighs like I did previously, I opted to cut it slightly below the leggings. I can take more artistic license with cleaning up the leggings than I can with the thighs.
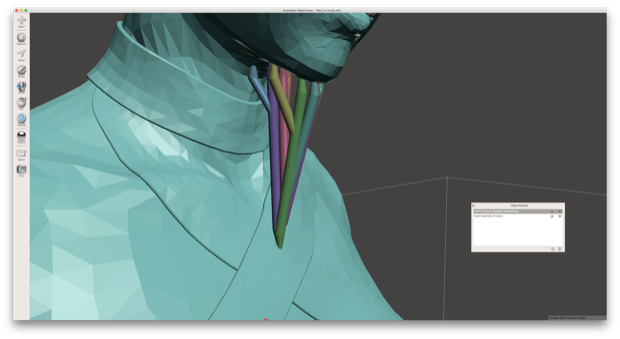
I then added the much-needed supports to the chin and exported them to Netfabb for repair.
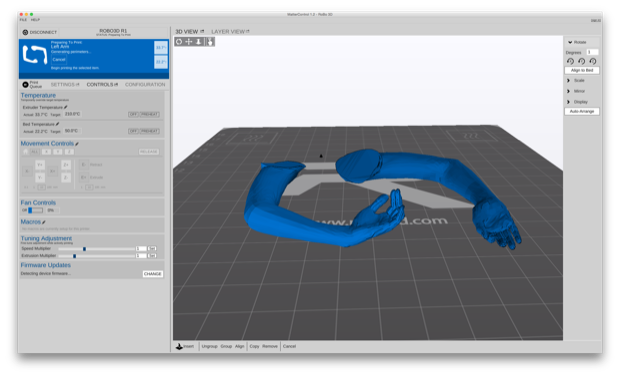
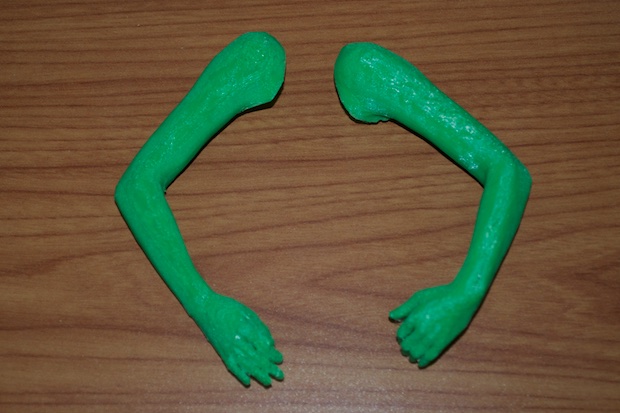
Time to print the arms. My first Mei Lin model was printed with a layer height of .2mm. I figured it would be so big that a "medium" layer height would be good enough. For this, I cranked it up to "high" for a layer height of .1mm. I also slowed the printer down to half the speed of my previously prints. This will allow each layer twice as much time to cool as it did before. This might help to increase the quality. The faster you print, the less time each layer has to harden before the next layer is printed. This could make your prints look "runny" and lack detail.
I laid the arms flat with the fingers pointing up. This way, I only have to have a small portion of support material under the arms, and none on the fingers.
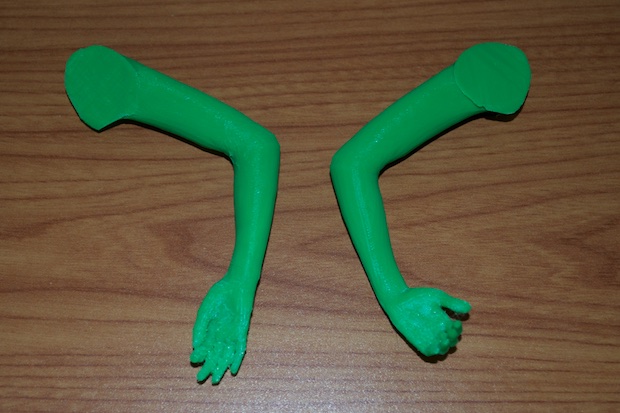
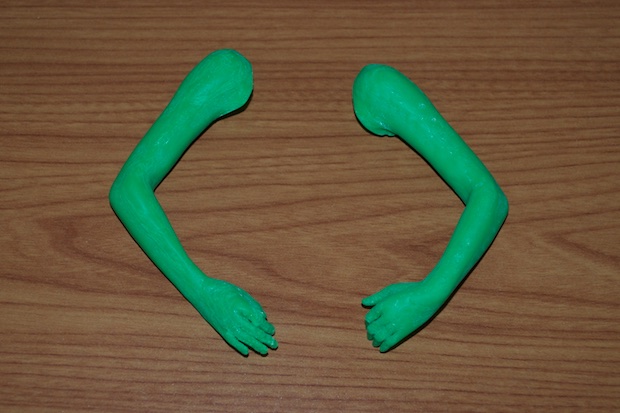
It took about 7 hours to print the arms, but they came out amazing. The pictures probably do not do them justice. There is a small portion of support material that will need to be sanded on the backs of the arms, but no big deal.
The undersides of the arms that were facing up are incredibly smooth.
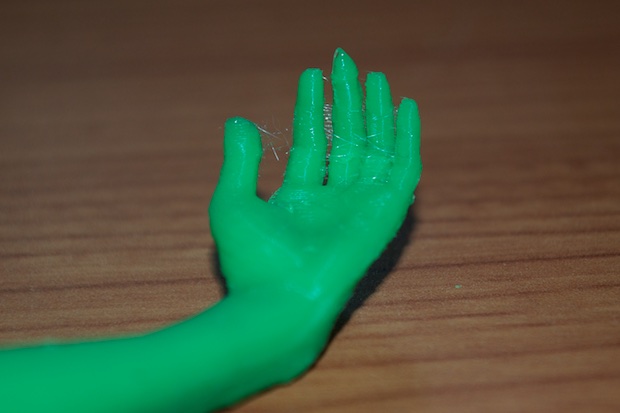
The fingers are incredibly detailed. They'll just need a little clean up with a blade to remove the stringy bits, but no heaving sanding with a metal file.
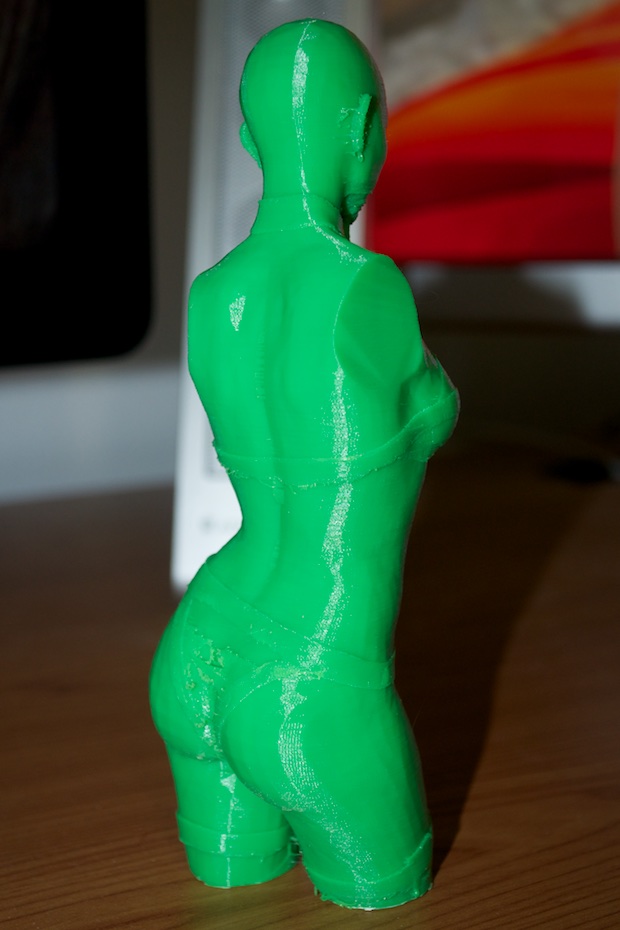
Next up was the torso.
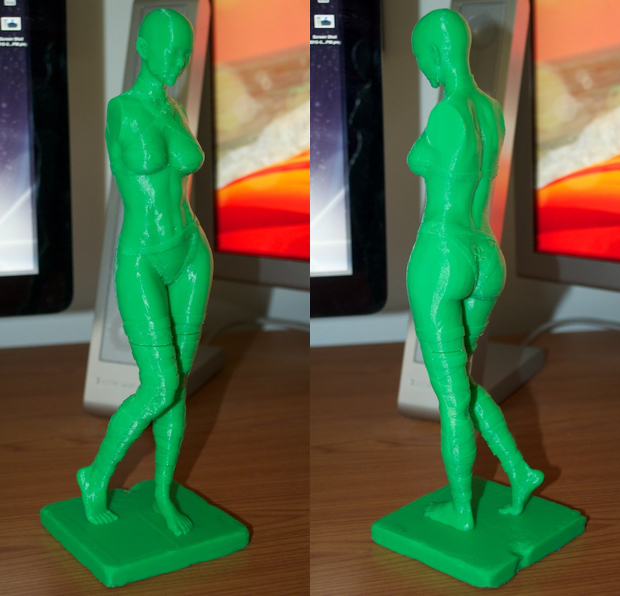
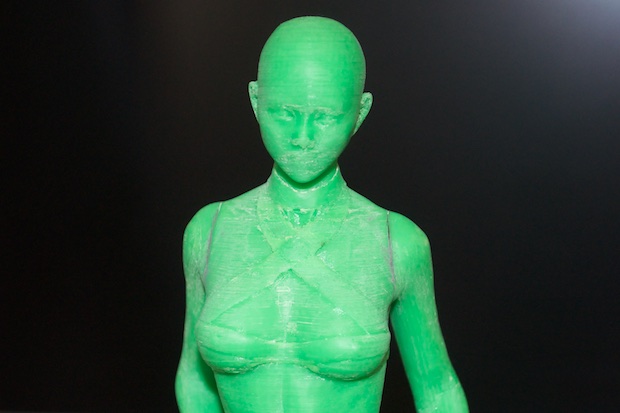
It took 21 hours to print at a speed of 15mm/s, but wow! Were the results worth it! It stands at just a hair over 7" tall. You have to see it in person to appreciate how nice it came out. It's very detailed and incredibly smooth.
There's so much more detail than my first print. This is with zero cleanup. The ears are better. The eyes show tear ducts. the nipples are more defined. Even the clothes look better.
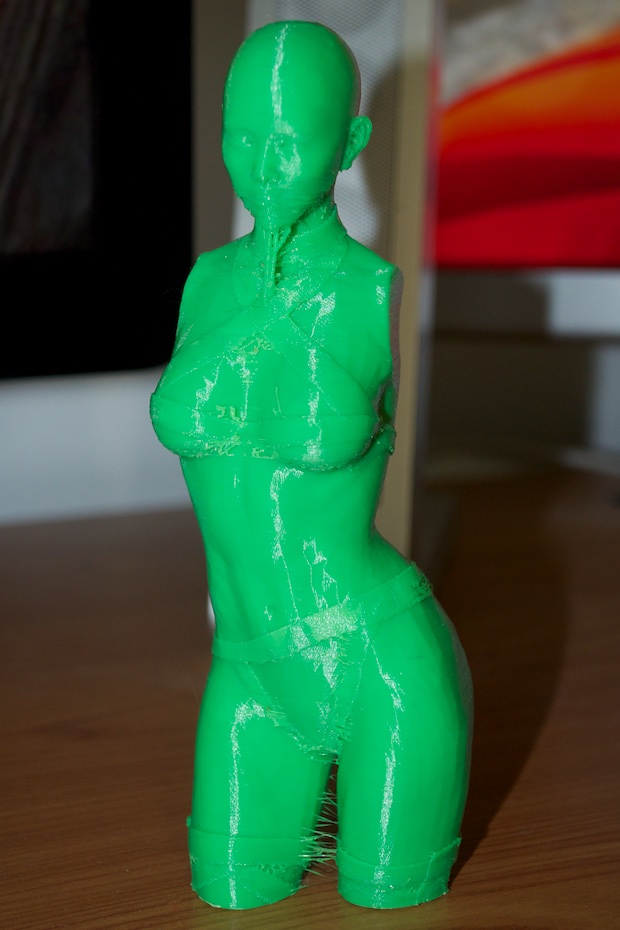
Granted, there is one messy looking spot on the back of her bottoms, but it looks like it's easy enough to trim off. Best of all, it feels solid! It has a really nice sturdy feel to it.
Even with the size reduction to the base, it still took almost 3 hours to print at 45 mm/s.
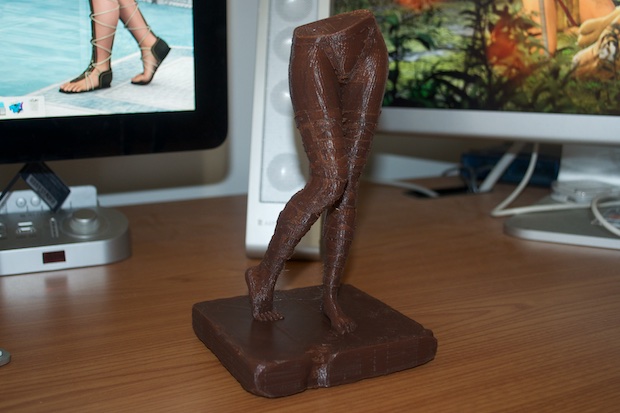
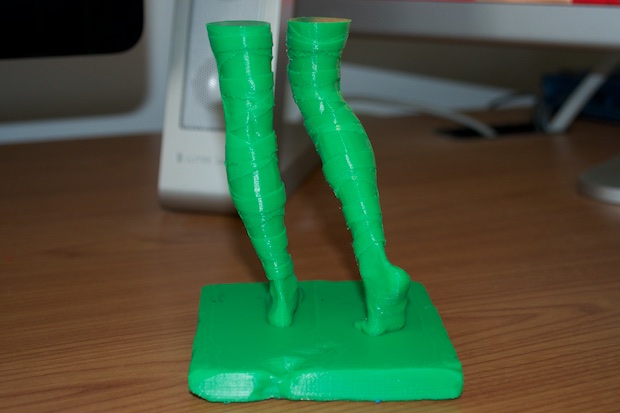
Once the base was complete, I slowed the printer down to 15 mm/s. After all was said and done, it took almost 14 hours to print the legs. The results speak for themselves. They came out amazing.
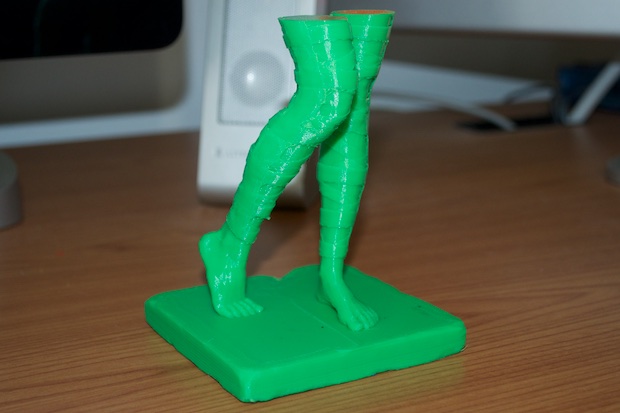
There is way more definition in the straps.
Hopefully I'll be able to do a better job of joining the two halves with the seam camouflaged within the leggings. With the two parts stacked on top of each other, the model is 12" tall. I can't wait to clean it up and glue the arms on!
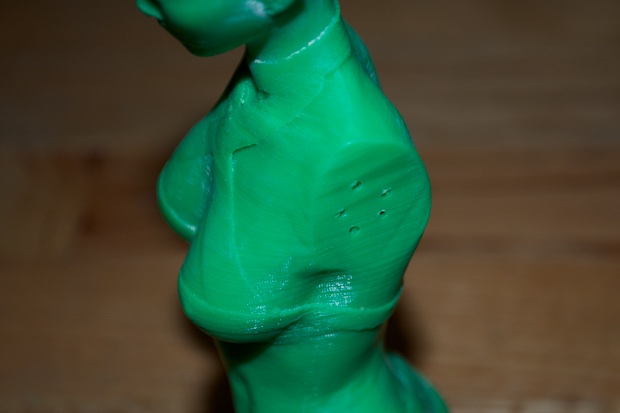
I then gave everything a light sanding. I didn't want a repeat of last time. I sanded it way too much and rubbed away a lot of the detail in the clothes. I just want to shine it up a bit and get rid of some of the little imperfections. With a layer height of .1mm, I don't think I'll have to go nuts with the sanding, I'm hoping that any remaining imperfections will be smoothed out with a few coats of primer.
The face still needs a little bit of work, but it's looking pretty good so far.
I then roughed up the ends and drilled some holes so there'd be somewhere for the glue to go.
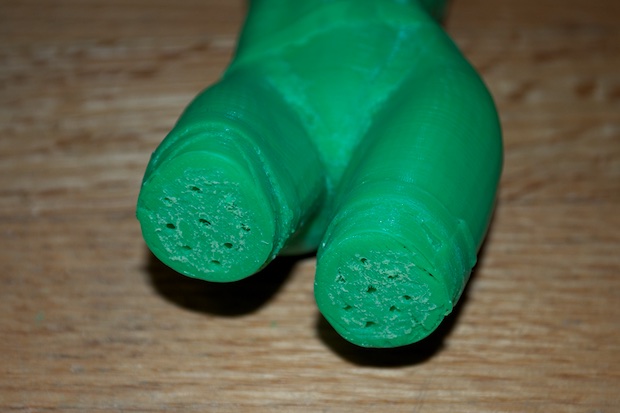
The 2-part epoxy I used sets in 4 minutes and is harder than concrete. It's awesome. You could drop this model off the roof and it would stay in one piece.

I gave the arms a good sanding until the seams were nice and smooth.
 See this project from start to finish:
Printing DAZ 3D Models Printing DAZ 3D Models, Part II Printing DAZ 3D Models, Part III

