I received the PCBs for the Temperature Shield a week or two ago, but I had to hold off on putting them together. I had a few other things to wrap up first. I also needed to order some more DS18B20 sensors. I had ordered a few from Digi-Key, but somehow the ones I received had a different pinout than the one I prototyped with from SparkFun. You'd think they'd all be the same.
In any case, I now have all my parts and I'm ready to go.
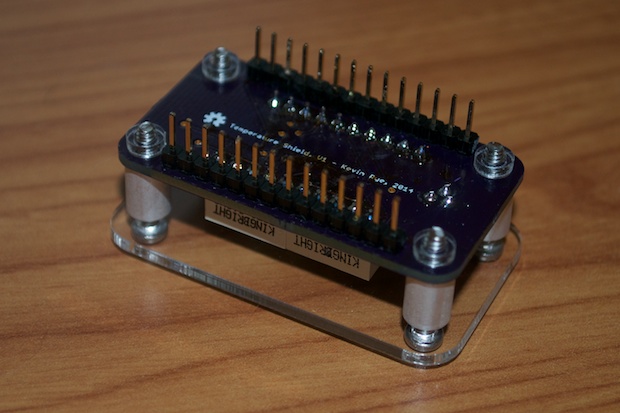
In order to make sure my header pins are nice and straight and that they'll fit nicely with my Bare Bones Arduino, I placed the header pins in my breadboard and laid the shield on top. I then soldered away.

The rest was easy: Two 7-segment displays, 1 temp sensor, and 3 resistors.

Another thing that I was holding out for was the laser-cut acrylic that I ordered from Ponoko. When I finally sat down to assemble the shield, I wanted to make sure that I had everything on hand first. I try to avoid putting half a project together to then have to set it to the side while waiting for parts. I prefer to put things together in one shot if I can.
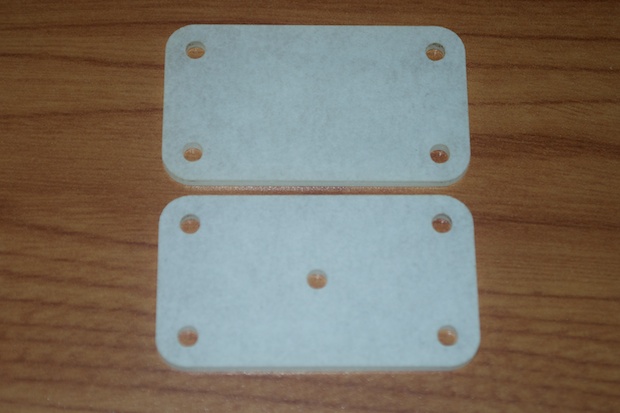
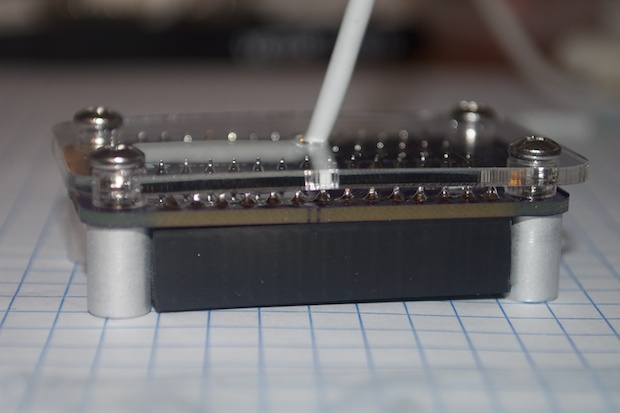
I want the acrylic on the back to sit pretty flush with the PCB. However, I don't want the sharp solder joints scratching the acrylic either. I could use some standoffs, but the smallest ones I have are a 1/4". Even that's too big. I though of just using some thin 4-40 spacers/washers instead of standoffs, but that would probably look pretty ugly.
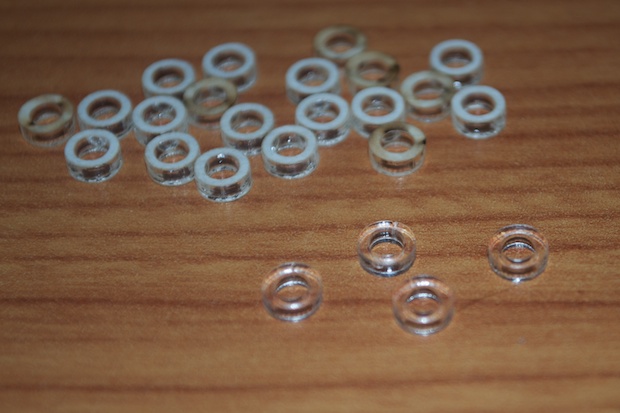
I decided to just design my own 4-40 spacers and add them to the file I submitted to be laser cut.
They look pretty nice once the paper backing has been peeled off.
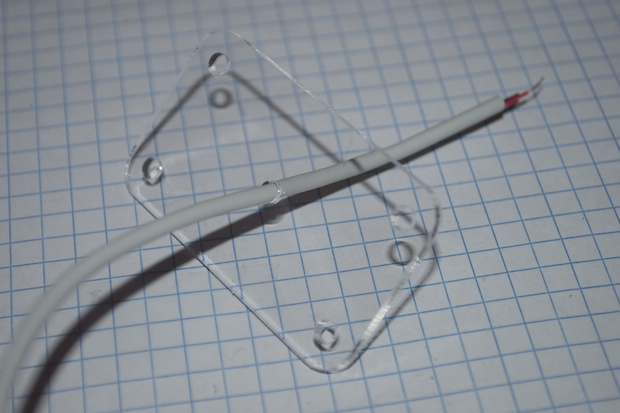
Instead of using a bulky 5V DC adapter, I wanted to simply connect a USB cable to it and power it off one of my computer's many unused USB ports. Optionally, I can also plug it in anywhere using a USB adapter.
I took one of the
knock-off iPhone cables I picked up at the gas station and cut the Lightning connector off it. (The connector was so cheap, it broke after 3 days. Rather than thrown it out, I held on to it thinking it would come in handy for a project. I was right!)
I fed the cable through the acrylic panel...
...and then soldered the Vcc and GND wires to one of my Bare Bones Arduino boards. I then added my 4-40 spacers.
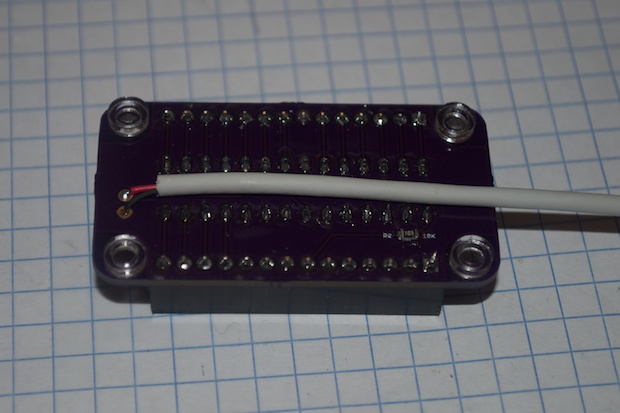
I then passed the screws through the holes and secured them with some standoffs.
The Vcc and GND wires are pretty thin and they'd otherwise be pretty easy to tear out. However, the acrylic does a pretty good job of squeezing down on the cable. There's no way it's coming out.
With the Bare Bones side complete, it was time to move on to the Temperature Shield.
I secured the front panel with some screws and some more standoffs. I then topped them off with some more 4-40 spacers.
I then screwed the two halves together. It looks awesome!
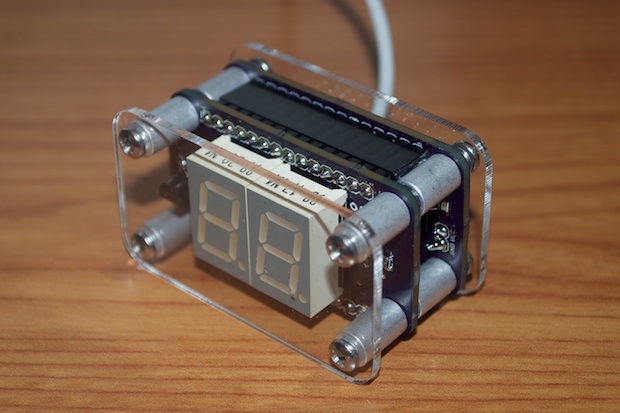
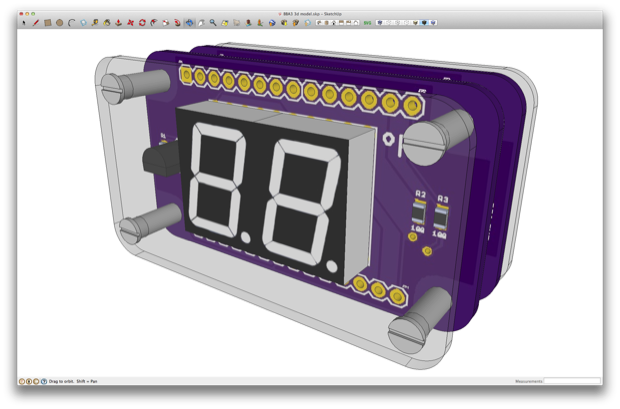
It's amazing how close I came to matching my 3D model! It’s just like I imagined it.
I had already loaded my sketch before assembling it, so it was just a matter of crossing my fingers and plugging it in.
Boom! It works like a charm! I really like the green.
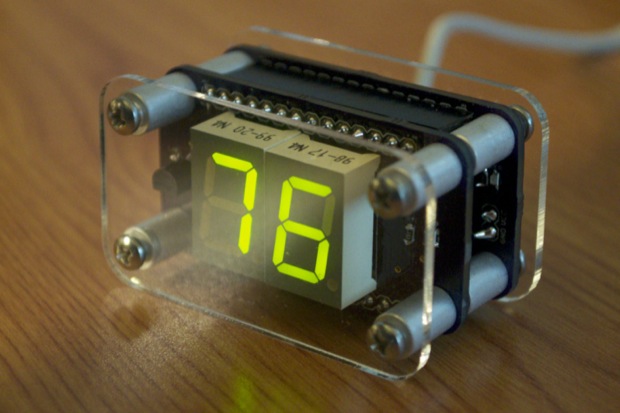
The DS18B20 does take a little bit to come to temperature, but once it does, it remains pretty constant. I had it sitting next to two different thermometers and it pretty much stayed within 2 degrees all day. If it runs +2 degrees then I might add some compensation in the code to knock it down. I'll keep my eye on it for a few days and see how it performs.
See this project from start to finish:
Temperature Shield for BBA3, Part I Temperature Shield for BBA3, Part II

