While my
PCBs were being fabbed, I took the time to design a new laser-cut acrylic enclosure.
I first liberated the electronics from the old project box and took some measurements.
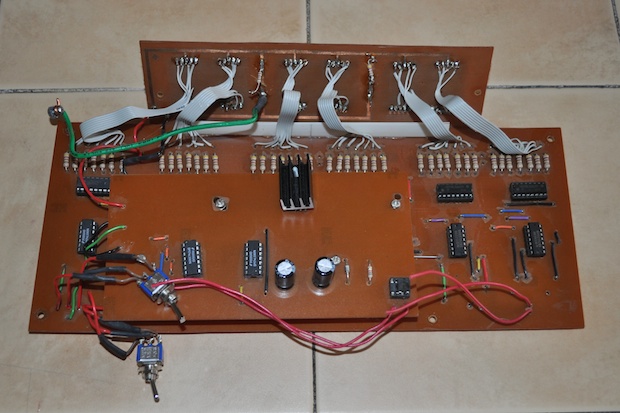
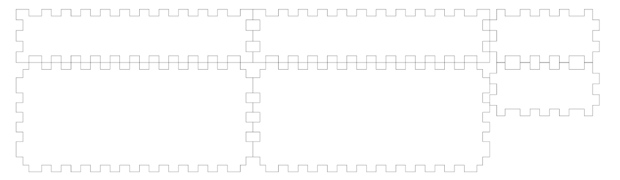
I then headed over to
makercase.com and punched in my dimensions. That generated a nice looking .svg file.
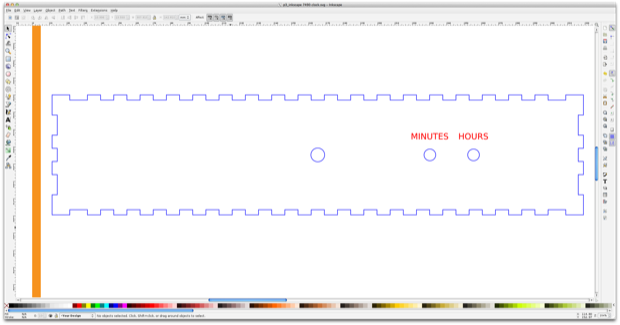
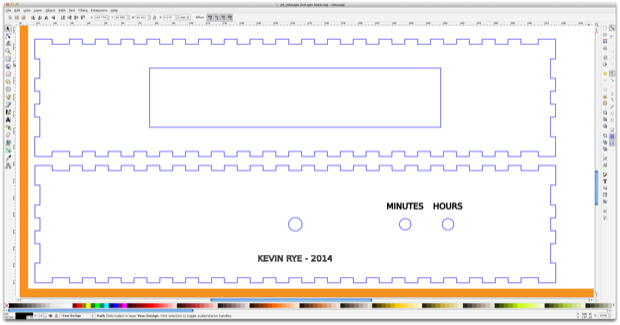
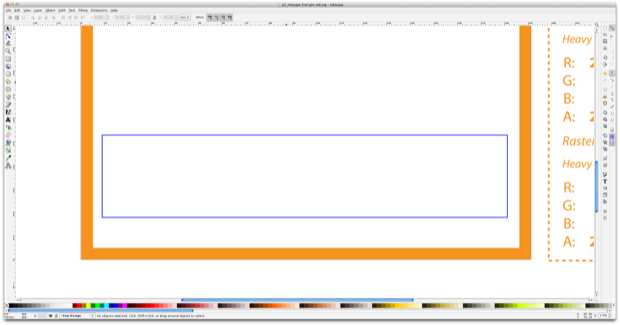
I then imported that .svg file into Inkscape and put it on one of Ponoko's templates. I changed my lines to blue for cutting, added some text to be engraved, and added some holes for the power cord and set buttons.
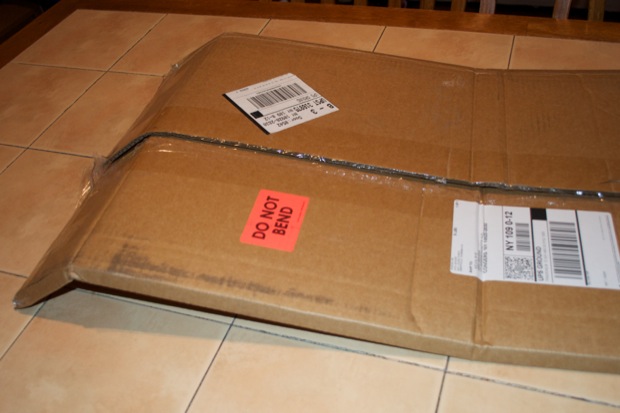
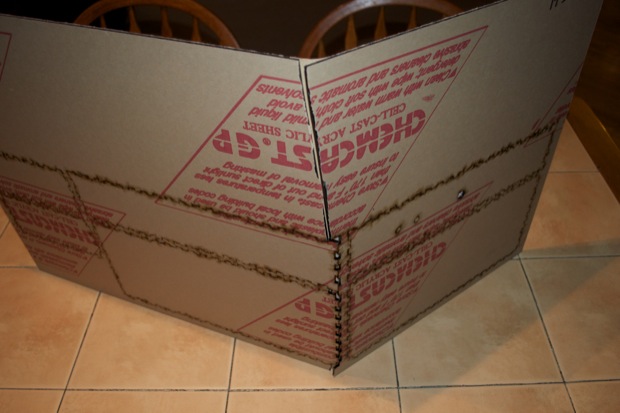
After about two weeks, my acrylic arrived by UPS. I swear, those guys are savages. It clearly states on the box to "DO NOT BEND". However, the box arrived folded in two places.
I crossed my fingers that they didn't snap the acrylic.
They did snap it in half, but luckily it snapped right where I had cut it, so it broke right on a seam. The pieces were OK.
I popped the pieces out and discarded the rest.
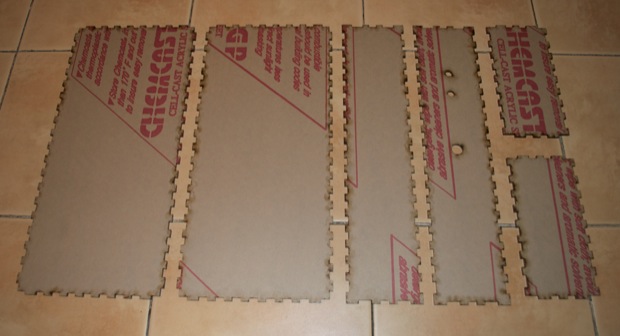
They look really good, and fit together perfectly.
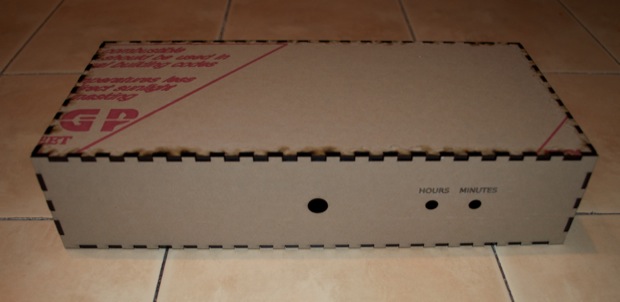
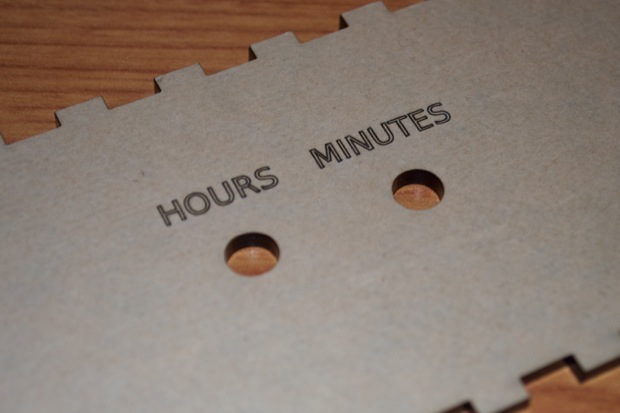
I had chosen to etch the HOURS and MINUTES labels on the back. Now that I look at it, I should have raster filled them. Maybe I can fill it in with white paint.
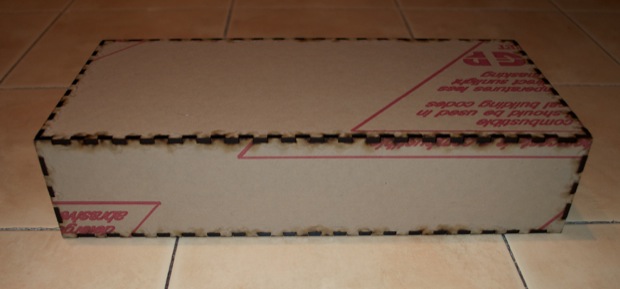
What a difference looking at them side-by-side. The new enclosure is way smaller than the last. If I got the dimensions right, the case should be no bigger than the PCB itself. The guts should fit like a glove.
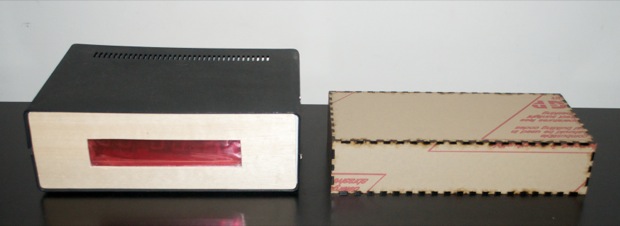
Boom! Nailed it! It's perfect!
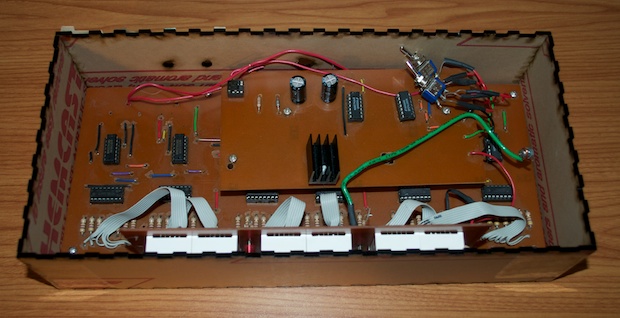
I was originally going to make the enclosure either clear or semi-translucent. I decided against it in the end since the innards aren't that nice to look at. Usually, I like to showcase the design of the PCB, but since this was a hand-etched board cut with a Dremel, it's not very pretty looking. In addition, I want it to look as nice as possible so that my wife won't mind seeing it in the living room. I want it to look like a finished piece, and not like a prototype in a project box.
With that said, I somehow forgot to make a cutout for the display. I had it in my head the whole time that I didn't need to make a cutout because I’ll be able to see the LEDs through the acrylic. What was I thinking? I had already submitted the order, so it was too late to change it. I just hoped that even with black acrylic, I'd still be able to see the LEDs through it. Wishful thinking. It's as black as pitch.

Take two: GO!
I need to make a cutout for the front display, but while I'm at it, I'll raster fill the text on the back and add my name and date to the bottom. I like to think of my projects as works of art, so I like to sign them.
I then want to fill the cutout with a translucent red panel. I made a separate file for that. I'll probably hold it in place from the back with either some tape or a few drops of glue.
Hopefully within a week or two I’ll have the PCBs and the acrylic. I can’t wait to finished this up. Then again, it’s been 13 years, so another week won’t kill me.
See this project from start to finish: Digital Clock 1.0 Upgrading My Old 7490 Clock, Part I Upgrading My Old 7490 Clock, Part II
Upgrading My Old 7490 Clock, Part III Upgrading My Old 7490 Clock, Part IV Upgrading My Old 7490 Clock, Part V
