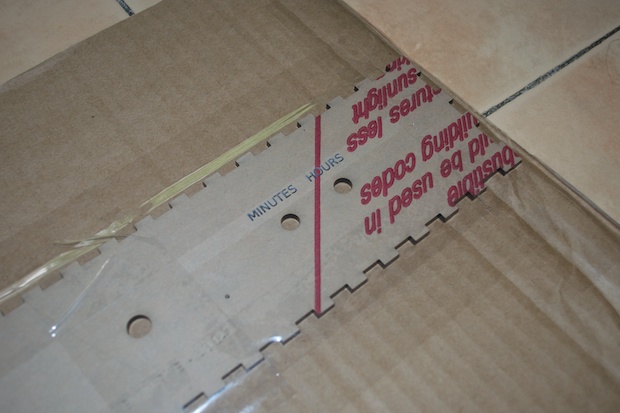
Since I wasn’t happy with the engraving
on the first spin, as well as totally forgetting to make a cut out for the display, I revised my SVG file and resubmitted it to Ponoko. They must have been on a roll this time because my order shipped the next day and was in my hands 3 days after that.
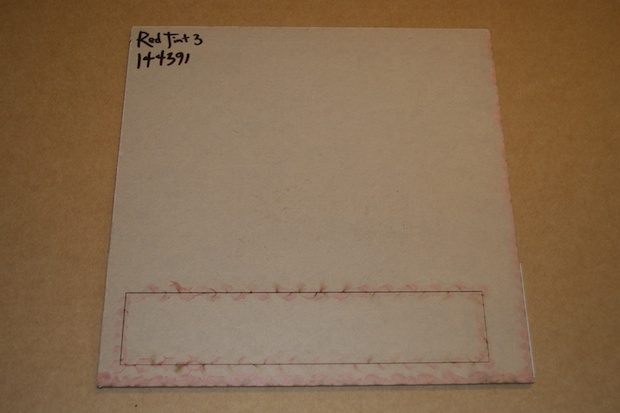
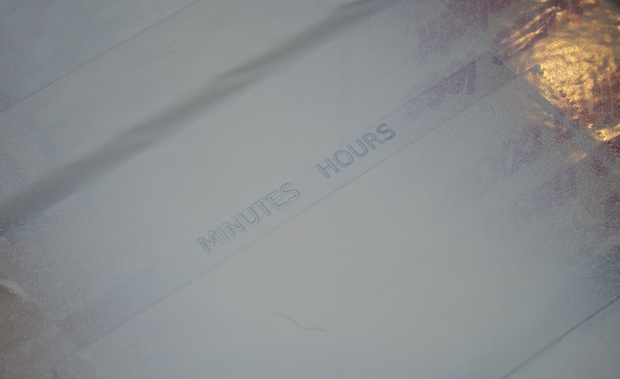
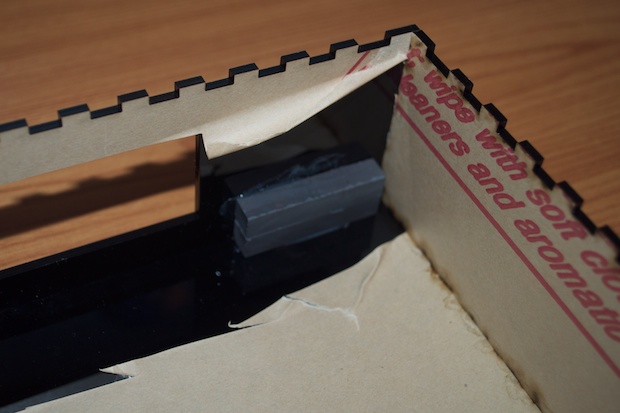
Looks good, but where’s my engraving?
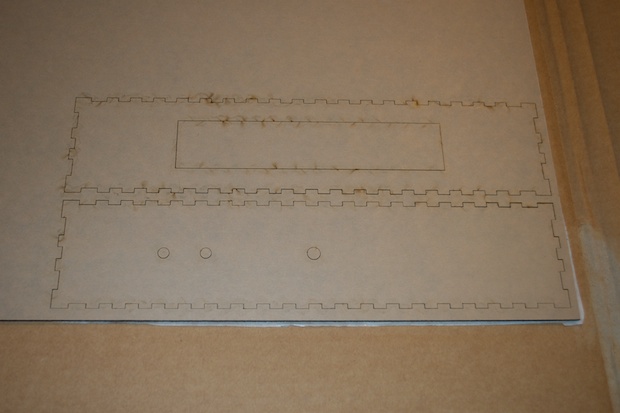
Phew! That was a close one. It was on the other side under the tape that holds it all together.
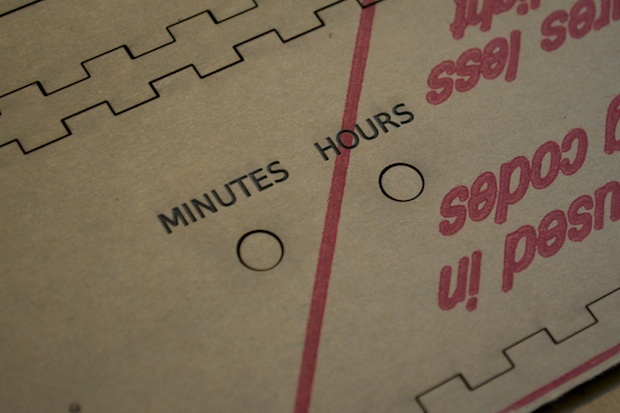
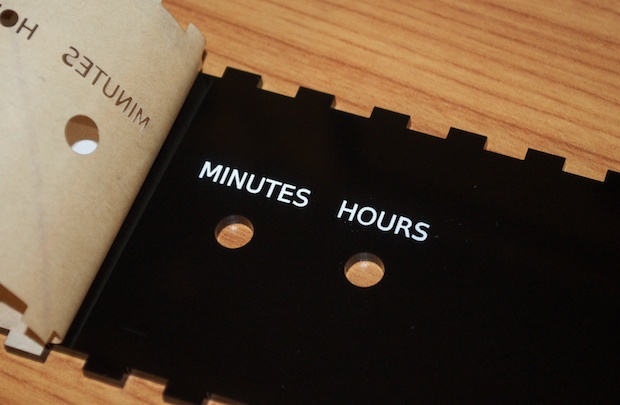
Ah! That looks much better!
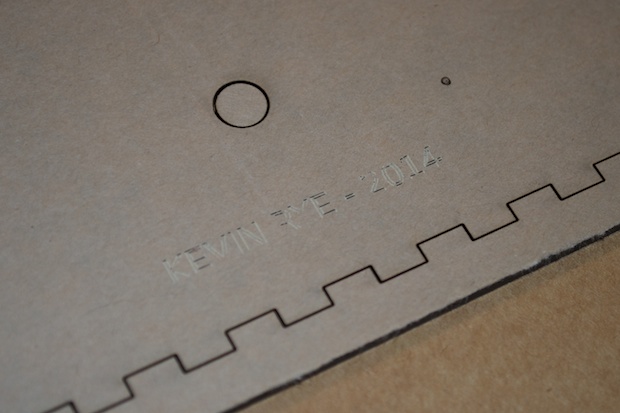
However, the engraving for my name and date didn’t come out too great. Dang! I thought I used the same font style and size as before and it looks like half of it didn’t even go through the paper. I didn’t want the name and date raster engraved, just lightly etched like the Hours and Minutes labels were before. I don’t know if that’s my mistake, or theirs. I just hope it doesn’t look too terrible when I take the tape off. I really don’t want to have to buy a 3rd panel.
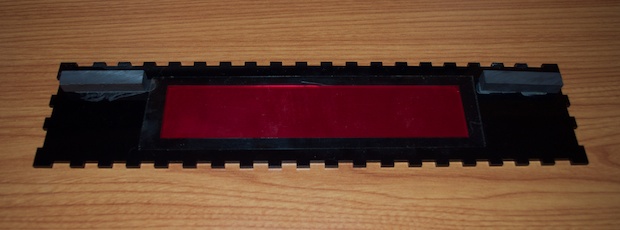
For the front panel insert, I had one cut out of translucent red.
It fits like a glove!

Speaking of things fitting like a glove, so does the display. I couldn’t have gotten that any closer if I tried. It’s perfect!
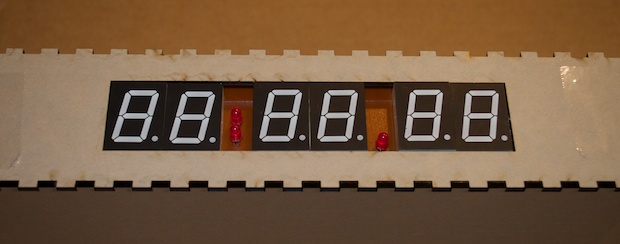
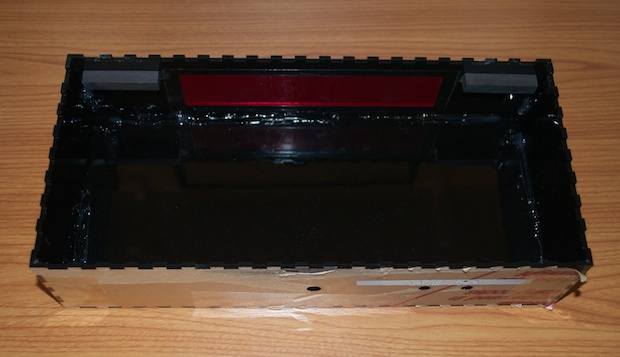
As far as the color, I think it’s going to look pretty good. I might lower the value of the resistors in order to brighten up the digits. I’ll have to see what it looks like when it’s all put together.
Paint time! I masked off everything but the text.
I then took it outside and gave it a light coat of flat paint.
After it dried, I crossed my fingers and peeled off the tape. Man, that looks good!
As far as my name/date, not so much. I just hope when the whole thing is put together, it’ll hide itself under the power cord and you won’t even see it. I thought about just buffing it out, but I’ll probably just make a mess of it.
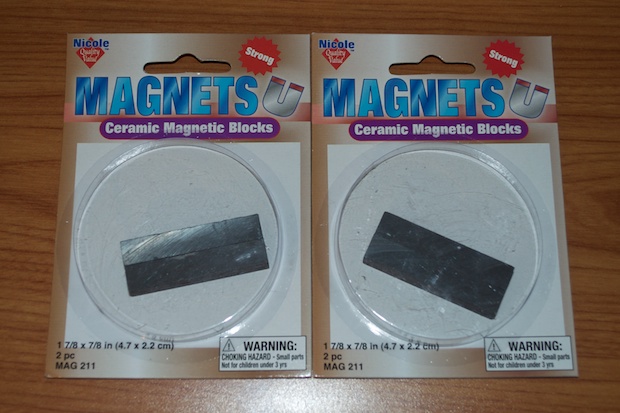
To hold to top cover on, and make it easy to remove, I want to keep it on with magnets. I don’t want to start drilling holes and adding screws. I hit up the craft store and grabbed a few packages of magnets.
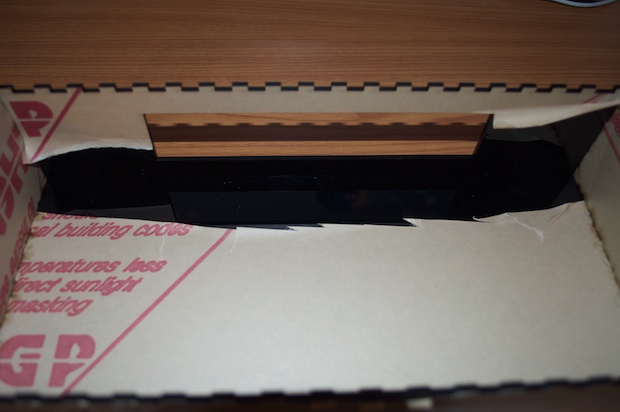
I then flipped the case over, removed the bottom, and peeled back enough of the protective film to expose the area where the magnets will be glued.
I then glued one magnet to the front panel, and one to the top case. I used some super heavy duty epoxy.
When the glue was set, I took it apart again. I inserted the red panel and secured it with a length of clear tape.
I then glued everything together with some hot glue.
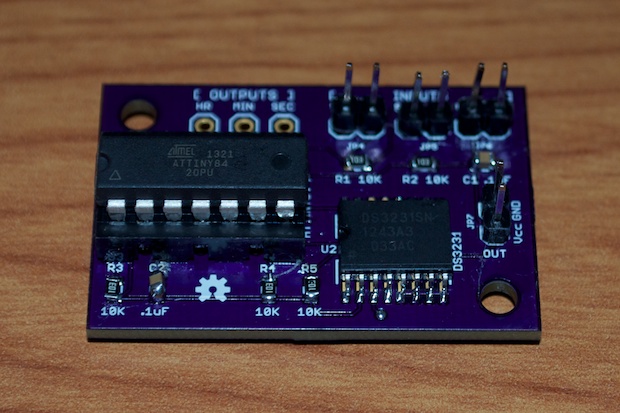
A few days later, my PCBs arrived in the mail.
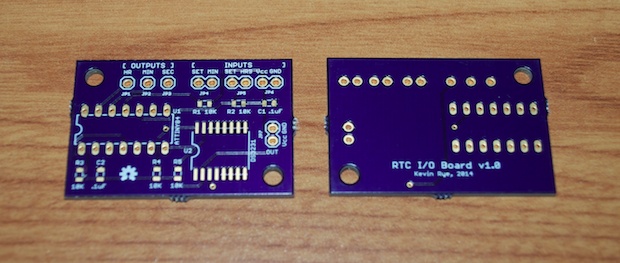
I got to work on soldering it together. It was a pretty easy build.
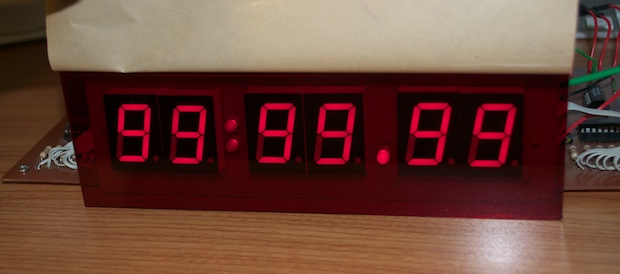
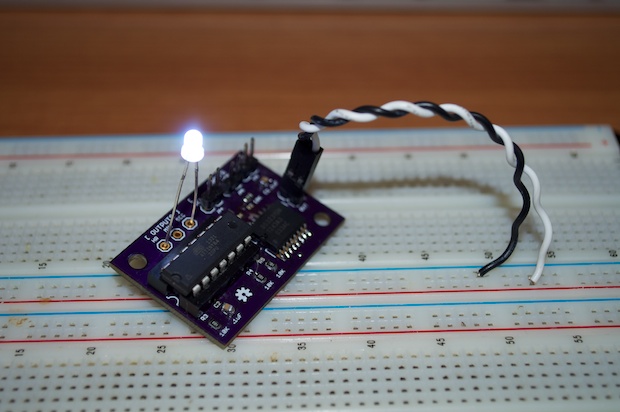
I plugged in an LED and watched it blink away. It’s alive!
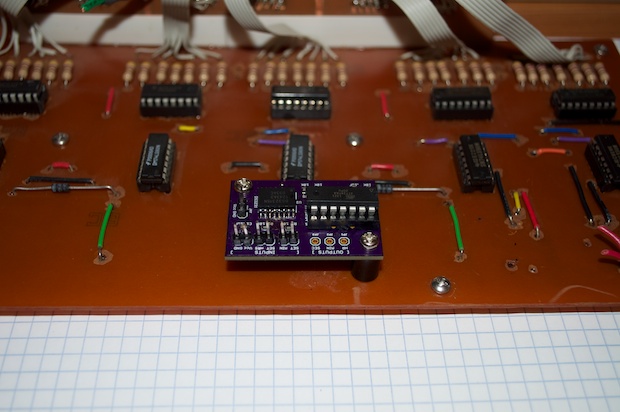
I then mounted it onto the clock main board with a few board stands.
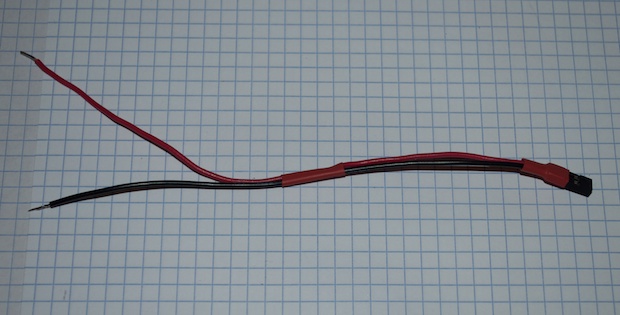
I then started putting together the various custom cables that I’d need for all the connections.
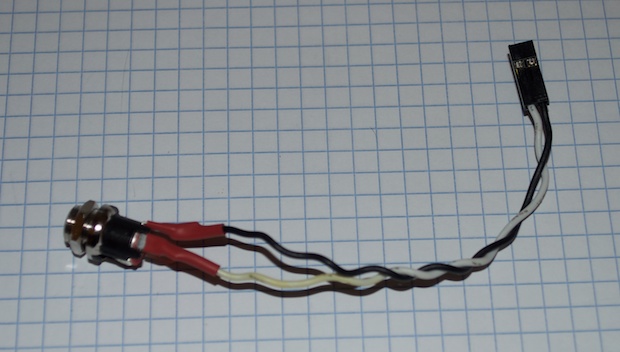
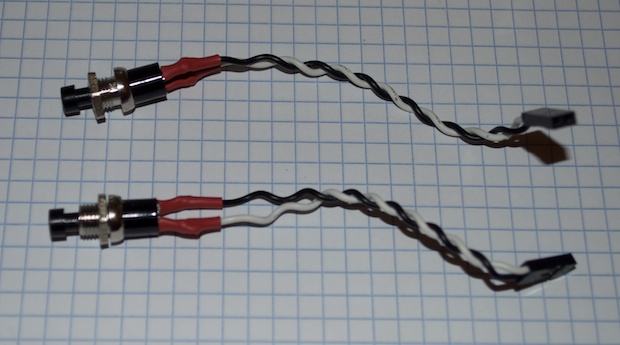
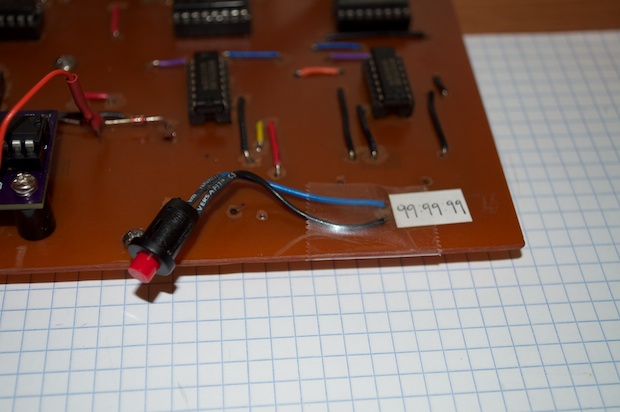
I also reconnected the reset switch which sets all the segments to “9”. I won’t need it when all is said and done, but it’s a quick and easy way to make sure I didn’t knock a wire off one of the displays during assembly.
Previously, I was knocking the 60Hz line signal down to 1Hz and passing it through a bridge. So I ended up with a nice 5V square wave. This time around, I’m using a digital pin on a microcontroller. It’s either HIGH or LOW. There’s no “OFF”, so I needed to wire-in another diode to stop the signal from conducting on the output pin of the previous stage when setting the clock.
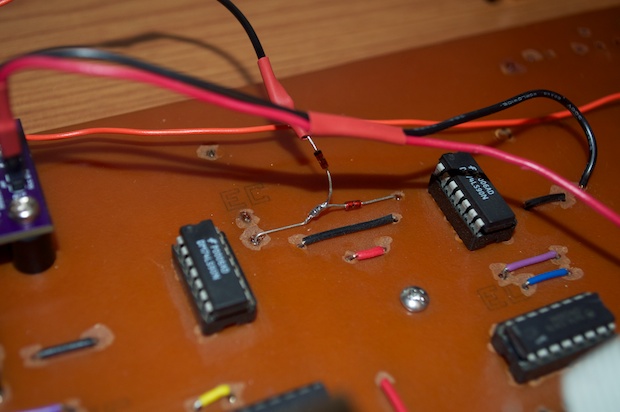
In theory, this should have all worked, but the signals are still getting crossed. Once the seconds reach 40, the minutes section starts counting on its own.
I need to do a little more tweaking. If I can’t fix it with a few more diodes, I might have to redesign the I/O board. I might just use one of my
Barebones Arduino boards. That way I’ll have way more digital pins to play with. I can tie all the outputs and inputs of each 7490 stage to a separate digital pin. I probably should have done that from the beginning. After all, this is the exact type of project I designed the Barebones Arduino for.
See this project from start to finish: Digital Clock 1.0 Upgrading My Old 7490 Clock, Part I Upgrading My Old 7490 Clock, Part II Upgrading My Old 7490 Clock, Part III
Upgrading My Old 7490 Clock, Part IV Upgrading My Old 7490 Clock, Part V
