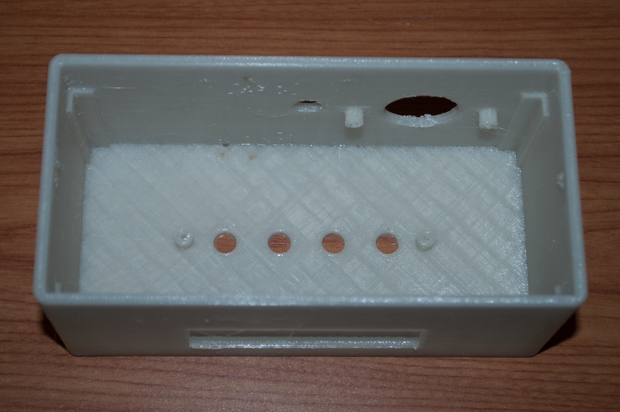
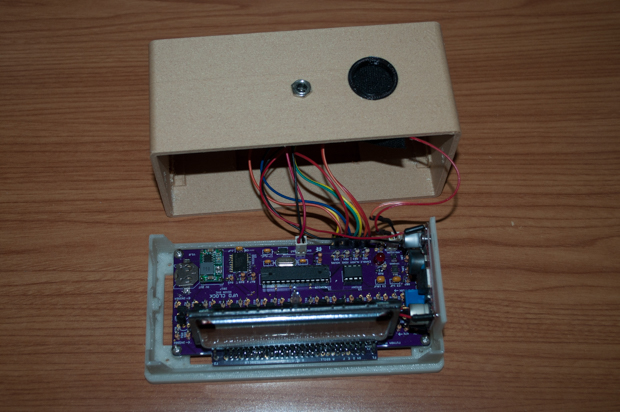
The electronics have been assembled, so it's time to work on the enclosure. I started with the bottom of the enclosure just to get the hole placement right as well as the footprint. I want to make it as small as possible; maybe 1 mm clearance at most on all sides.

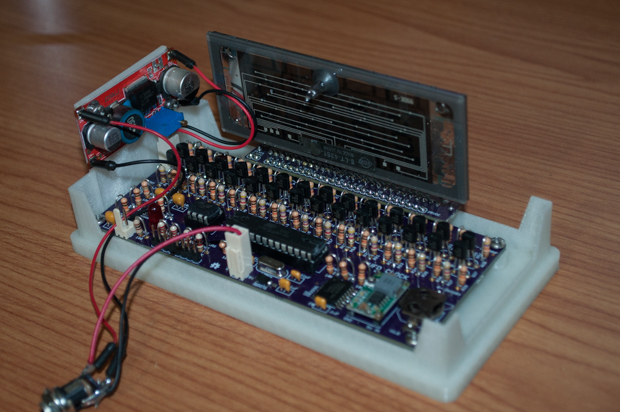
I was pretty sure I had centered the display on the PCB, but I must have miscalculated something. As you can see, the display is not exactly centered. It's shifted a little to the left. In order for the display to be centered on the front panel, I had to add about half an inch to the right side of the enclosure. The other three sides have about 1 mm clearance. That's as small as I can make it.
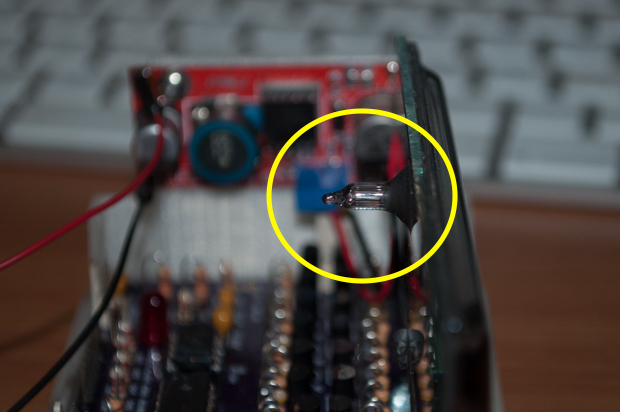
Regardless, everything seems to fit nicely. In order to mount the power supply, I decided to extend the side wall up about an inch to serve as a mounting plate.
Looks pretty good.
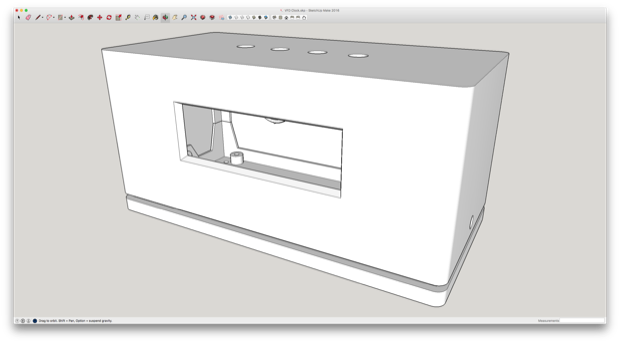
It was then time to work on the top cover. In order to get the button holes and the height for the standoffs right, I printed a small test piece.
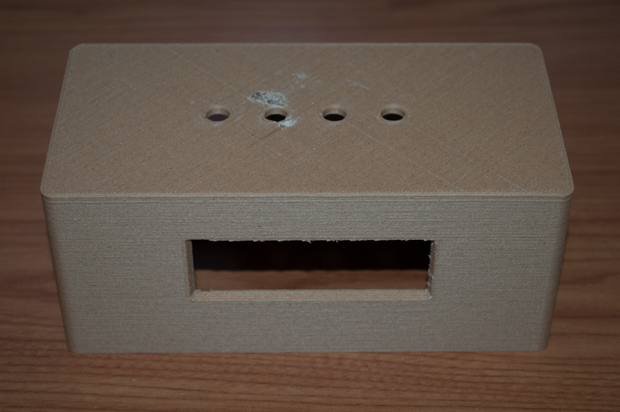
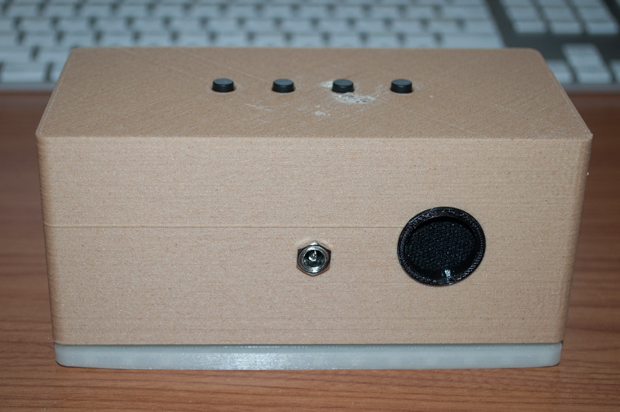
I then designed the top cover around that. I incorporated a hole for the DC input jack and the speaker.
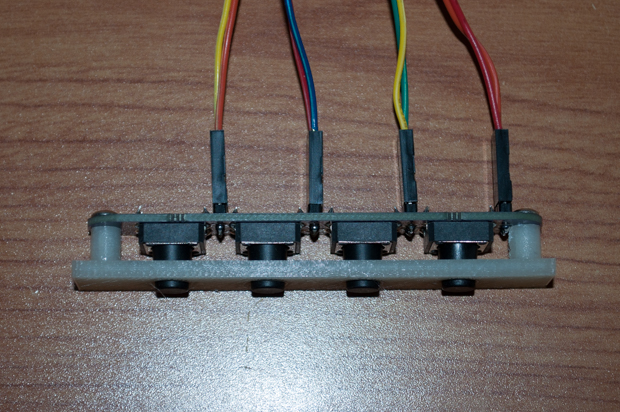
The buttons fit perfectly, but I can already spot two mistakes.
I wanted the buttons more towards the front than the center, but I did not take into account the large blip of glass on the back of the display. It sticks out pretty far and gets in the way of the buttons. That pretty much forces me to move the buttons to the center of the enclosure.
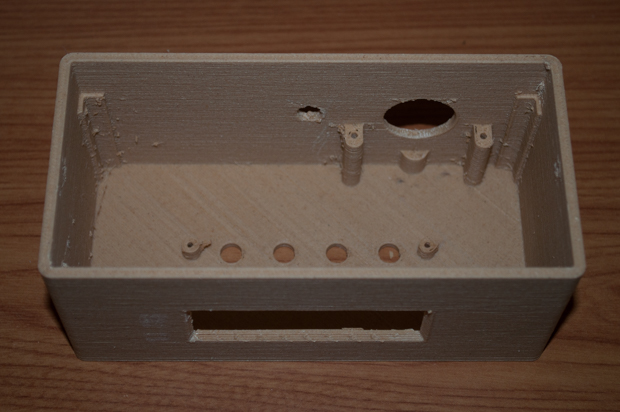
The other mistake is that the standoffs that secure the speaker are incorrectly oriented. They looked great on the screen, but once I held the model in my head, it was apparent that there's no way I'll be able to get a screwdriver in there to secure the crossmember that goes over the speaker. What a silly mistake.
To remedy this, I designed a small test fixture for a new design. On this one, I can put the screws in from the top.
Other than that, it's looking pretty good. I thought the top cover would go on with a pretty tight fit, but it does come off rather easily. Any time I pick up the clock I'm going to have to be careful not to just pull the whole top off. I can't really put screws through the bottom since the standoffs for the PCB are in the way. I can't pass screws right through them either since the PCB isn't centered on the inside. The only other option is to screw them together from the side. Hopefully a single screw on either side doesn't look ridiculous.
I then tweaked the model to include the changes.
Here's an x-ray view so you can see that it's not just a simple box. There's a lot of features in there.
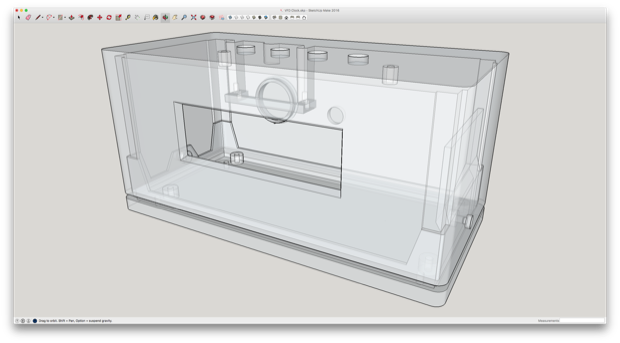
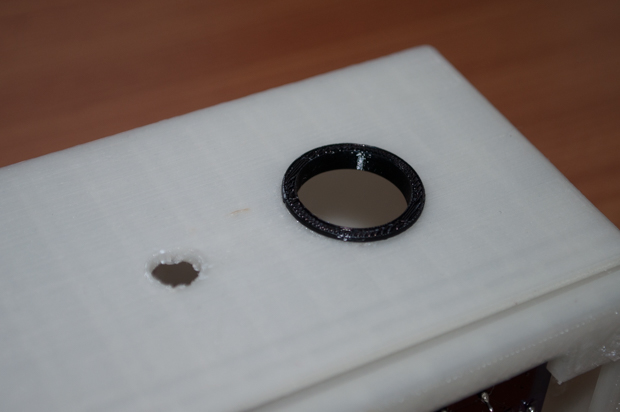
I also added a grommet for the speaker.
It was then time to print the final one out of woodfill PLA. I only had enough material to print one enclosure. It's too bad it ended up with a blob of PLA on the first layer. It must have been between the raft and the model. I guess I didn't notice it or I would have cancelled the print. It left a pretty ugly looking mark. Why couldn't it have been on the back? I'm just hoping I can sand it out.
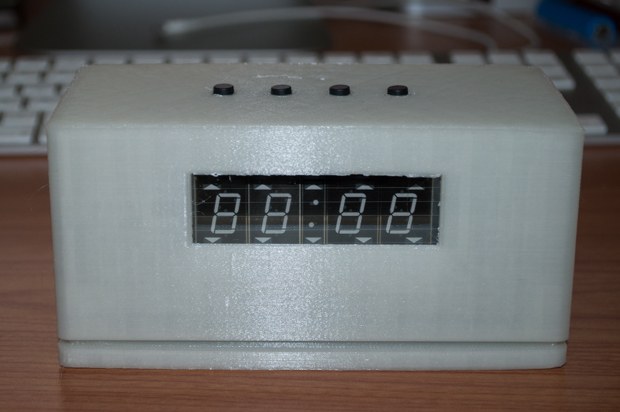
Other than the mark on the top, it came out pretty nice.
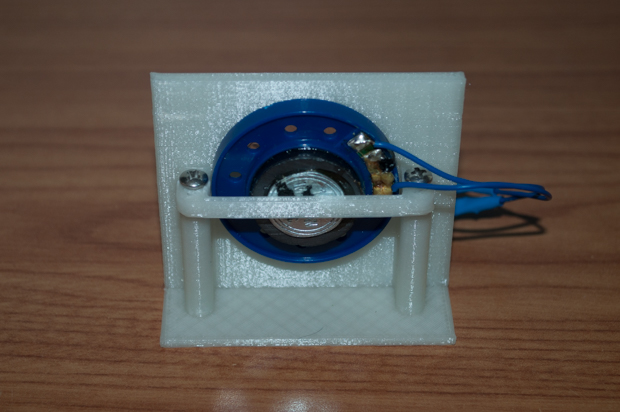
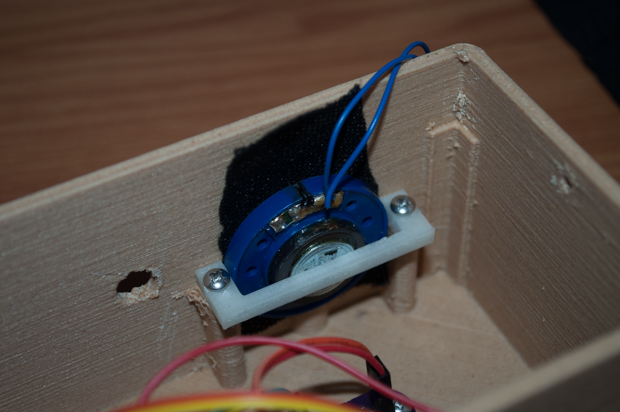
The speaker fits nicely. It's tight, so I didn't even need any glue or anything to hold the speaker fabric in place.
Pretty nice.

I'm out of black PLA for the base, so I'm going to have to wait a few days before I can wrap this one up. I guess in the meantime, I can stain the enclosure. However, I couldn't resist putting everything together as-is just to see what it looked like.
Awesome. I can't wait to finish it.
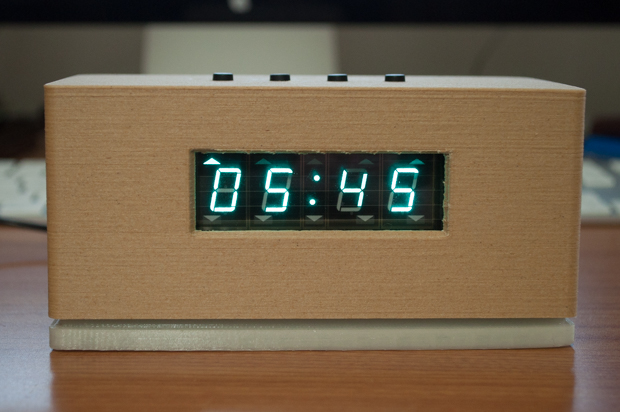
That mark on the top is really bothering me though. In addition, the holes I made on the sides to secure the top were unnecessary too. Unlike the plastic prototype I printed, this one goes on really tight. The top is not coming off unless I mean it to.
I just might order another roll of woodfill PLA and have another go at it. We'll see.
See this project from start to finish:
I Finally Figured Out This Vacuum Fluorescent Display VFD Clock - Part I VFD Clock - Part II VFD Clock - Part III VFD Clock - Part IV VFD Clock - Part V
VFD Clock - Part VI Clock Button Panels
