While I was waiting for my PCBs to arrive for the LCD Clock, I figured I’d cue up another project so that I could identify and order the parts I’d need for it. This way, by the time I’m finished assembling the LCD clock, I’ll be ready with parts in-hand for the next project.
My
PCBs arrived, but I’m still waiting on one last thing in order to complete the assembly of the
LCD Clock. I need a new Dremel in order to drill the holes for the LCD and the stand, as well as file down the little tabs left on the sides from when the boards were separated. In addition, the pins on the power jack are a little too fat for the holes on the PCB. I’ll have to file them down just a hair to get them to fit. I’d rather file the pins on the jack than try and drill the PCB holes to make them bigger.
My old Dremel was in need of repair. The cable strain relief had snapped, exposing the cables. Rather than start an electrical fire, I opted to open the Dremel up, resolder the wires and add some heat shrink tubing. When I opened it up, the whole motor assembly sort of just fell apart. Oh well. That thing was probably a good 15 years old anyway. I’ve been wanting a new one with a table stand for a while anyway. Needless to say, I have an “early Christmas present” coming in the mail on Monday.
I’ve also been working on the
FartBox; which is still in progress. However, I’m still juggling around ideas for an enclosure as well as providing power for it while keeping it small. I don’t know if I’m going to put it in a homebrew enclosure/box or try and jam it into a
Staples “Easy” button. Maybe the Staples Easy button will be a project of its own.
For some time now, I’ve been wanting to make a Word Clock. I figured I’d make that my next project. So, while I wait for the Dremel for the clock, and the PCBs for the FartBox, I’ll get started on the Word Clock.
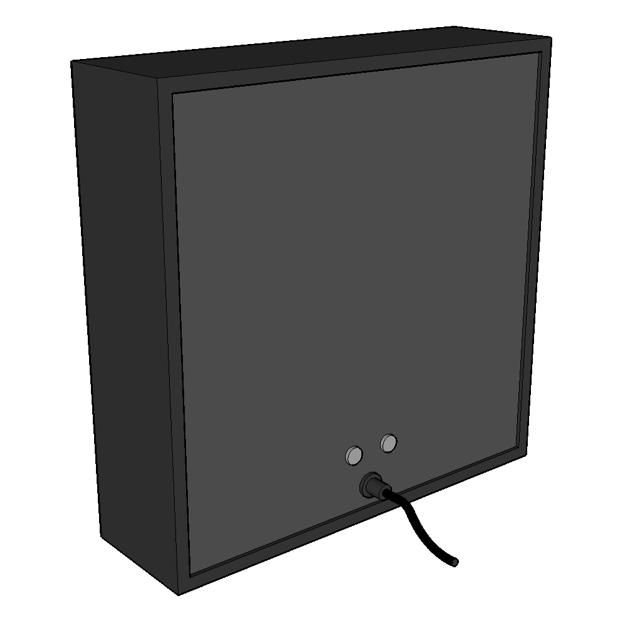
Basically what a Word Clock is, just like it sounds, a clock made with words instead of numbers. There’s a bunch of other random letters thrown in there too just to fill in the gaps. I chalked up a 3D model to better illustrate what it will look like.
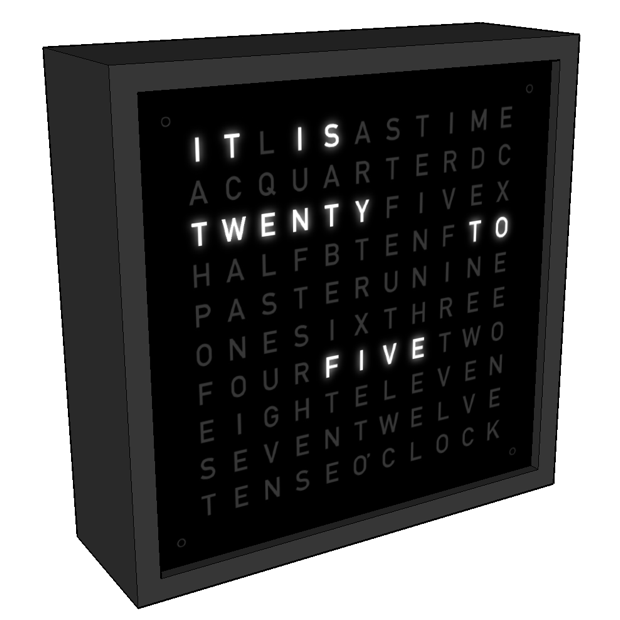
Basically, LEDs light up the words that tell the current time. It’s easy enough to set. I’ll just need an “UP” and “DOWN” button along with a power connector. There’s also 4 LEDs around the corners to light up the minutes. So if the clock says “IT’S QUARTER TO FIVE” and 2 corner LEDs are lit up, you know it’s 4:47.
By my count, I’ll need a good 100 white LEDs or so; one for each character. The last time I checked, white LEDs where just about a buck a piece. You can shop around, but even places like Jameco charge .89 cents for one. Wow, $90 dollars for LEDS? I don’t think so.
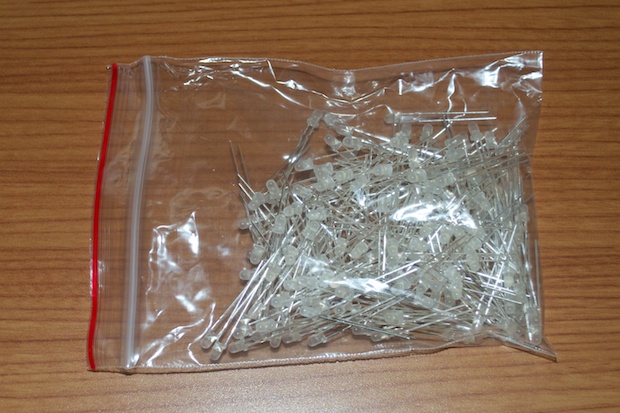
I hopped on eBay and would’t you know it, China pulls through again with the cheapest prices on the planet. 200 white 3mm diffused LEDs for the unbelievable low price of $9.00! That’s just about 4 cents a piece. However, who knows if they’ll all work?! They might have a 20% failure rate. That’s why I was sure to order way more than I need to complete the clock.
They arrived pretty fast considering they came all the way from China and the shipping was free. I had them in-hand in 9 days.
I also received all the other parts from Jameco that I’ll think I’ll need to construct the clock.
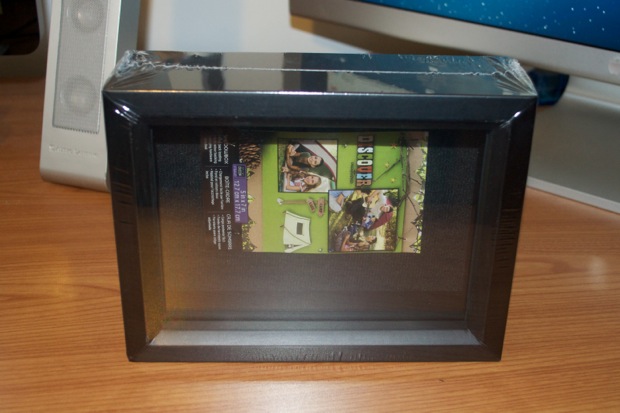
Ideally, the clock should be a square, but I couldn’t find a square shadow box that was small enough. I don’t want the clock to be huge either. The smallest square shadow box was something like 10” x 10”. The smallest of all the shapes they had was 5” x 7”. It was also on sale for $5, vs the $20 they wanted for the larger one. Seemed like a no-brainer. I’ll play around with it and see how the letters look spaced out in a landscape orientation. If they don’t play nice, I’ll just have to give in and make the clock bigger.
I placed my order with Jameco because they gave me a free shipping promo code with the last order I did for some of the LCD clock parts.
Shift registers and LED drivers: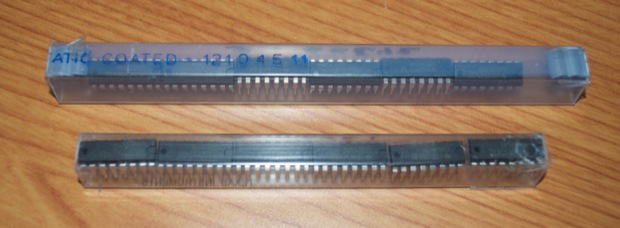 Resistors for the LEDs:
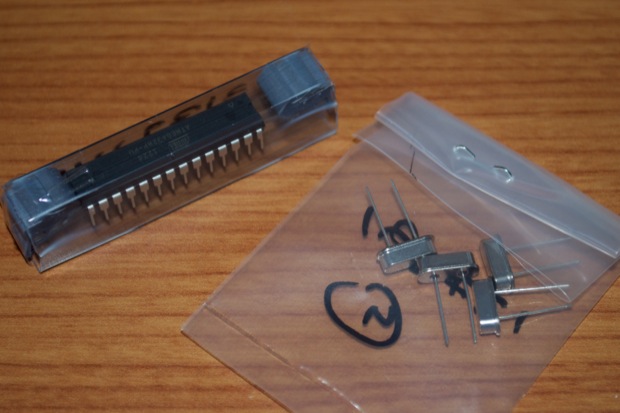
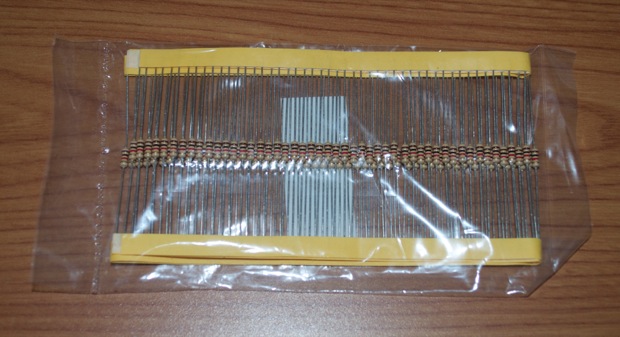 ATmega328 and some crystals.
I already have a ton of the supporting resistors and caps. You can never have enough crystals, so I ordered a few spares.
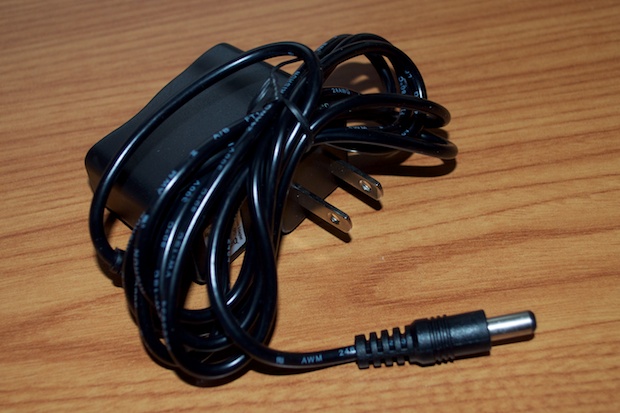
 5V DC adapter:
I actually ordered the adapter from SparkFun. I really like the non-branded, generic look of their adapters. At $6 each, the price was also better than what Jameco offered. I don’t want my projects to look like I robbed the adapter off something else. Not only were the adapters from Jameco more expensive, they looked like something off an old answering machine. Talk about a brick!
 Transparencies for my laser printer:
 I’ll use transparencies to make the overlay.
It’s going to look really cool when it’s done.
See this project from start to finish: Word Clock
Testing 200 White LEDs Started the Word Clock Completed The Word Clock PCB Finishing the Word Clock Display Started the Word Clock PCB Build Completed the Word Clock
