On the street where my Mom grew up in Scotland, there's a concrete sign on the corner of the street. I always thought it was pretty neat that a lot of the streets in the neighborhood had these signs. They don't have anything like that in the States.
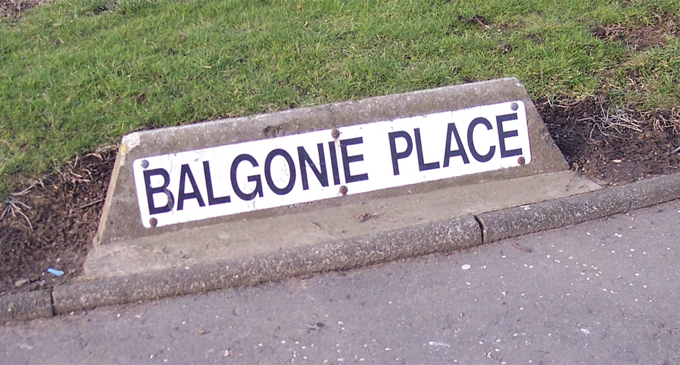
I thought it would be something neat to 3D print for her. Maybe she can put it in her garden as a reminder of back home, and the house she grew up in.
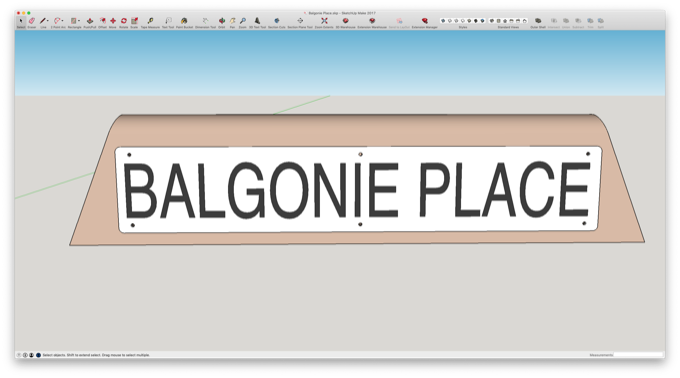
I jumped into SketchUp and mocked up a pretty simple 3D model.
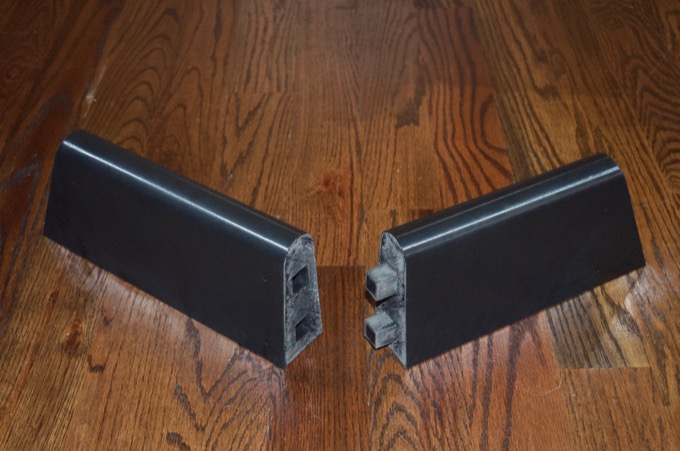
I imported the model into Meshmixer so that I could cut it in two to fit my printer and keyed the model so that I could glue it together with some pegs. Since there are some mounting holes on the front in the center for the name plate, I made the cut a little to the right of center so that the cut would not go through the mounting holes.
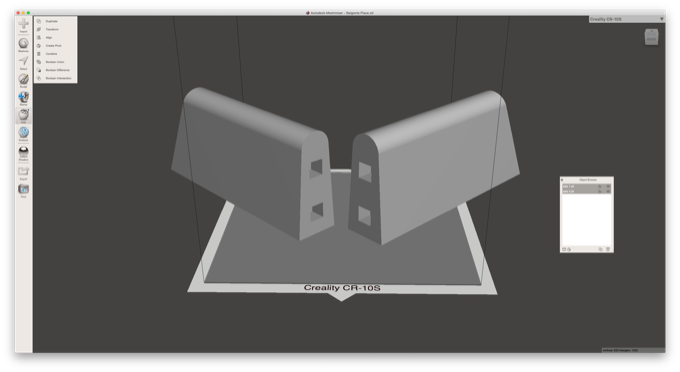
As a result, one piece is slightly longer than the other. I did not take note of how long the shorter piece took to print, but the larger one took 15 hours. Since the length between the two is negligible, I'd say it took about 30 hours to print. (And that was with 5% infill and a .3mm layer height!)
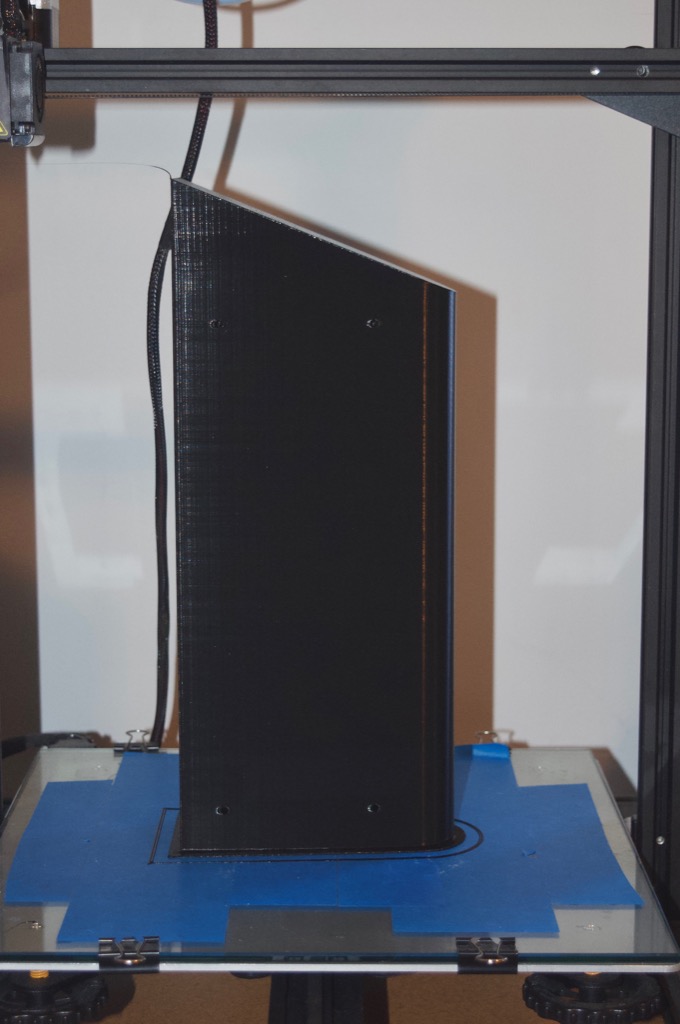
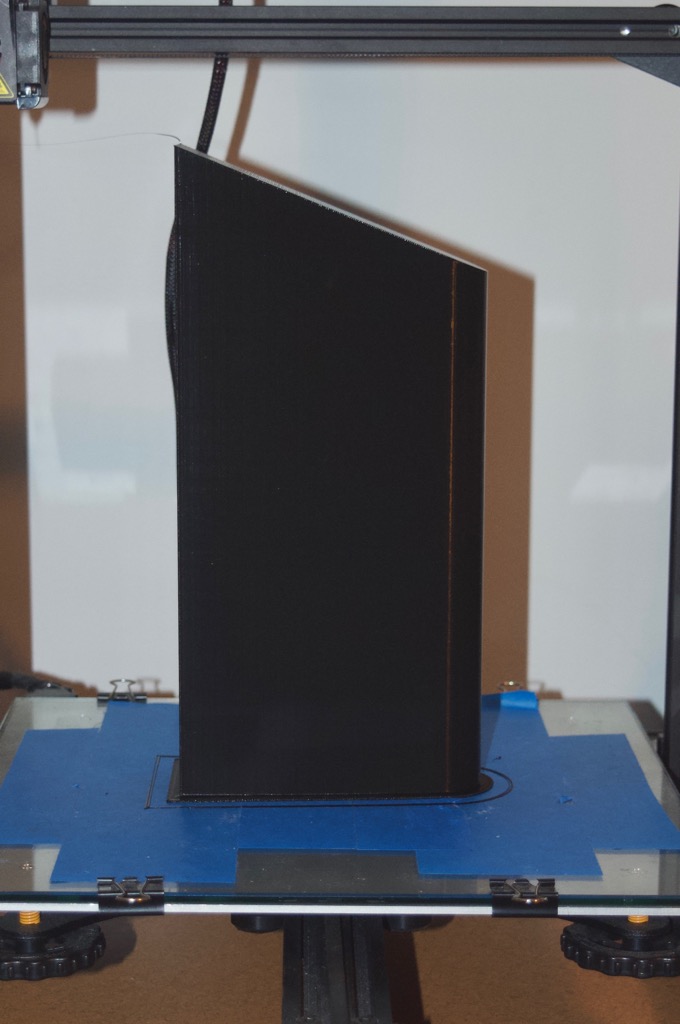
That is a very large print. It measures 23 1/4 inches.
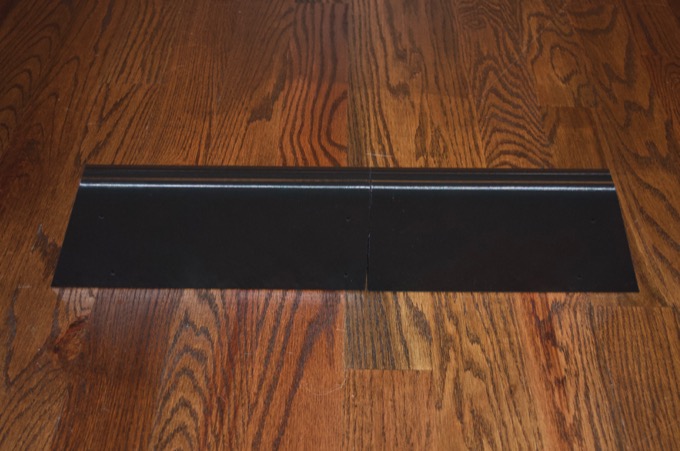
I printed out the pegs, sanded the ends, and epoxied it together.
I then gave the whole thing a good sanding and filled the seam with 3M Acryl-Green putty.
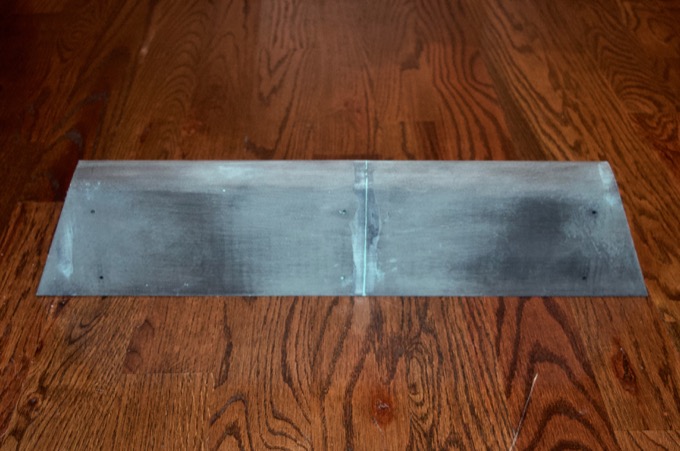
I then gave it a few coats of primer and sanded lightly between coats. It does not have to be super perfect because I am going to spray paint it with a stone-textured paint.
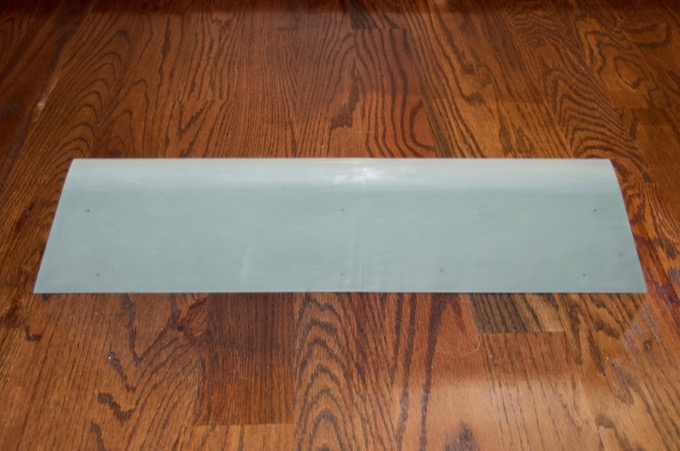
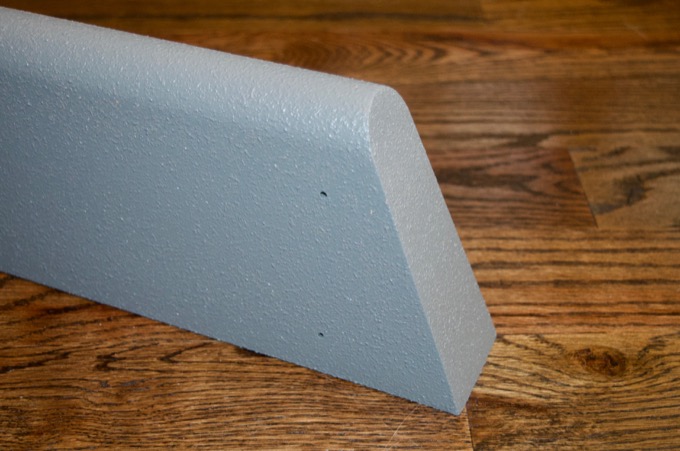
I then gave it a coat of stone-textured spray paint. It's a regular sized rattle can but it goes fast. This was just one coat and half the can is gone. This stuff shoots out like silly string!
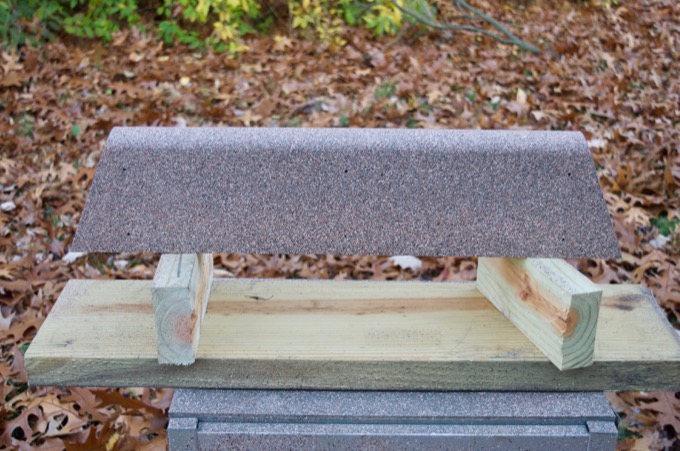
It gives it a great texture though. This is why I printed the model with a layer height of only .3mm. It drastically reduced the print time and I knew the paint would hide any layer lines that I was unable to fully sand out. The front and the back was easy to sand pretty smooth, but there was some noticeable stepping on the ends. You cannot even tell now.
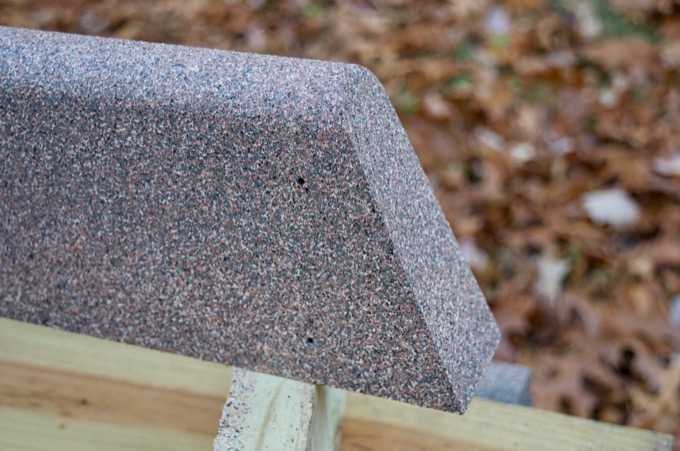
It took forever for the paint to dry. The can said it dries to the touch in 5-6 hours, but the next day it was still a little tacky. I waited another day and then gave it another heavy coat. I then let it sit for a few days to fully dry. I then gave it two coats of light gray.
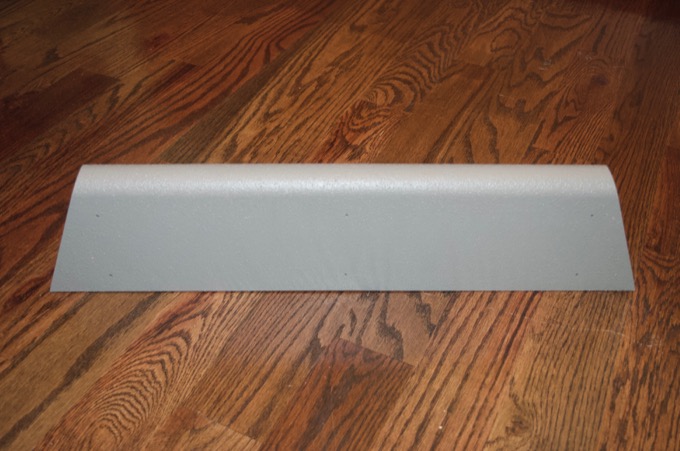
The texture looks great. It looks just like concrete.
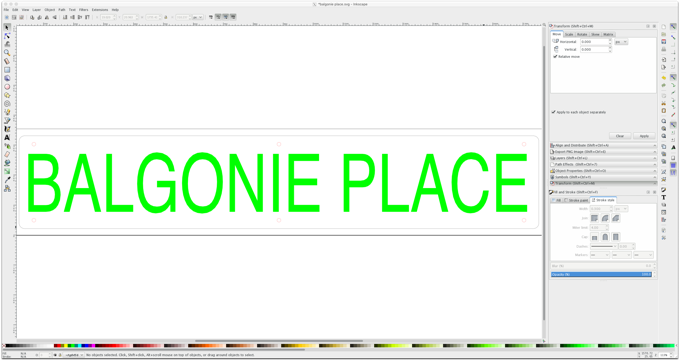
With the painting complete, it was time to work on the name plate. I exported the name plate from SketchUp as a .SVG and took it into Inkscape to set my engrave and cut colors for the Glowforge.
I did not have any white acrylic left to make the cut. In any case, the white that I did have is an 1/8" thick. That's a little too thick for the scale that I am working with. 1/16" acrylic would be much better. The only 1/16" acrylic that I have is clear. I am going to have to paint it white, mask it off, engrave the text, and then paint the letters black.
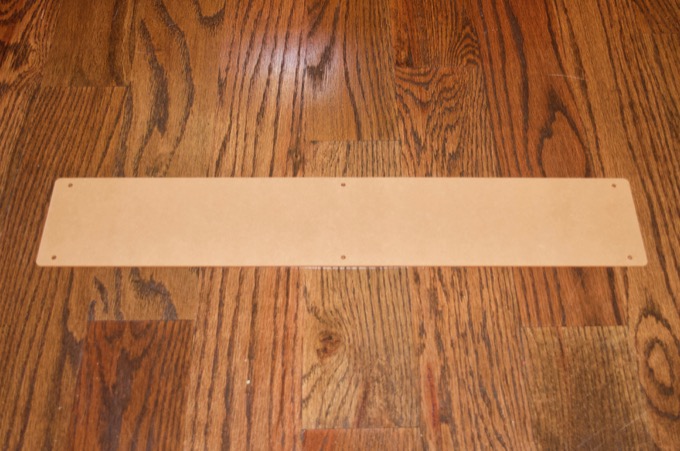
I first cut out the name plate using clear 1/16" acrylic.
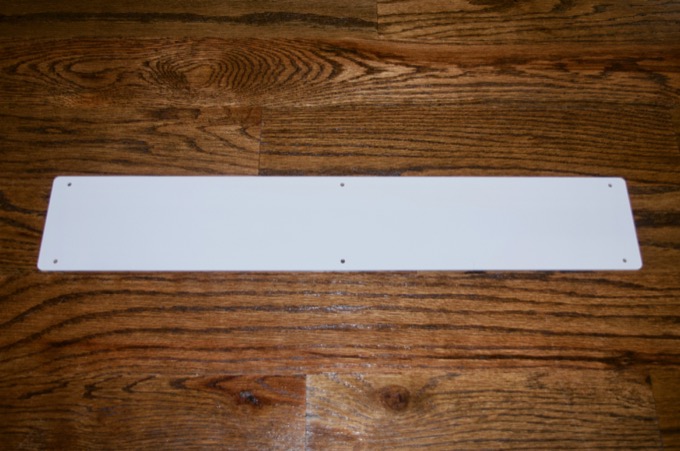
I then gave it two coats of white followed by two coats of matte clear.
I then masked it off and engraved the text.
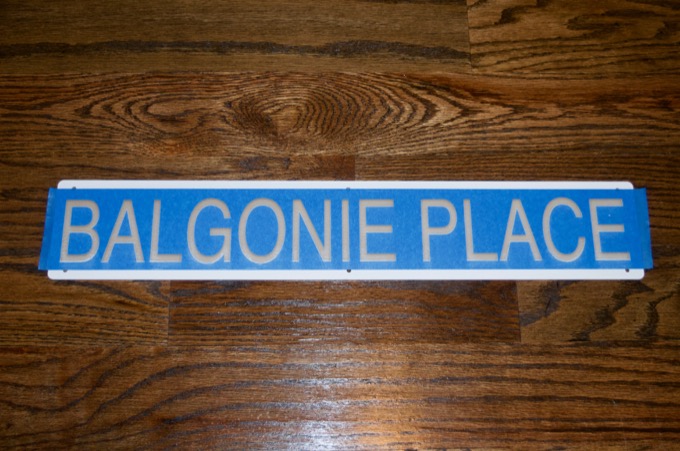
Lastly, I painted the letters black and gave it another clear coat.
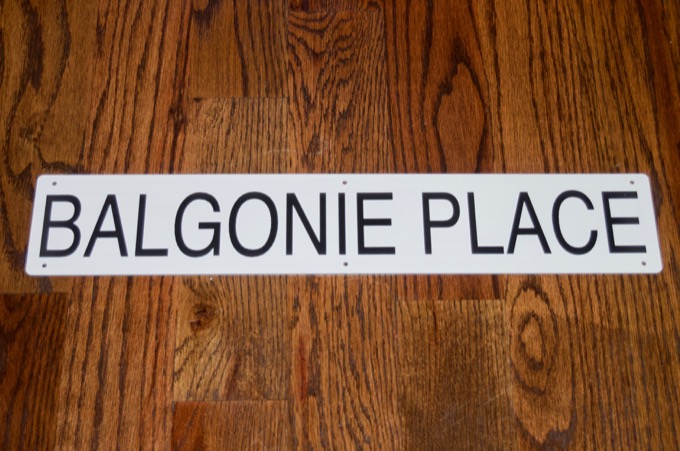
That came out amazing.
The last thing to do was to hit Home Depot and pick up some screws that made a good match.
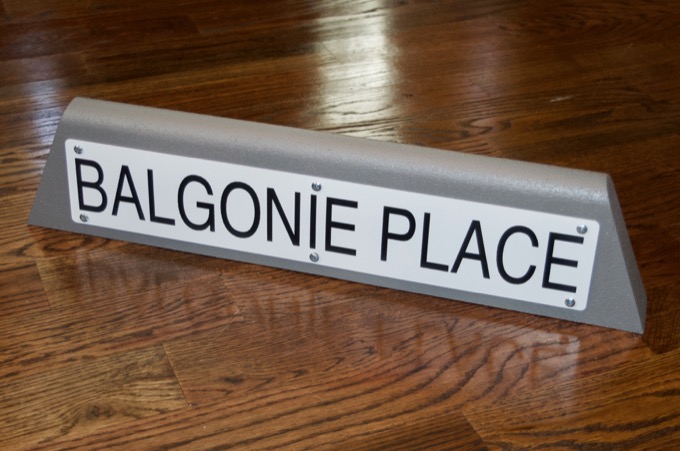
That came out awesome. This will make a really nice Christmas present for my Mom.


