The
Digital Photo Frame 1.0 is almost a year old. It’s time for a new revision.
I built version 1.0 to take advantage of all the available I/O ports on the laptop. It’s been sitting on my desk at work for almost a year and other than USB, I have never used any of the ports on the back for anything. I use the USB ports for a mouse and a USB thumb drive when I am transferring new pictures.
I also built in a case fan to keep the machine cool. Since all it does is act as a screensaver, the machine runs pretty cool. The built in fan is overkill, and a waste of space.
By removing the excess I/O ports and the case fan, I should be able to thin down the case by a lot. I always thought that the last enclosure I used was way bigger than it should have been. Version 2.0 shall be thinner, lighter, and will only have USB ports.
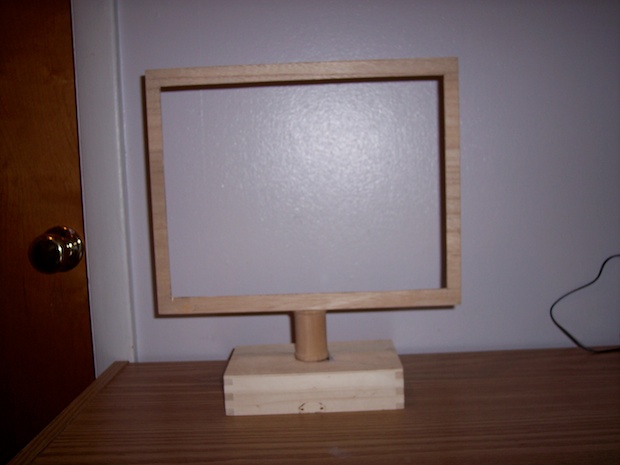
I would also like the thing to have a stand, something like a pedestal. Maybe I can build the USB hub into the base. I would also like to build in an IR receiver and use a remote with it.
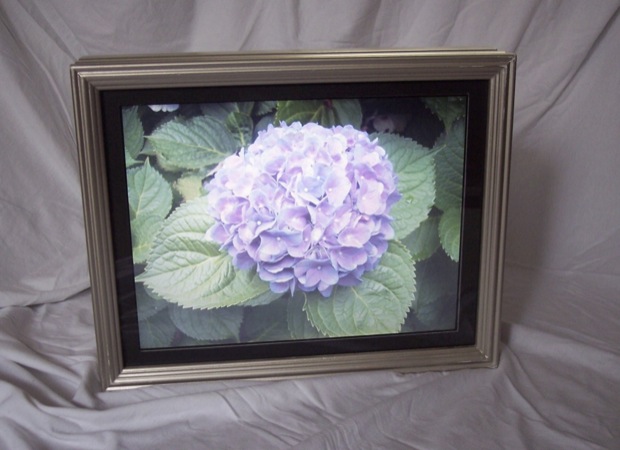
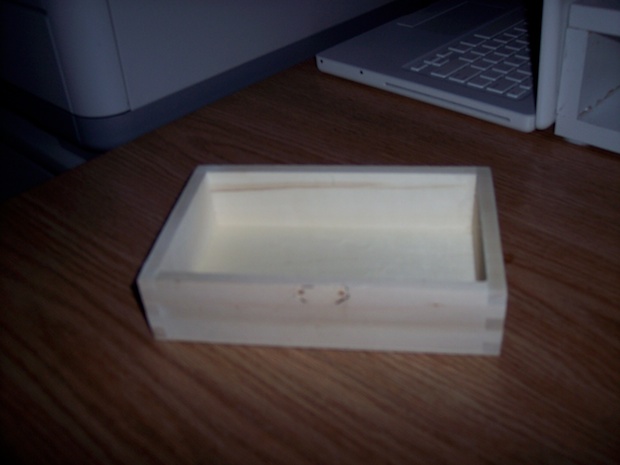
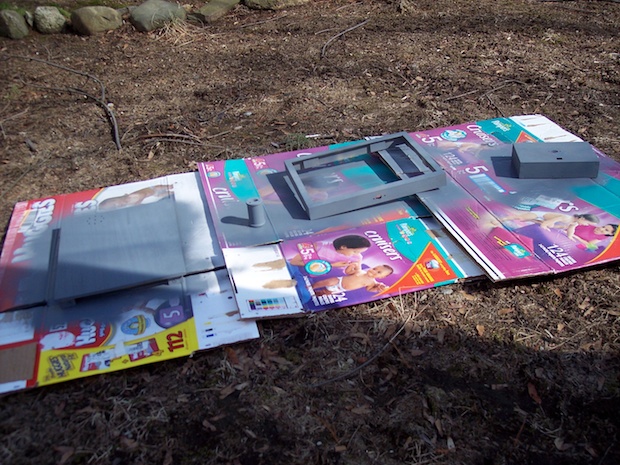
I found 2 nice wooden boxes at the craft store for $5 each that look pretty good. I’m actually only going to use the lids. My SketchUp files show how it’s going to look. Sorry if the images are a little blurry. That’s as good as the images get when you scale them down.
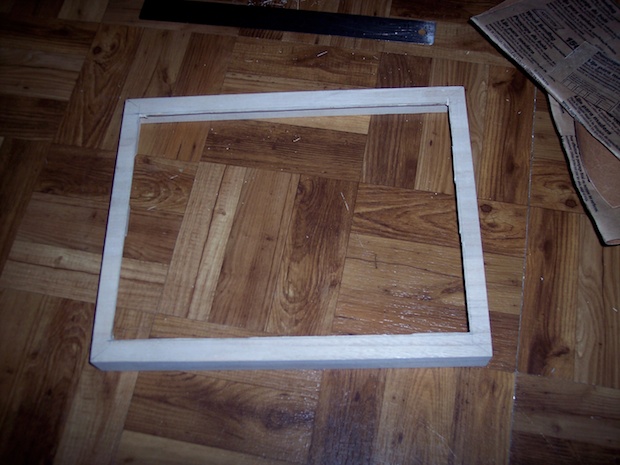
FRONT ASSEMBLY

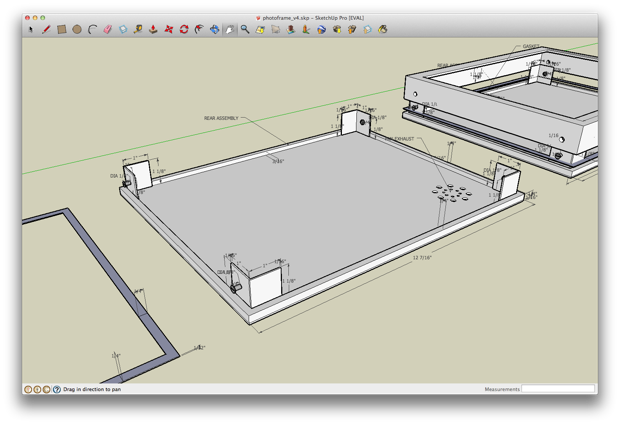
REAR ASSEMBLY
PARTIAL ASSEMBLY
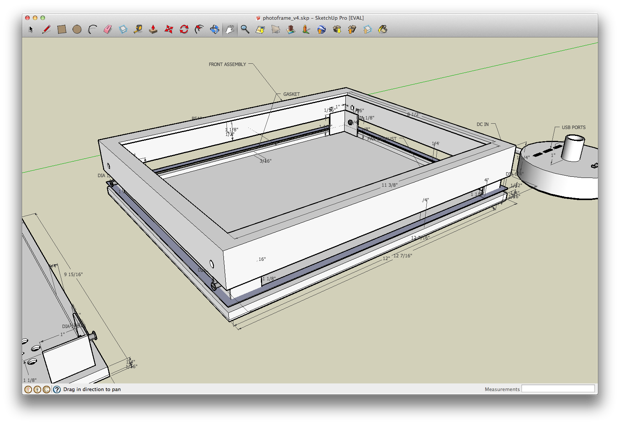
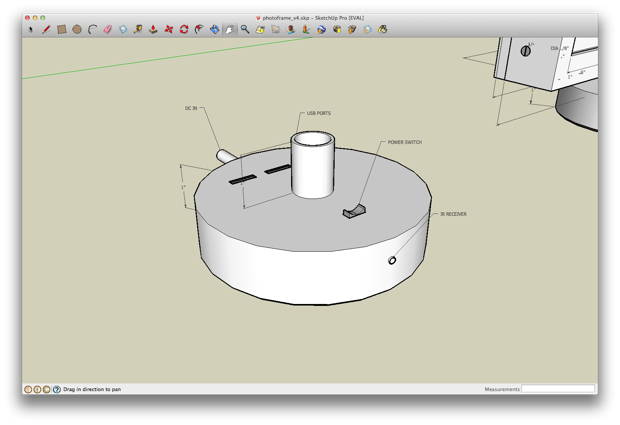
BASE
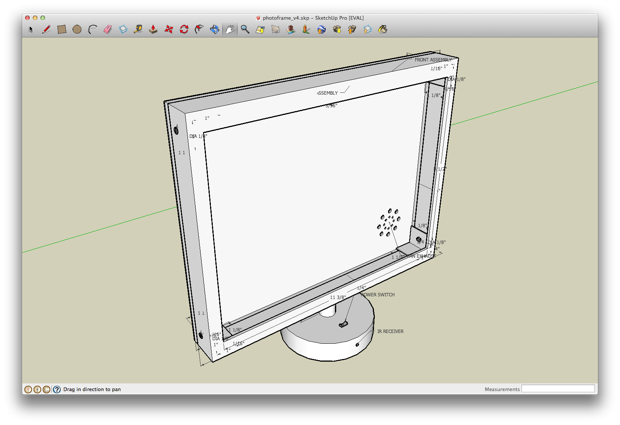
FULL ASSEMBLY
The workflow:
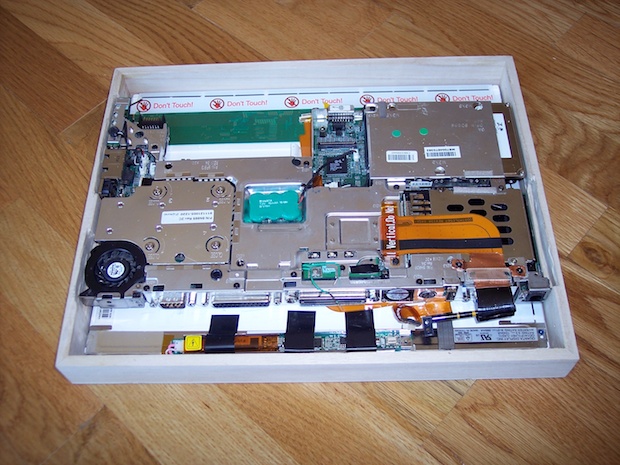
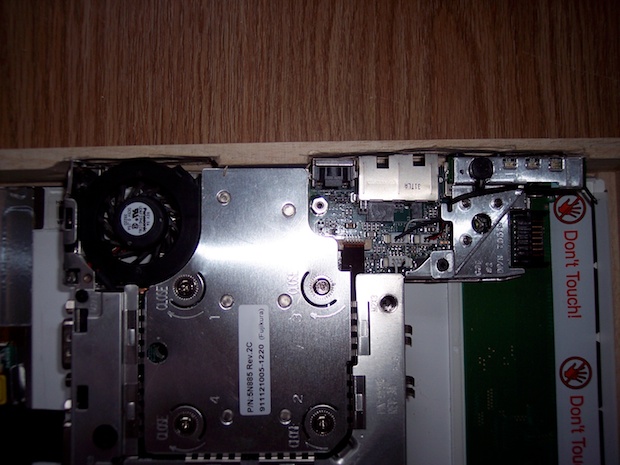
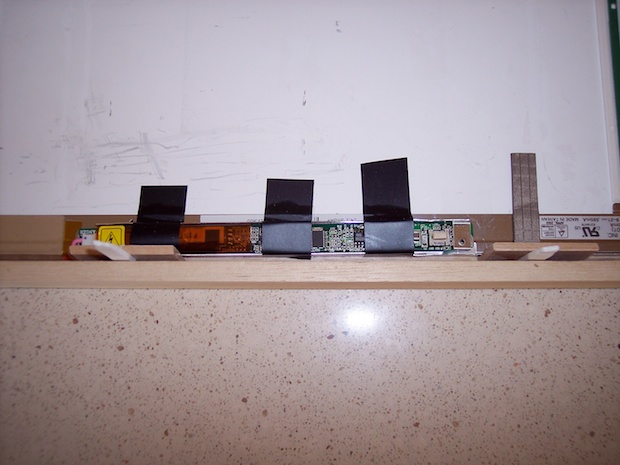
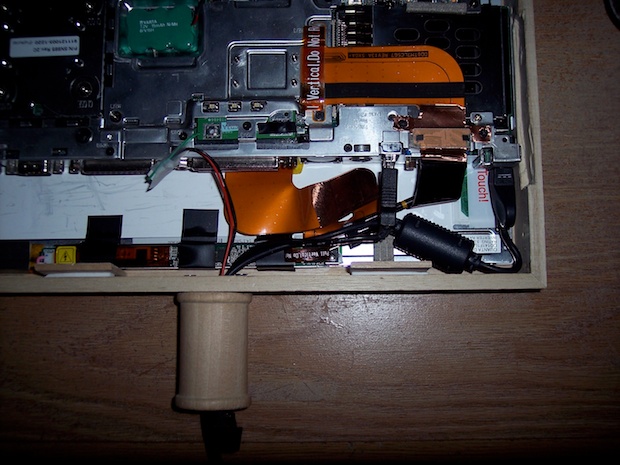
I will be using the guts from the Digital Photo Frame 1.0
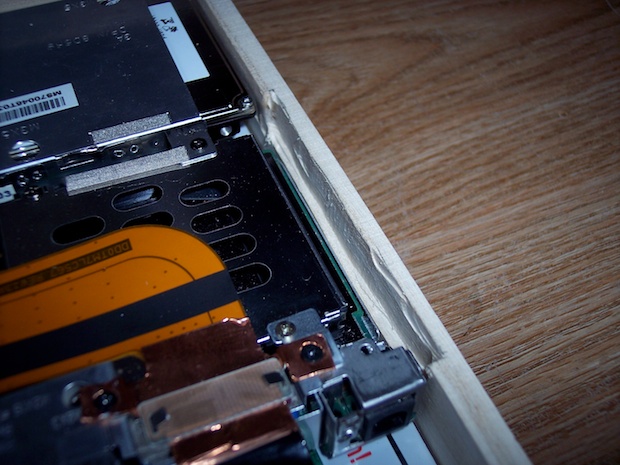
Shrink the box by 1/2” by repositioning the inverter.
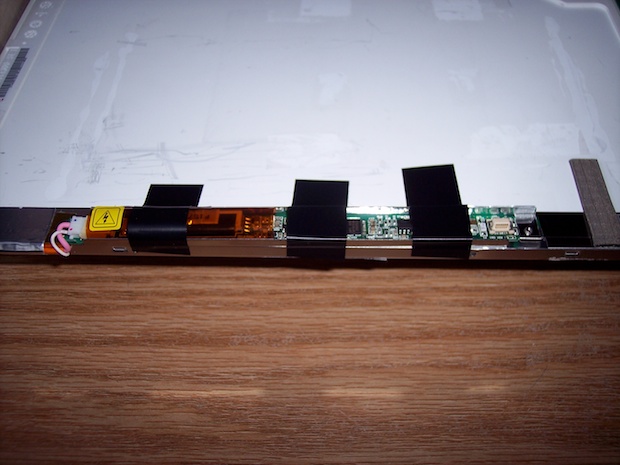
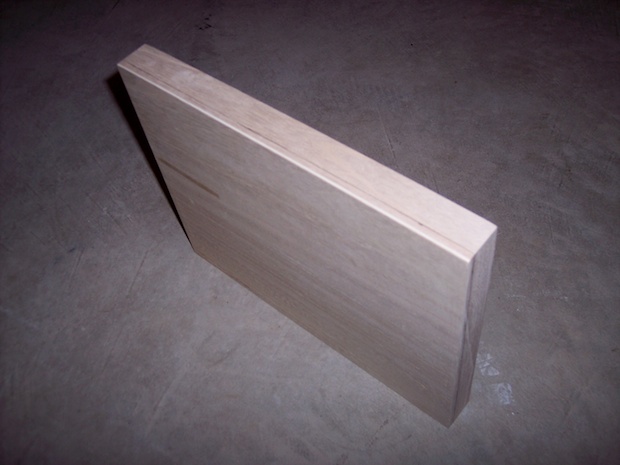
Fits perfectly with about a 1/8” around to spare.
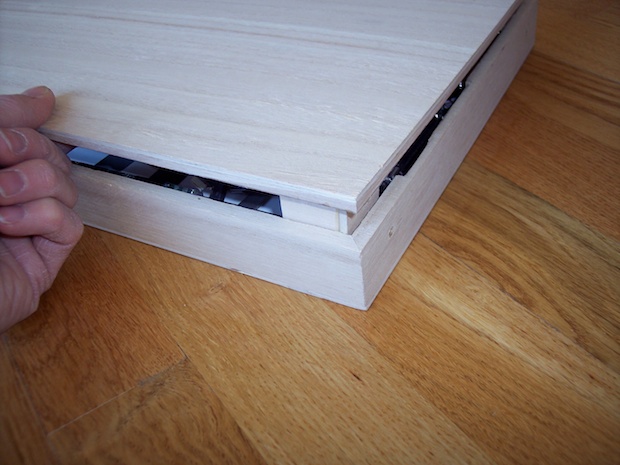
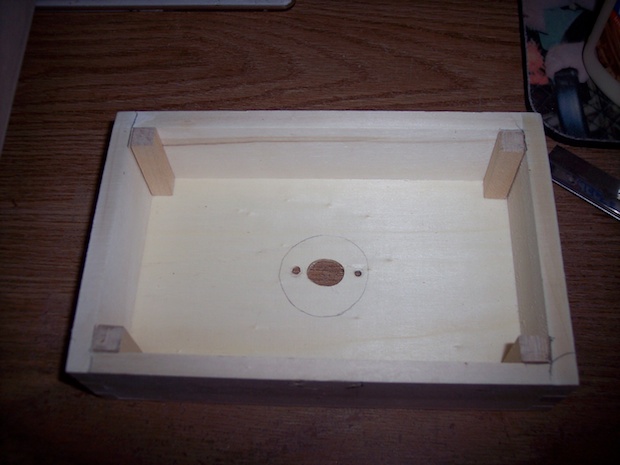
Dremel out the sides to accommodate the motherboard. Also serves to hold the board in place.
Dremel detail: left side.
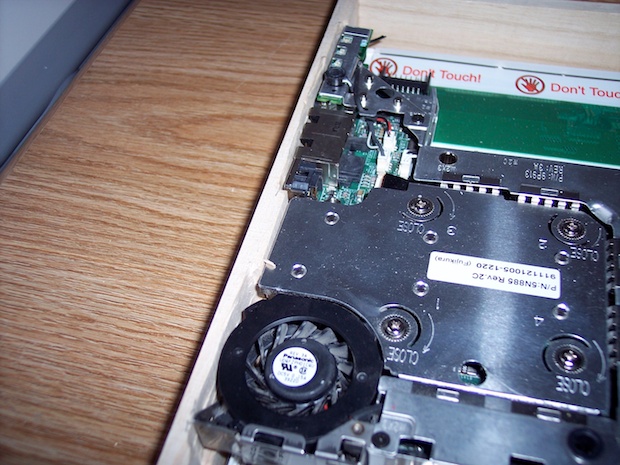
The board only sticks out by about 1/4”.
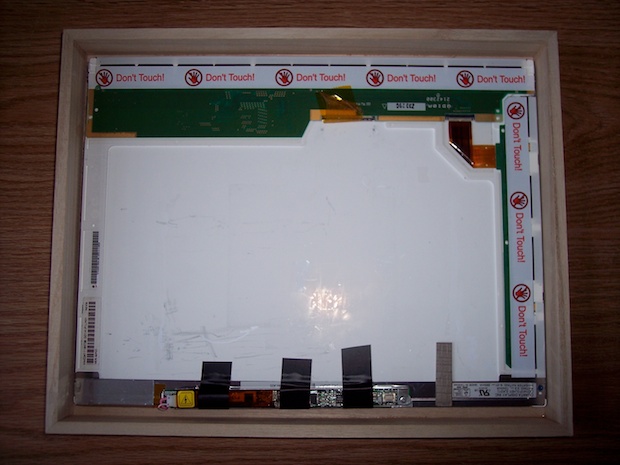
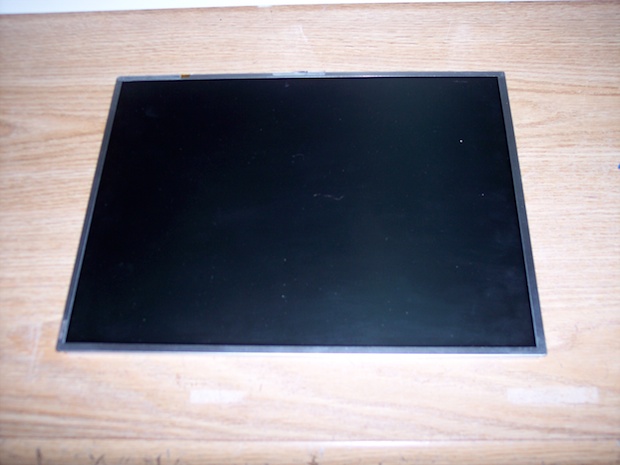
Start with the LCD.
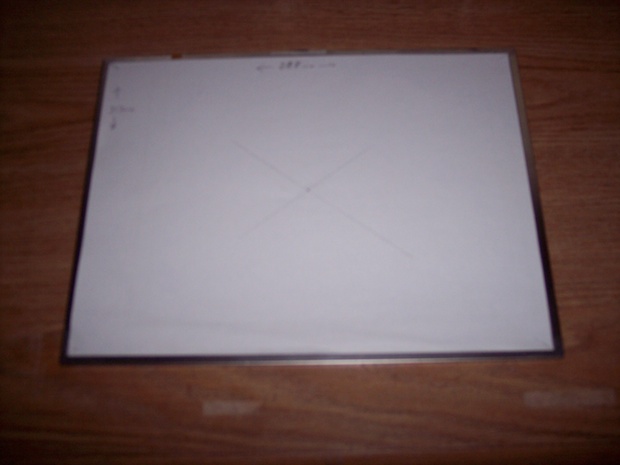
Make a paper mat the size of the screen. Find the center and mark with an “X”.
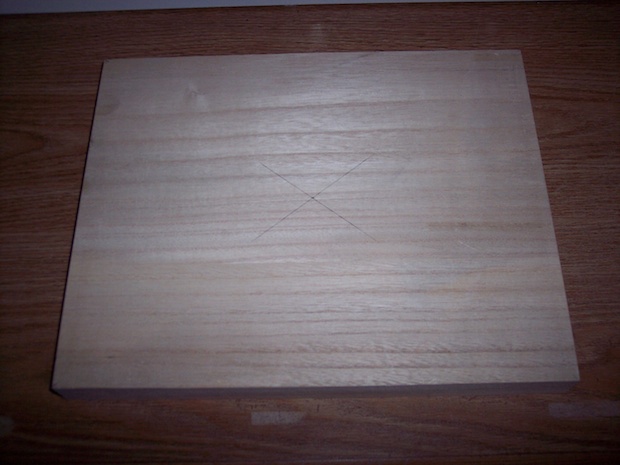
Find the center of the front assembly and mark with an “X”.
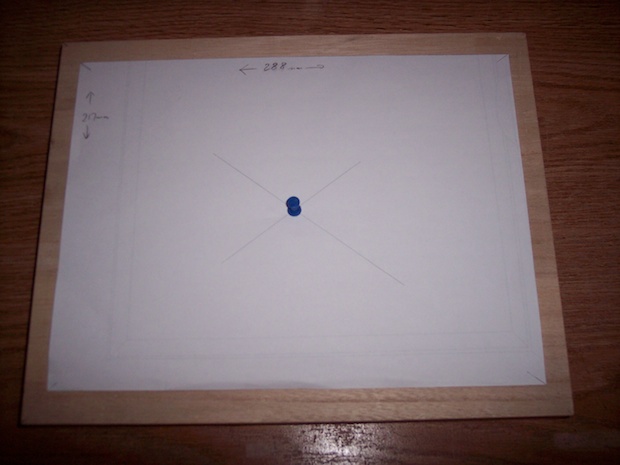
Line up the center of the paper mat and the box and hold in place with a thumb tack. This is the window for the LCD.
Cut out the middle, sand and file.
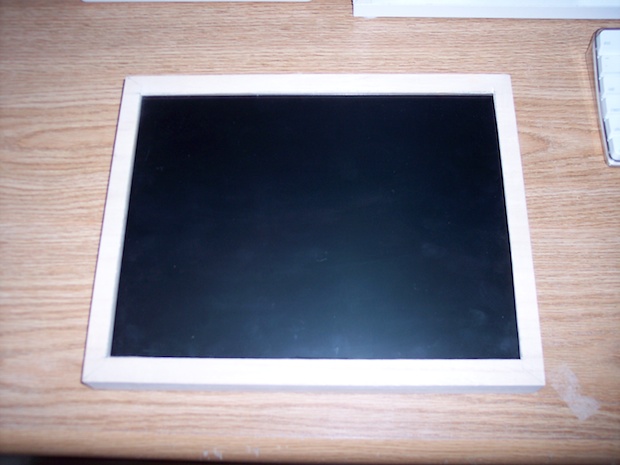
Check with the LCD installed to make sure the opening looks perfect.
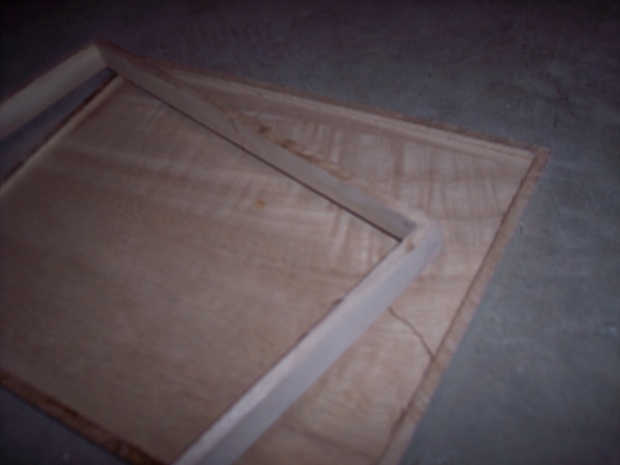
Now for the back: Mark a line 1/4” all around.
... and cut.
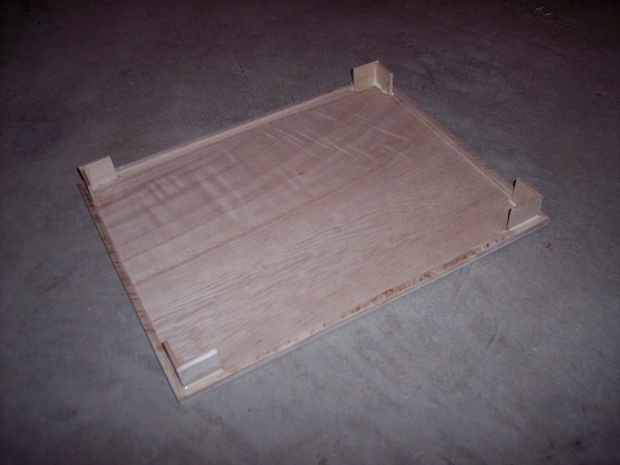
Cut 1” squares and glue together to make the inserts.
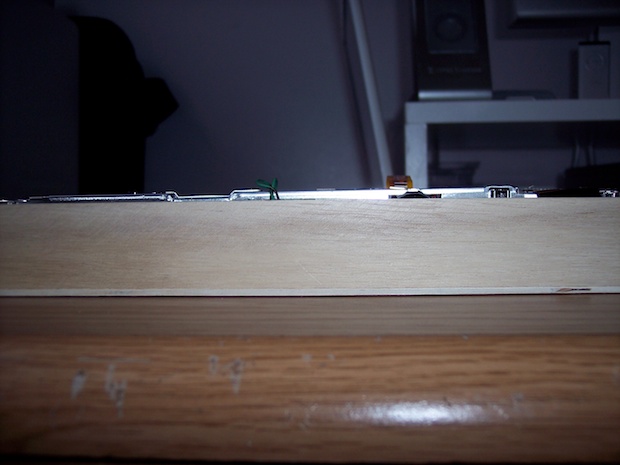
Drop the top on and make sure everything fits just right. Lookin’ good!
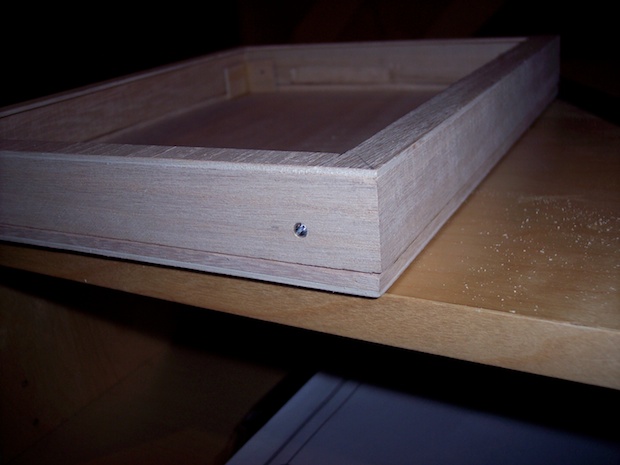
Drill the holes and insert the screws.
I glued little shims in to hold the LCD in place.
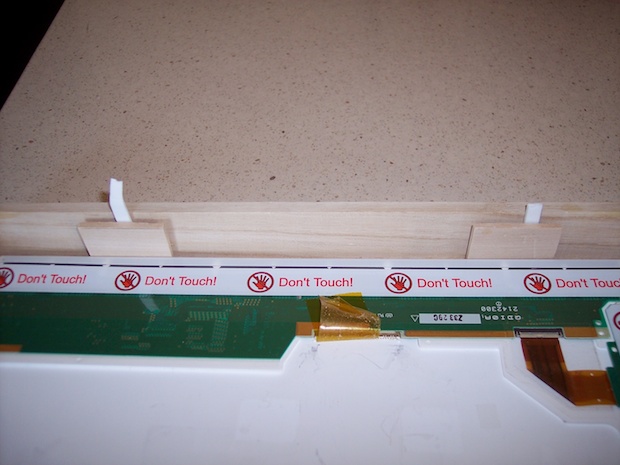
More shims.
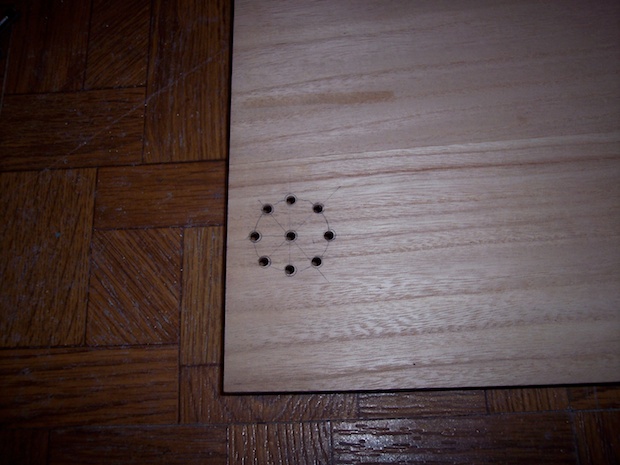
Drill out the fan exhaust. Nothing special, just a few holes.
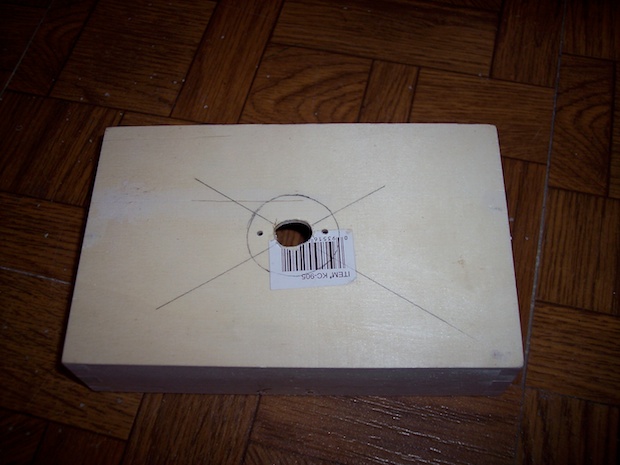
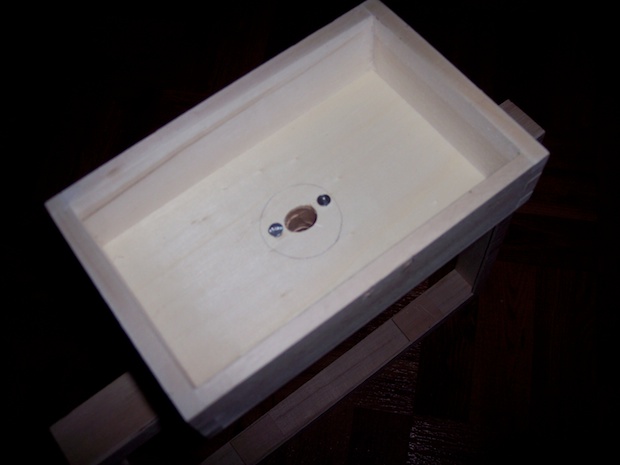
Find the center of the bottom (including the back.)
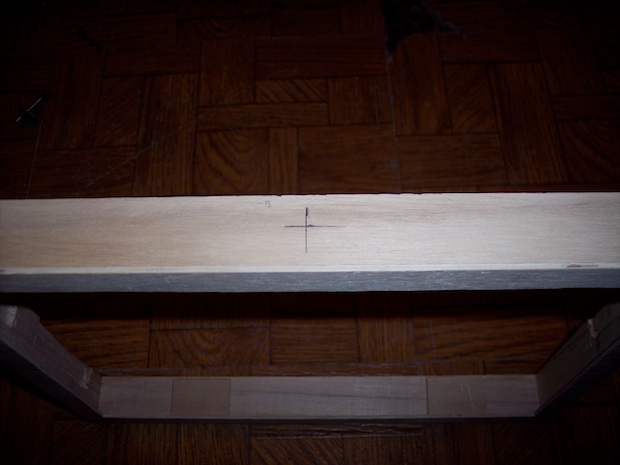
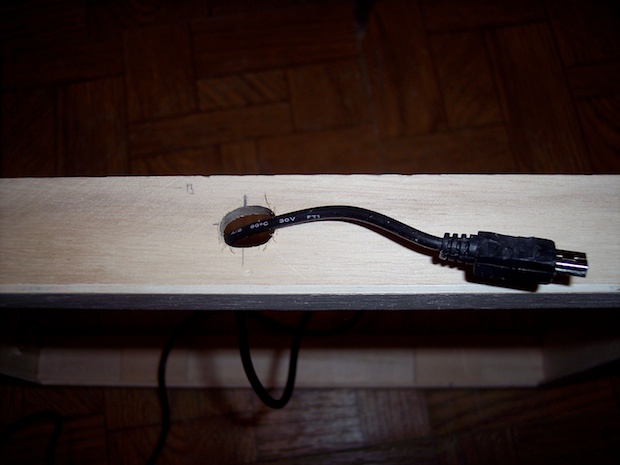
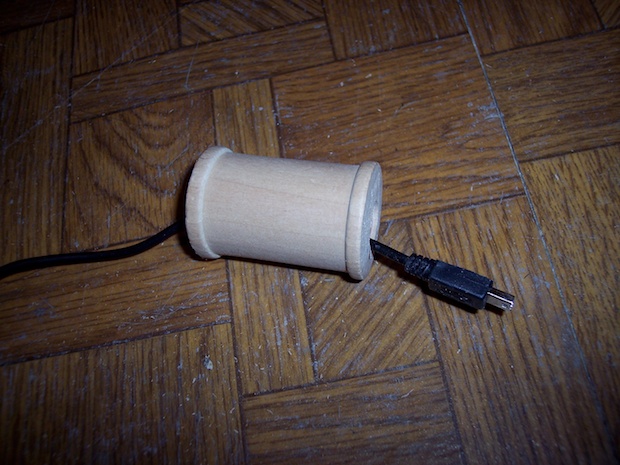
Drill a hole to pass the cables through.
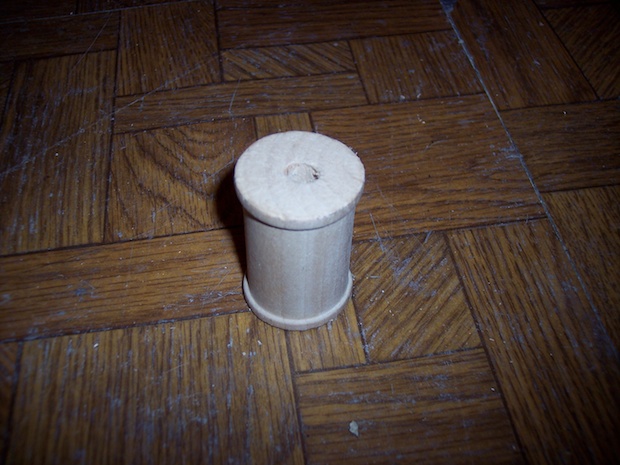
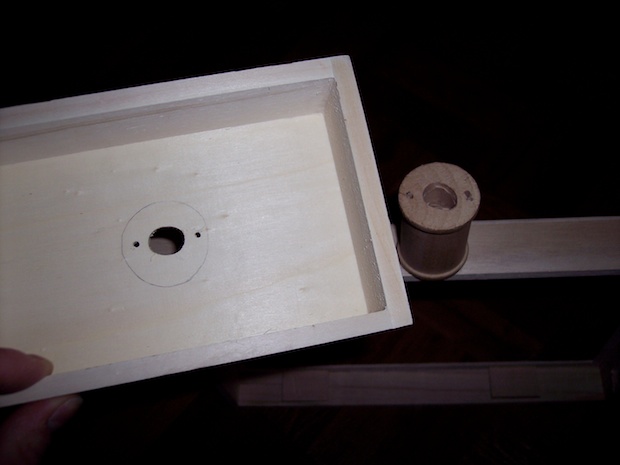
99 cents at the craft store, and the perfect stand.
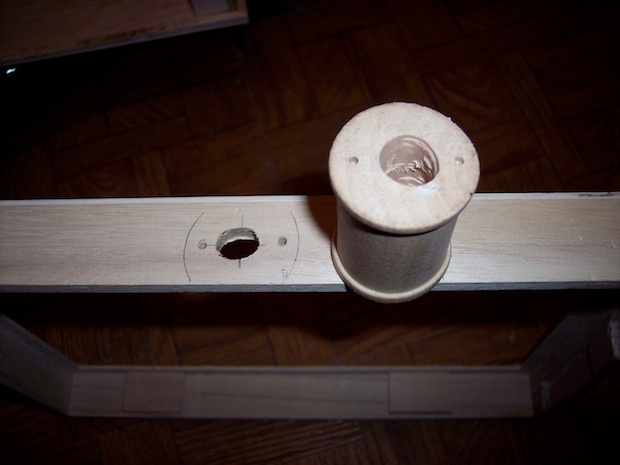
Make the hole in the center a little bigger.
Line them up on the center and drill holes.
Screw them together.
I just have to find a cool base that will house the USB hub.
The guts: Dell Inspiron P4 @ 2.2GHz (CDROM for OS install only.)

Mount the guts in the box and pass the cables through the stand.
Screw the back on.

A $5 box for the base. Removed the top.
Find the center and drill holes.
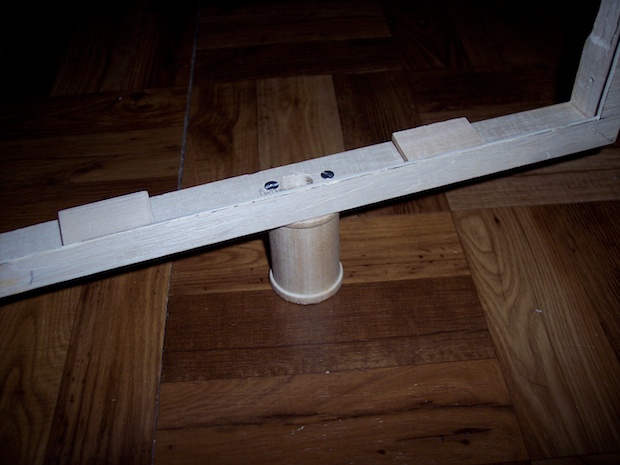
Drill holes in the stand to match.
Screw together.
Looks straight.
Glue in wooden pegs. This is where the bottom cover will screw into.
Apply a primer coat.
Paint white.
Well, after seeing it painted, I can tell you that I’m not happy with the way it looks. I’m scrapping this one. I put so much work into this that it would be a shame to delete this page. I’m calling this one “version 1.5”, as a “version 2.0” is currently under way. I am focusing on a more minimalist design.

