A few months ago, I took on a side project to scan and restore
my mother-in-law’s old photos. They came out so good, I pitched the idea to my parents to scan in all our old family photos too. The benefits of having digital copies is that they won’t degrade. They’ll be easily available for future generations. We can print new copies, as well as send discs around the world to other family members. Everyone can have their own set.
They sent me a heavy box of negatives. They also gave me a few tubs of rolled, uncut negatives. All black and white. Mostly 35mmm, but some medium format 2.5” negatives. They also have a few dozen photo albums, but most of those negatives should be here. My plan is to completely digitize the entire family photo library. It’ll be a pretty time consuming job. It might take me a year to complete it, but the end results will far outweigh the time and effort dedicated.
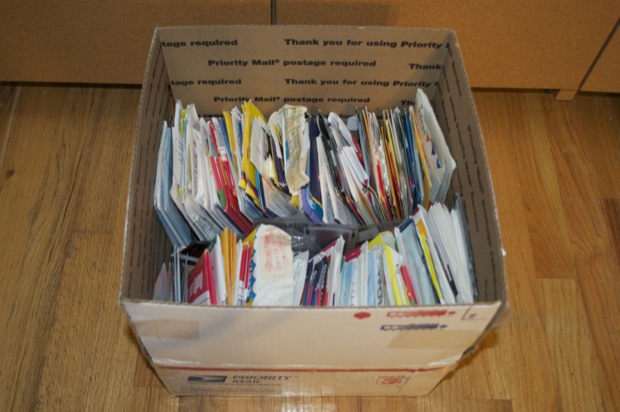
The 35mm negatives aren’t a problem. There’s no shortage of scanner options available for scanning 35mm negatives. My flatbed scanner has a negative scanner built in for 35mm negatives and slides. It’s a little slow and cumbersome, but in a pinch, it’ll work. However, I might pick up a dedicated negative scanner anyway to help expedite the scanning process.
The problem will be scanning the medium-formate negatives. If there were hundreds of them, it might be enough to warrant buying some kind of dedicated hardware for them (if one even exists), but there’s only a dozen or so of them.

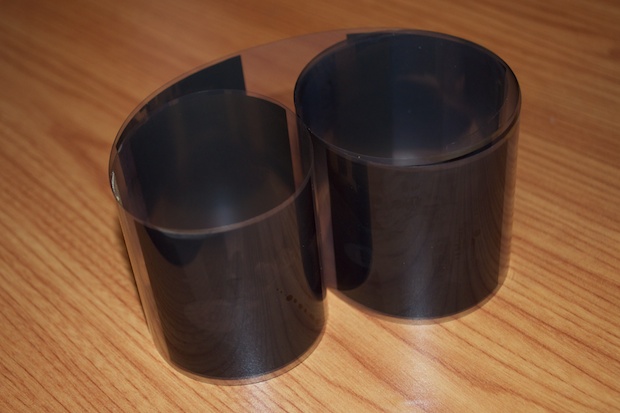
If you were to place negatives on a flatbed scanner, you’d end up with something like this…

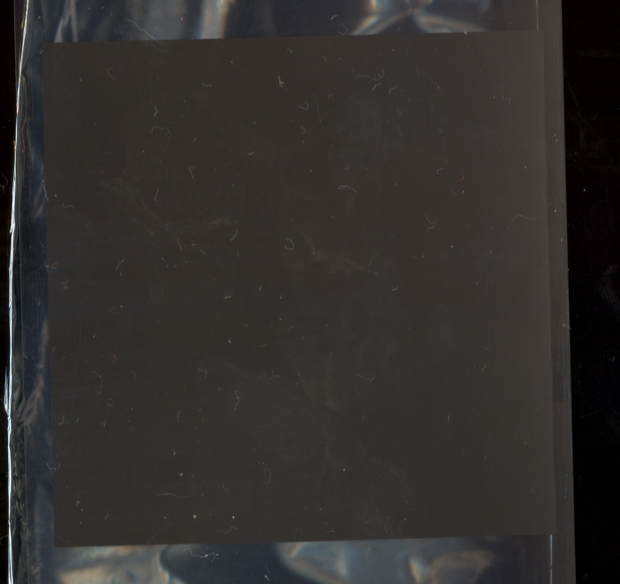
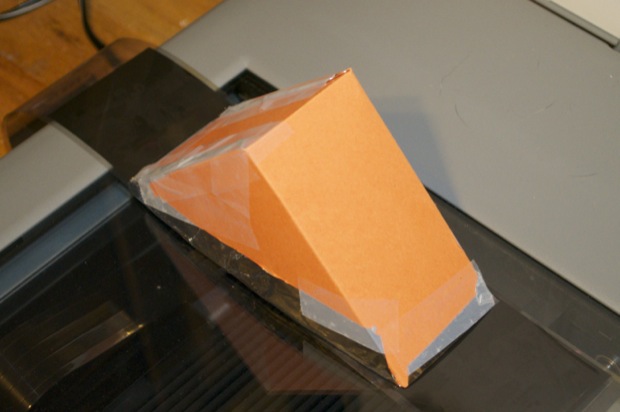
Negatives can’t be scanned on a flatbed scanner because they have to be backlit. One recommendation online was to make a cardboard tent and line the underside with aluminum foil. In theory, it should redirect the scanner light back down through the negative. It didn’t work.
I then placed a flashlight and a piece of white paper on top of one of the negatives to see if that was any better.

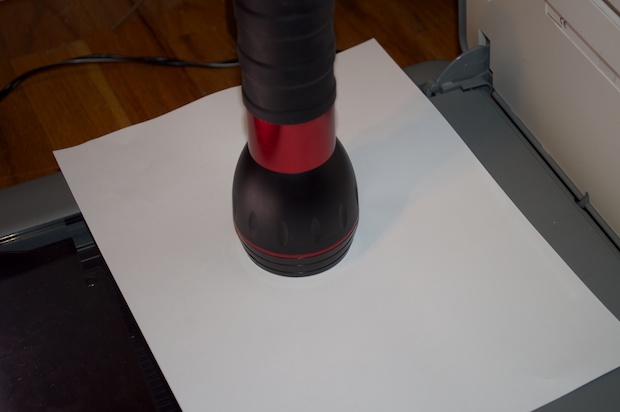
Immediately I could tell from the scan that this was not going to work.

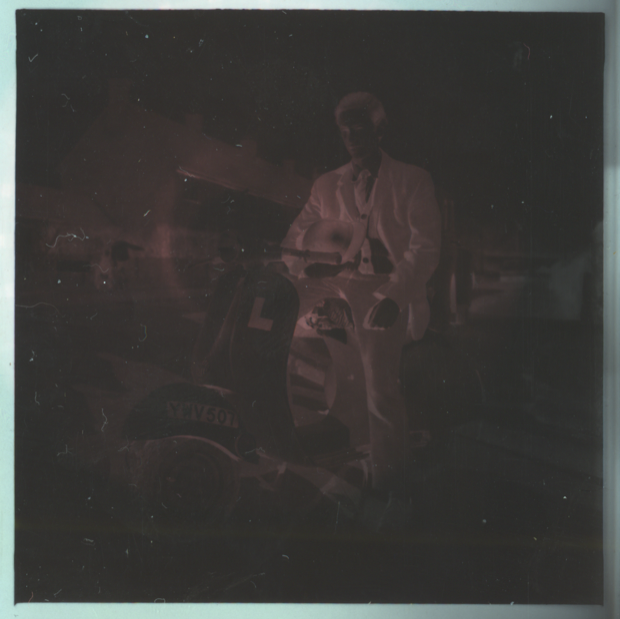
I flipped and inverted the image. Sadly, (but as expected) the results were terrible.

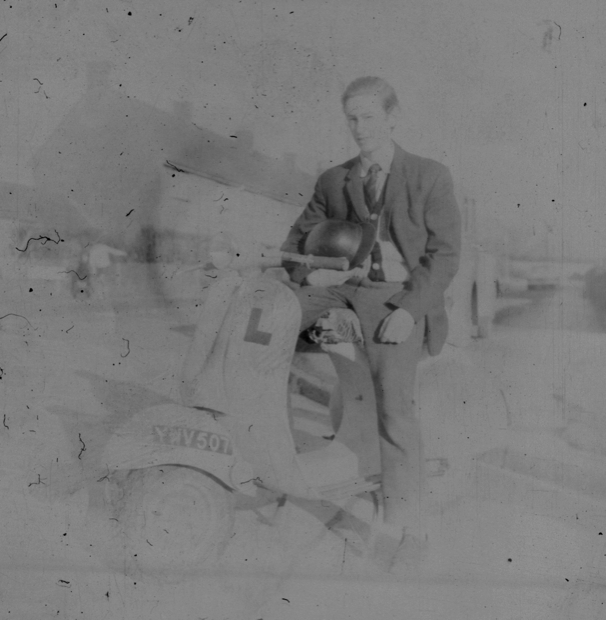
I did a little more research online and found out that all these new-fangled negative scanners available from the likes of Amazon and Best Buy aren’t actually “scanners” at all. They all basically use tiny CMOS sensors like the ones you find in cheap point-and-shoot cameras or cell phones. All they really do is take a picture of your negative and invert the image in software.
If it’s just a matter of taking a picture of a negative, then I could probably do a much better job with my Nikon D5000. It’s just a matter of having a better backlight.
What about a bright laptop screen?
I set the desktop color on this old laptop to white and held some negatives flat in place with some Post-It pads.

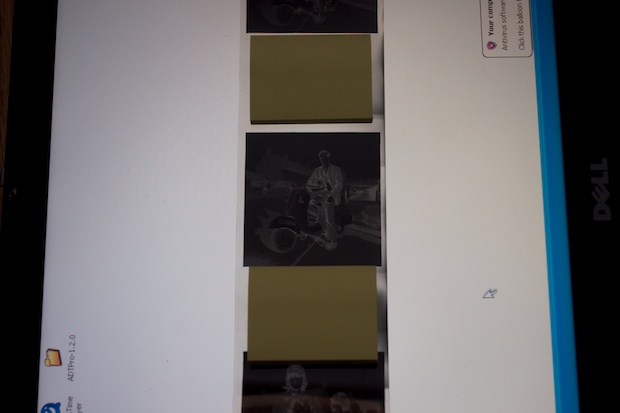
I then took a picture of one of the negatives with my Nikon.
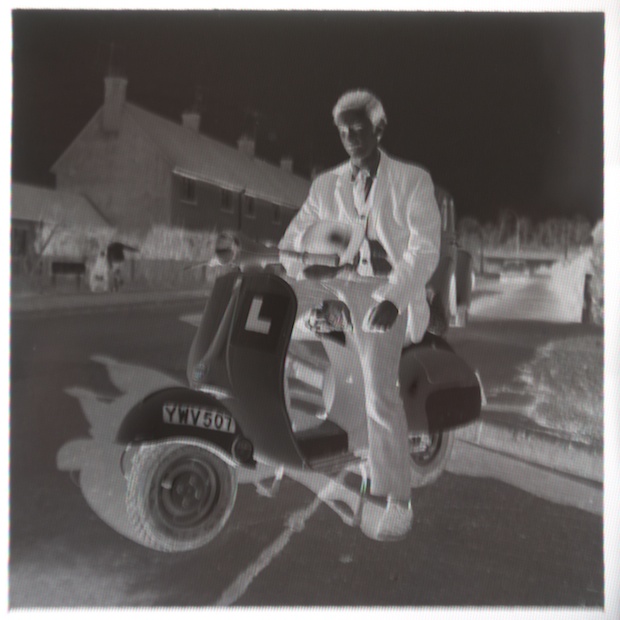
I then took the image into Pixelmator and inverted it.
Hey! We have something!
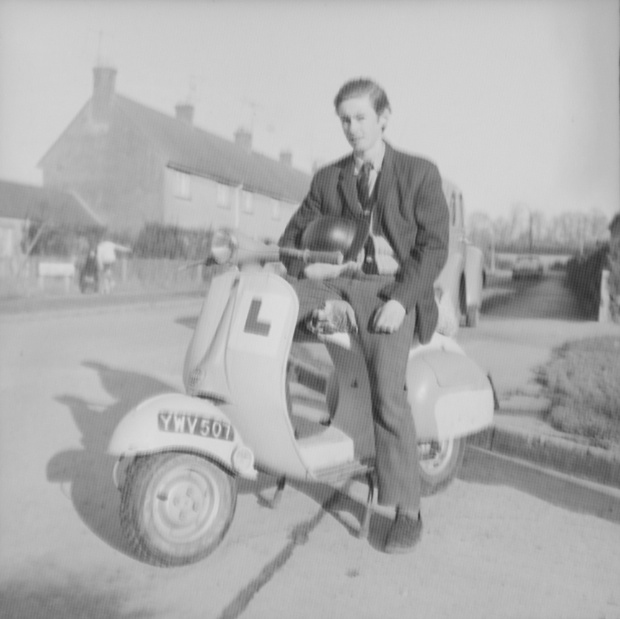
The only problem is that the pixels from the laptop are visible behind the negative.
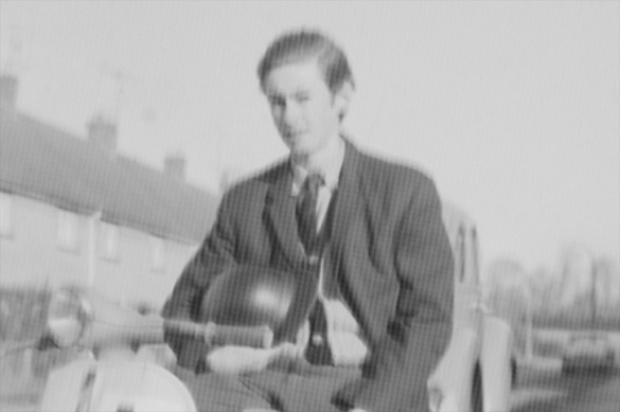
I could probably place a white piece of paper underneath the negative, but that will dim the light. I think it could actually be a little brighter, so I don’t want to do anything to diminish the amount of light that I’m getting.
What about just using the backlight by itself? What if I could separate the backlight from the LCD and make a lightbox out of it?
I’m not about to destroy a perfectly useable laptop, even if it is a Dell. This old 15” LCD monitor is the perfect candidate for a DIY lightbox. It’s been in the attic for a while. The colors are terrible and the resolution is lousy. It’s perfect!

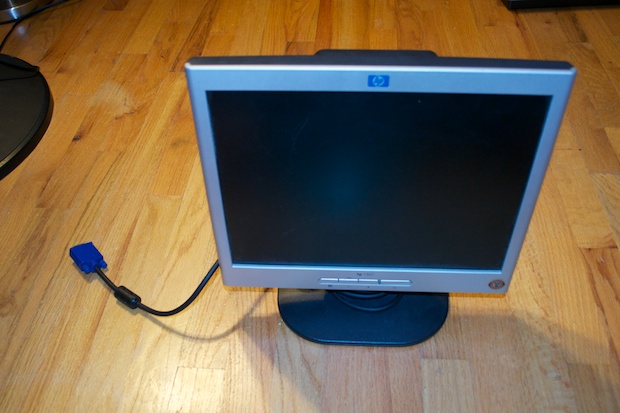
I tore it open and removed the guts.

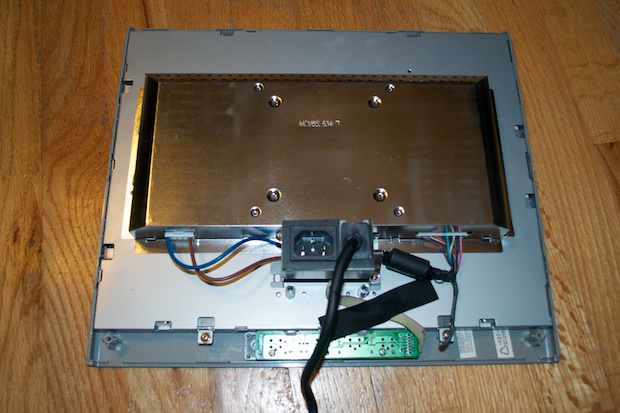
I removed the shielding….

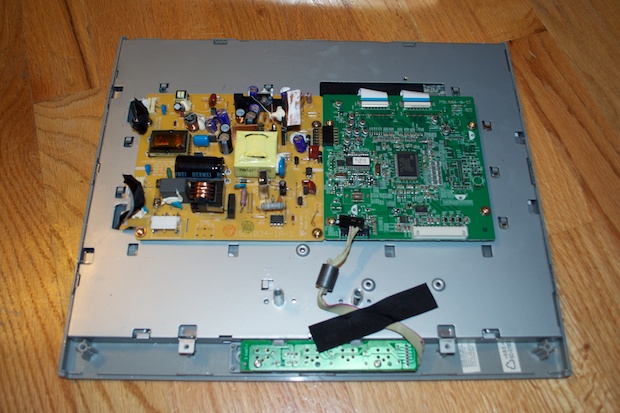
…followed by the logic.

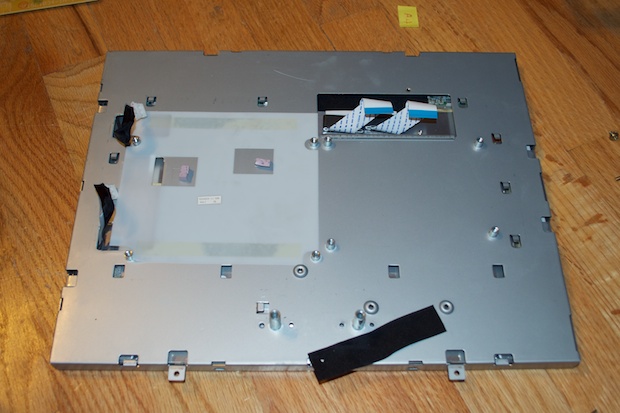
I removed the LCD assembly from the chassis.

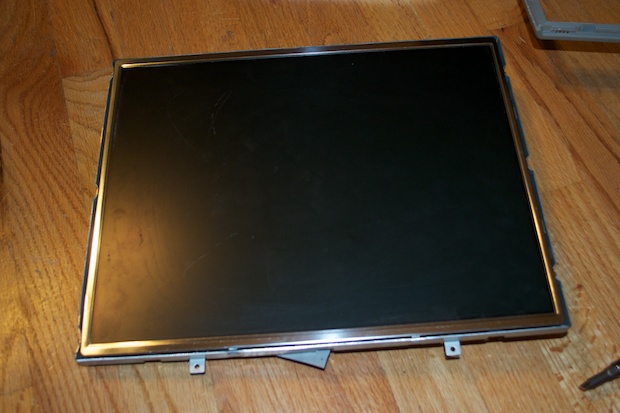
I then removed the LCD’s frame.

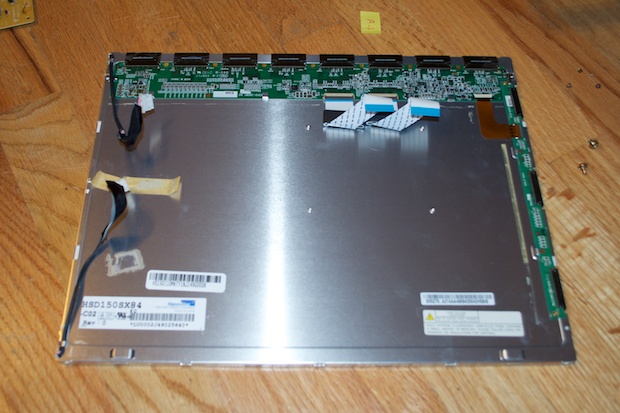
Separating the LCD from the backlight was only a matter of removing 4 screws and some tape.

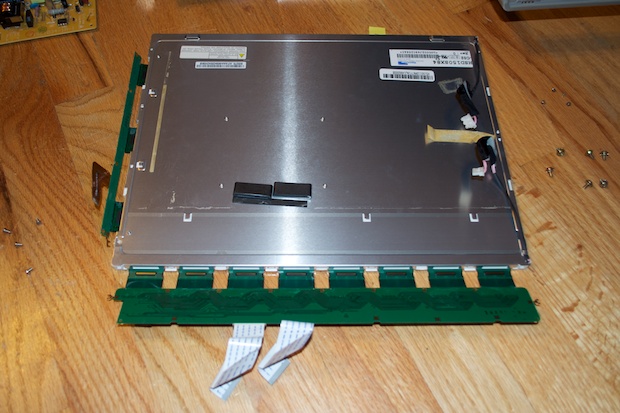
I then separated the LCD glass from the backlight.

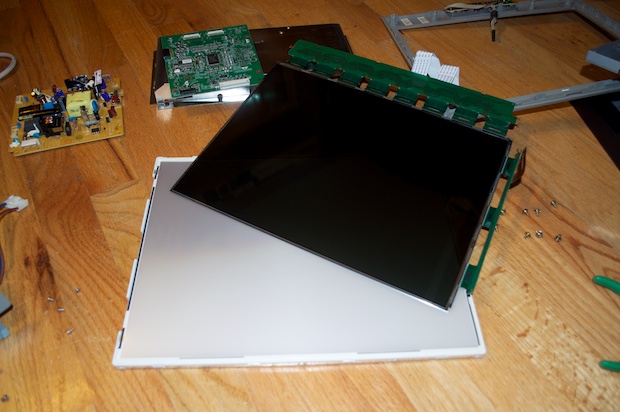
I screwed the backlight back into the frame…


…and put the whole thing back together.

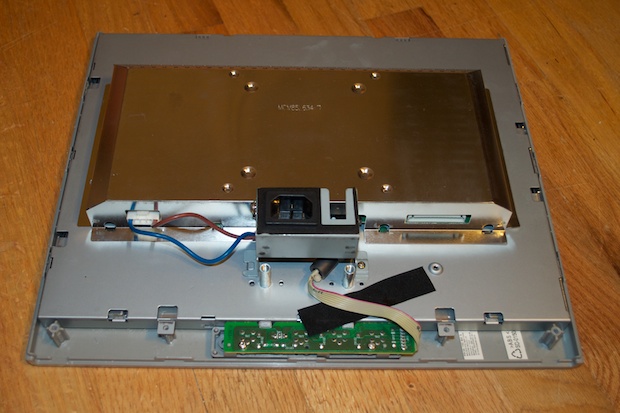
I then powered up the monitor to test it out. Now that’s a lightbox! It’s pretty bright; much brighter than the laptop.

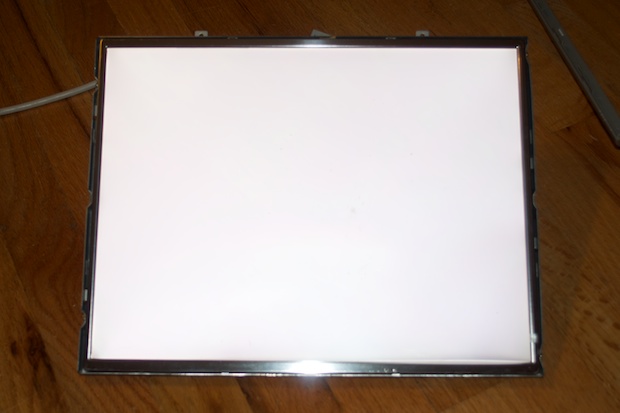
With that, I screwed everything back into the housing.

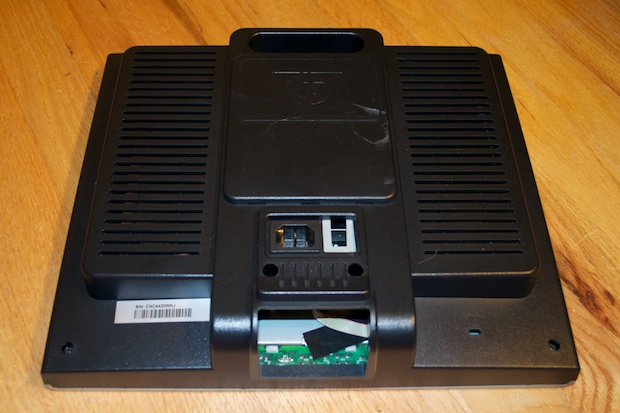
A 15” lightbox on Amazon runs anywhere from $50 to $100 bucks. So this isn’t bad considering I scored this monitor for free.

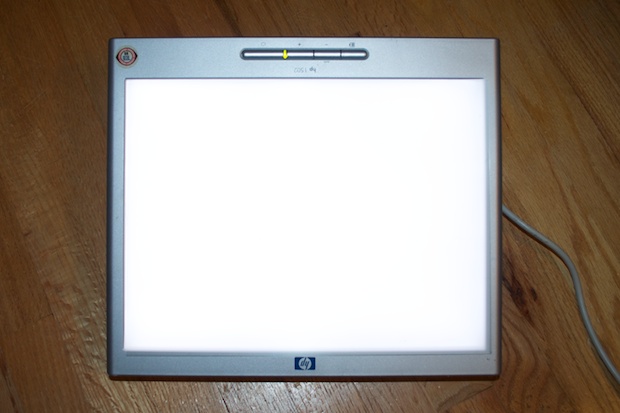
I then taped a strip of negatives to the lightbox.

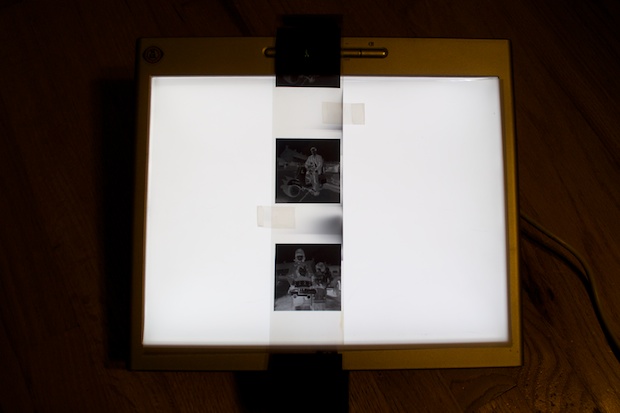
I took a picture of one of the negatives in Aperture Priority mode without flash.

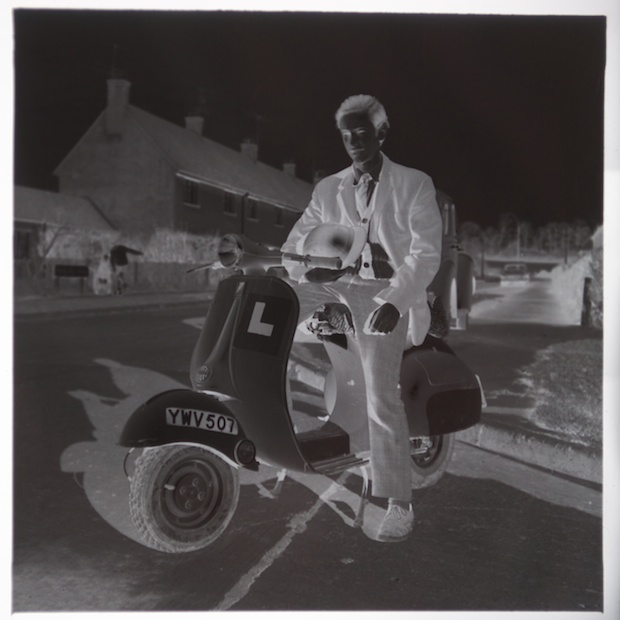
I then took the image into Pixelmator, cropped it, inverted it, and applied the Desaturate and Auto Enhance effects.
Wow! Orders-of-magnitude better! My Dad on his scooter, 1967.

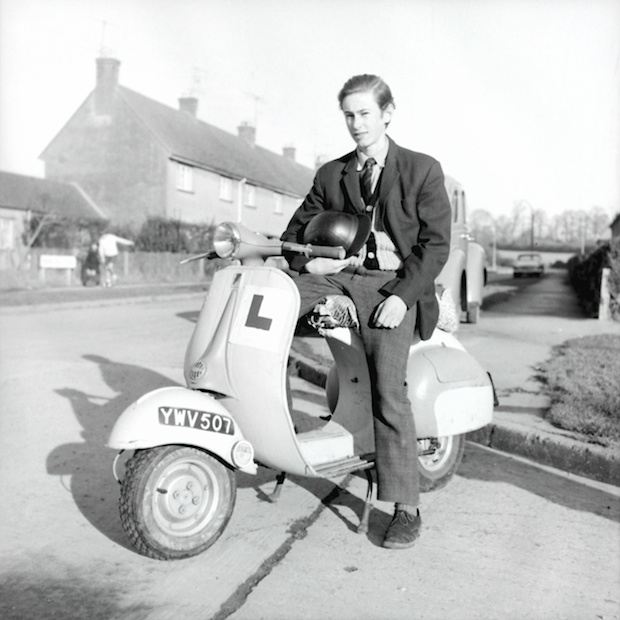
I made no other tweaks to the image. No dust or scratch removal, no clone and stamp. This is the actual image taken with just a color correction. The results are way better than I expected. With a resolution of 2500 x 2500 it’ll also make for a nice sized print.
These negatives are from when my Dad was a teenager. My Dad’s pretty sure they were never even printed. If my grandparents did have them printed, he sure enough never saw the prints.
I can’t wait to do the rest. My parents will be pretty excited to see them.


