Magnifying Glass with DIY Upgrades
Jun 03, 2020 Filed in:
Electronics | Laser Cutting | DIY I’ve had this fold up magnifying glass for like 35 years. I use it all the time. I was using it to do all the soldering on the
huge clock that I’m making. I spent all day on it and I was like man, I wish this thing had a light underneath it!

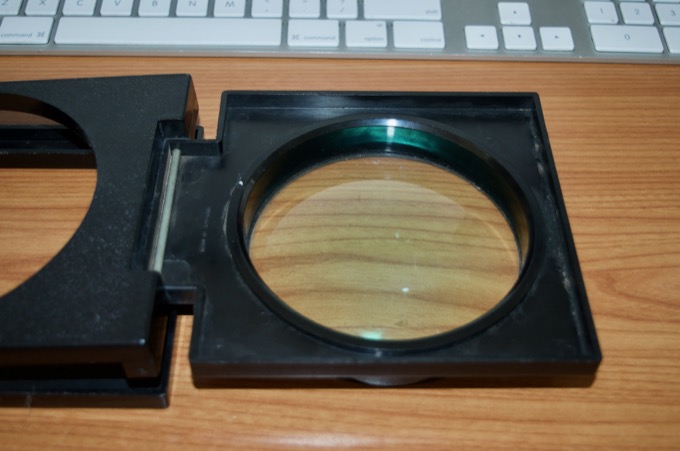
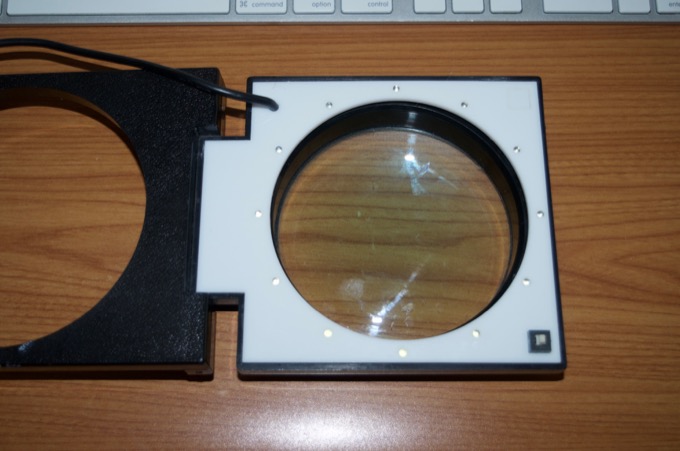
This thing is great. It gives a ton of magnification. The problem is that the lamp in the computer room is not bright enough so I tend to move it closer to my desk when I work and point one of the bulbs towards my work. However, when I stick my head over the lens to look down, my head usually blocks out the lamp. It's annoying.
This sounds like a good excuse for a 1-day build! It has a pretty generous gap on the underside of the lens that should be enough to house a bunch of 3mm LEDs.
I jumped into SketchUp and put together a design that I can cut out of acrylic and solder in a bunch of LEDs, a power switch, and a potentiometer for brightness control.
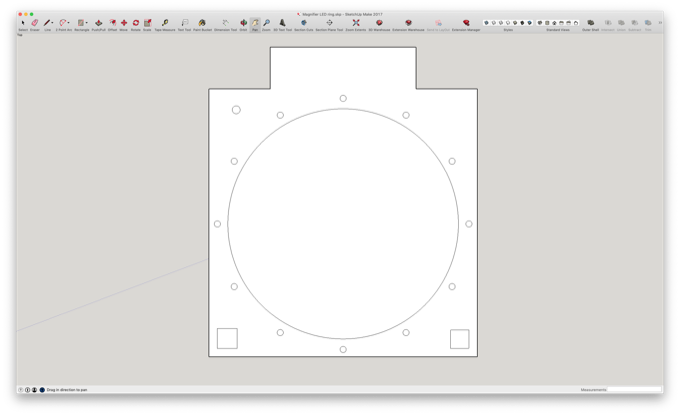
It's perfect!
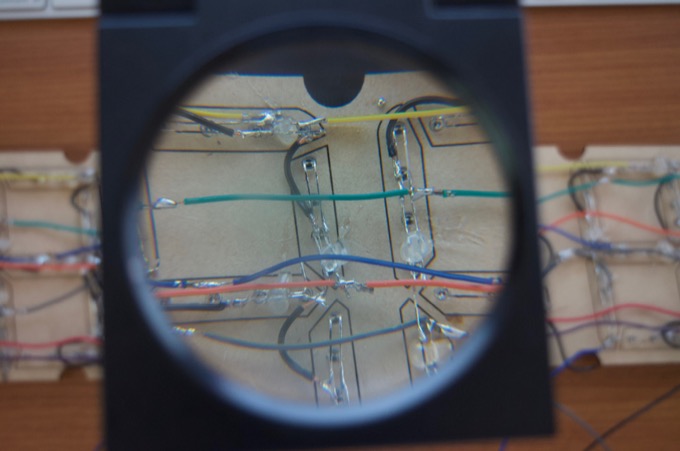
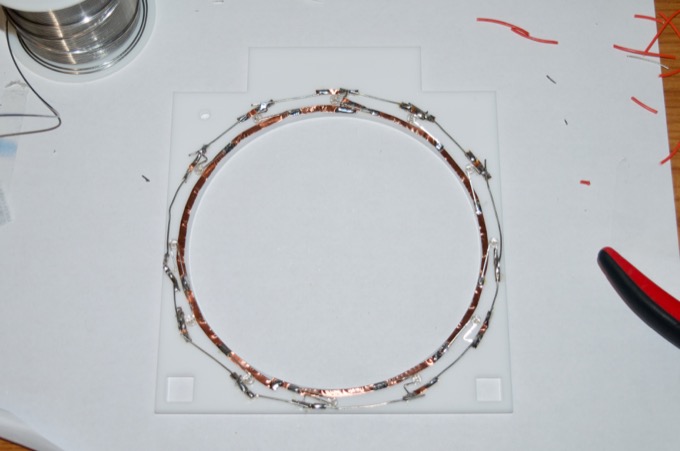
I used some copper tape and some stripped wires to connect all the LEDs in parallel. I didn't want a huge mess of wires in there due to the lack of space, so the copper tape worked perfectly.
I then soldered in a resistor, the switch, and a USB cable. I decided to not bother with the potentiometer. The LEDs look pretty good and I don't ever see myself needing to dim them.
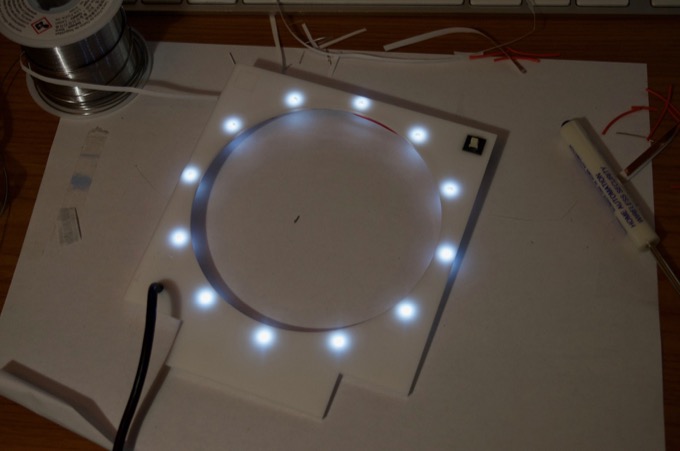
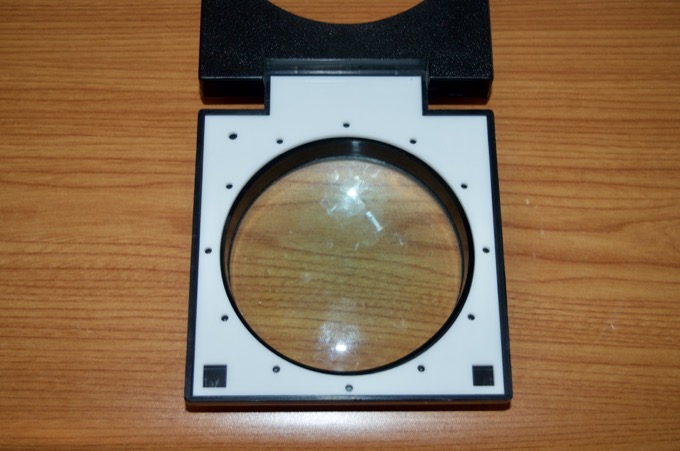
I then hot glued the assembly into the frame. It's a perfect fit.
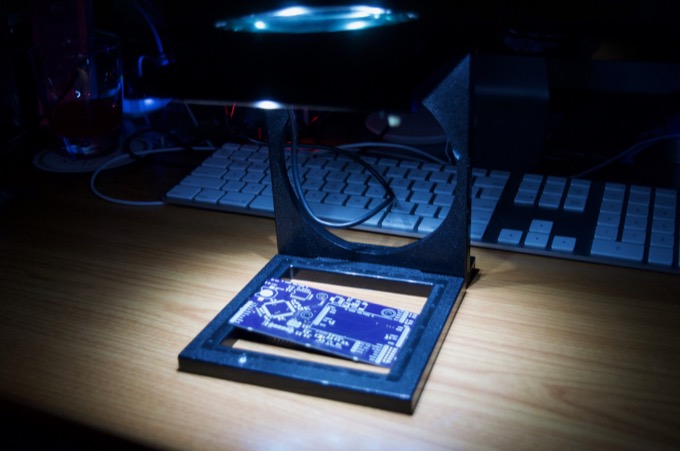
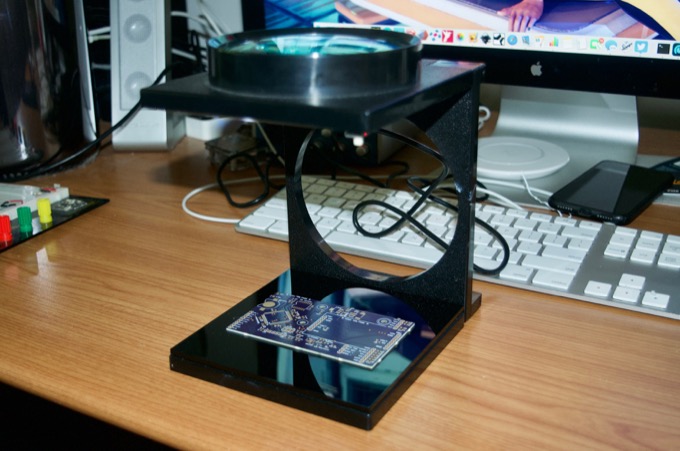
It was hard to get a good shot of the amount of illumination that it gives me. I had to shut off the lights and my monitor to make it dark enough for it to show up in the picture. That's some great lighting. Another problem that I wanted to tackle was the base. Anything smaller than 4" wide just falls in. It's really annoying trying to solder PCBs as the base gets in the way. I usually have to put something over the top of the base so that the PCB can sit flat.
I decided to hot glue in a piece of acrylic that I cut to size. It's perfect.
These upgrades were long overdue. I'm so glad I took the time to do them.

