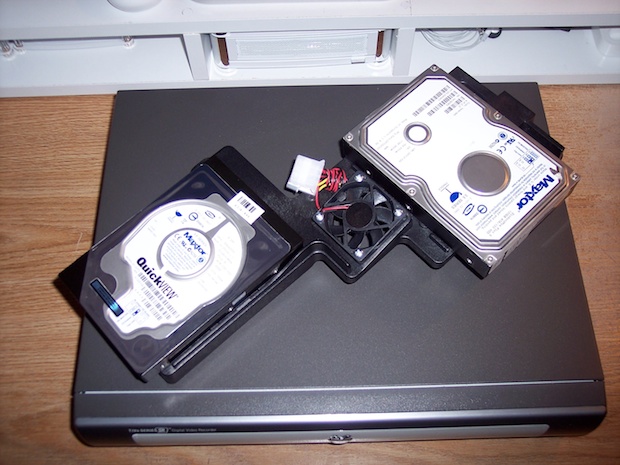
This is a sweet Tivo upgrade kit from weaknees.com that lets you pimp out your Tivo with a second hard drive.
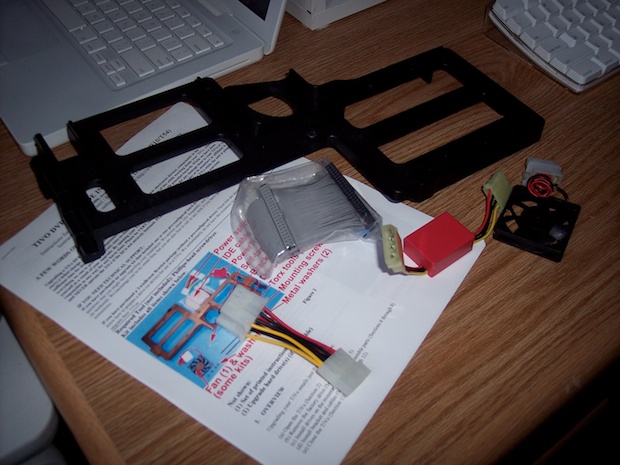
It comes with a new drive mount that accommodates 2 IDE drives, Master/Slave IDE ribbon cable, extra fan, PowerTrip, and power splitter. Not bad for $33.00. All you need is an extra hard drive.
To complete the upgrade, you’ll need a Linux
MFS Tools Boot CD and a PC with 2 IDE channels and an optical drive. I had to use my computer at work because there are no PCs in this house. (Mac only!) Follow to HOW TO link on the MFS page for some really in-depth user-friendly instructions on all the commands you’ll need for all the various upgrade combinations once you’re in the Linux environment.
Here’s how easy it was:
- I created a MFS Tools Boot CD.
- I prepped the 2nd drive: I formatted a spare 120G Maxtor drive on my Mac with 1 primary FAT32 partition.
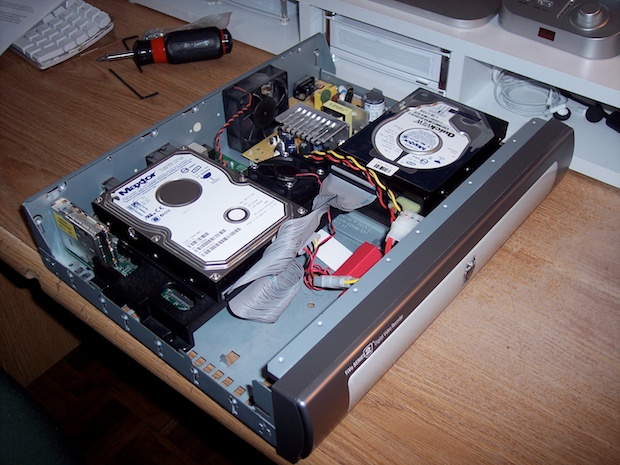
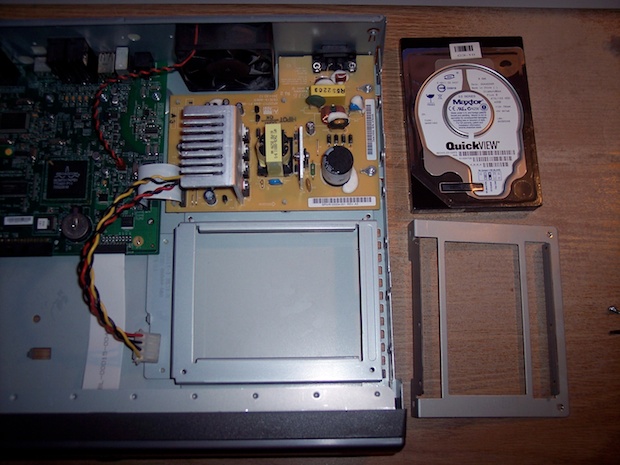
- I cracked open the Tivo and pulled out the hard drive.
- I brought both drives to work and installed them in my PC. (C drive: Primary Master, 120G: Primary Slave, Tivo drive: Secondary Master, CDROM: Secondary Slave)
- I booted up the PC with the MFS Tools Boot CD.
- Once at the command prompt, I issued the “mfsadd -r 4 -x /dev/hdc /dev/hdb ” command to make the Tivo drive aware of the 120G drive. One line, it’s that easy!
- I shutdown and removed the drives.
- I brought the drives home and installed them in the Tivo as follows:
- I attached the extra fan and drives to new bracket.
I attached the power cables, splitter, and PowerTrip. (PowerTrip delays the startup of the second drive by 7 seconds. This way the Tivo power supply doesn’t get blasted when both drives try to spin up simultaneously.)
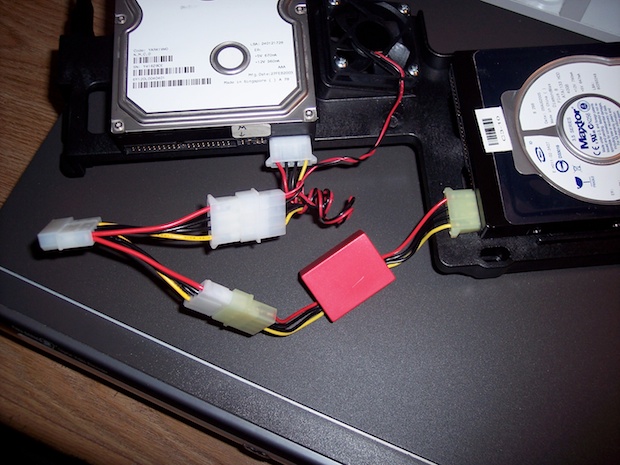
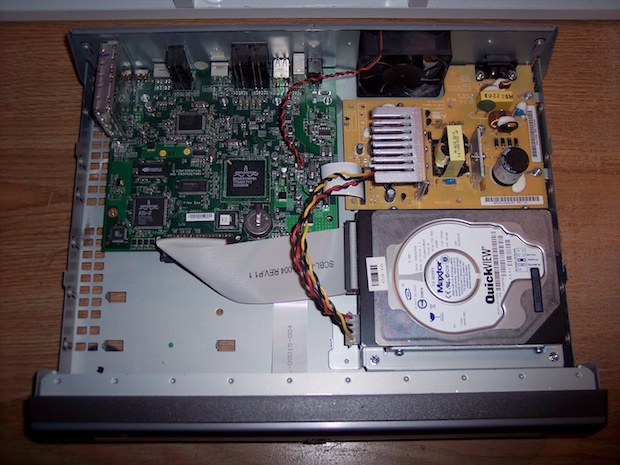
I installed the bracket into the Tivo and connected the IDE and power cables.
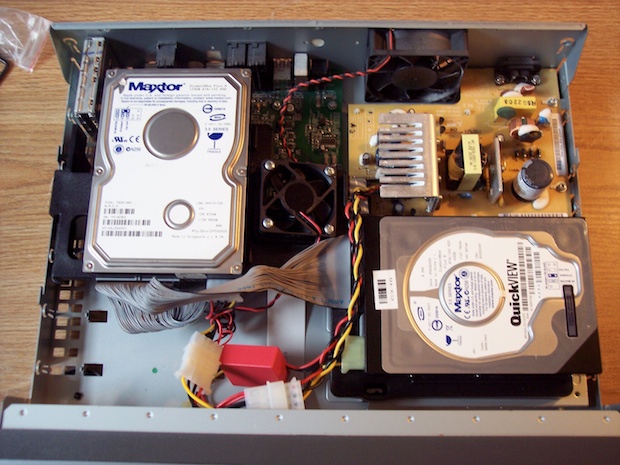
I closed up the Tivo, reconnected to the TV, and powered it up. I then verified the new capacity.
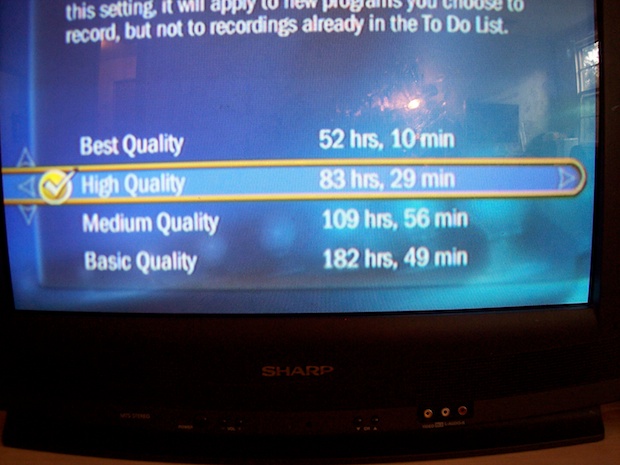
I went from 40 hrs at “Basic” quality to 182 hours! That’s a sweet boost! However, I always record at “High”. I was still pleased to see that I had gone from 13 hours to 83! That’s an extra 70 hours of recording time!

