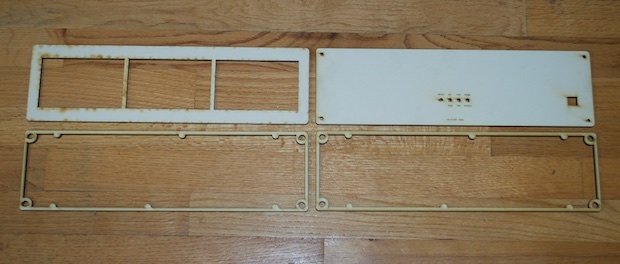
After waiting a good two weeks, my custom laser cut enclosure from Ponoko finally arrived. I was so excited to open it up. I was a little nervous too. It seems like every time I send off for something to be cut, it’s a roll of the dice as the whether or not the right holes get cut or text gets properly engraved.
Looks like I nailed it this time. Everything is perfect. I’m so glad it was. These boards are pretty large, and getting the four of them cut cost me $50 bucks. $70 with shipping.
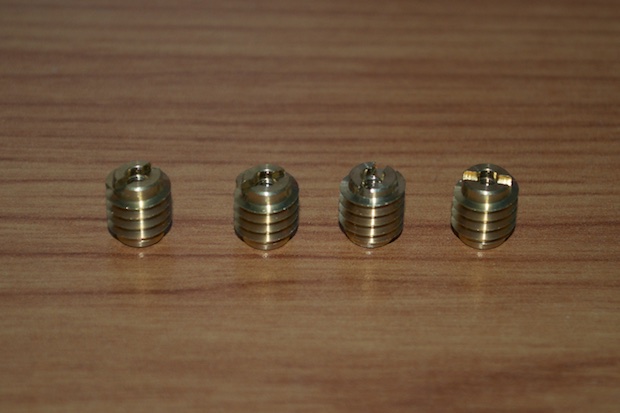
The 4-40 threaded inserts I picked up from eBay also arrived.
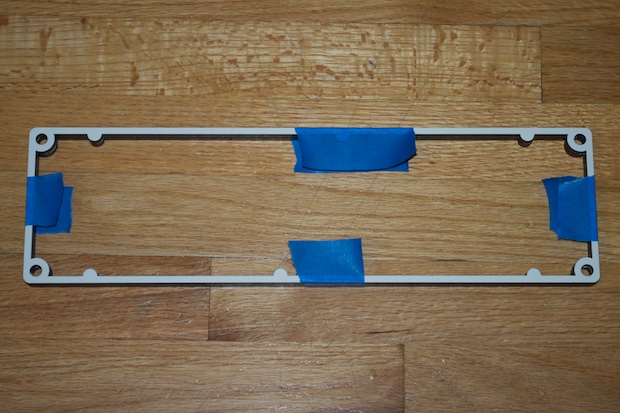
I got to work right away by gluing the two inner panels together.
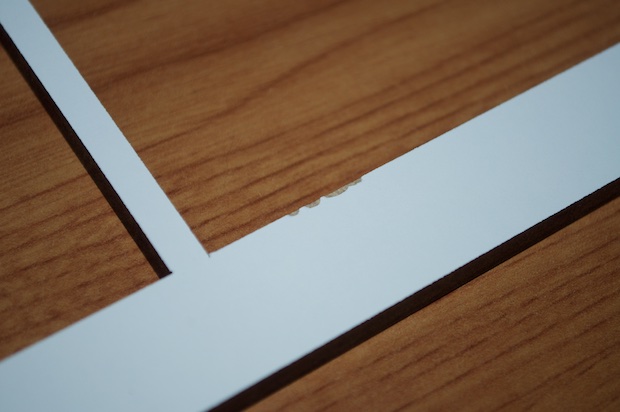
It’s a good thing the front panel is totally symmetrical. When I pulled the protective film off one side, I found that there was a defect. Some of the white coating on the MDF had delaminated along one of the cuts. That would have brought the project to a halt if it was the front side. I’d have to send off for another one and wait another two weeks. It’s a good thing that I can face this side inwards.
Once the glue was dry, I glued the two inner layers to the front panel.
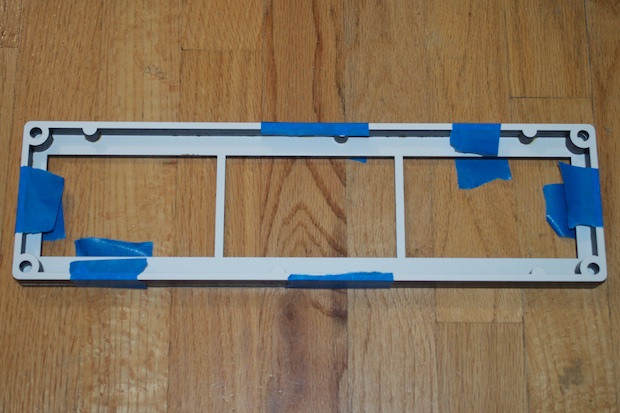
After the glue dried, I screwed in the threaded inserts.
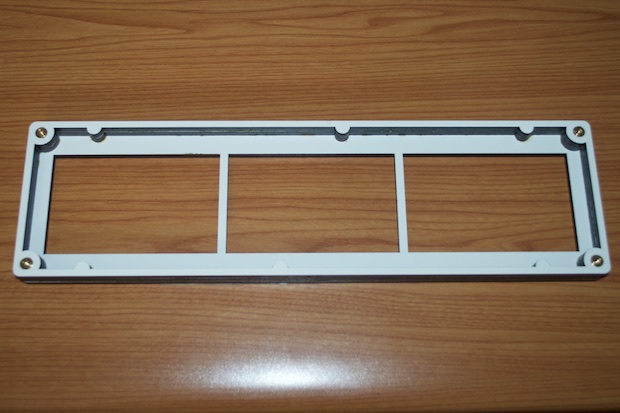
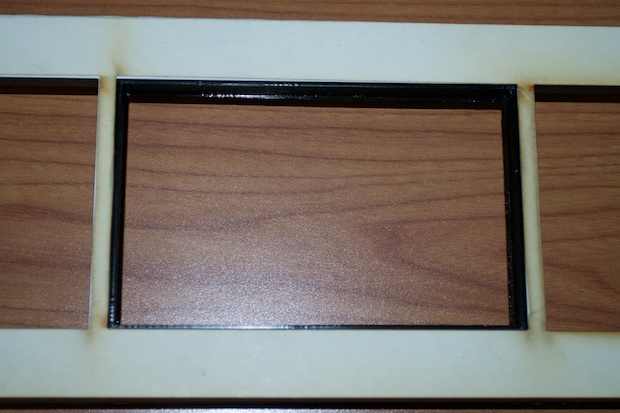
The cutouts that I made in the front panel are just about 1mm too big on all sides. From the front, you can see just a hair of the LCD pins at the top and the bottom of the displays. To solve this problem, I printed some display inserts.
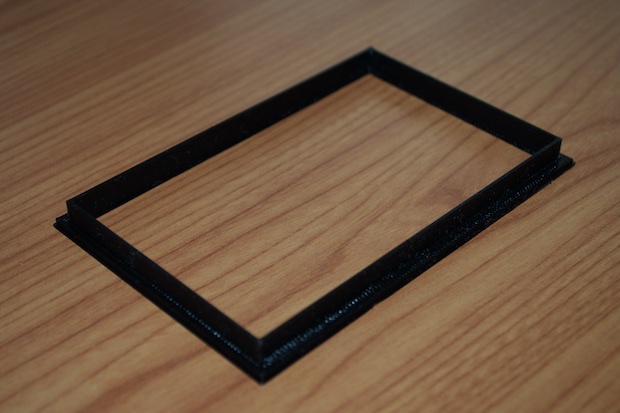
They click right in from the back.
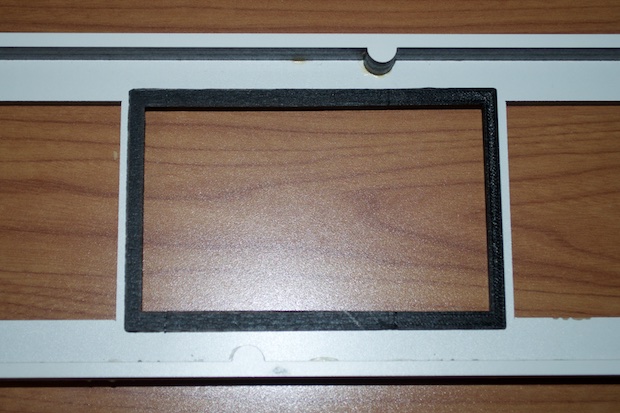
They fill the gap. I think it’ll look pretty cool with a little black on the front. You might not actually even notice them once the LCDs are in.
I thought at this point I was going to just drop in the electronics and hot glue them into position. However, the driver board for the section on the far left wasn’t supposed to be centered behind the display. I was supposed to install it offset to the right to leave space for the JST connectors on the controller board. To make matters worse, the header that’s on the driver board for the minutes section also doesn’t leave enough clearance for the button board. I’m going to have to redo all the wiring. What a pain!
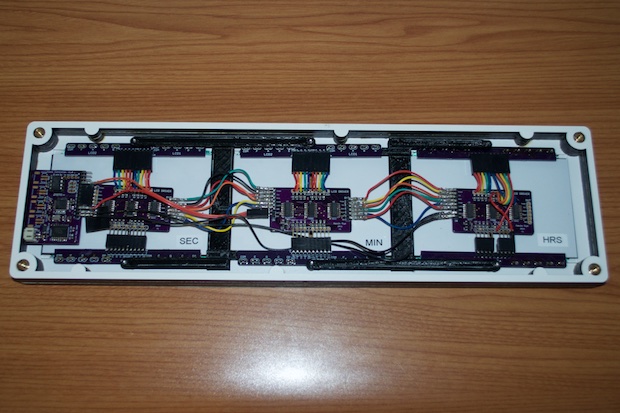
I spent a few hours redoing most of the wiring. I think I’ve made the connections a little more flexible. Everything should now fit in the enclosure without a problem. I also attached the wires and connectors to the button board as well as the USB connector.
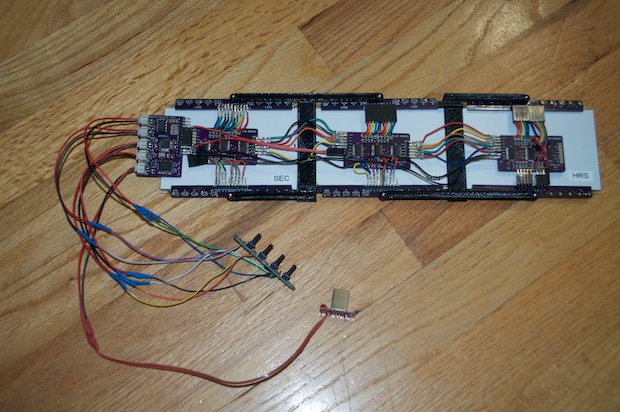
Again, at this point I thought I was going to drop the electronics in and screw the back on, but no. All the wiring that I added for the buttons is a lot bulkier than I had anticipated.
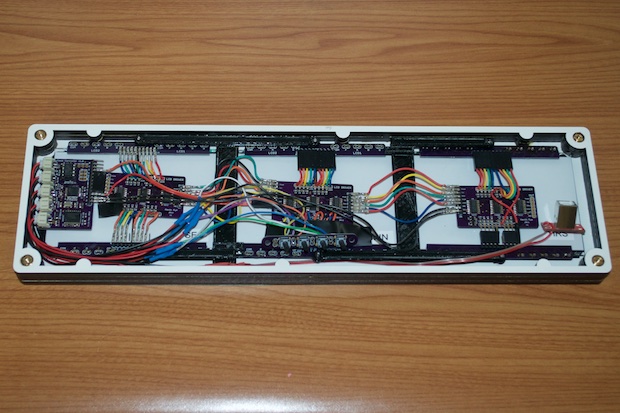
There’s still not enough space for the button board. No matter how much I play with the wires, there’s just not enough space to screw the back on. It’s just a matter of physics.
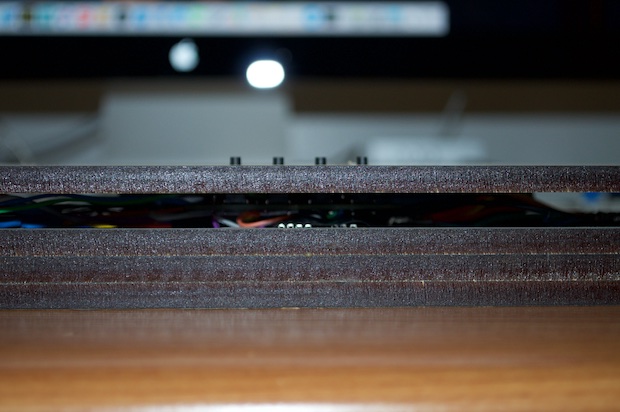
Needless to say, I hoped on Ponoko.com and ordered another two middle boards. I might be able to get away with one, but I ordered two to be safe.
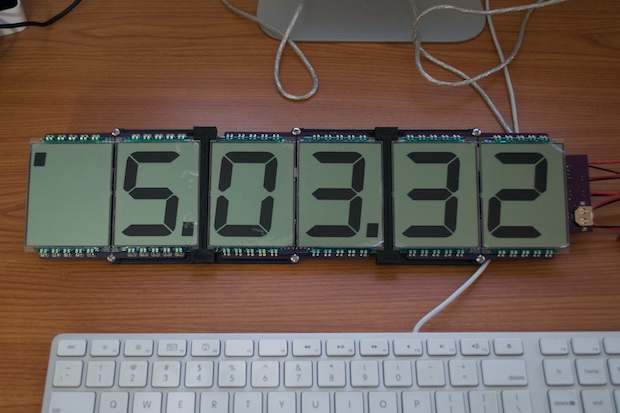
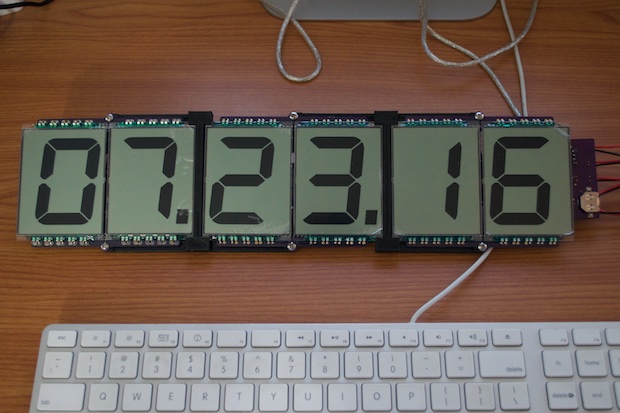
In any case, I finished the code. With all the buttons finally installed, I was able to put in all the code for setting the time and date, as well as the mode function to toggle between the time/date.
Time mode:
Date mode:
 See this project from start to finish: LUMEX 3" 7-Segment Displays 3" LCD Clock - Part I 3" LCD Clock - Part II 3" LCD Clock - Part III 3" LCD Clock - Part IV
 3" LCD Clock - Part V
3" LCD Clock - Part VI


