Time for assembly and painting.
I gave the model a light sanding in a few areas that I thought needed it. There were a few minor imperfections here and there, but nothing major.
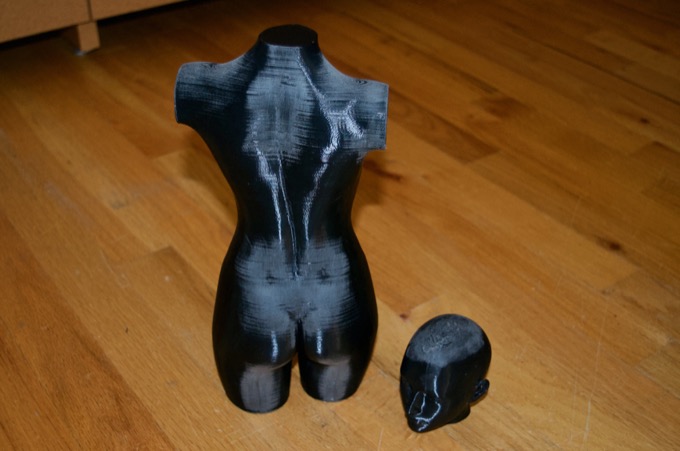
I used some 2-part epoxy to glue the head to the body. I then applied some Bondo to the head, neck, shoulders, and a few spots that I thought might need a little smoothing out.
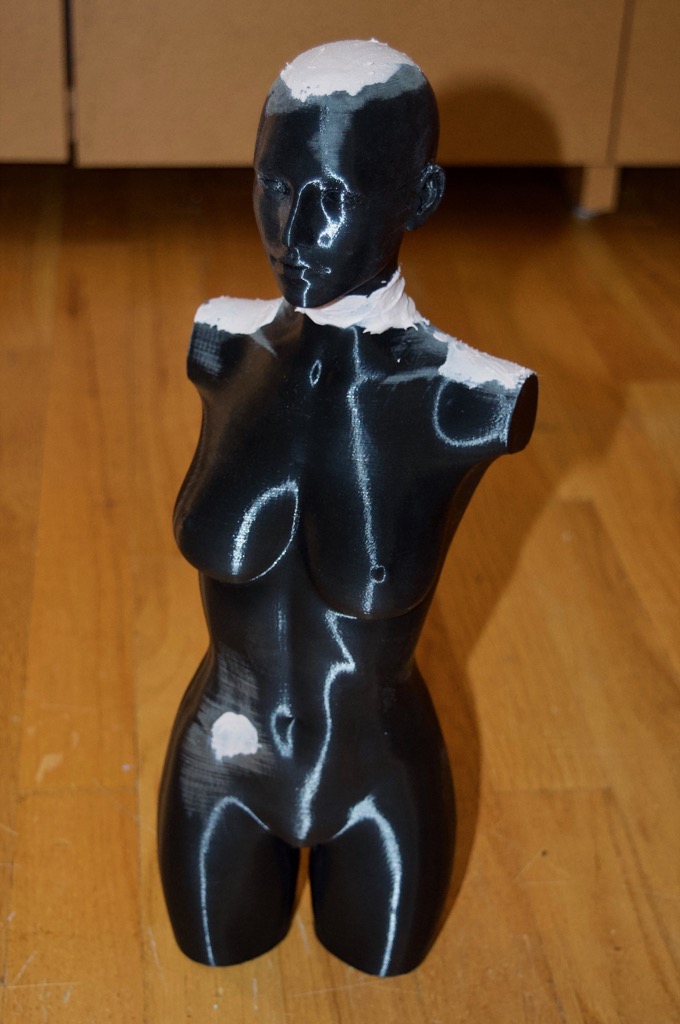
After a little more sanding, it was ready for some primer.
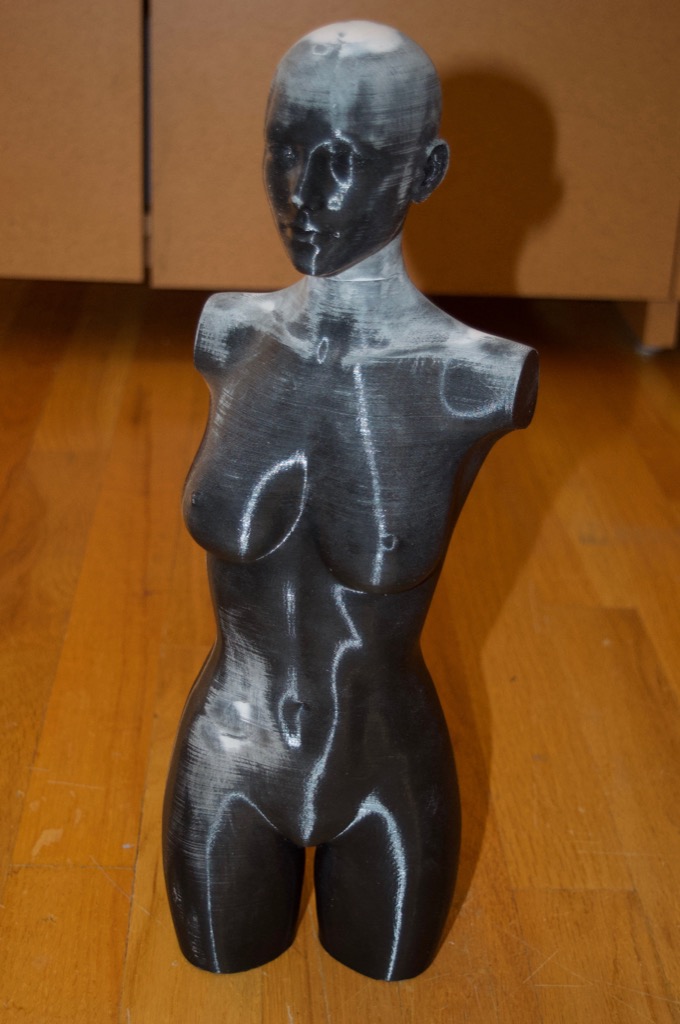
I used an entire can of primer. I kept applying coats until the can was empty. In between layers, I gave it a slight buffing with some steel wool. It’s starting to look really good, but there’s still a ton of print lines. Let’s give it another can.
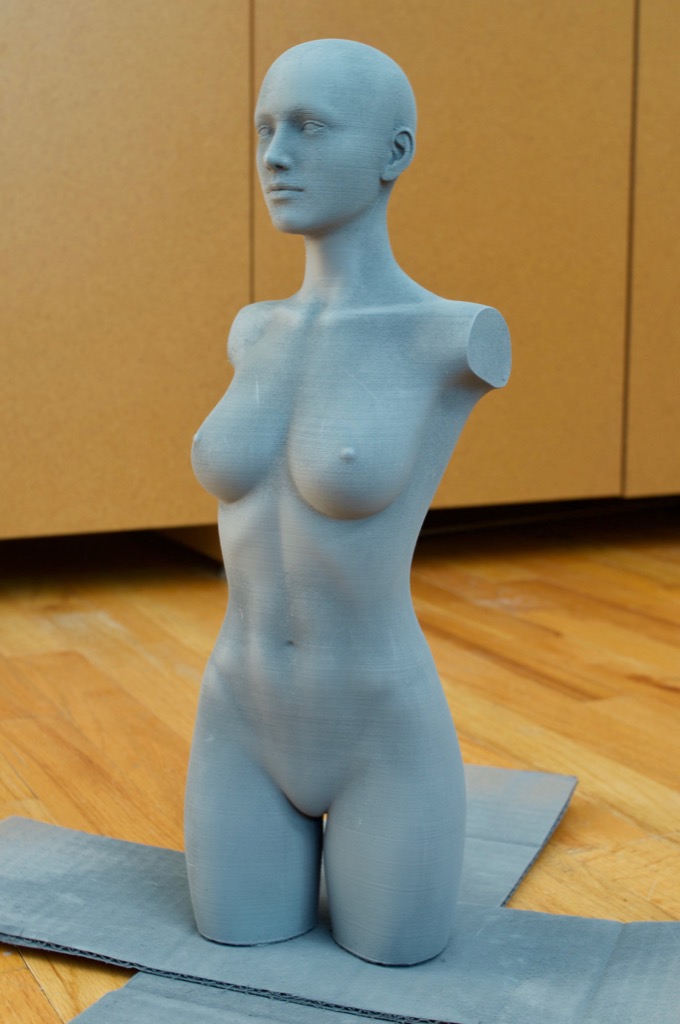
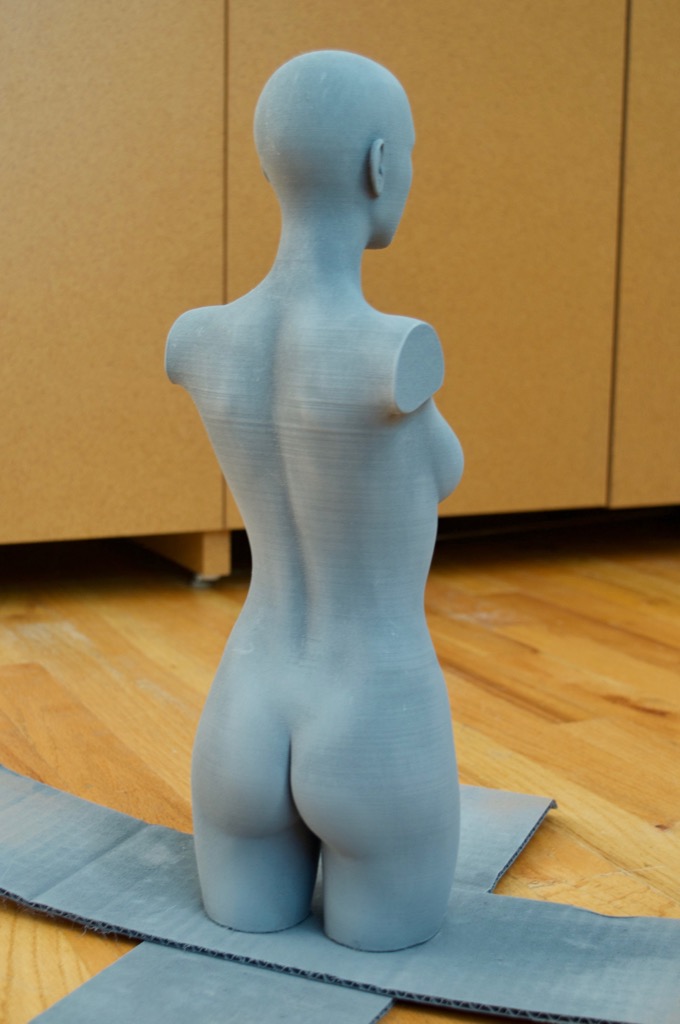
Another can later and some buffing with steel wool. It's much better, but it still has a way to go.
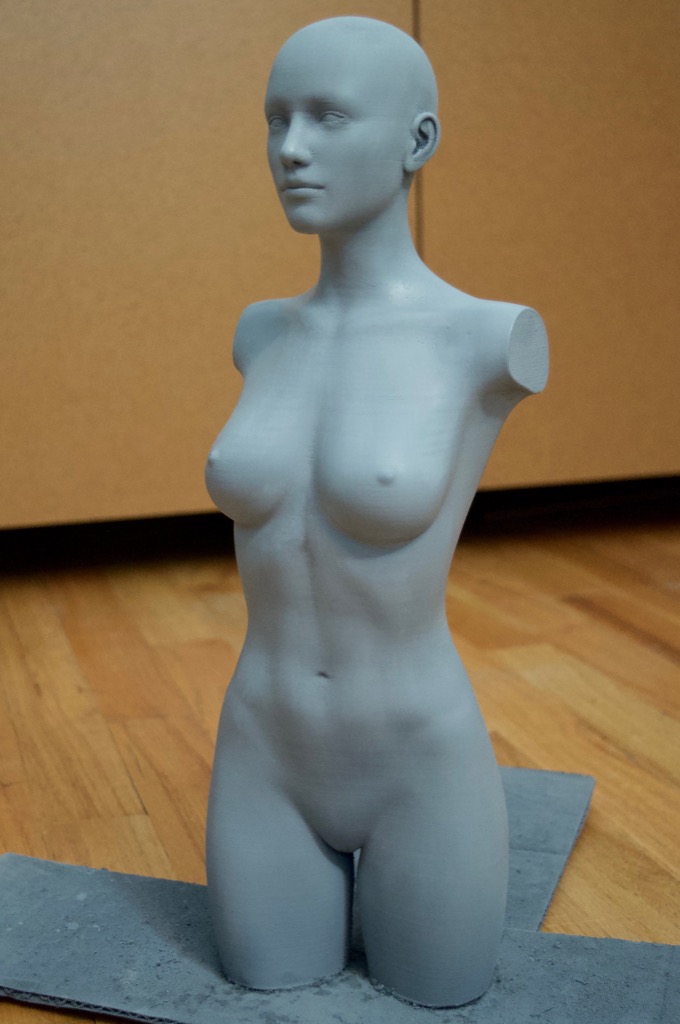
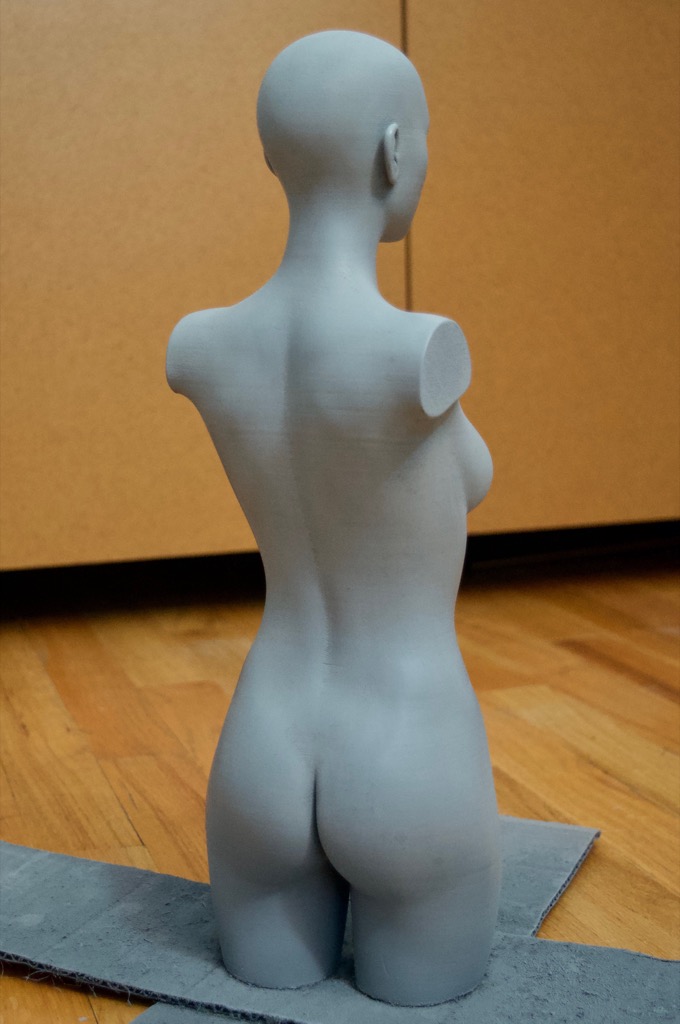
A gave it a few more coats and some more sanding with 400 and 800 grit paper. It's starting to look really good.
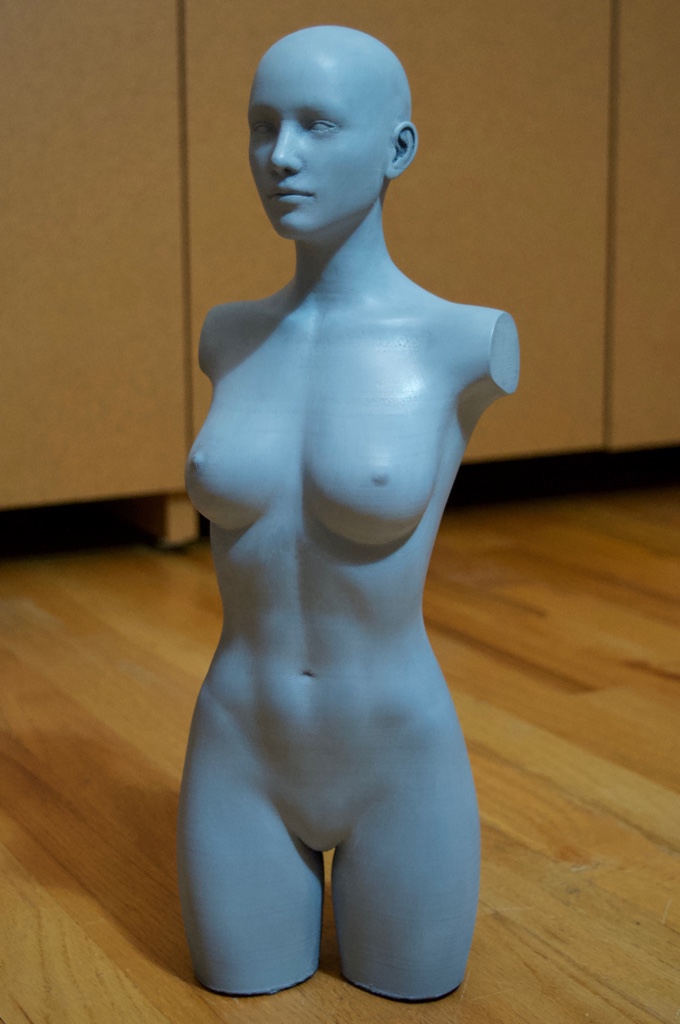
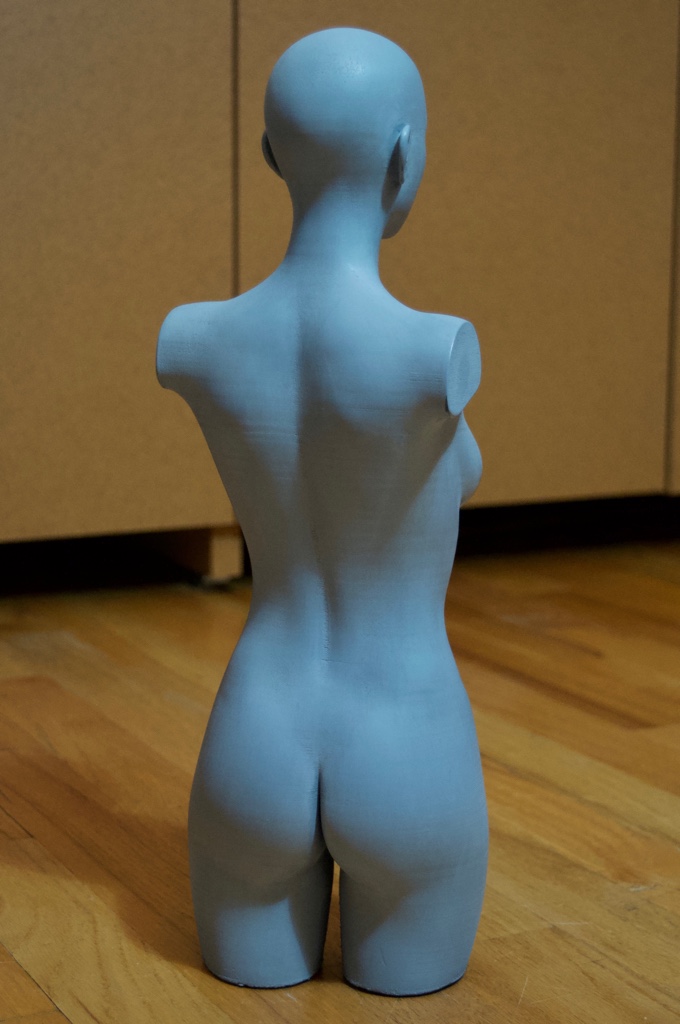
There were still some problem areas on the finish, so I went back over them with some more Bondo and gave it another sanding.
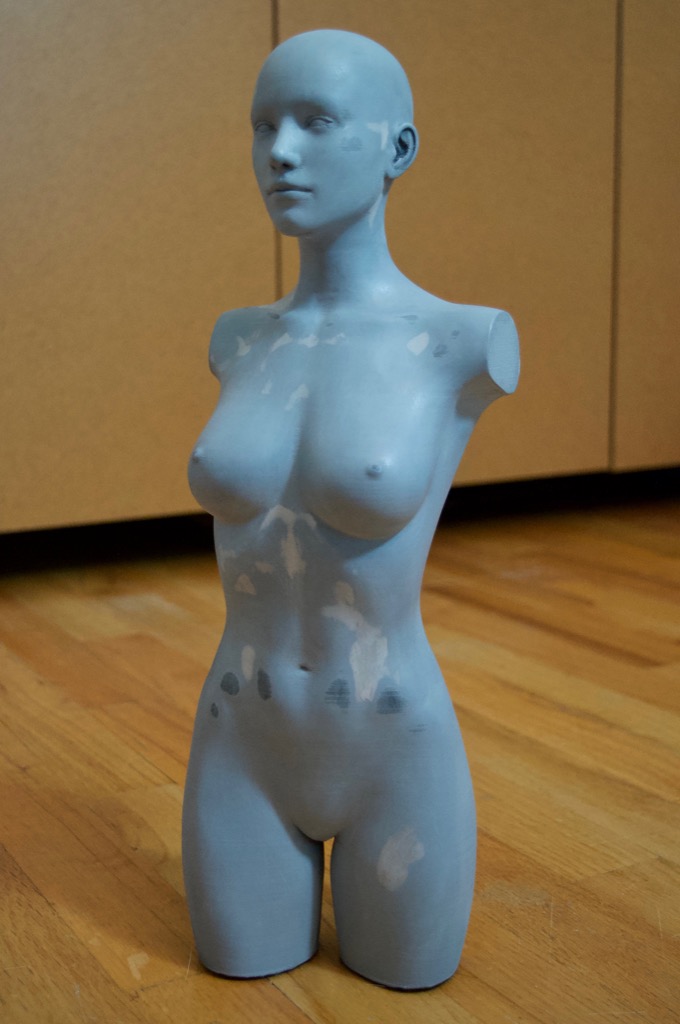
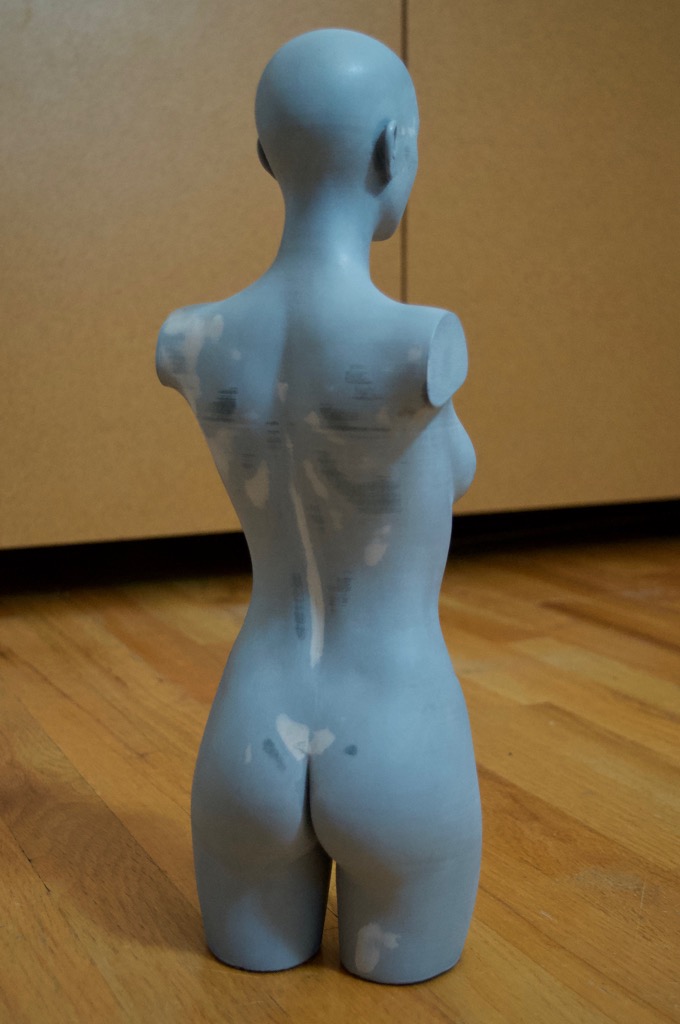
I then applied a few more coats, followed by more sanding with 400 and 800 grit paper. Now it looks really good.
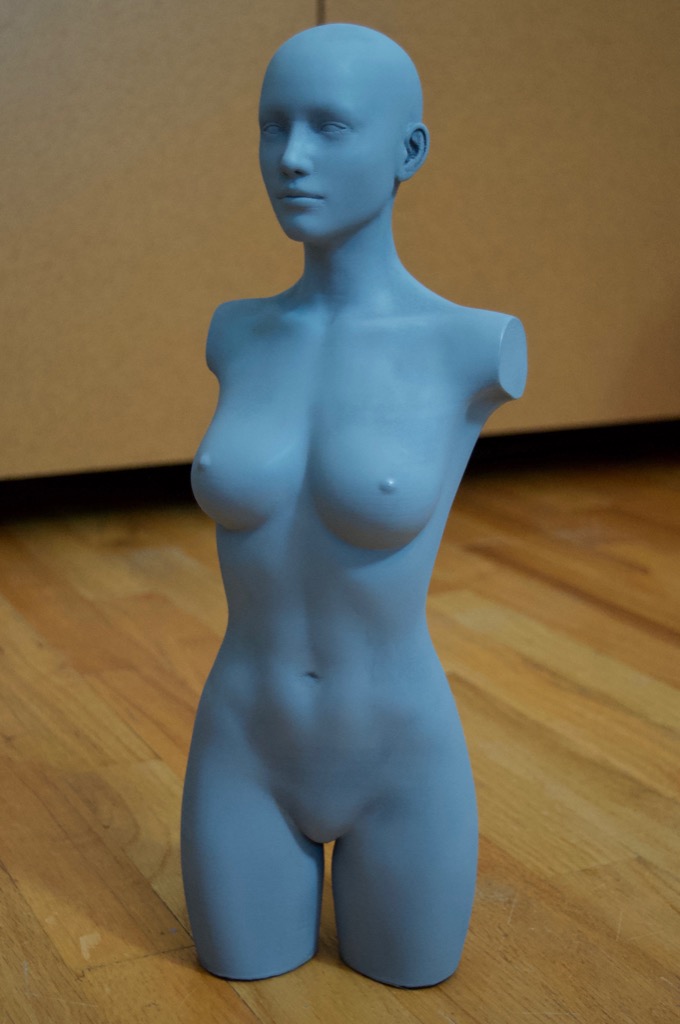
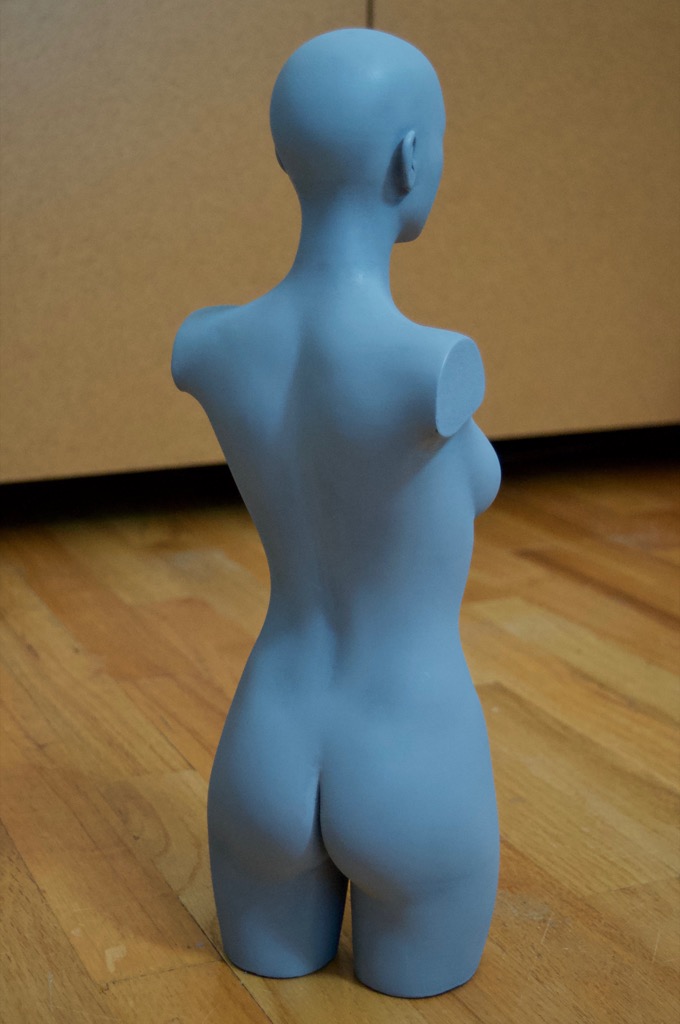
I then gave it the first coat of Black 3.0. After it dried, it was apparent that there were a few bald spots and the need for a second coat.
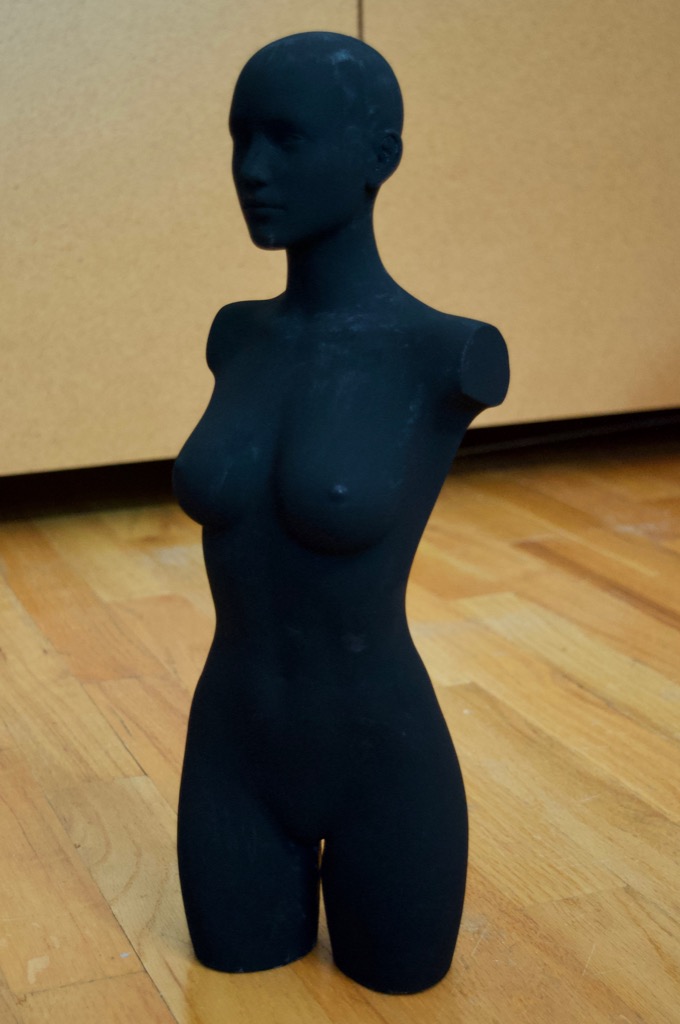
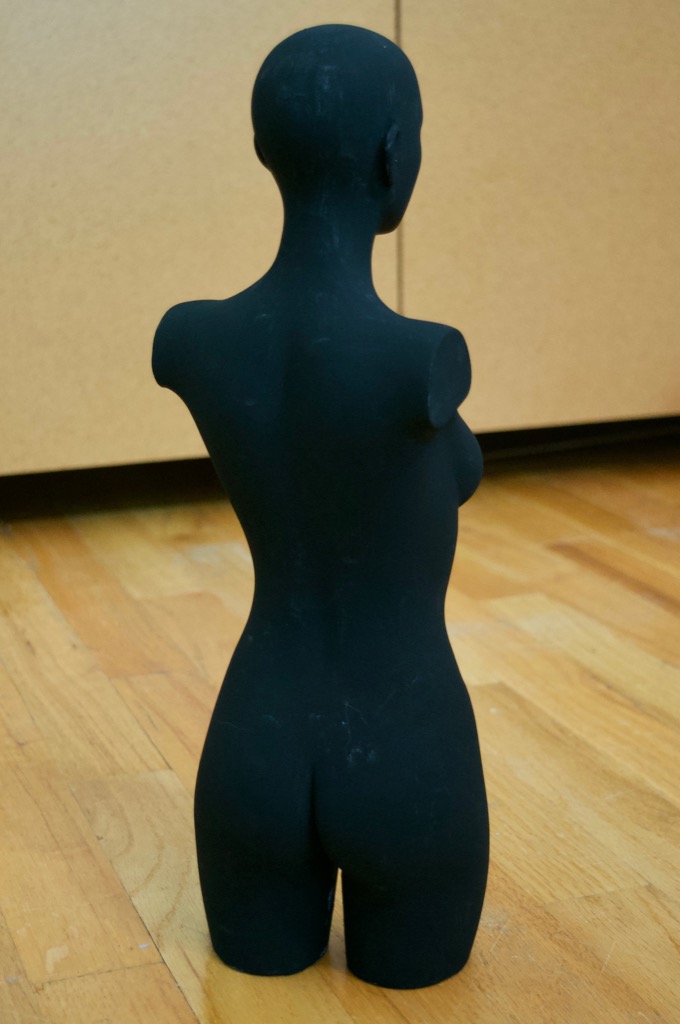
The second coat went on a little goopy and left brush stokes everywhere. It's horrible. There were no brush strokes apparent on the first coat so I'm not sure what happened. I think I'm going to have to try and give it a light sanding, and then maybe water the paint down and give it a few additional coats. It also comes off on your hands like charcoal. I wonder if it's possible to give it a matte clear coat when it's finished. I may have to experiment on my small-scale model.
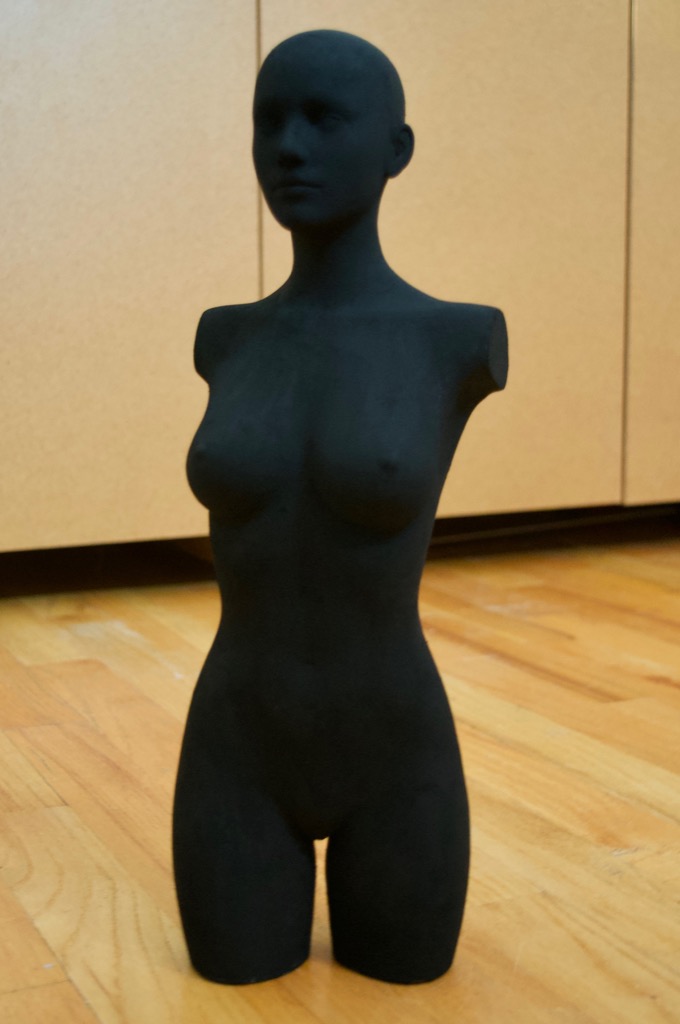
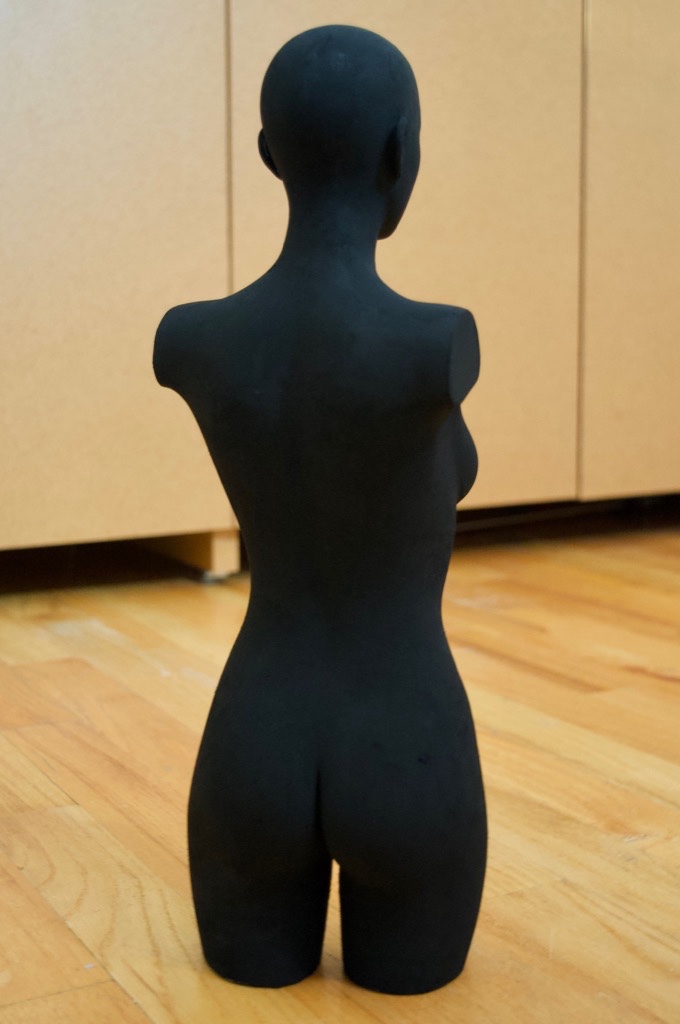
After some wet-sanding with 800 grit, I watered down the paint and gave it another two coats. The paint went on really well. Watering it down is definitely the trick. It came out awesome.
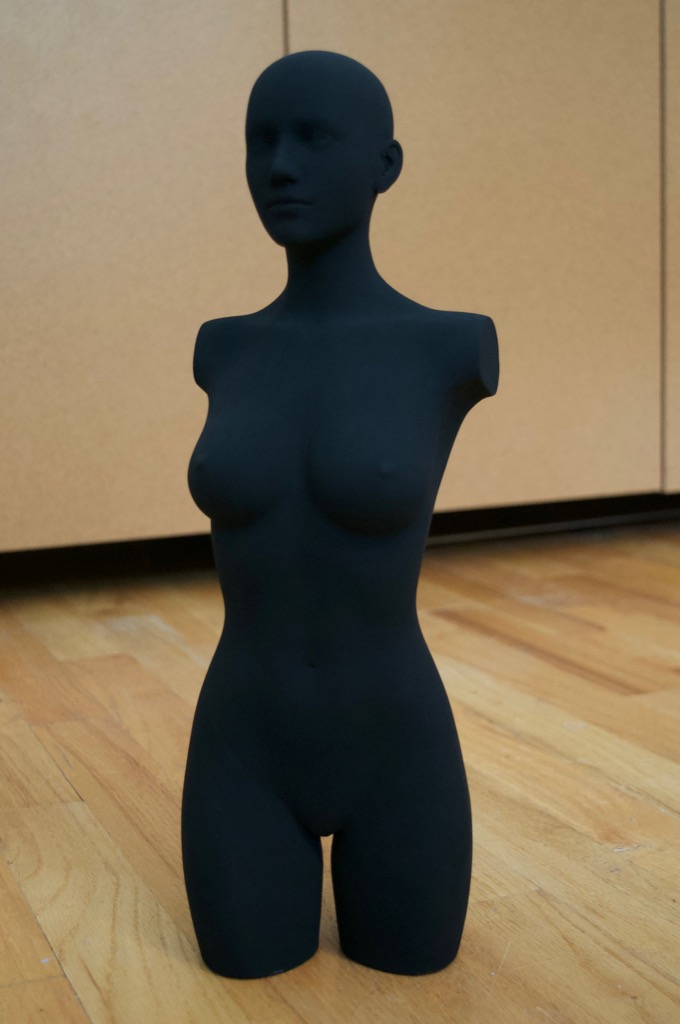
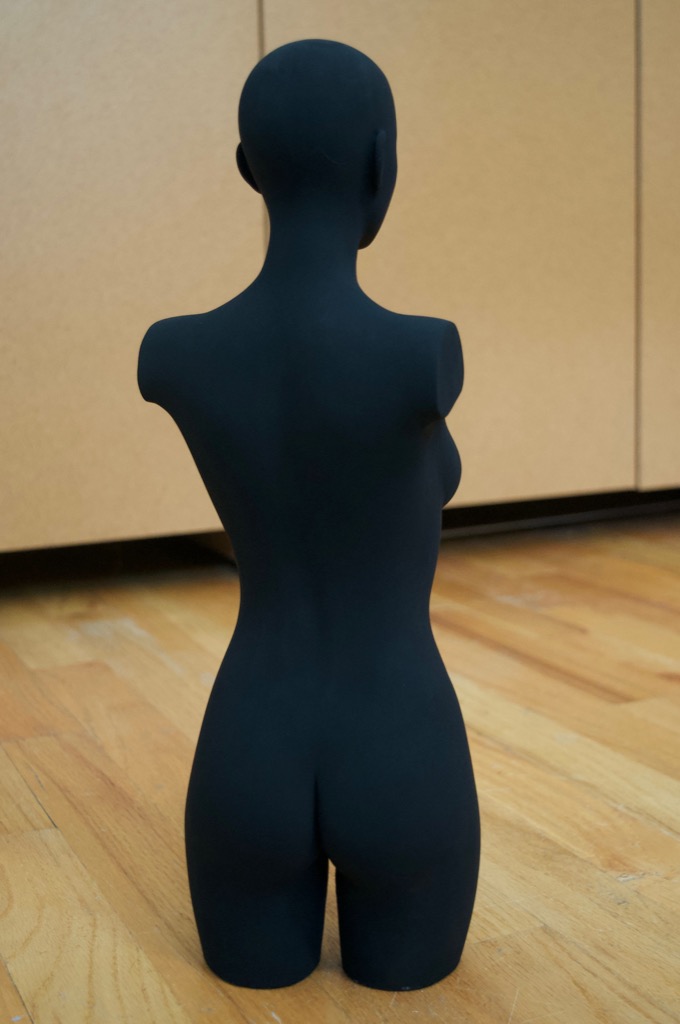
As far as a clear coat, I'm not going to bother. I tried a matte clear coat on the 4" test model and it came out horrible. It's supposed to be matte, but it defining left it with a noticeable sheen.
Next up…the base.
See this project from start to finish:
3D-Printed Victoria 7 Project - Part I 3D-Printed Victoria 7 Project - Part II
3D-Printed Victoria 7 Project - Part III


