3D-Printed Victoria 7 Project - Part III
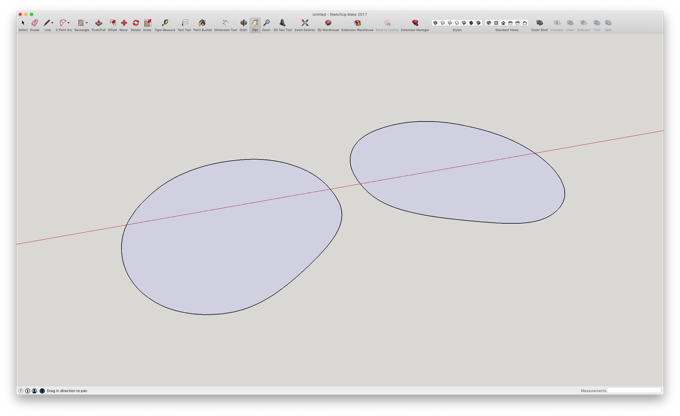
In order to make the base, I went back to the 3D model.
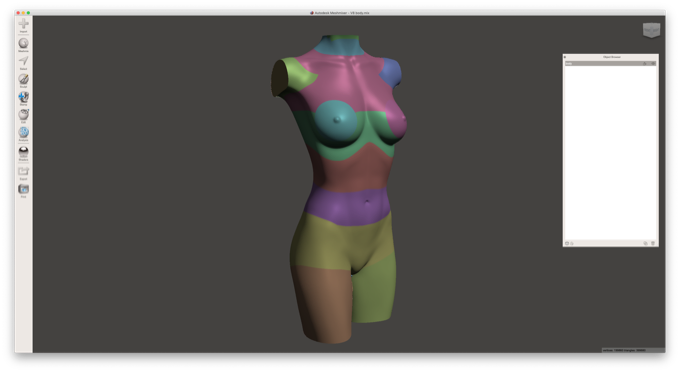
I sliced the model at the bottom just to leave a little sliver of the model behind.
That should do it. I then exported it as an STL.
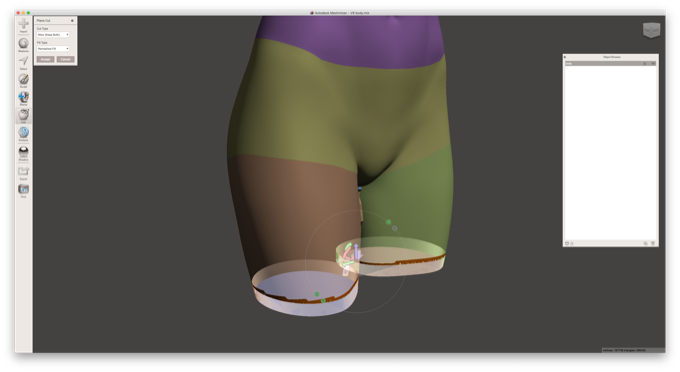
I then took it into SketchUp.
I erased everything but the bottom faces.
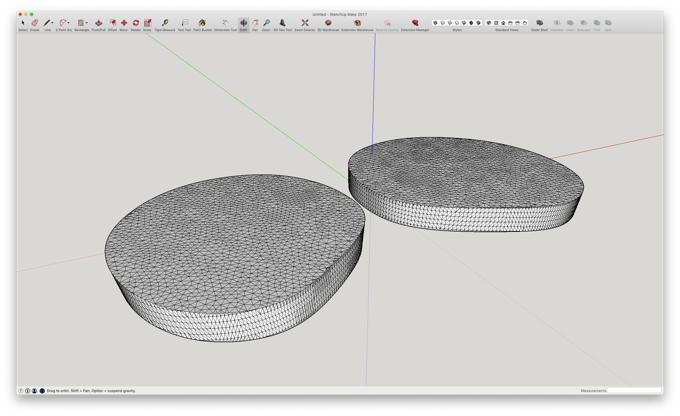
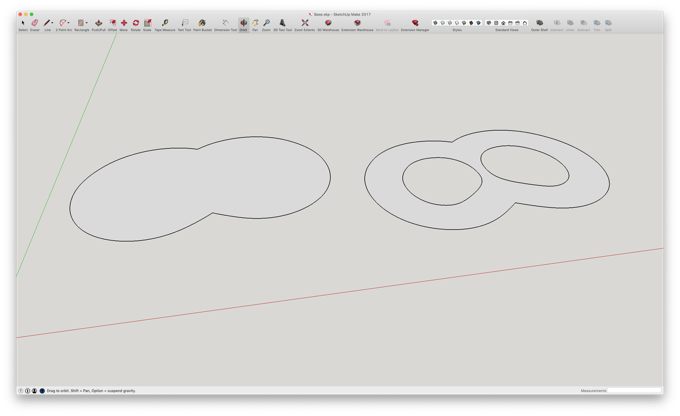
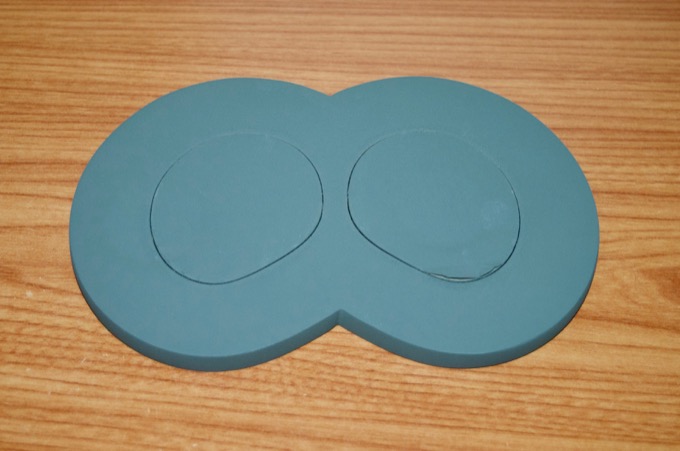
I then offset them by an inch and deleted the holes. The base will be made by gluing two laser-cut pieces of draftboard together.
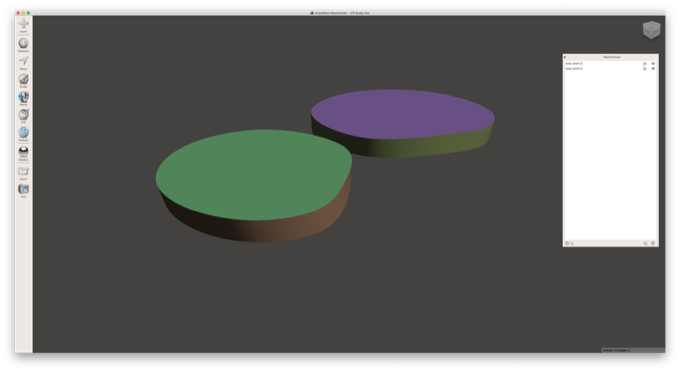
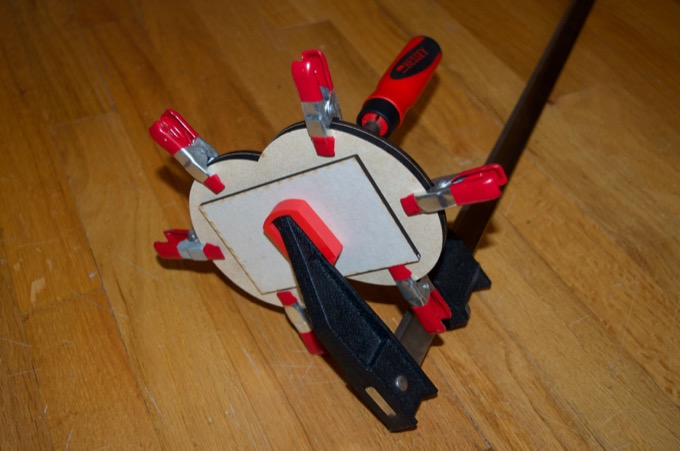
I then cut the two pieces on my Glowforge. Looks good.
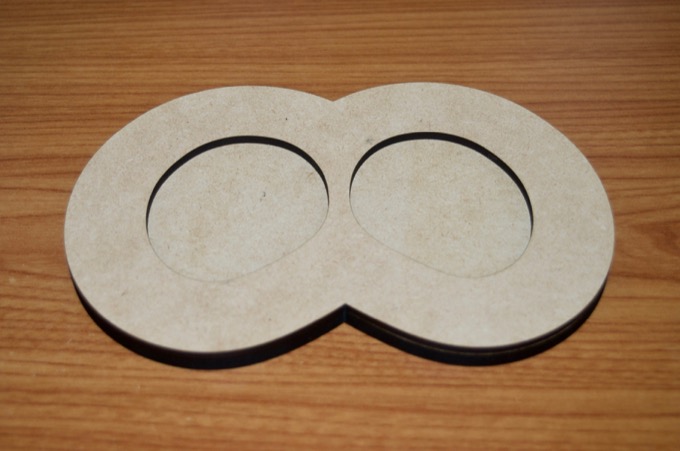
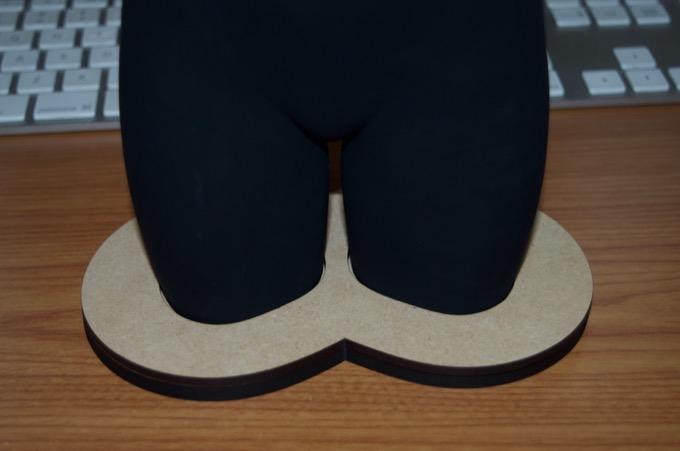
A quick test-fit showed that the model will fit nicely with a slight gap all around. Not too tight.
I then glued the two pieces together with some epoxy.
Next up, a few coats of primer…
…followed by some white and clear coat.

I then laser engraved my signature and the date on the bottom.
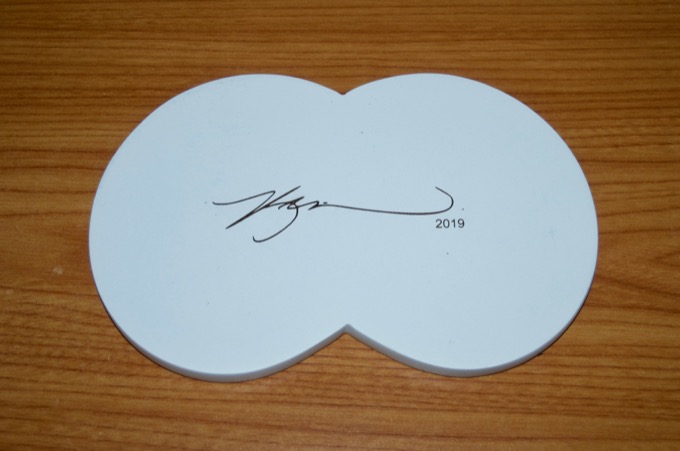
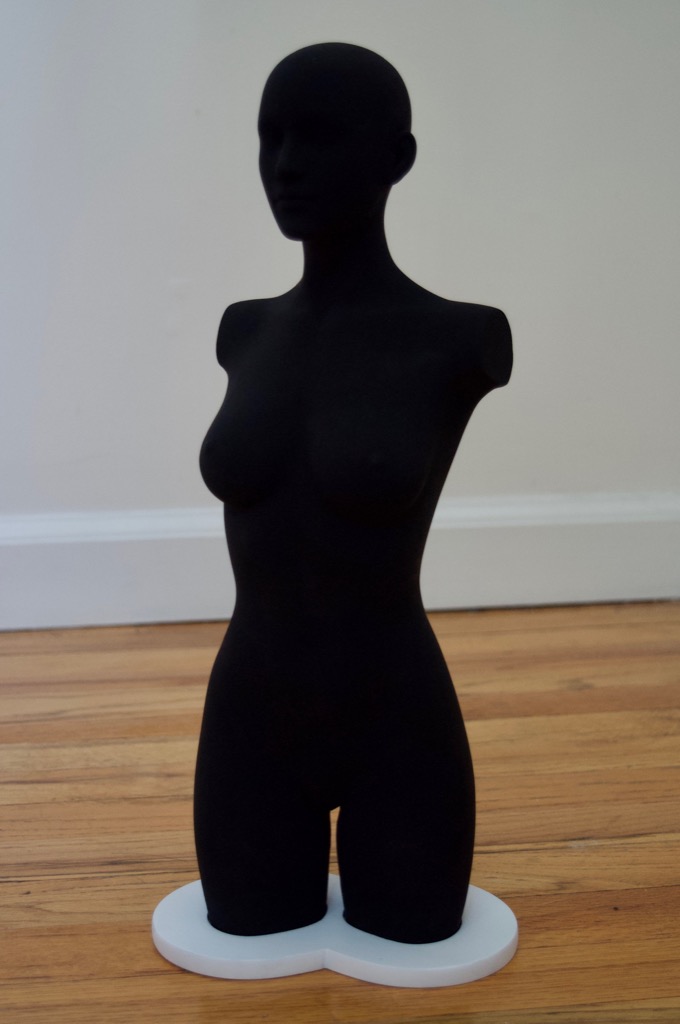
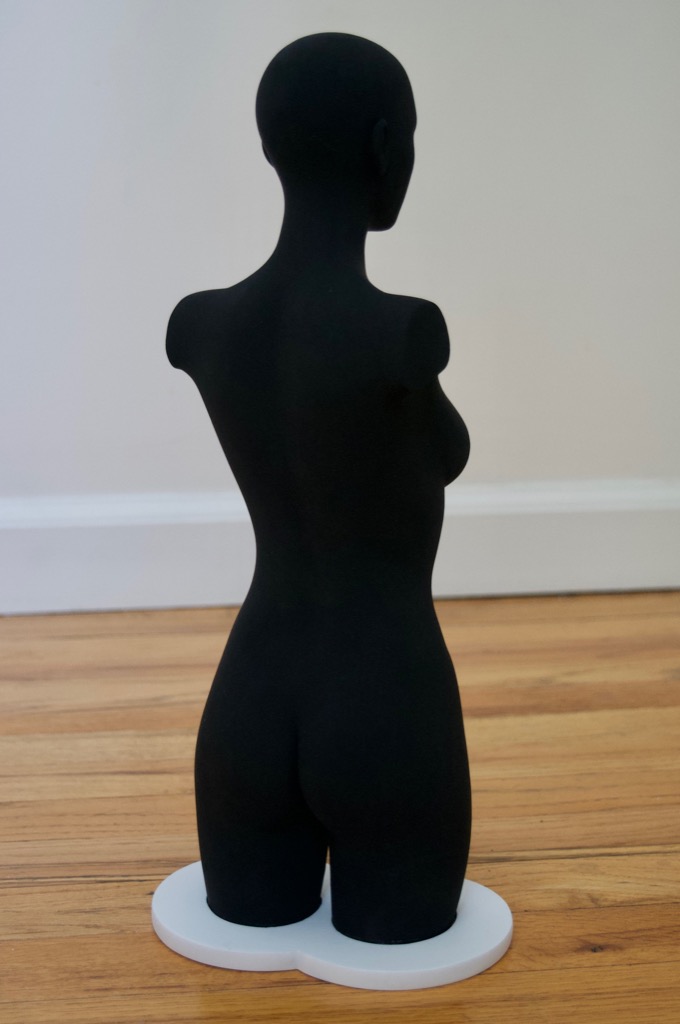
I like the black and white contrast.
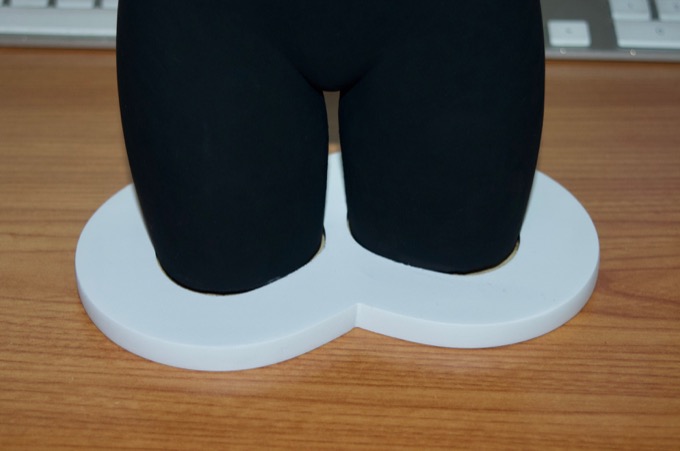
And there it is. All done. I think it came out awesome!
 See this project from start to finish:
3D-Printed Victoria 7 Project - Part I 3D-Printed Victoria 7 Project - Part II 3D-Printed Victoria 7 Project - Part III

