Bare Bones Arduino V3, Part II
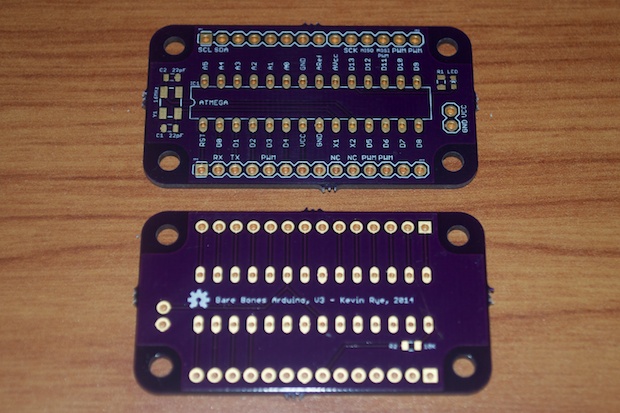
It’s only been 12 days and already I have my PCBs in-hand. They look great. I have my fingers crossed that they work.
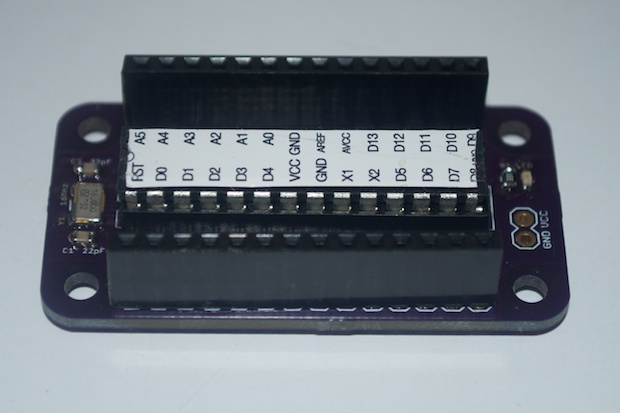
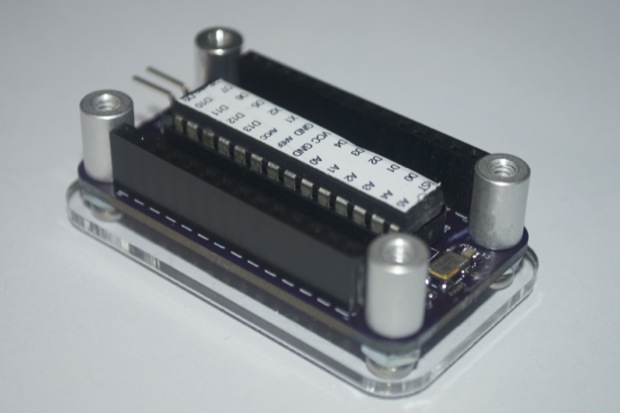
1 crystal, 2 caps, 2 resistors, 1 LED, 1 DIP socket, and 2 headers. A very easy build.
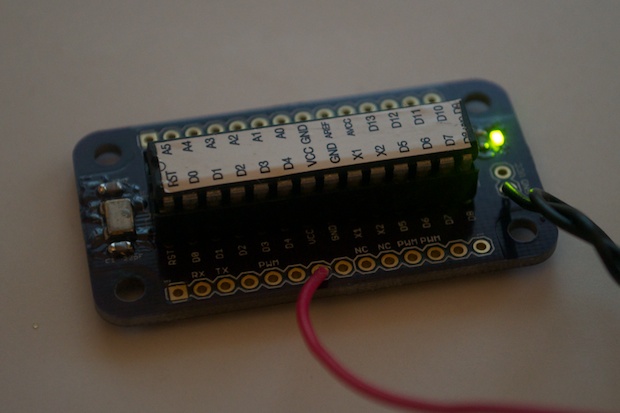
I threw the Blink sketch on there, and applied power from a battery pack. It works!
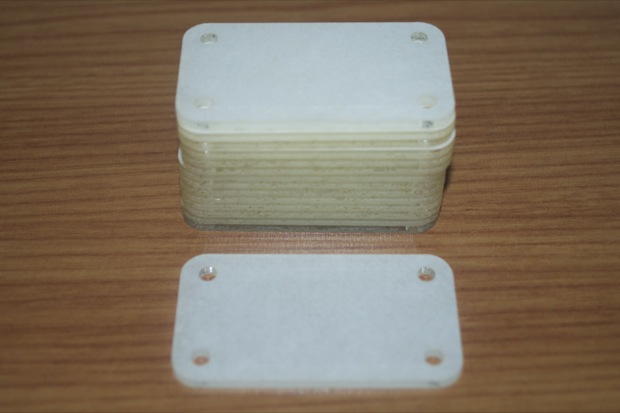
I already received my acrylic panels from Ponoko. They came out great.
Now I just have to wait for my Temperature Shield to come in and I can wrap this one up.
 See this project from start to finish: Bare Bones Arduino V3, Part I
 Bare Bones Arduino V3, Part II

