With a free weekend, and all my piece-parts ready to go, it was time to get my build on.
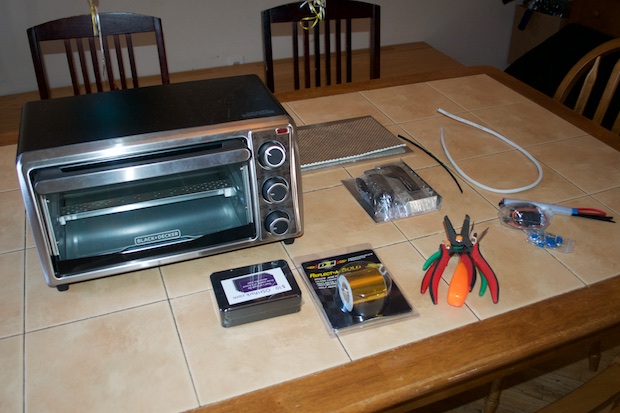
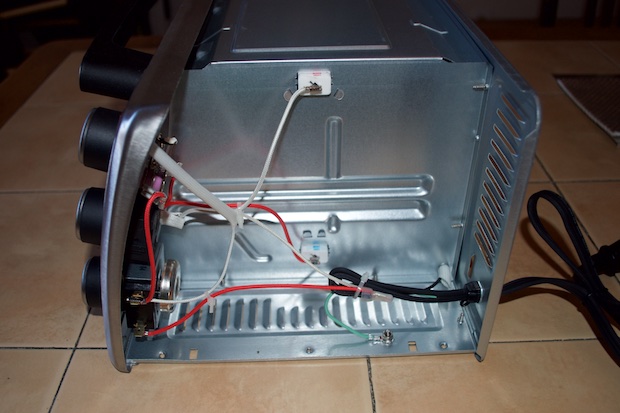
First up was taking the oven apart to expose the innards, and cutting away at the old wiring.
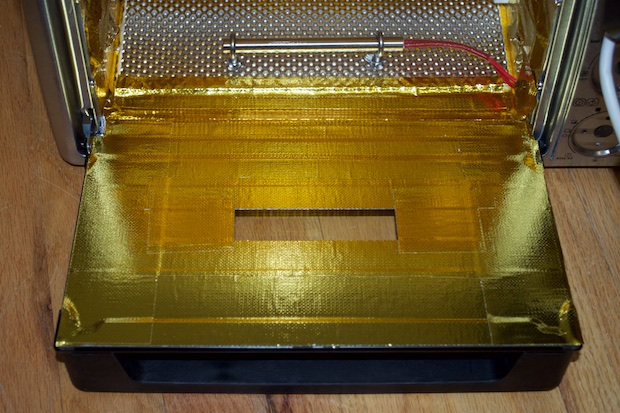
I lined to interior of the oven with Reflect-A-Gold. I didn’t think I was particularly wasteful with the 18’ roll that I had, but I somehow managed to run out before the job was done. I didn’t have any left over for the glass door.
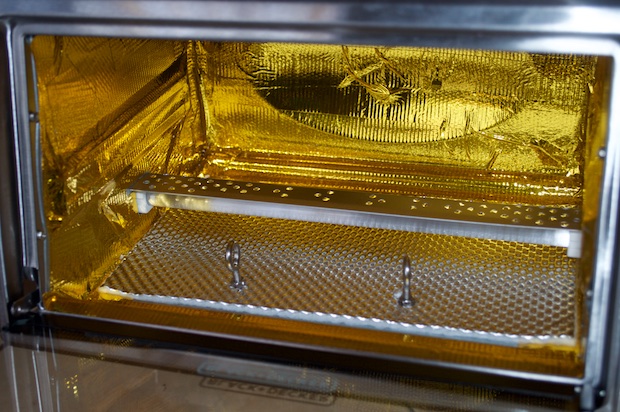
Needless to say, I had to jump on eBay and order another roll to finish the door. Man, this stuff is expensive!
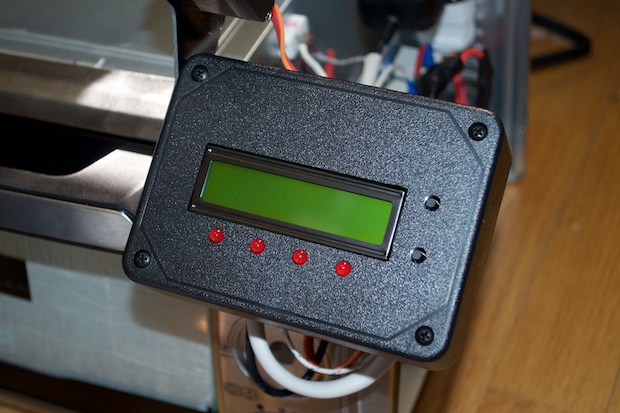
I then drilled all the necessary holes and mounted the ControLeo2 enclosure.
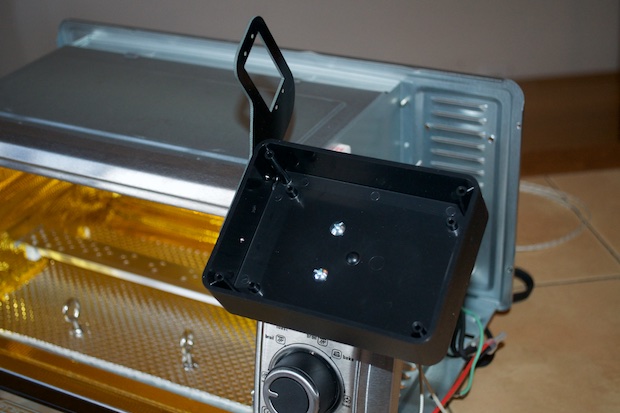
I could have done a better job of lining up these holes. It looked better before I drilled them. I guess the drill drifted off-target a little.
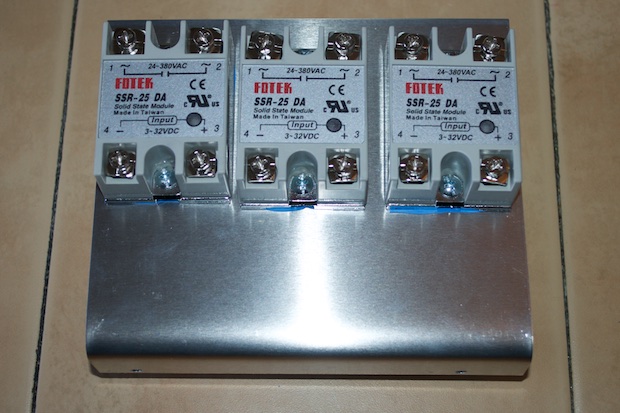
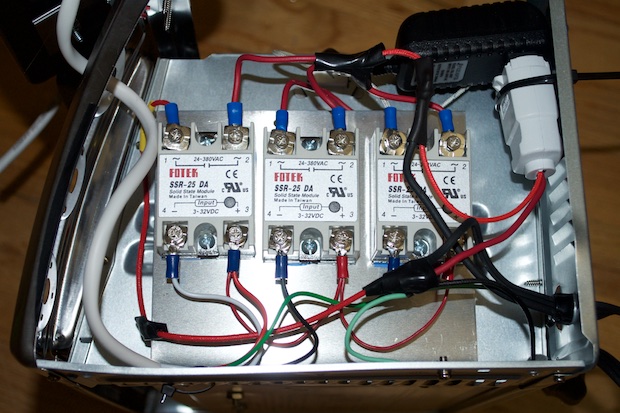
Instead of attempting to solder thick gauge wire onto the back of the DC power supply, I opted to drop $1.50 on a DIY AC socket.
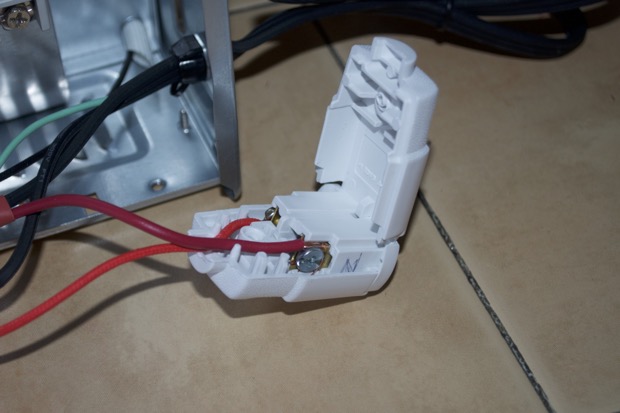
So much cleaner, and it’ll be easier down the road if I have to replace the adapter. I then finished all the high-voltage wiring to the top, bottom, and boost elements.
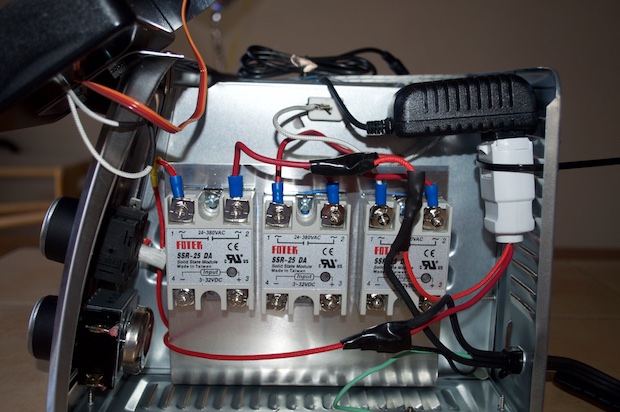
Next up was the low-voltage stuff.
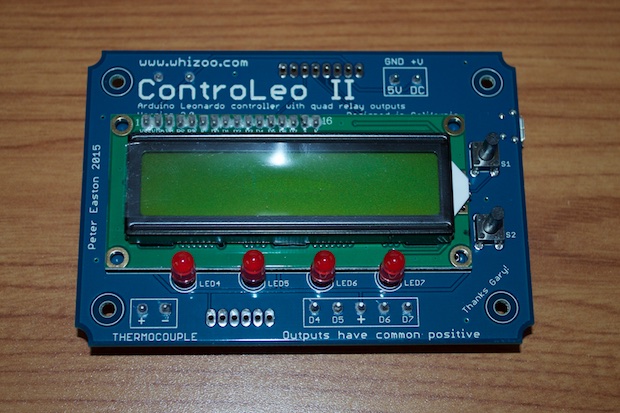
Here’s the ControLeo2 controller. Pretty nice piece of kit for $64 bucks.
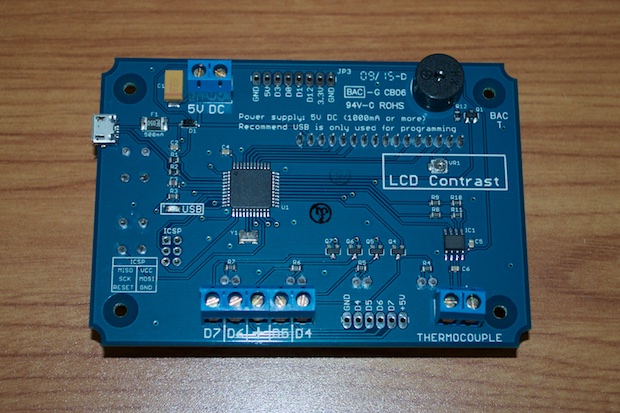
I then ran the wires for power, the thermocouple, the servo, and the relays through the back of the enclosure and connected them to the controller.
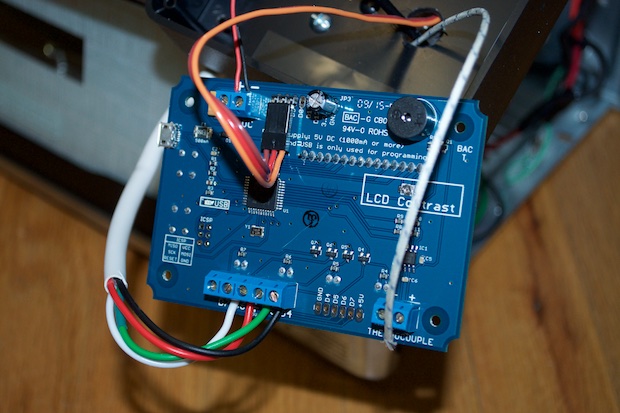
It was a tricky trying to hold the standoffs in place while I threaded the screws, so I used a little hot glue. Everything fits perfectly.
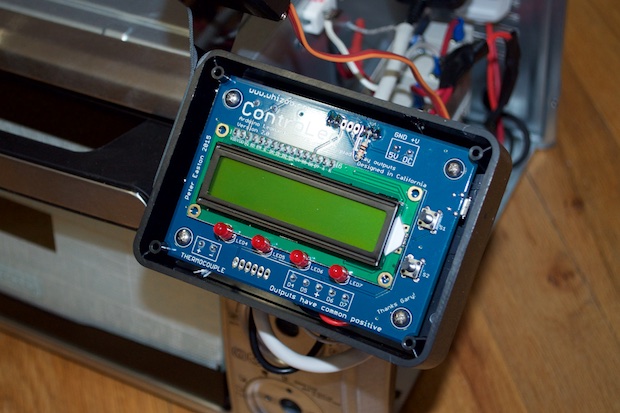
Power is good. The outputs are good.
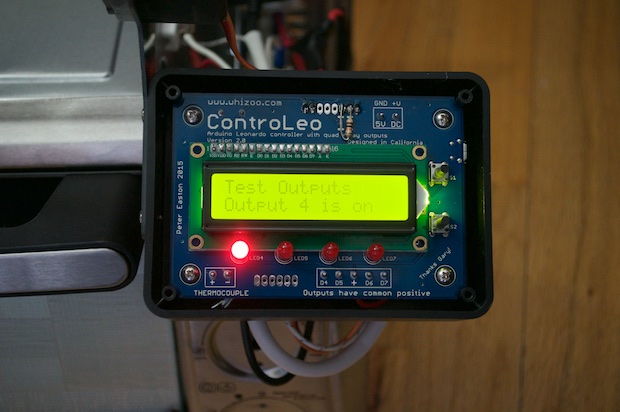
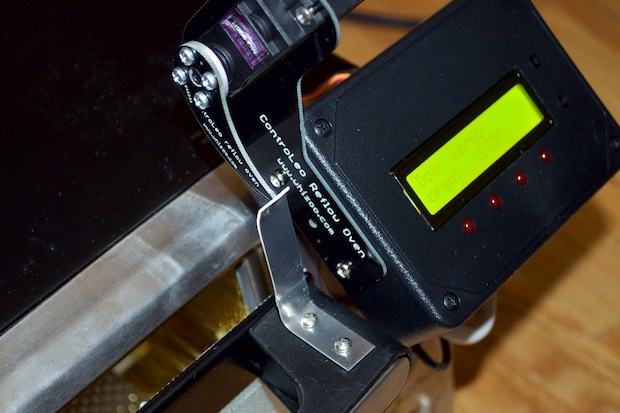
With that, I buttoned up the controller and moved onto the servo.
I mounted a small piece of aluminum to the door handle so that the servo could open the door.
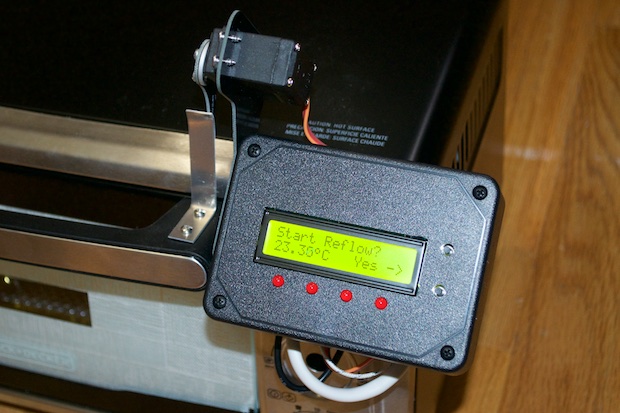
It’ll open the door about an inch when the reflow is complete, and close when it’s cool.
Lastly, I installed the PCB tray.
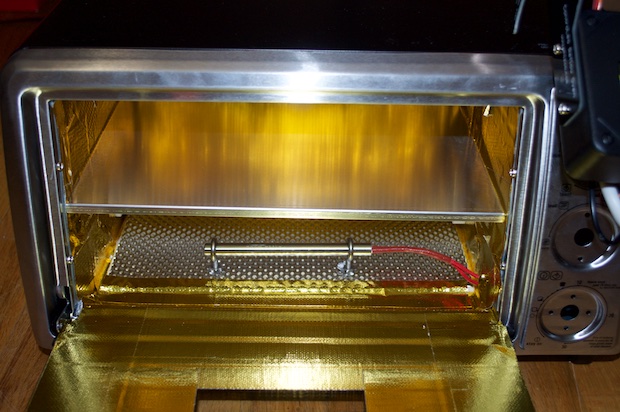
Awesome. I can’t wait to fire it up.
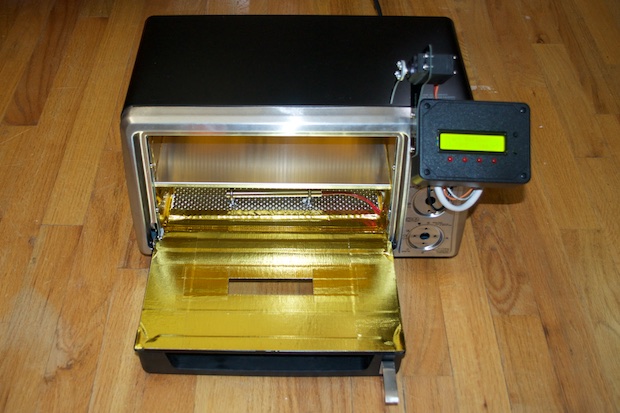
When you first attempt a reflow, ControLeo2 will enter Learning Mode. It will attempt to tweak the oven's heating elements in order to conform to the J-STD-020 standard. If the temperature rise is too fast or too slow, the cycle will be aborted. ControLeo2 will make some adjustments and save them into the EEPROM for the next cycle. You let the oven cool down, rinse, repeat.
You basically keep doing that until the temperature rise meets the J-STD-020 standard. ControLeo2 will then leave learning mode and you're all set. According to the Build Guide, ControLeo2 could nail it on the first try, or it could take up to 20 cycles. I got lucky. My oven figured itself out after 4 cycles.
I grabbed an old scrap board and applied a small blob of solder paste to each pad.
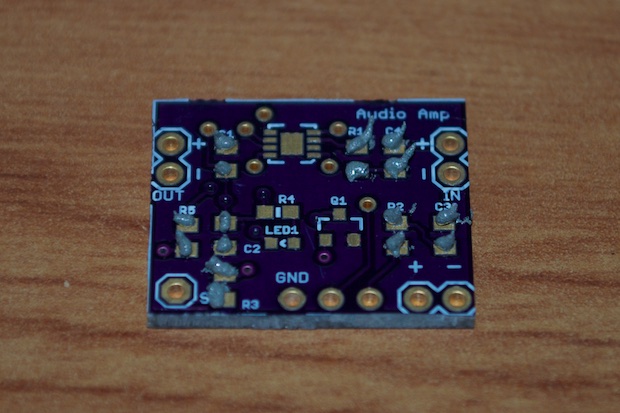
I then placed some resistors on the pads.
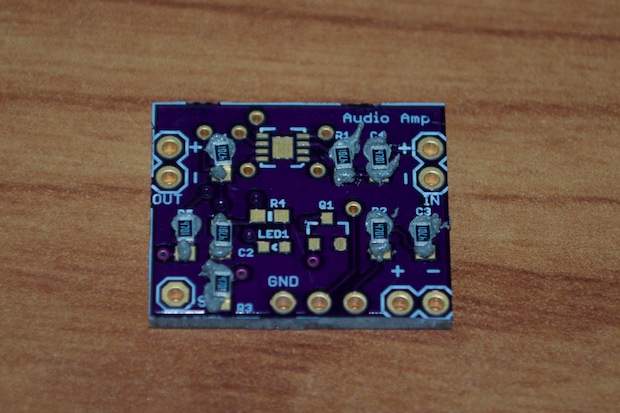
I placed the board within the oven, and let 'er flow.
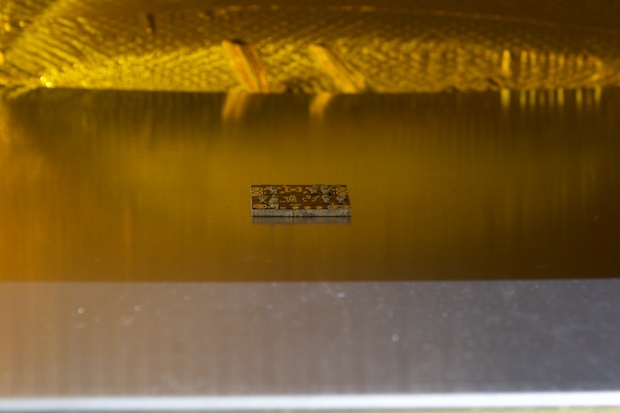
It only took a few minutes. It's a pretty quick process. I didn't bother timing it, but I'd have to say it was about 7 minutes. The longest part of the process is waiting for it to cool down. You definitely want to do this outside, it does get a little smokey toward the end of the cycle. You don't want that in the house; especially if you're using lead solder.
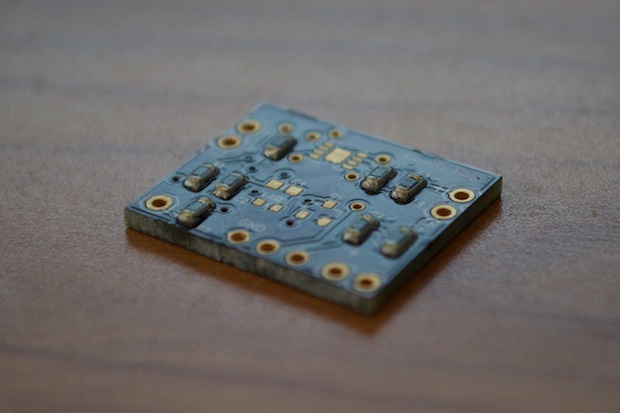
All-in-all, this was a pretty involved build, but the results were well worth it. The board came out amazing; way better than I could ever do by hand.
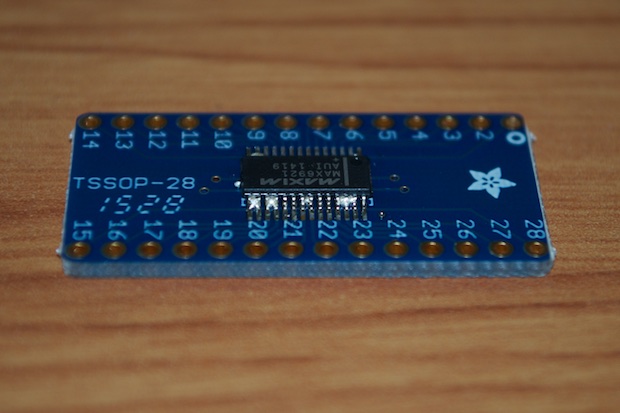
With the oven good to go, I decided to try soldering a MAX6921 to a breakout board. This has to be the finest pitched chip I’ve ever seen. It came out pretty good despite a few bridges. I had to clean them up with some solder wick. It’s going to take a bit of practice before I can properly gauge how much solder paste is too much.
 See this project from start to finish: DIY Reflow Oven - Part I
 DIY Reflow Oven - Part II


