After soldering the PCBs for the
Word Clock 2, it became more than apparent that I need to pick myself up a reflow oven.
I’ve always wanted my own reflow oven. It’s not that I mind soldering. In fact, I rather enjoy it. I love the smell of solder in the morning. I’ve put together plenty of projects with SMD components. When you only have about 20 or so parts to solder, it’s no big deal. I think everything that I’ve designed, I’ve managed to solder everything together in an hour or less. The Word Clock 2 had exactly 600 solder points. That’s a rather daunting task to tackle by hand.
Soldering the Word Clock 2 by hand wasn’t impossible, but it did take 4 hours to solder all 209 components. I bet I could have done it in minutes with a reflow oven.
I’ve had my eye out for one for a few years now. I just haven’t bitten the bullet. I’ve come so close to picking up one of the cheapie China ones you see on eBay for ~$200. Every time I’ve come close, I’ve read the reviews and have been deterred by the lackluster performance, or the fact that most (if not all) are Infrared. Infrared ovens have a tendency to cook chips. Since chips are black, they absorb more light than other components. There are also issues with uneven heat distribution. They might be OK for a single board placed in the middle. However, once you start to fill up the over you’ll notice that the solder on the back and side boards don’t properly reflow, or by the time they do, the board in the middle is toast. This is especially common with lead-free solder paste since it has a higher melting point. Theres also complaints of crappy firmware and lousy temperature curves. It seems to me that most people hack the hell out of these ovens right out of the box.
Rather than spend $200 bucks on an oven I’m just going to hack to pieces, I figured I look to see if someone had a better solution.
I happened across a pretty successful Kickstarter campaign for an oven reflow controller and was mighty impressed. It’s called the
ControLeo2 and the price is right. It’s only $64 bucks. Granted, you need to bring your own oven and buy all the extra parts to mod it, but getting your hands on a good controller is the hard part. It just so happens that the guys oven at Whizoo also sell a complete oven built kit to go along with the ControlLeo2. So for a $178 bucks, you get everything you need to turn a standard off-the-shelf toaster oven into a reflow oven. And not just any reflow oven, but one that works. It uses actual heating elements (not infrared), doesn’t suffer from hot and cold zones, makes adjustments on-the-fly so that your temperature profile conforms to the standard, and is fully open-source.
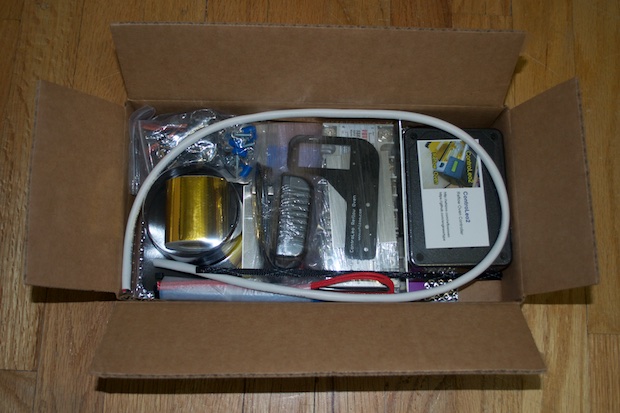
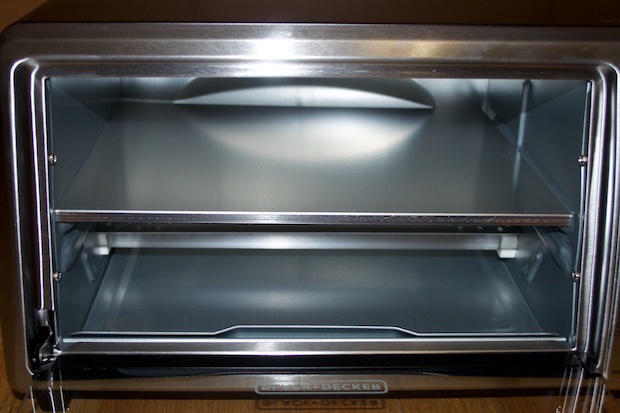
They have a very detailed assembly guide. They used the Black & Decker T01303SB in their build guide. I figured for a $30 bucks, it was perfect. I hopped on Amazon and had one in 2 days.
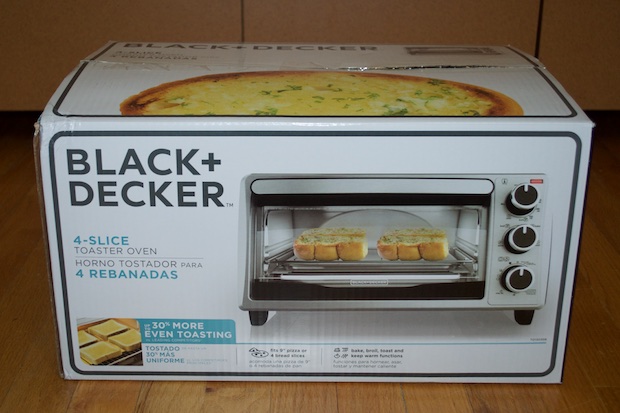
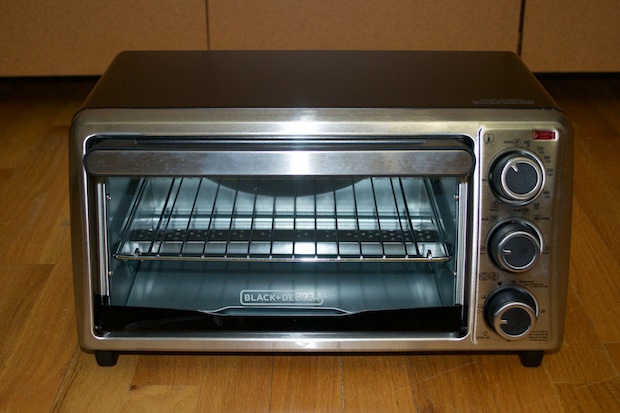
Man, this is a cheap toaster! It’s super light and very flimsy. This is definitely one for the college dorm room. I don’t think any self-respecting home owner would be caught dead with this in their kitchen. For a reflow oven, it should do the trick.
Per their build guide, I hopped on eBay and picked up an 8 x 10 aluminum sheet with a flange. It’s specifically cut for this toaster modded as a reflow oven.
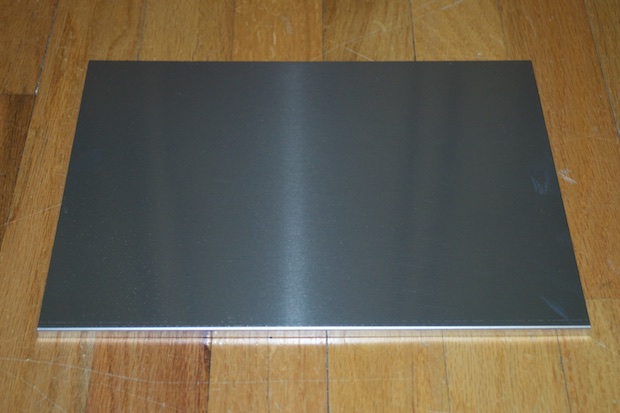
It fits perfectly.
This is going to be a pretty involved mod, and probably not something I want to just bang out in an hour. I think I’m going to wait until I have a free weekend when I have the time to do it in one sitting.
See this project from start to finish: DIY Reflow Oven - Part I
DIY Reflow Oven - Part II


