My
E-Paper boards finally arrived. They look awesome. I totally nailed the cutouts for the e-paper display. They’re perfect.


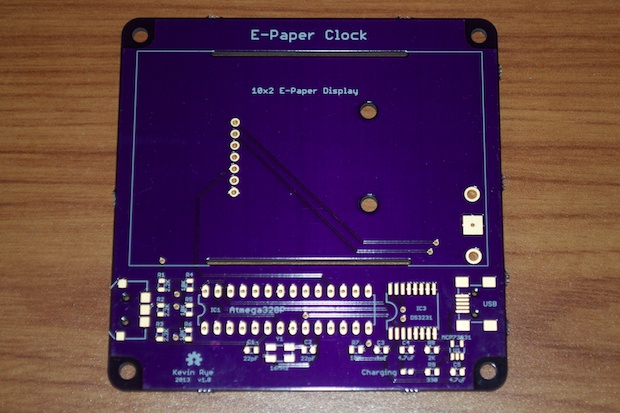
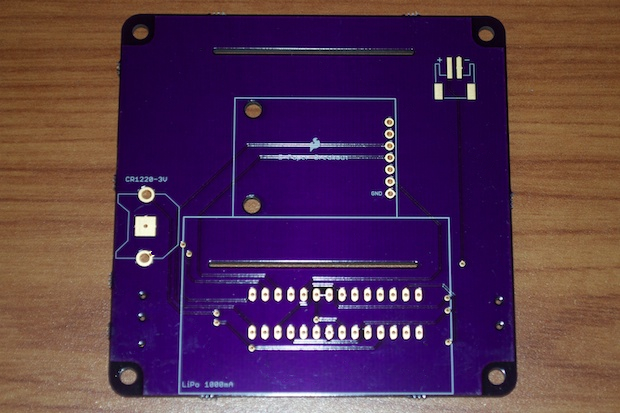
The ribbon connectors on the display fit nicely through the slots.
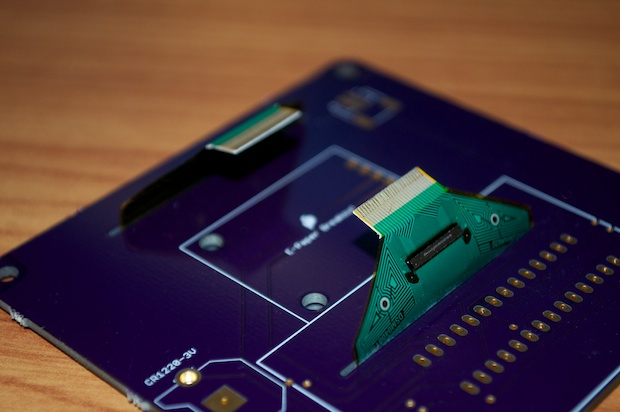

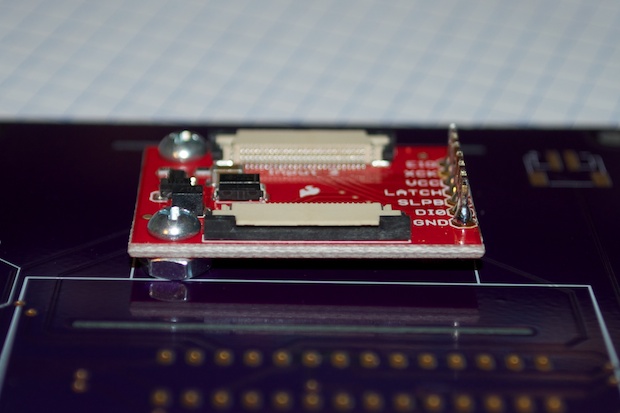
They clip right into the breakout board, which is perfectly aligned over the holes for the 7-pin header.

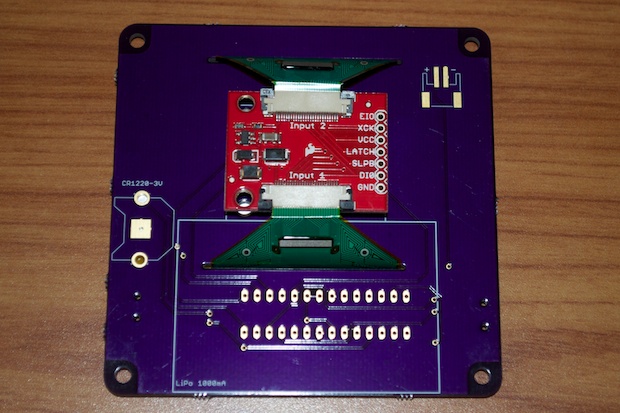
The display sits nice and flush with the PCB.

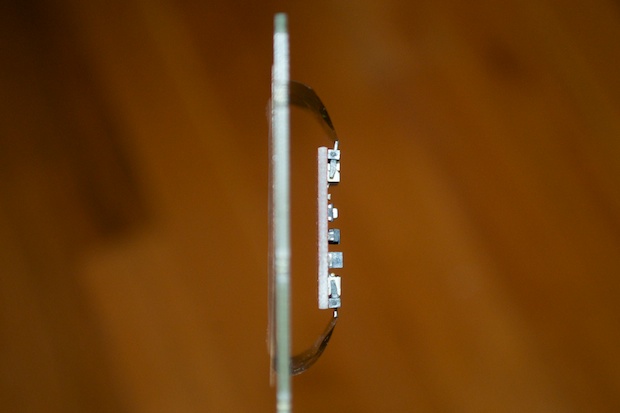
I wanted to put board stands under the breakout board, but I didn’t want to widen the overall thickness of the clock. I wanted to keep the display and the breakout board as close to the PCB as possible. I didn’t want screws going through the board either. If I did use a board stand, I’d either have a screw head or a nut on the display side. The display wouldn’t sit flush with the PCB.
Solution? I attached some screws with nuts to the breakout board, but I cut them down so that they don’t extend through to the other side of the PCB.

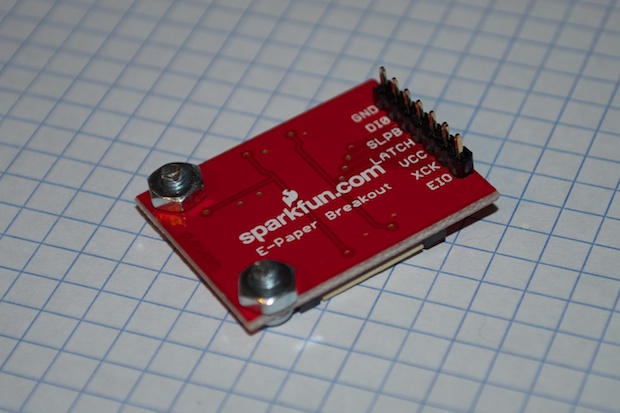
The nuts act as spacers and the tiny 1/16” length of screw that extends beyond the nut is just enough to sit inside the cutout on the PCB, but not protrude out the other side. The nuts give the breakout board just enough lift to keep it parallel to the PCB.

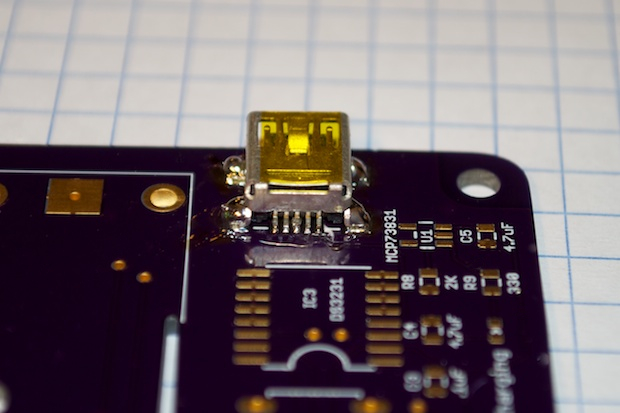
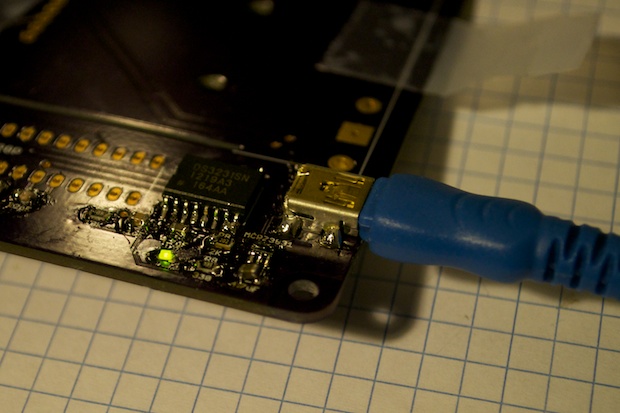
With that out of the way, I could start soldering the SMD stuff. I started with the mini USB connector.
I first tinned the pads and the leads.

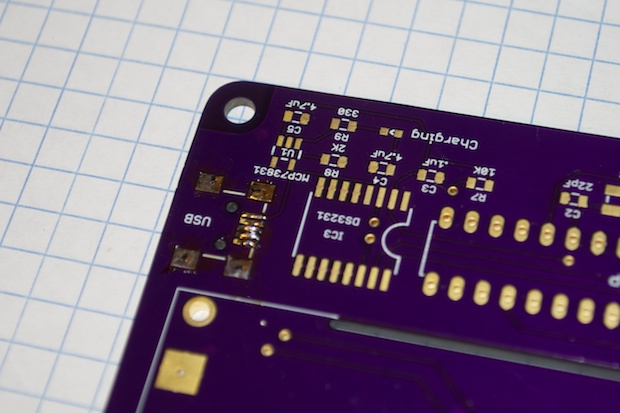
I then used my hot air rework station to melt it into place. It was probably overkill. I’m not sending data, so I really only had to solder the pin on the left and the pin on the right for Vcc and ground. I could have probably just done them with the iron.
In any case, it came out pretty good. I was worried that I’d fuse all the pins together since they’re so small.

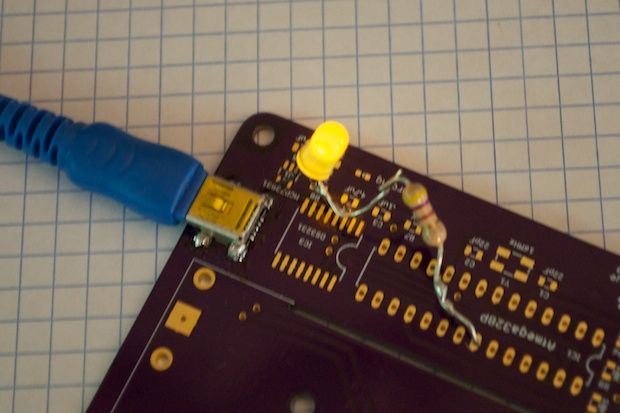
To make sure I had a good connection and no shorts, I stuck an LED in some holes and plugged it in. Power!

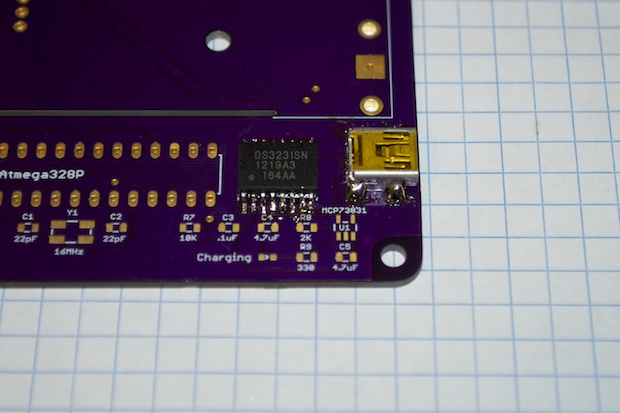
Next up was the DS3231. I used a little flux this time.

The MCP73831 charge management controller was a little challenging. It’s a SOT-23 package with 5 tiny pins.

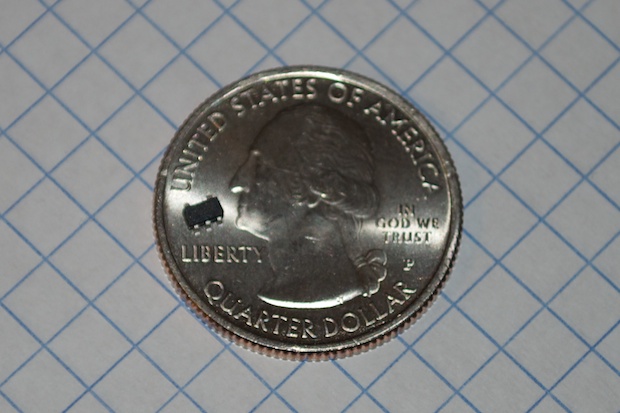
I used some Fun-Tak to keep the 3-pin side in place while I soldered the 2 pins on the other side.
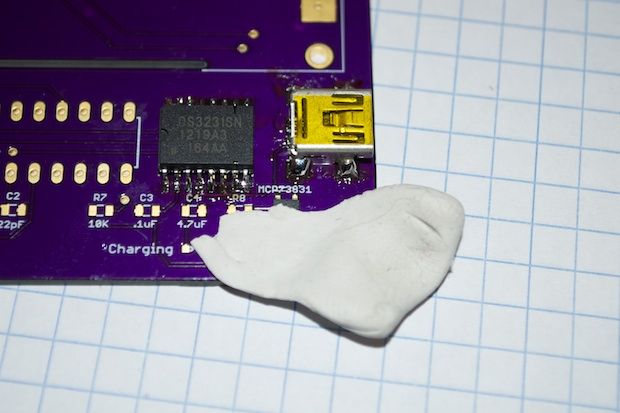

Once those 2 pins were soldered, I removed the Fun-Tak and soldered the other 3 pins. The flux made it easier. I basically just had to tap the leads to get the solder to flow. It was still a little tricky not turning the 3 pins into one big blob. I know it’s not pretty, just as long as it works.

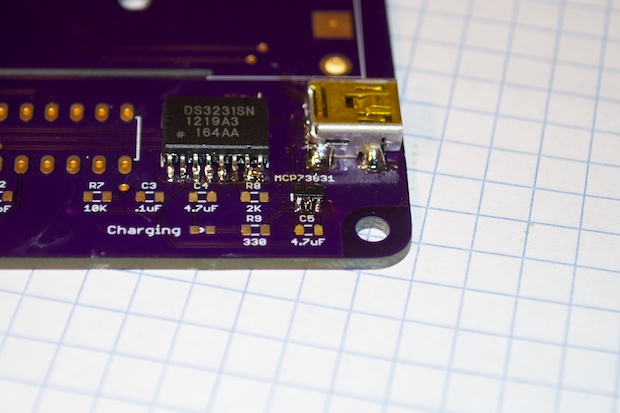
With the tricky stuff out of the way, I continued with the 0805 resistors and capacitors.
Next up was the super tiny 0603 LED I have in place as a charge indicator. Wow this thing is small!

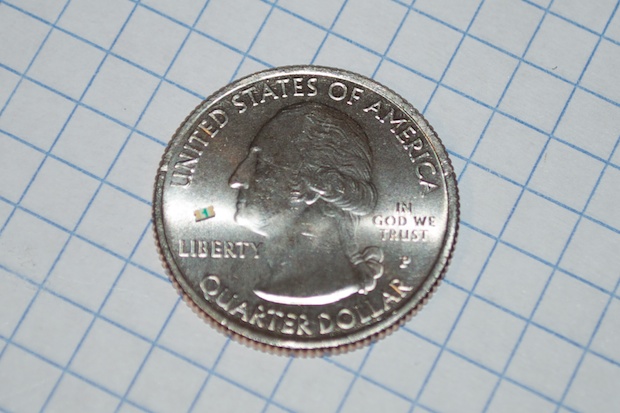
To make matters worse, it’s an LED. So it has to go in the right way! The little green mark on the back tells you which end is the cathode.
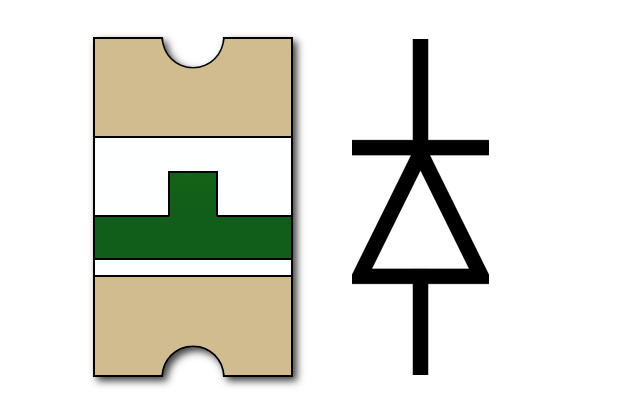
I soldered it into place and plugged it in to make sure that it worked. (To make sure I didn’t fry it or inadvertently flip it around during handing.) After all, the cathode marking is on the underside, so you can’t tell once you’ve soldered it.

Lastly, I soldered in the 3-way navigation switch, the crystal, and the 28-pin DIP.

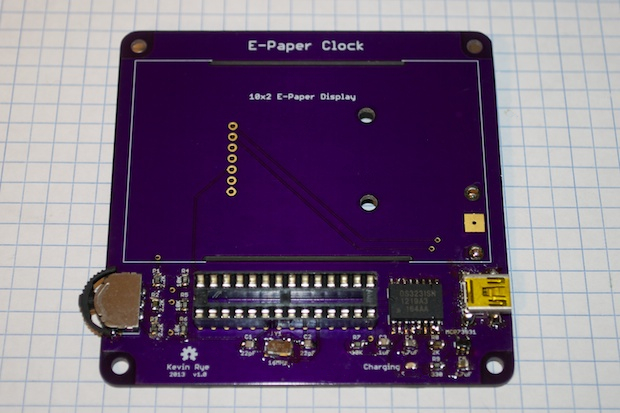
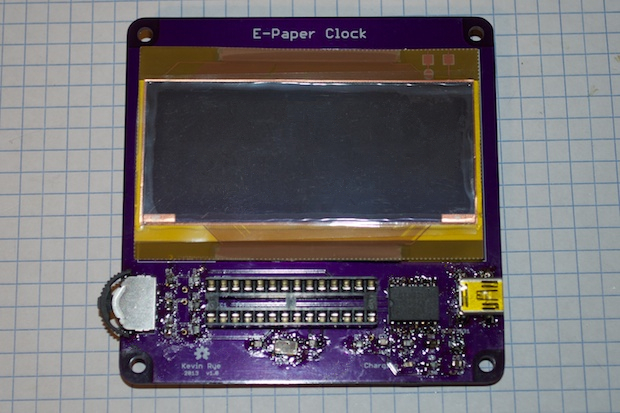
Tricky stuff. It’s not pretty, but hopefully once I clean off all the flux, it’ll look a little more presentable.
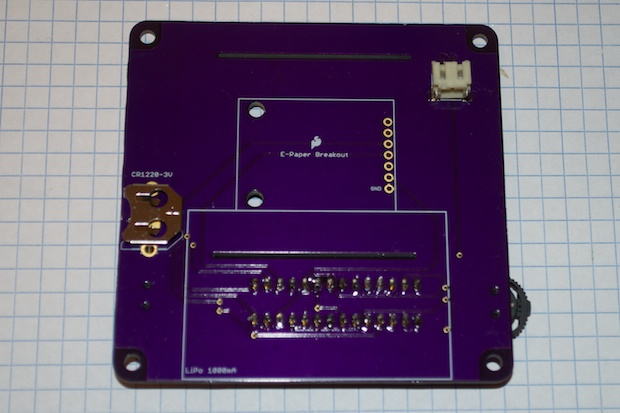
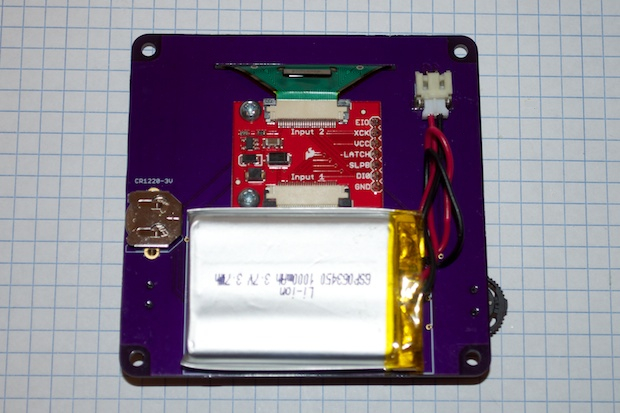
On the back, I soldered in the 3V battery holder for the DS3231’s backup battery, followed by the JST connector for the 3.7V lithium-ion battery.

As far as the 7-pin header for the e-paper breakout board, I’d end up with the pins sticking out the front of the PCB if I used an unmodified header. Just like the screws, I didn’t want them sticking out of the PCB and jabbing the back of the display. The display needs to sit as flush as possible to the PCB.
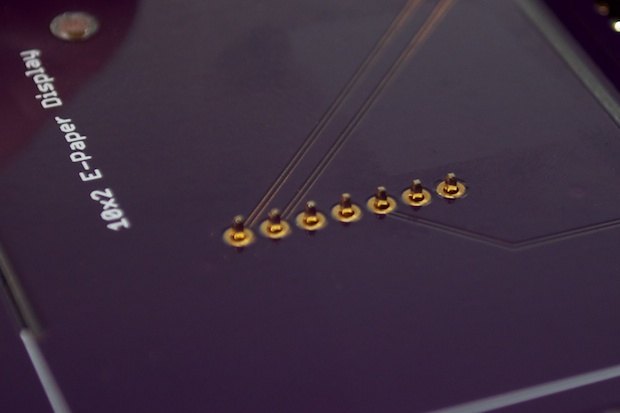

I pushed the pins through the plastic housing of the header with a screwdriver until they were flush with the board.

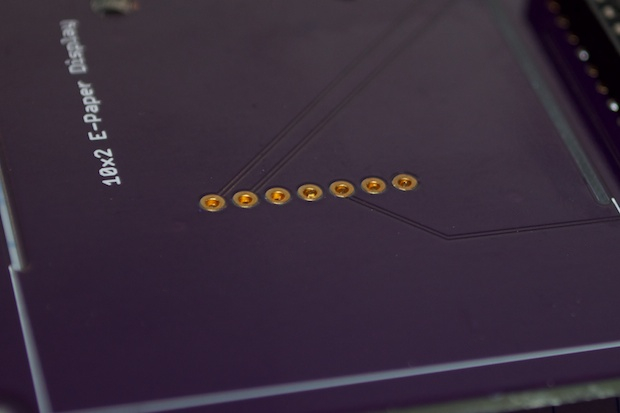
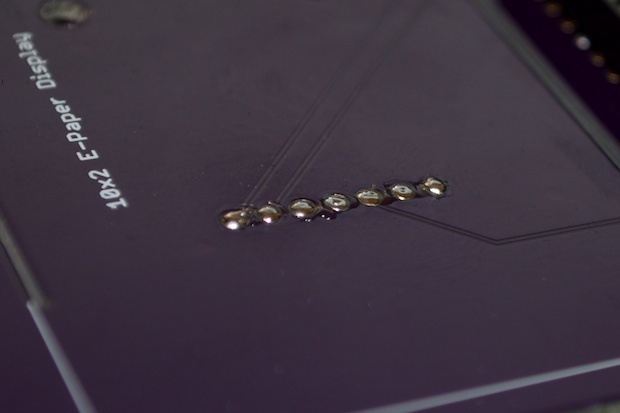
I then soldered them. Nice and flush.

Of course, the pins on the other side are now way longer than they normally are.

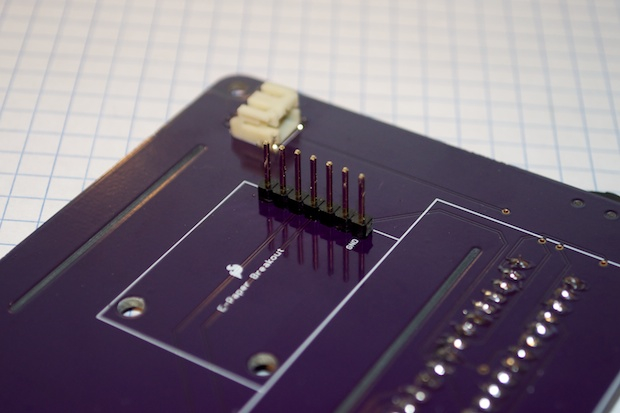
I soldered the breakout board to the header and trimmed the leads.

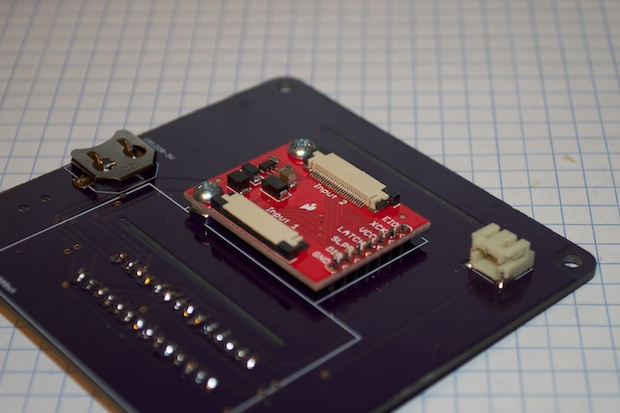
I then fed the display connectors through the slots and clipped them into the breakout board.
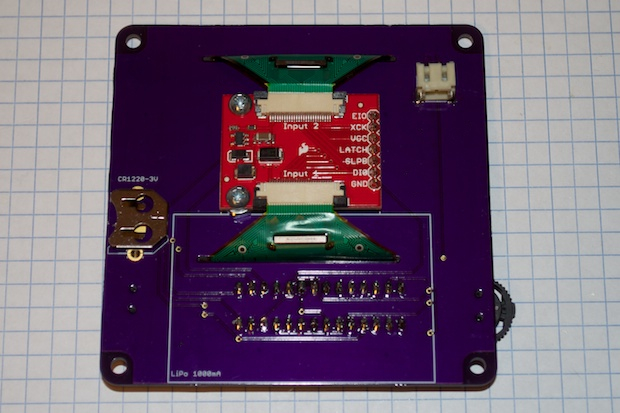

Lookin’ good!

I then mounted the lithium-ion battery with a double-sided 3M sticky square. I cut it in half to make 2 small strips. It keeps the battery in place and gives the battery just enough lift to stop the leads of the ATmega from piercing it. Not that it probably would, but better to be safe.

I inserted my ATmega, connected the batteries, and removed the protective plastic from the display.
Boom! It totally works!
It's so awesome putting in that last piece, powering it on and seeing all your hard work pay off!
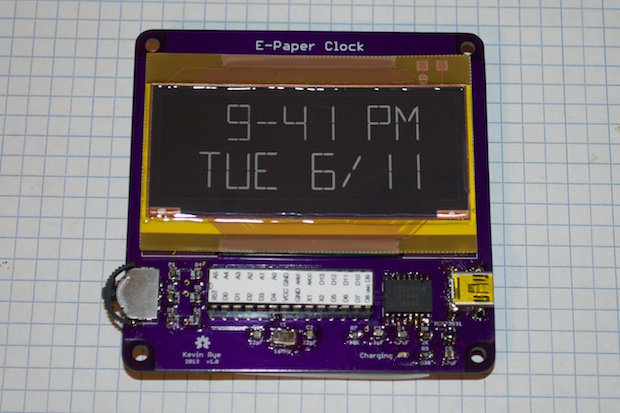

I know I prototyped the hell out of it, and I triple checked the design, but I still breathed a sigh of relief seeing it work.
Lastly, it was time to put the enclosure together.

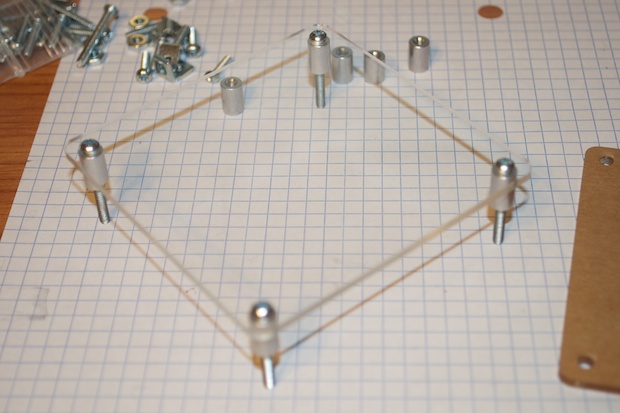
I started to assemble everything when I realized that my 1” and 1/2” screws are either too long or too short to make a good fit with my 3/8” board stands. I can’t fit a nut on the back, and there’s not enough space to insert another screw.
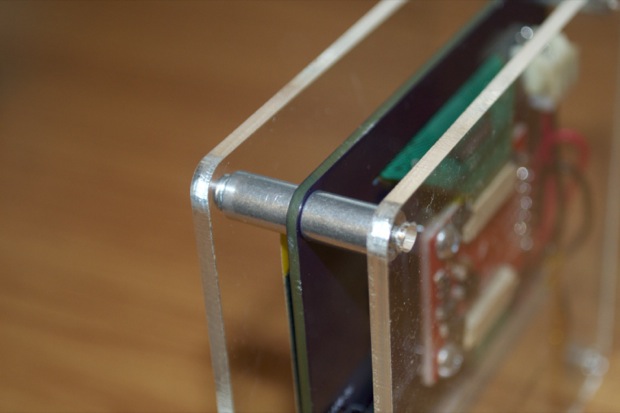
I chalked up a 3D model in order to figure out what size screws would work the best or if it would make better sense to just cut the 1” screws down.
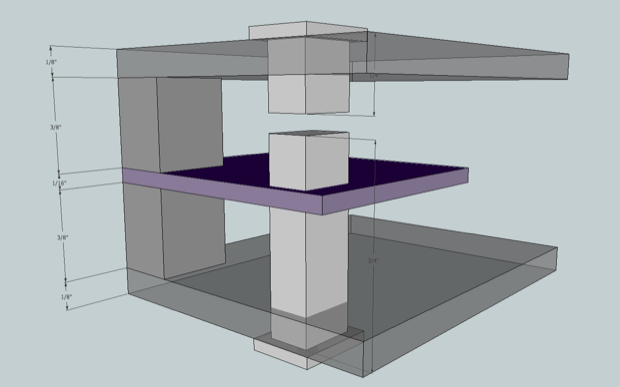

In the end, I figured I could get away with a 3/4” and a 1/4” screw. The 3/4” screw will pass through the first board stand, through the PCB, and into the second board stand. I can then put a 1/4” screw through the back instead of a nut. It’ll look that much nicer.
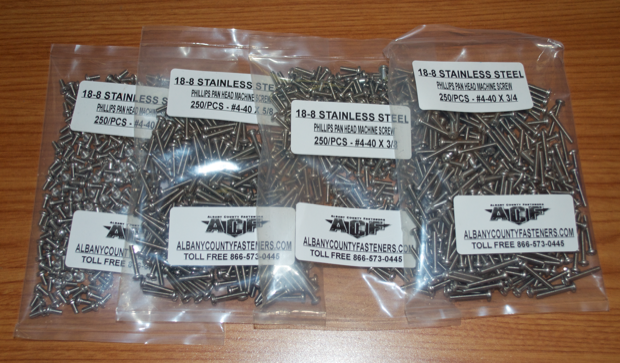
I hopped on eBay and ordered a couple hundred screws of various lengths: 1/4, 3/8, 1/2, and 5/8. They’re dirt-cheap, so it doesn’t hurt to keep a ton of them on hand.

Just as I had figured with the 3D model, a 3/4” screw is enough to go through the 3/8” standoff and passed the PCB.
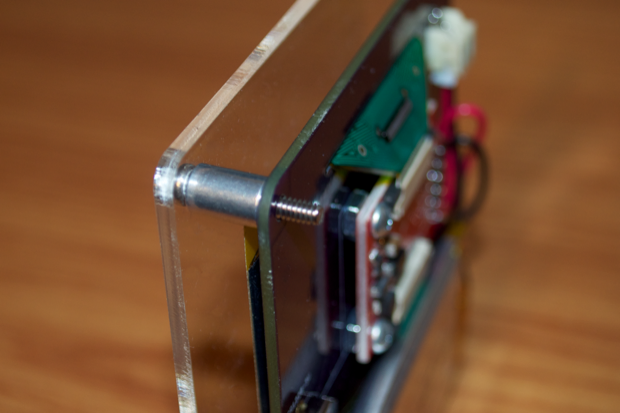
There’s then enough thread left over to screw on another 3/8” standoff.
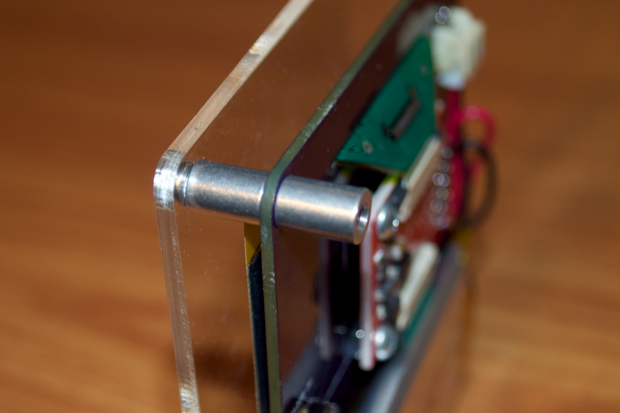
There’s enough thread left inside the standoff that I can attached the back piece of acrylic with a 1/4” screw.
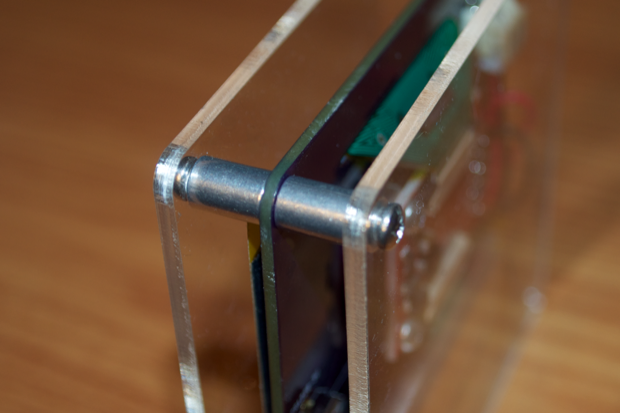
I think a screw on both sides looks so much better than having a nut on the back. Nice and clean.
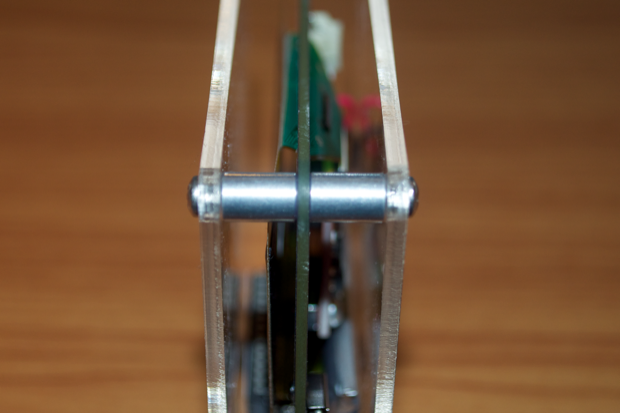
I plugged it in just to charge up the battery a bit. It looks like it runs pretty good. I added an interrupt so the screen only gets written to once a minute. Hopefully that saves some battery life.
See this project from start to finish:
E-Paper Display E-Paper Clock Prototyping, Part I E-Paper Clock Prototyping, Part II E-Paper Clock Prototyping, Part III E-Paper Clock Final Assembly


