It’s been a good 12 years since I’ve
etched my own board. I’ve been meaning to give it another go for some time, but it can be rather time consuming and the end results just don’t hold a candle to professionally made boards. Another reason to give home etching a go is that sometimes boards are too big and expensive to justify having a whole batch made. The size limitations of the free version of Eagle might force you to make your own board by piecing together multiple printouts. I guess if you were really good at it and you can fire them off in an hour or too, it beats waiting weeks for fabbed boards to come in.
I’ve been looking online for a while now and I’ve seen a lot of improvements over the past few years in the realm of DIY-PCBs. From pre-sensitized boards to laser engraving, it’s getting easier all the time to make your own PCBs at home. You can even get liquid tin. Drop your boards in it for a few minutes, and it’ll tin all your traces. Brilliant!
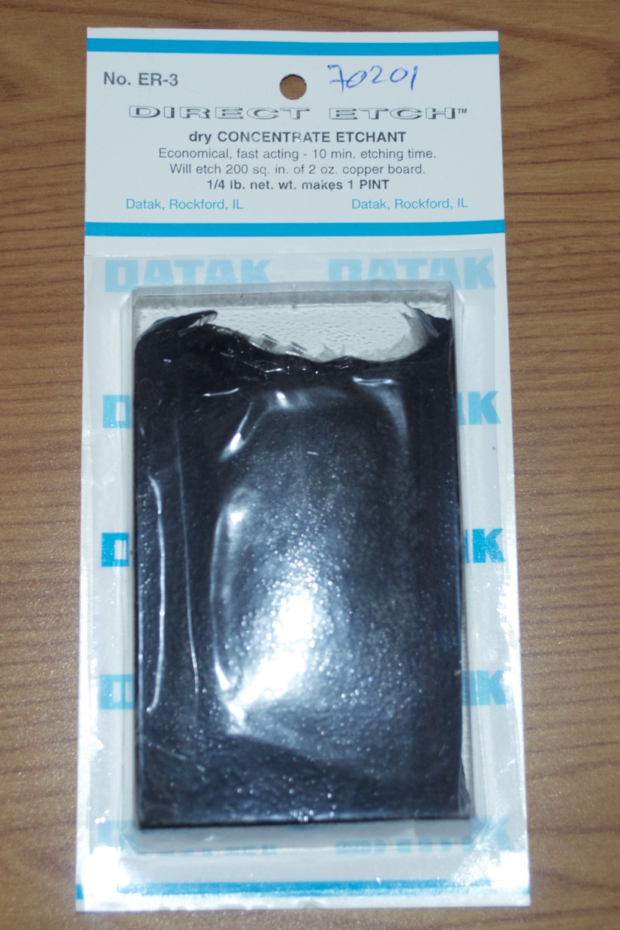
I needed some parts from Jameco, so I tossed some etchant powder into my order while I was at it. I’ve used the liquid in the past, but the powder was cheaper. I figured I’d give it a try. RadioShack used to sell the liquid years ago, but there’s not a single one around me that sells it anymore.
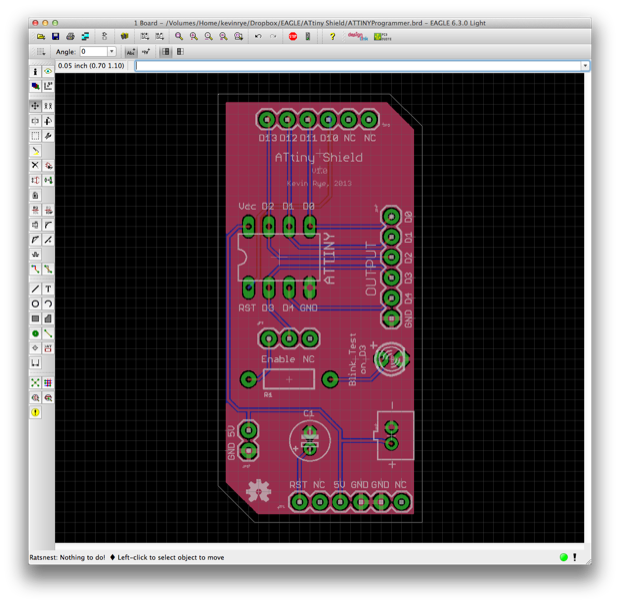
The
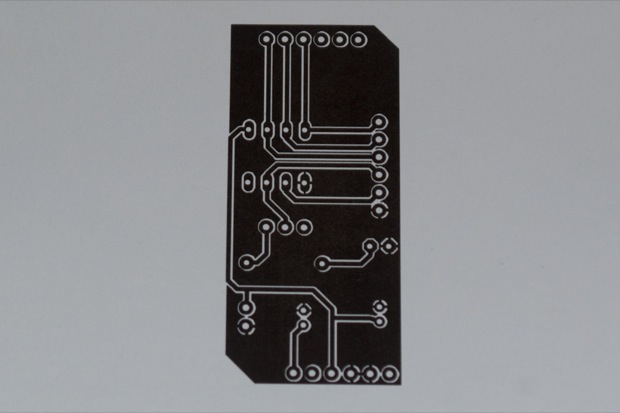
ATtiny shield I’m working on looks like a good candidate for practice. It’s a simple board. There’s only one trace on the bottom, so I can just run a wire on that side.
For the homebrew version, I widened the traces from .01 to .024. The thiner the traces are, the more likely the etchant is to eat away at them. I then hid all the silk and the top layer.
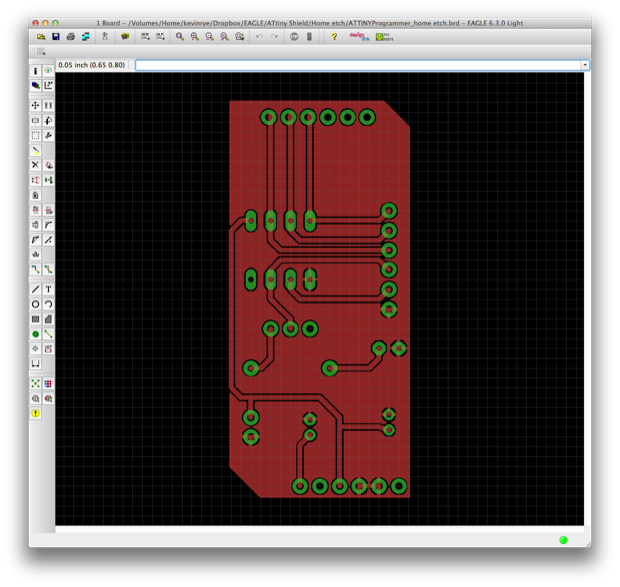
I exported it as a .pdf and printed it onto a transparency and a white piece of paper. Depending on what layer you’re working with, you might have to flip the image. Just be conscious of that. It would be bad to get all the way to the end and find out you etched it backwards. I’m dealing with the bottom layer, so I don’t have to flip it.
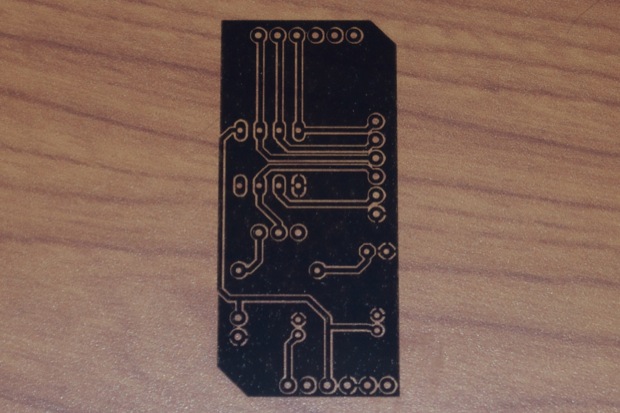
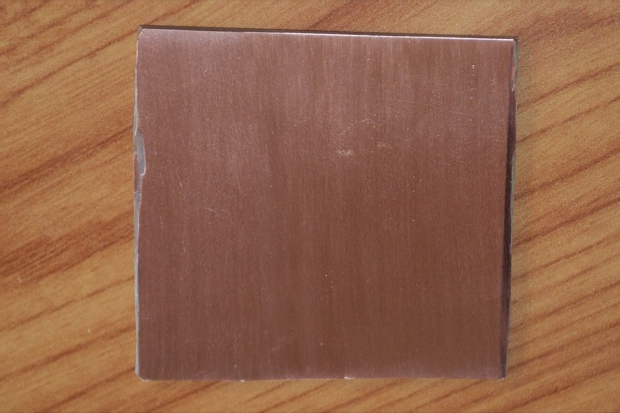
I still had some single-sided copper boards left over from the 7-segment clock I made in 2001, so I pulled one of them out and cut off a section.
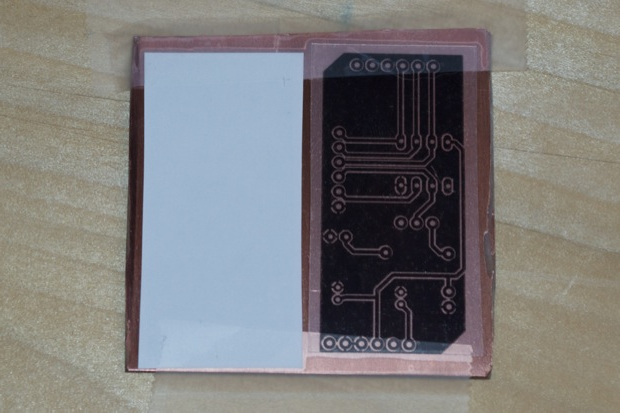
I then taped both samples toner-side down.
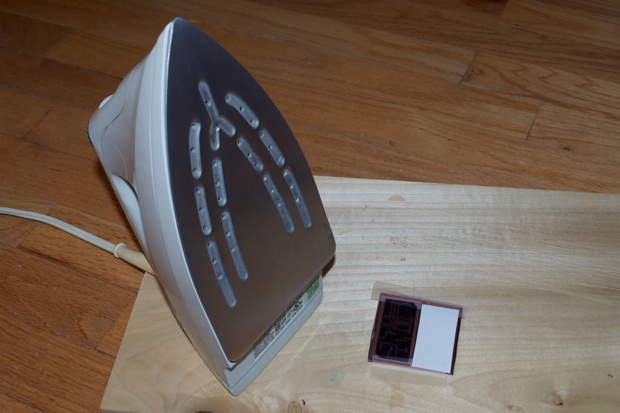
I let the iron heat up and then placed it over the printouts in an attempt to remelt the toner onto the copper. I placed another sheet of paper over it so I would’t melt the transparency and the tape to the iron.
After a minute or two, I peeled the transparency off the board. Look at that! It worked. Sort of. Half the toner is still on the transparency, but this just might work!
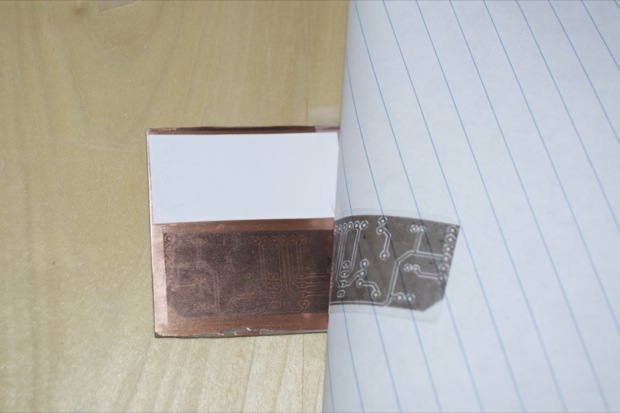
It’s a pretty clear image. Although the toner is very thin and there’s definitely some major weak spots. I’m afraid the etchant will just eat right through that. Maybe the paper one will fare better.
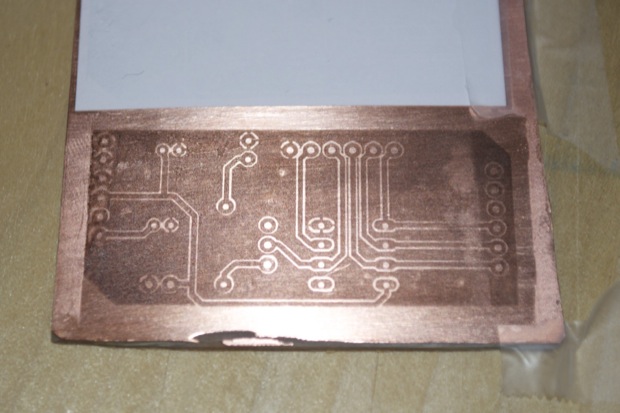
I soaked the board in some hot water until the paper came off. It left a nice thick layer of toner on the board. The top left started to peel off, so that’s not going to survive. I don’t expect this to work anyway. I just want to run through the process just to see what to expect.
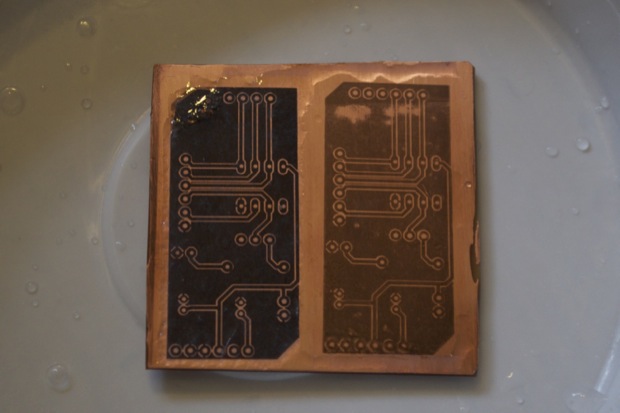
I poured in some hot water and stirred in about 6 teaspoons of etchant. The instructions say to add the whole pouch to 16 oz of water. That’s pretty strong. This weaker solution might take a little longer, but at least I don’t have to use up the whole pouch. Remember, this is just a test. If anything, I just want to see how long it takes for a waker solution to do its thing.
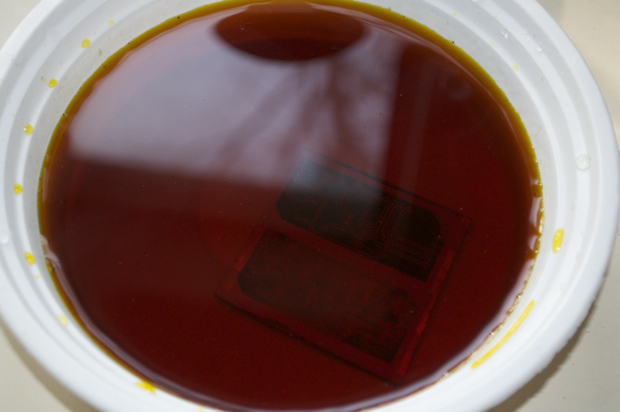
It took no time at all. After about 20 minutes, the boards were pretty eaten up. They’re unusable, but at least now I know what to expect.
I made a few observations. The thinner layer of toner left behind actually looks better than the thicker layer of toner left behind by the paper. The weaker solution definitely had no trouble eating through that. The paper side definitely needed to be left in longer.
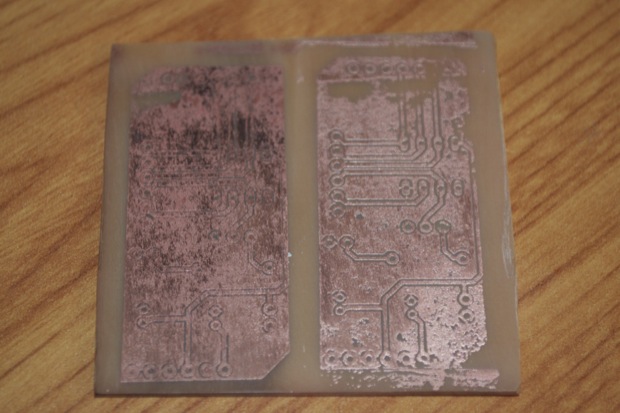
I have to admit that I did rush these. From start to finish it took me about 30 minutes. I was in the middle of helping the kids with their homework, putting the dishes away, and figuring out what to cook for dinner. So I blasted these out just to see what to expect.
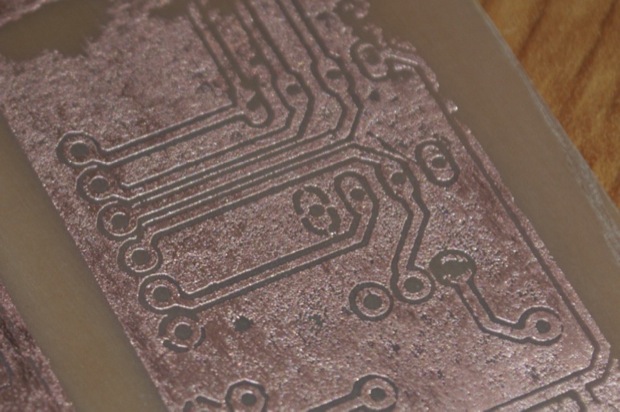
I tried to rub off the excess toner with rubbing alcohol, but I got impatient and just went over it with the steel wool attachment on my Dremel. Bad idea. I’m not sure if all the pitting is due to me abusing it with the Dremel or if the toner was indeed way too thin and the etchant started eating away at it.
Some of those traces do look really good though. I didn’t think I’d be able to get them that thin. This might just work!
When I made the 7-segment clock back in 2001 it was all done by hand. I never had Eagle or any other PCB software, so I marked off the board with a Sharpie marker. Crude, but effective.
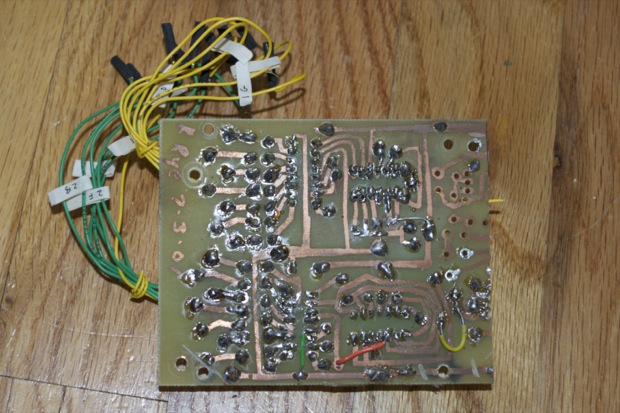
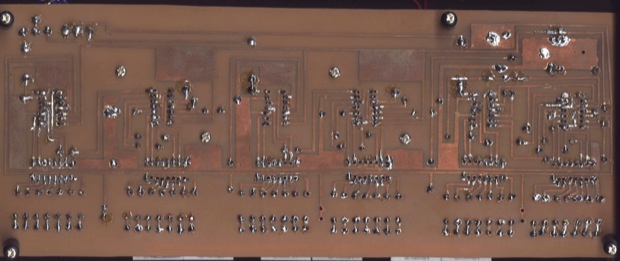
That was just a prototype. When it came time to make the final clock, I cut little strips of tape and stuck them all over the board to mask off the traces. There was no other way for me to neatly make all the traces without software or tools. That board was about 12” long and that was as tight as I could get it.
With the weekend coming up, I think I’ll set some time aside to do this right. At least I know what’s possible, what goes into it, as well as what appears to work and what doesn’t. I also have a pretty good idea of how much time I really need to do it right.
This was a pretty good dry run. I’ve seen some people online make some pretty amazing boards. With enough time and patience and some attention to detail, I just might be able to make a board that’s worth using in a final project.
See this project from start to finish: Playing with the ATtiny85 Etching at Home - A Dry Run
Etching at Home: Take 2 (FAIL!) ATtiny Programming Shield


