I'm really not liking this glossy spray paint. I hate working with glossy spray paint. It never comes out right for me.
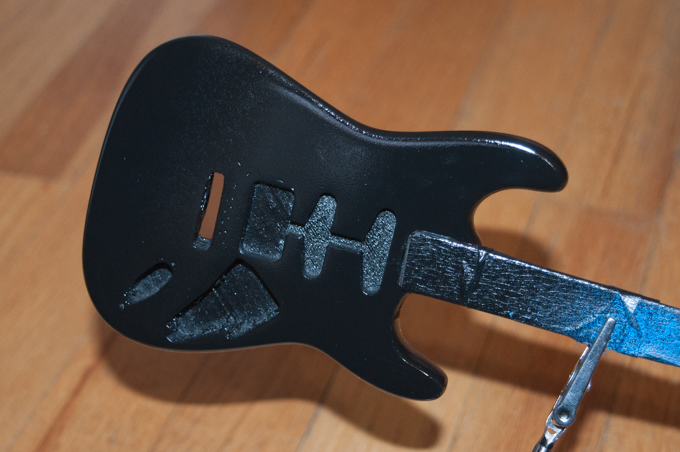
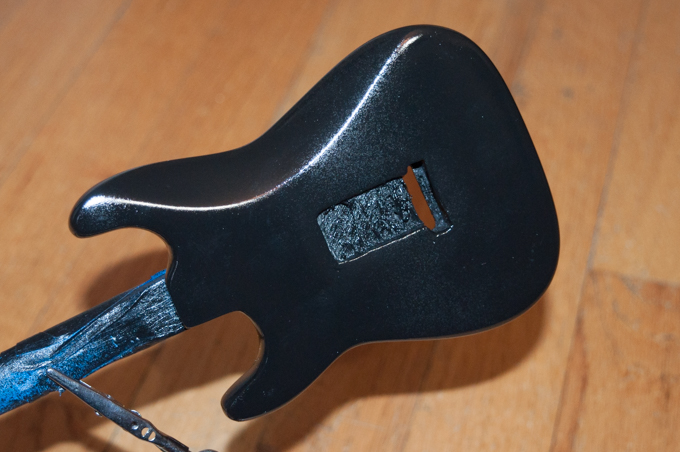
I've always wanted an airbrush, but I'm not about to drop a couple hundred bucks just to paint this guitar. I decided to do a little research to find out what it takes to finish a real guitar. I watched a bunch of videos and learned a lot. The answer is Tru-Oil and some buffing compound.
I picked up a bottle of Tru-Oil and decided to try it on the old neck that I ruined. Here's a before shot:
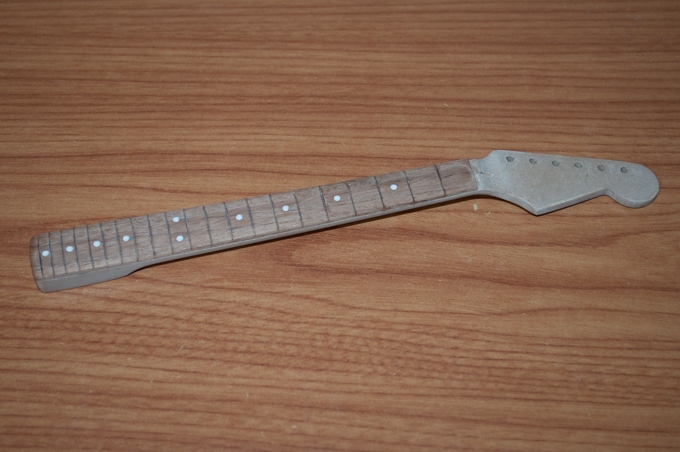
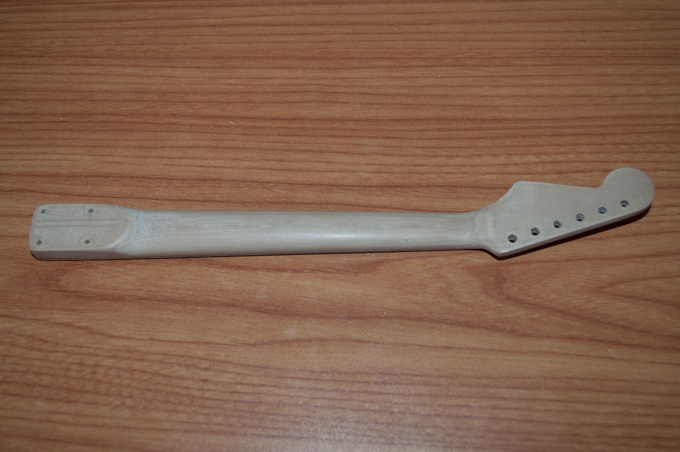
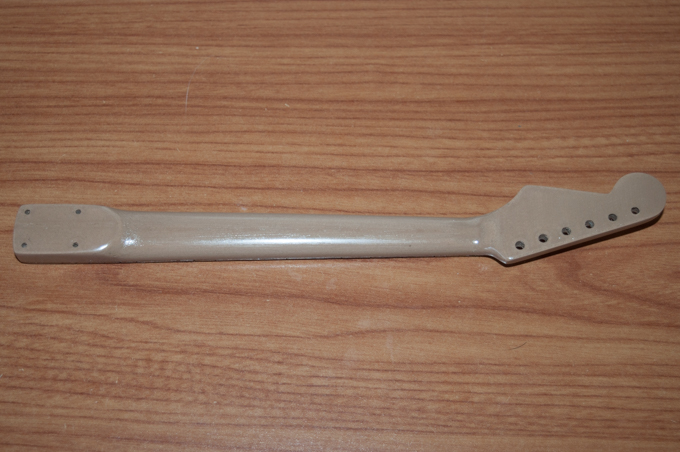
Here's the same neck after two coats of Tru-Oil. So shiny! What a difference. However, the fret board is too shiny. I think on the final one I'll leave the fretboard alone.
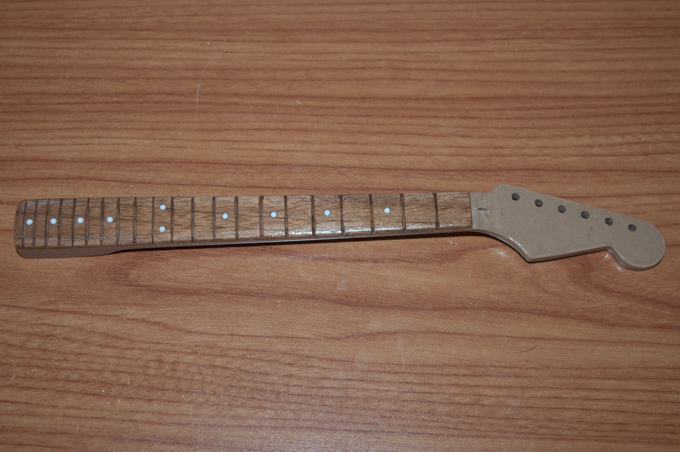
This is just two coats and no buffing. I think this is going to work.
I applied a coat to the guitar body and let it dry overnight inside a box to keep the dust off.
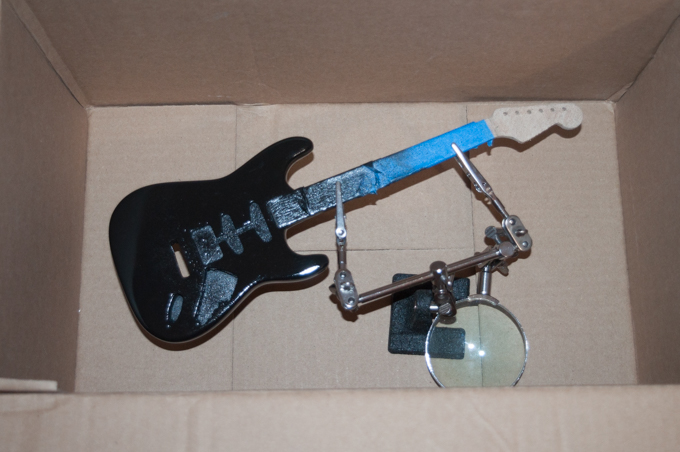
Wow, it's super shiny, but it definitely has a texture to it. Maybe I applied too thick of a coat?
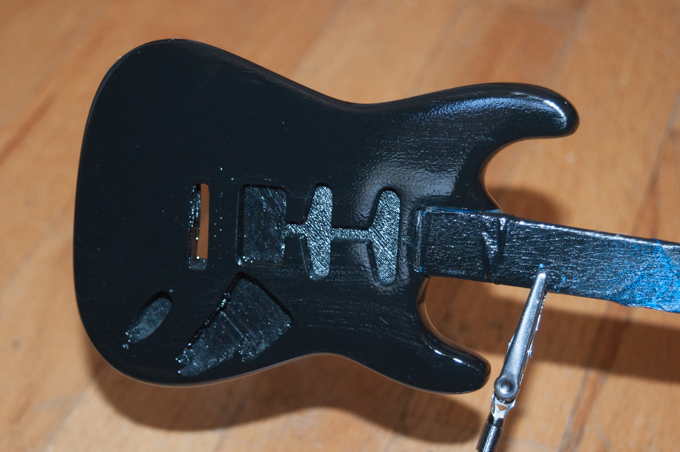
I gave it a light sanding with some 2000 grit sandpaper. I'm not happy with the results, but I'm hoping with another coat of Tru-Oil, everything will level out.
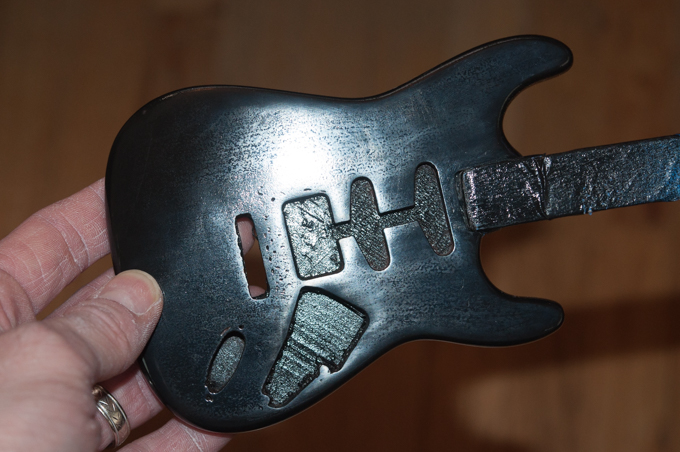
It was looking much better after another coat of Tru-Oil. Unfortunately, I spread it on just a little too thick and as it dried, it dripped down the back. The drip hardened to a little blob. What a mess.
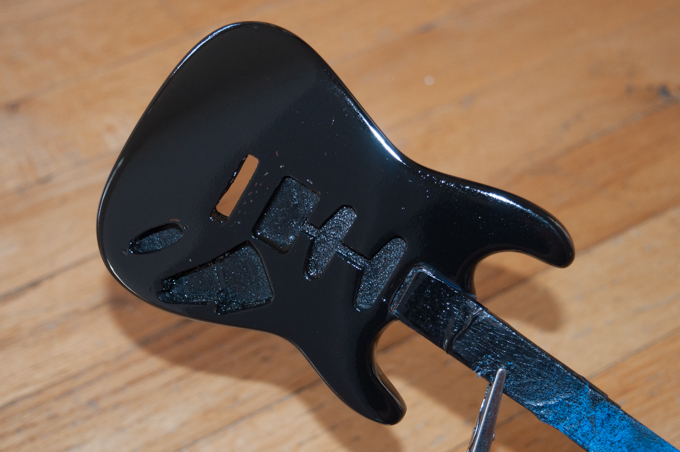
This is tricky. I looks like there's going to be some trial and error until I can get a finish that I'm happy with.
I had to sand it right back down to the paint. I decided to do away with the glossy paint and just go with flat black. There's no sense in using glossy paint when I'm going to apply Tru-Oil over it. I've always had much better results with flat paint.
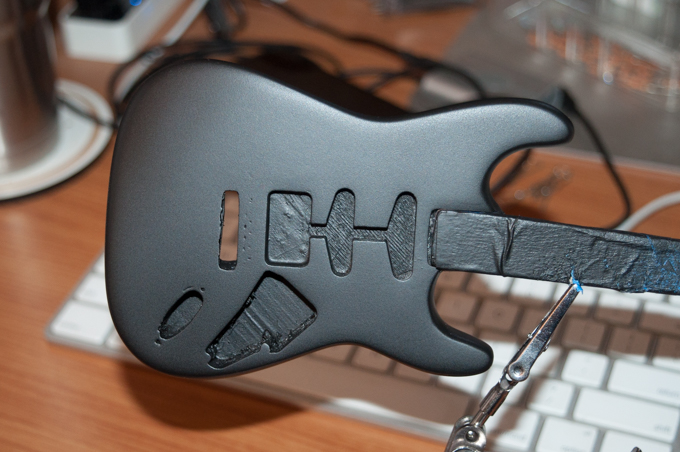
I sanded it down to 2000 grit. It looks awesome with the flat black paint. I hope I don't screw this up with the Tru-Oil.
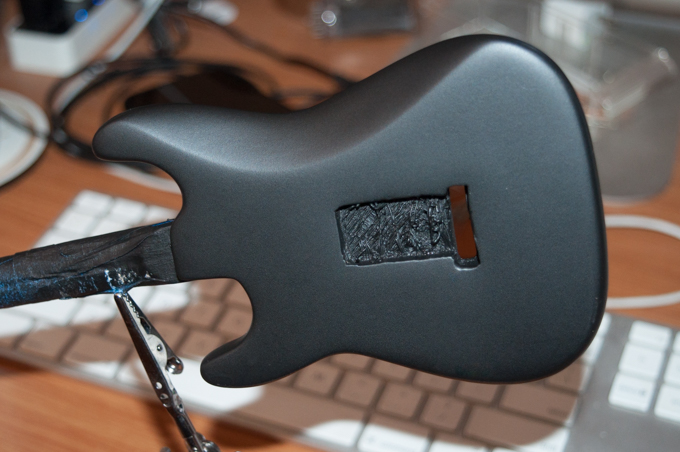
I applied a really thin coat and crossed my fingers. I'd rather apply ten super-thin coats and take a week to finish it than end up with another drippy mess.
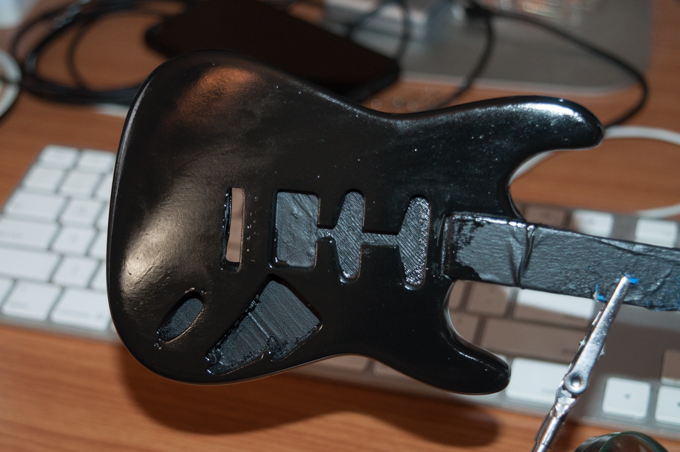
2 coats…
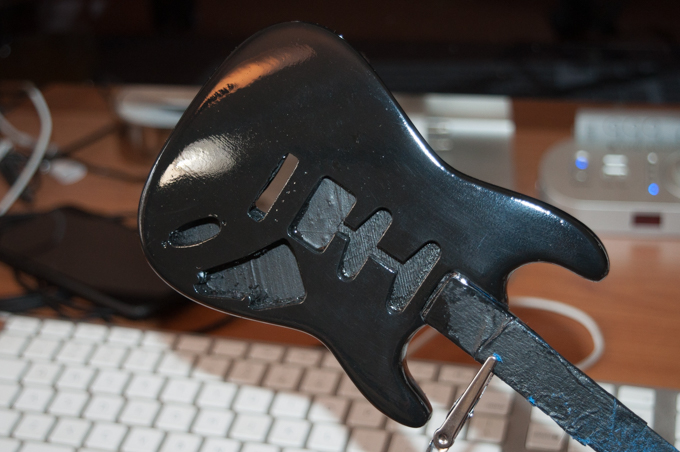
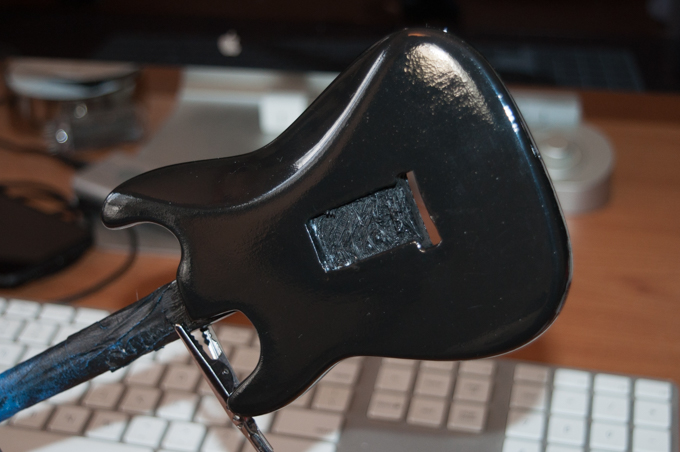
3 coats…
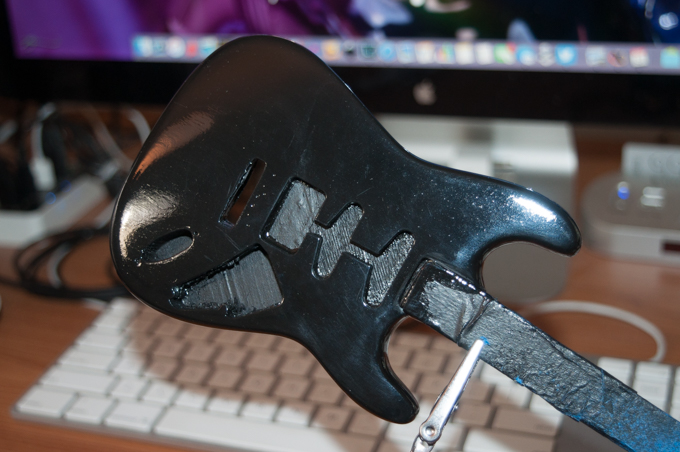
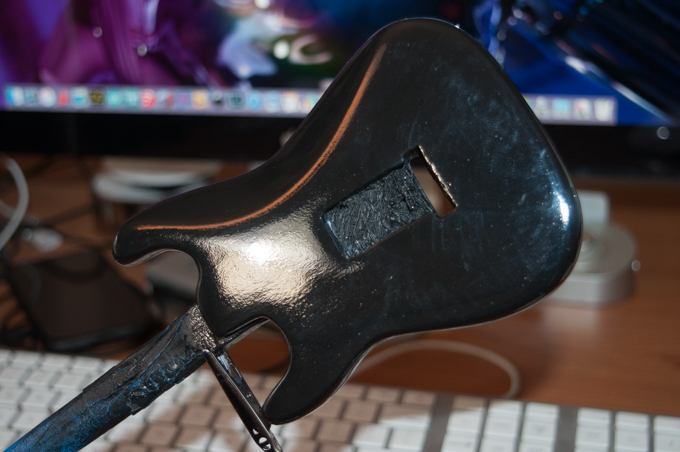
This just might work. The trick is not rushing it and applying really thin coats. I'm going to keep applying thin coats until I get the finish that I'm looking for. If it takes 20 coats, so be it.
I picked up this four-part finishing kit that's supposed to work great. 32 and 34 are a little too abrasive, so I've been giving it a light polish every few coats with 36 and 38.
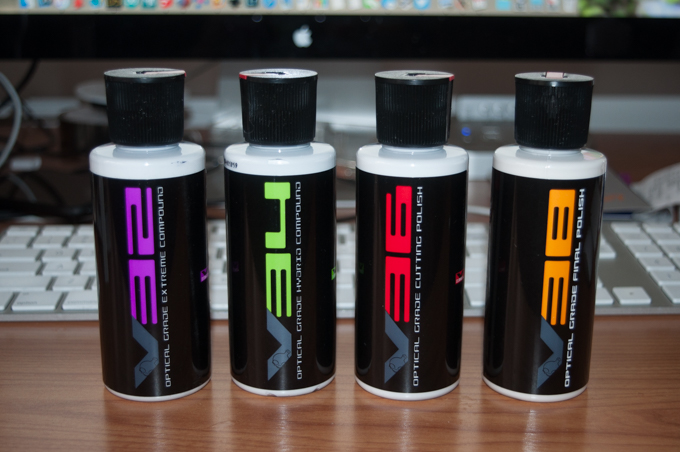
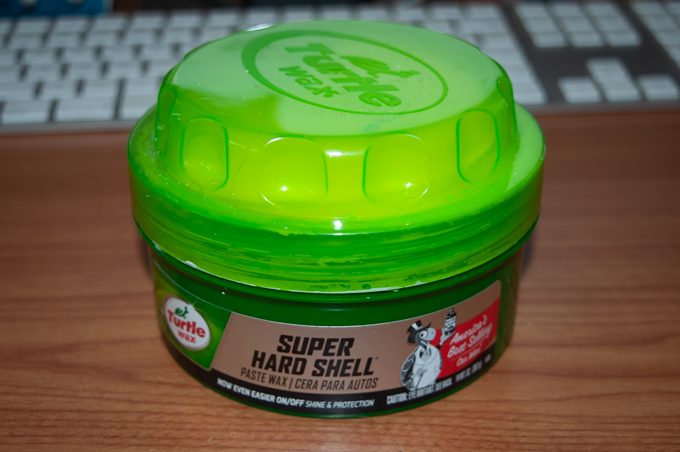
I'll then finish it up with some paste wax and a polish.
I gave the neck a few coats too.
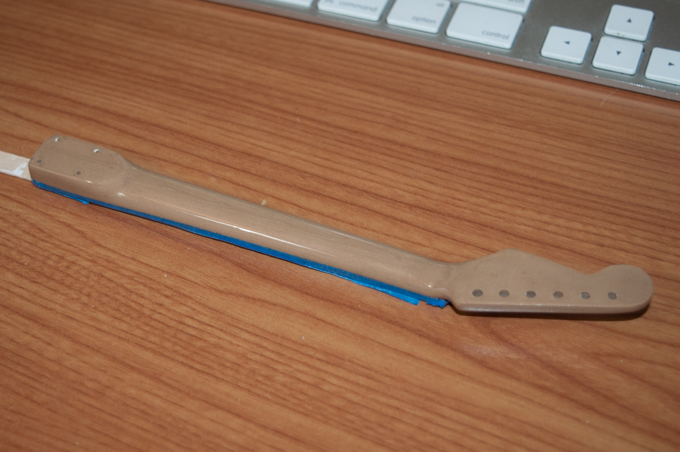
I then gave it a little polish.
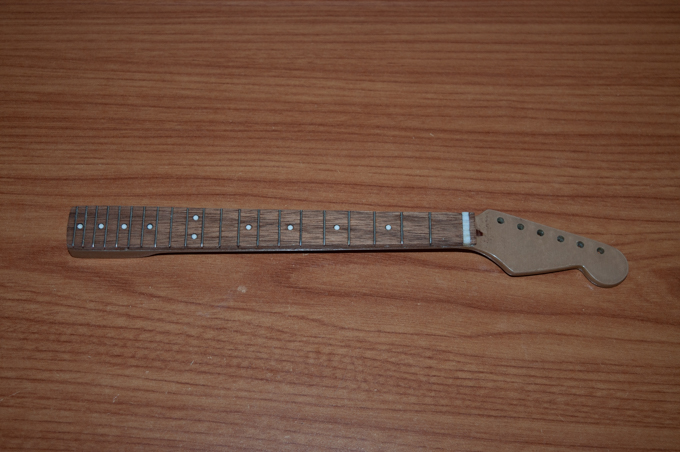
It came out pretty good.
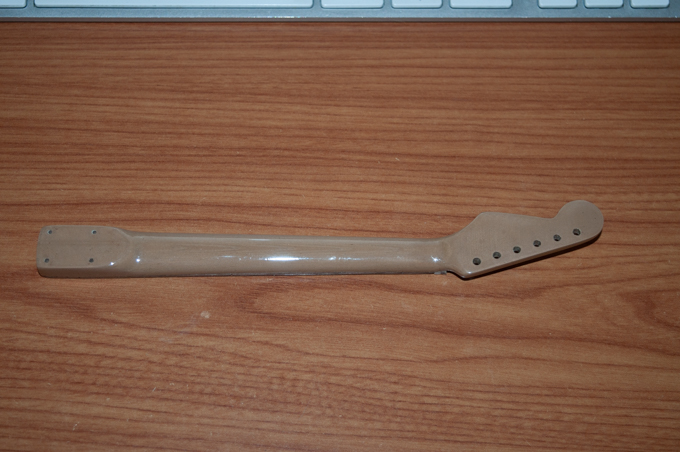
However, I'm not happy with the way the headstock looks. I made the truss rod cover out of a piece of brown colored pencil. When I sanded it flush with the headstock, I managed to rub some of the graphite into the grain. I just can't get it out. It looks messy. I figured once the strings are over it you'll hardly notice it, but it's just not sitting right with me. Neither is the nut. It looks sloppy. It has to be perfect, so I think this neck is a do-over.
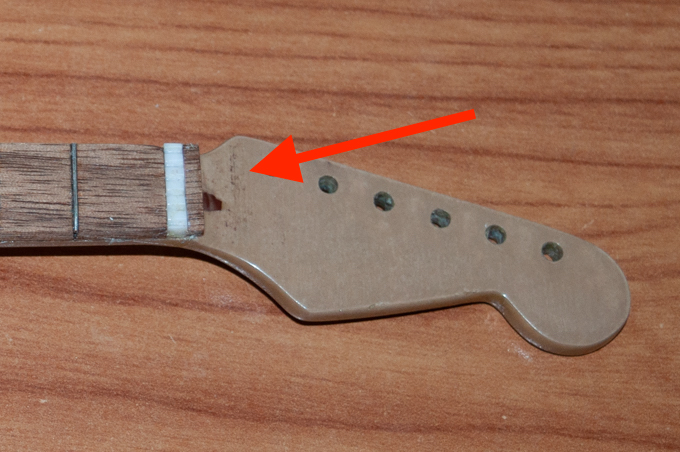
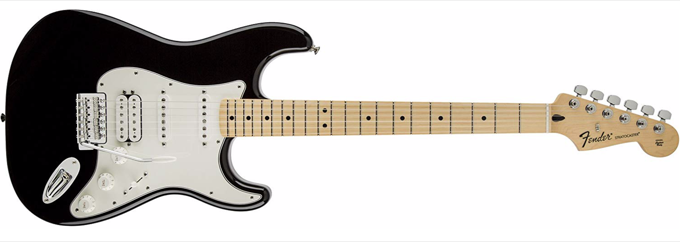
I'm also not happy with the wood color. I know you can buy a Strat with a rosewood fretboard like this:
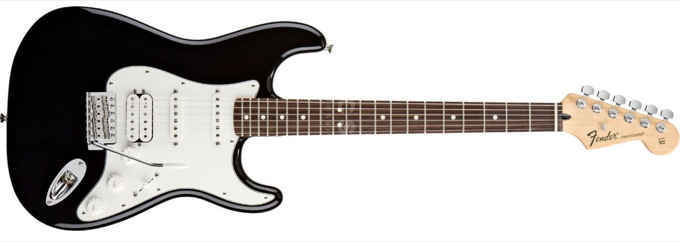
However, that's not the Fender I would buy. When I think Strat, I think of that classic maple neck. The only reason I went with the darker wood is because it's what I had. If I'm gong to make this, I'm going to make it right.
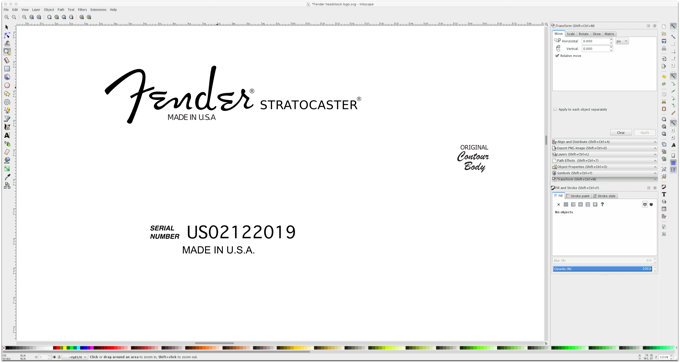
Since the neck is a do-over, I decided to use it as a test piece for some water slide decals. I hopped into Inkscape and imported some artwork that I found online. After a few test prints, I was happy with the size and layout.
That's not terrible. From some angles, you can't even tell they're decals.
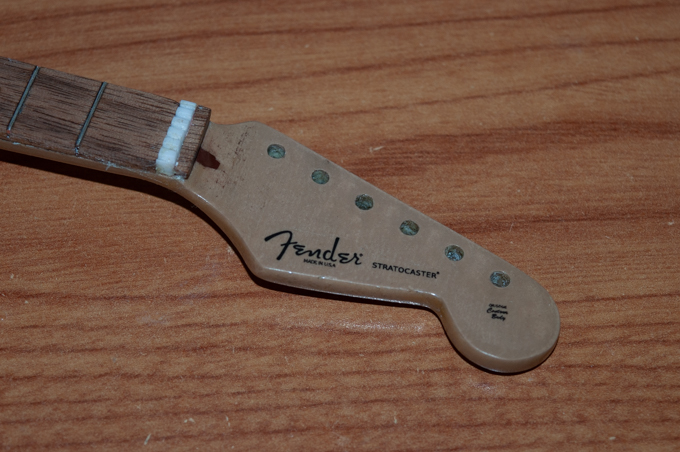
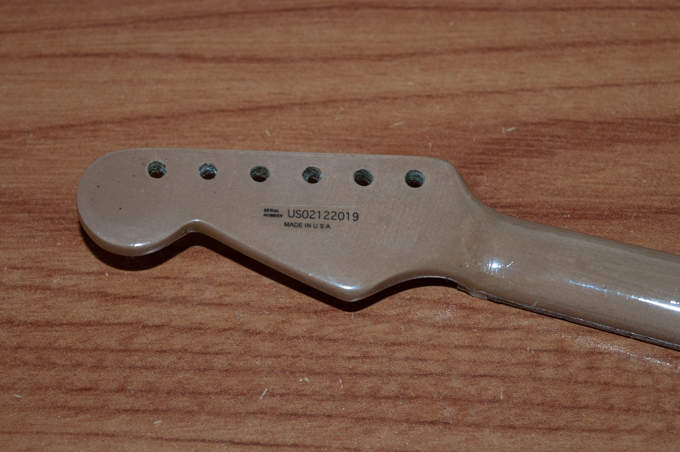
Those decals just might work. Maybe with a little Micro Sol, they'll look even better. Hopefully with everything I've learned making the first two necks, the third will come out perfect.
Here we go….neck #3.
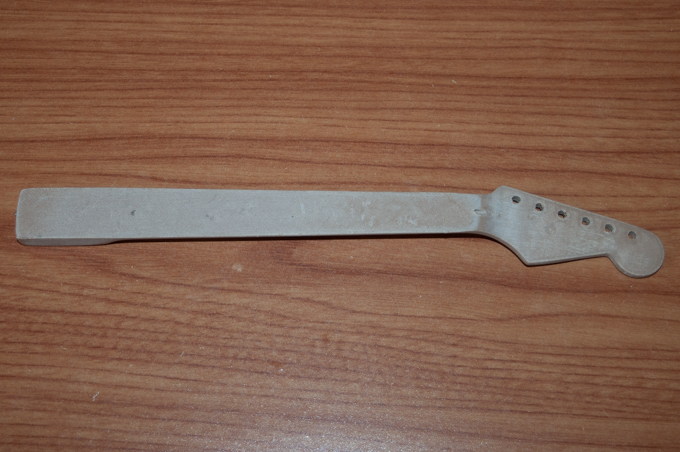
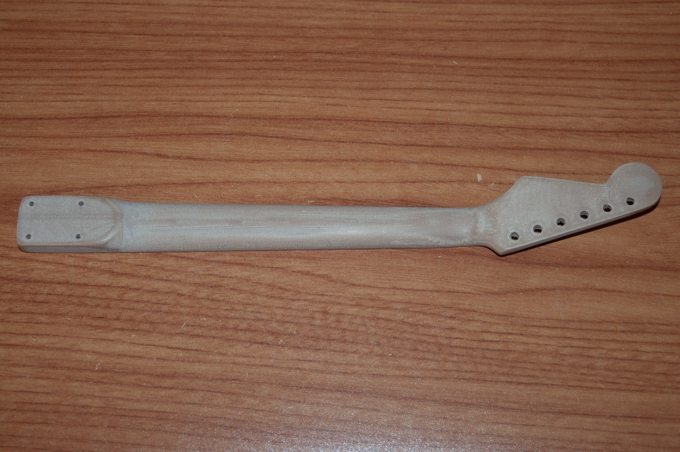
More to come…
See this project from start to finish:
Footlong Fender - Part I Footlong Fender - Part II Footlong Fender - Part III Footlong Fender - Part IV Footlong Fender - Part V
Footlong Fender - Part VI


