Mini 7-Segment Clock, Part IV
Jul 30, 2013 Filed in:
Electronics | SMD | Clocks | PCBsIt’s been a good month since I submitted my PCBs for version 1.1. It seemed to take forever for the PCBs and acrylic to come in this time. I was also delayed in completing the clock since I needed to order some 17mm push buttons. The regular push buttons I used on version 1 were too short to clear the front of the acrylic.
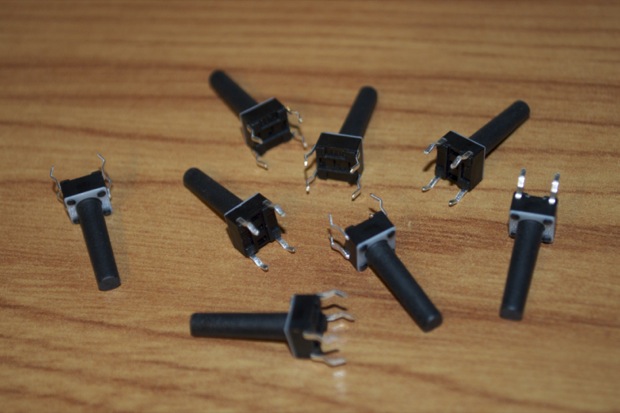
I also needed some more crystals. I usually pick up my crystals from SparkFun. They charge $1.50 each. I found the same exact crystal on eBay for 70 cents (with free shipping). I ordered a strip of 10.
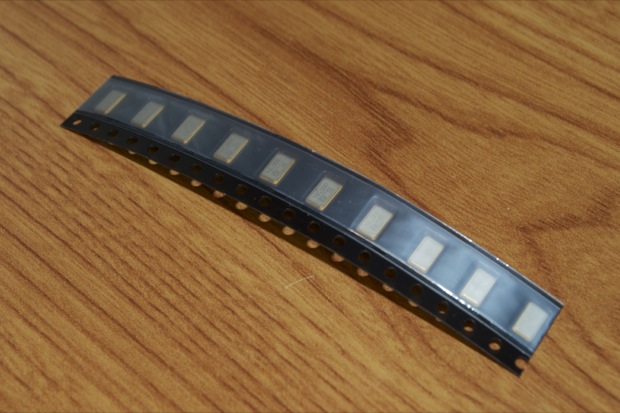
I’ve soldered a few of these now, so I’m getting pretty good at them. I like soldering the crystal in first. I’ve found it’s easiest to do it when there’s nothing around to get in the way.
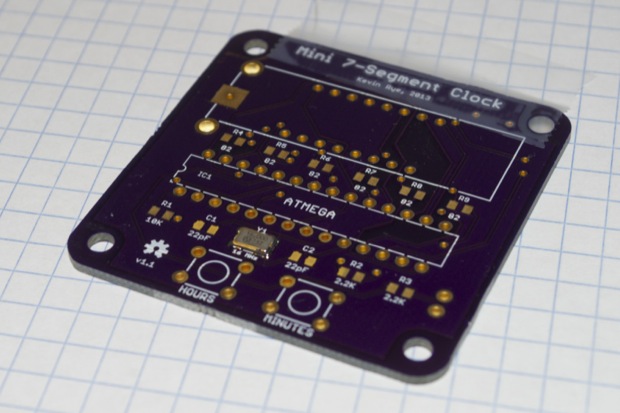 Version 1
 used the standard-sized push buttons that everyone sells. They were too short to clear the holes that I cut out in the acrylic enclosure. You’d need to reach in there with a paperclip or something to push them. I thought that was pretty impracticable. The solution was to use some 17mm switches.
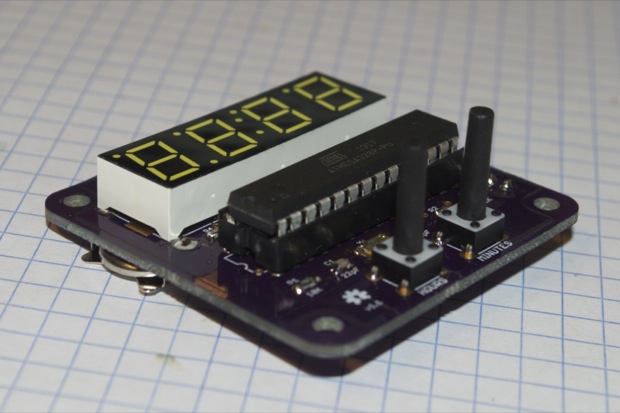
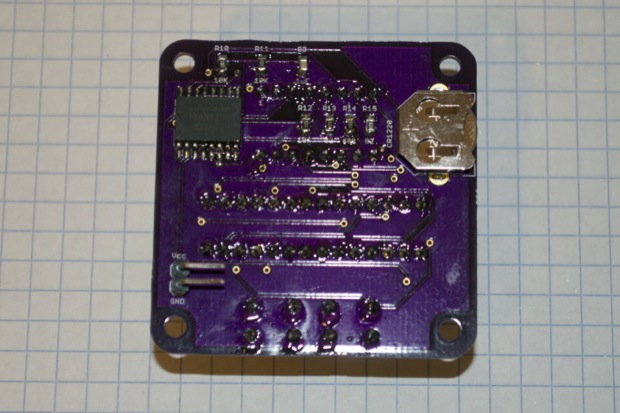
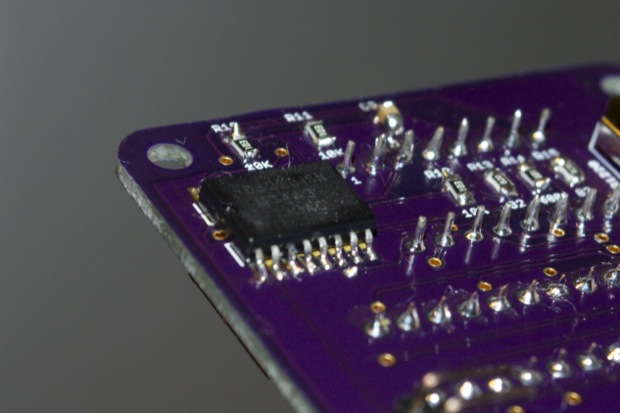
I’m also getting pretty good at soldering fine-pitched ICs.
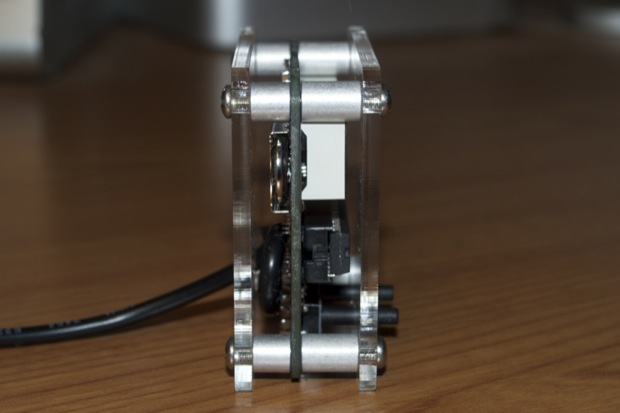
I sandwiched the PCB between my custom acrylic with some 3/8” and 1/4” standoffs and plugged in the adapter.
It works perfectly. The picture doesn’t do it justice. It is super bright!
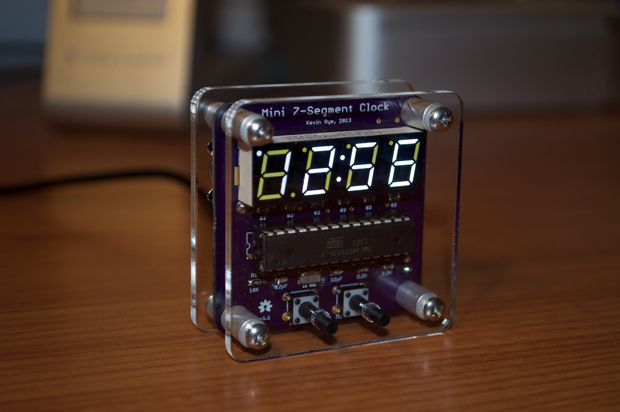
Once I verified that everything worked perfectly, I went ahead and built the other two.
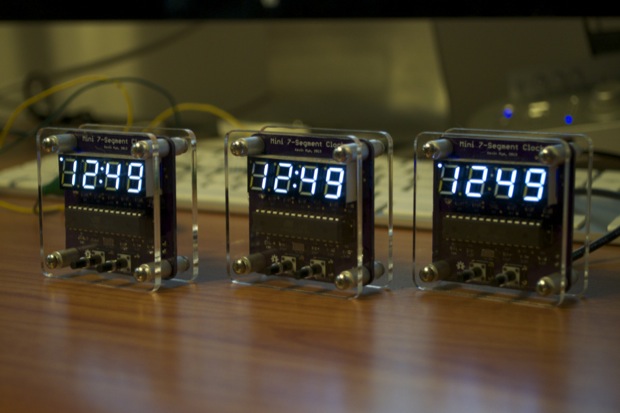
I can’t believe it’s been
almost 4 months since I though this clock up. I’m so happy to finally see it assembled and complete.
I gave one to my Dad. He thought it was totally awesome. I wonder what lucky person is going to get the other one?
See this project from start to finish: Adafruit SMD Book Mini 7-Segment Clock Mini 7-Segment Clock, Part II Mini 7-Segment Clock, Part III Mini 7-Segment Clock, Part IV


