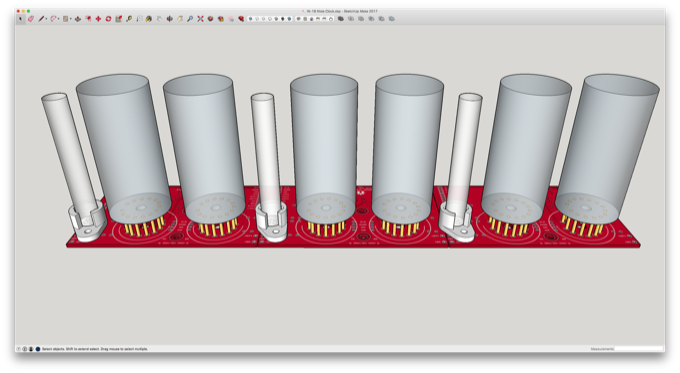
I need three nixie colons for the
IN-18 clock. They can be found on eBay, but they are a little expensive for what they are. It's basically a glass tube and two little neon bulbs. There's no way I'm paying $12 each for those. They can be made for a fraction of that.
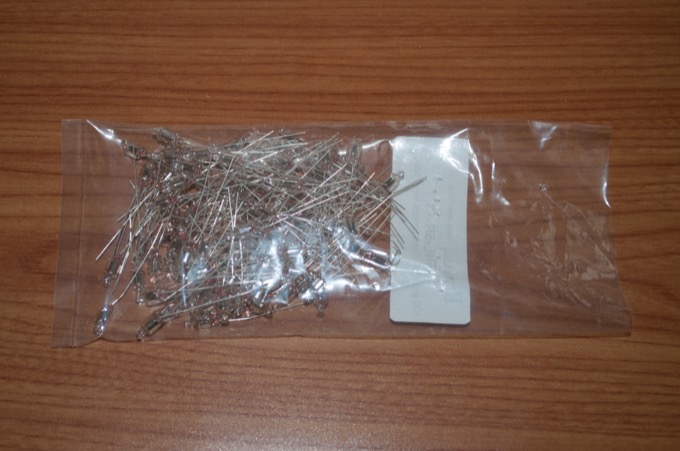
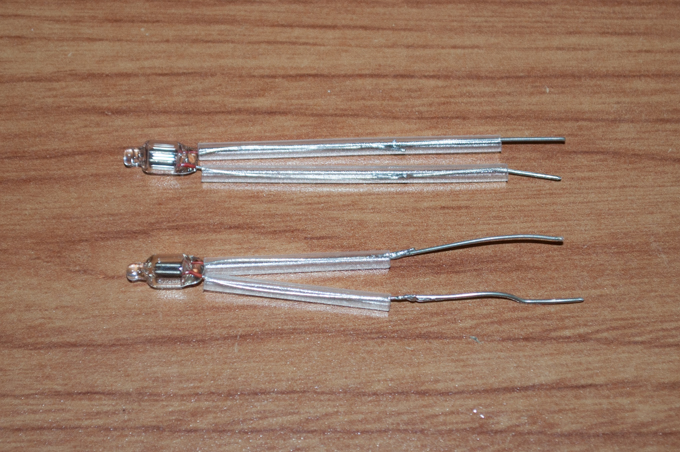
I hopped on eBay and purchased a bag of 50 NE-2 neon bulbs. $11.99 for 50 vs $12 for two inside a glass tube.
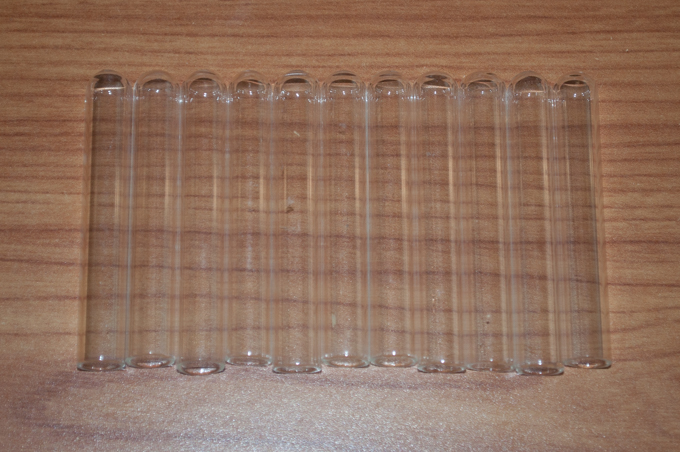
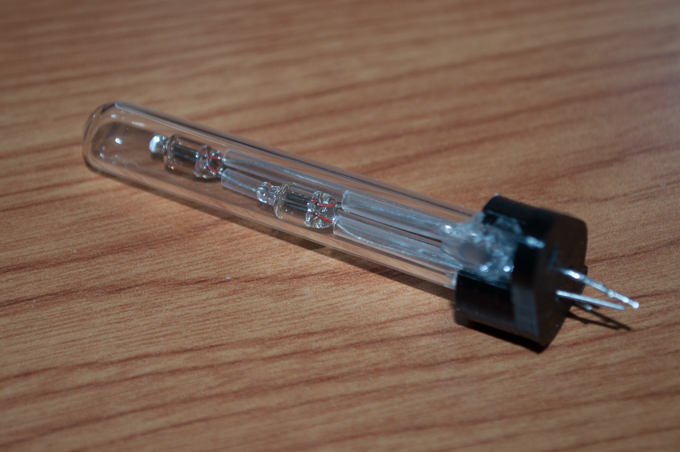
Speaking of glass tubes…..those can be had for $1 a piece. I picked up a 10-pack from a seller in China. They measure 65mm, give or take a millimeter or two. They even threw in an extra for free. I can make 11 colons for less than the price of what two would normally cost.
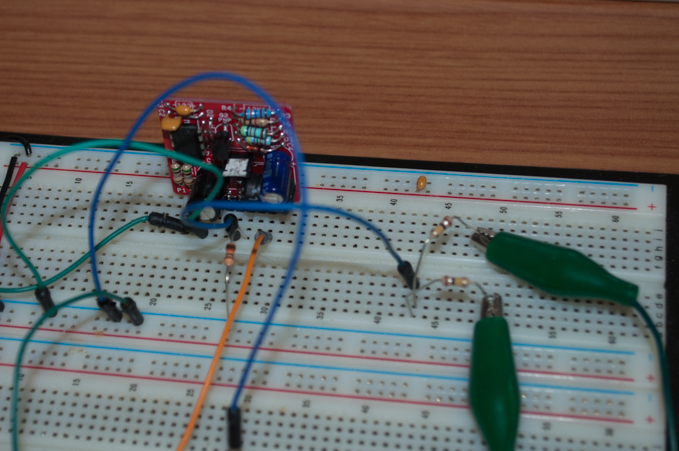
All they need to fire is 90V and a 100K ohm resistor.

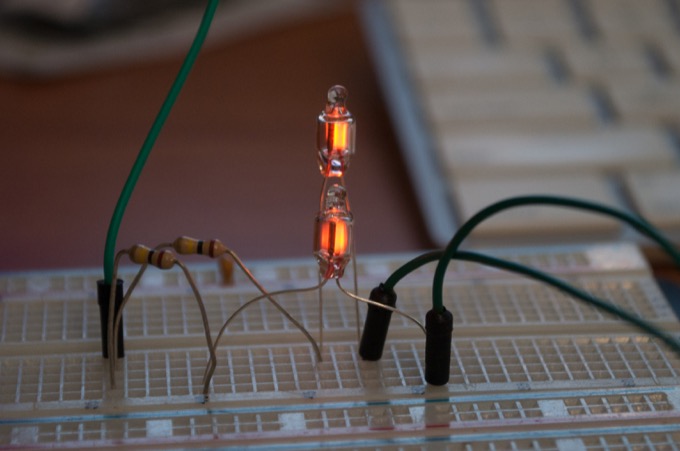
There's two filaments inside. Each will alternate being illuminated when powered by AC. When powered by DC, only the side that's grounded will light up. From a few inches away, you can hardly tell that only one side is lit up. It's totally fine for what I need.
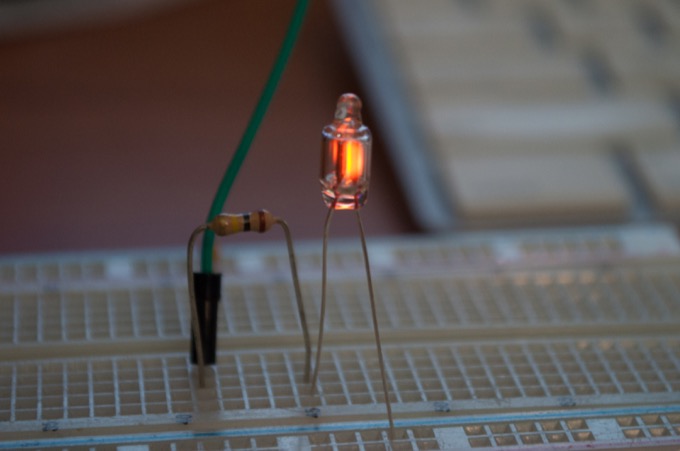
These will do nicely as a colon.
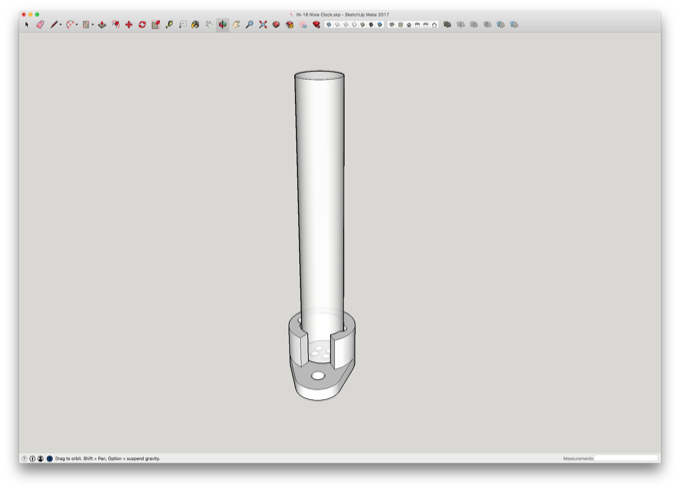
I 3D-printed an end cap for the glass tubes. There's holes in the bottom to align the legs of the NE-2s with the PCB. There's also a hole for a 4-40 screw so that I can attach it to the PCB.

It's tight enough that I can just push the tube in without having to glue it.
That's going to work perfectly!
And there it is. A perfect fit.

I put some heat shrink tubing on the legs so they don't short out. It also helps keep them at the right height. I did have to solder some leads to the ends to make them a little longer.
I then fed them through the base and inserted the glass tube.
I connected my nixie power supply and set the output to 90V.
Cool!
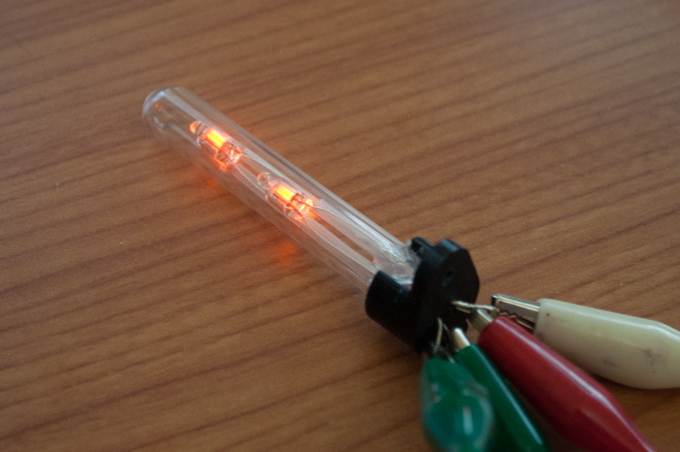
One down, two to go!
See this project from start to finish:
IN-18 Nixies TPIC6B595 Shift Registers IN-18 Nixie Clock - Part I NE-2 Neon Bulbs
IN-18 Nixie Clock - Part II IN-18 Nixie Clock - Part III IN-18 Nixie Clock - Part IV IN-18 Nixie Clock - Part V
