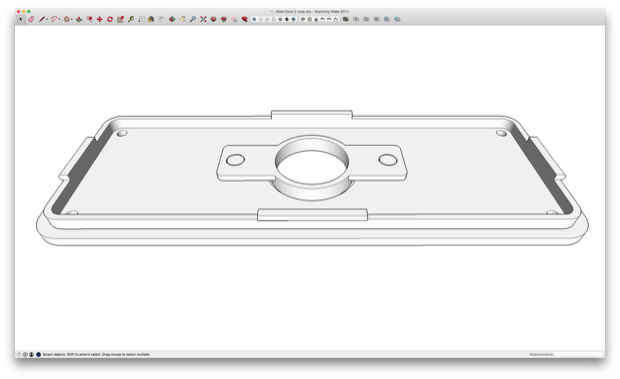
I last left off with the completion of the case design. Well, almost complete. I need to incorporate some kind of mechanism for securing some fabric over the hole for the speaker. I guess I could just hot glue a piece into position, but that seems lame.
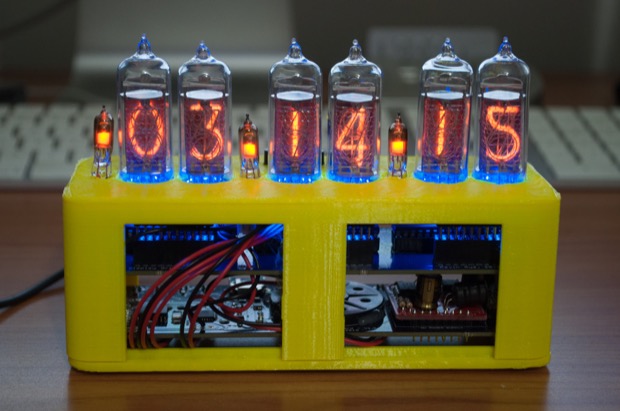
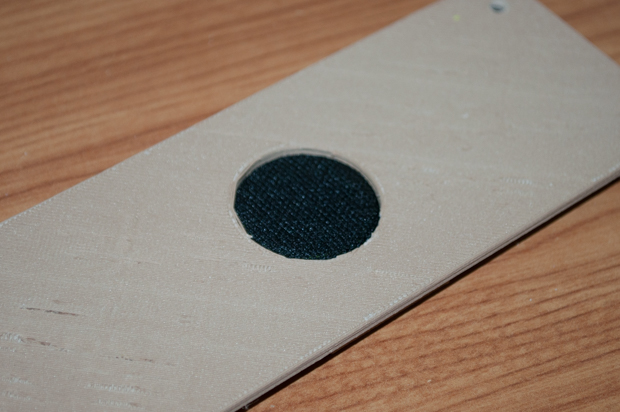
I chalked up a little grommet thing and a test piece for the hole.
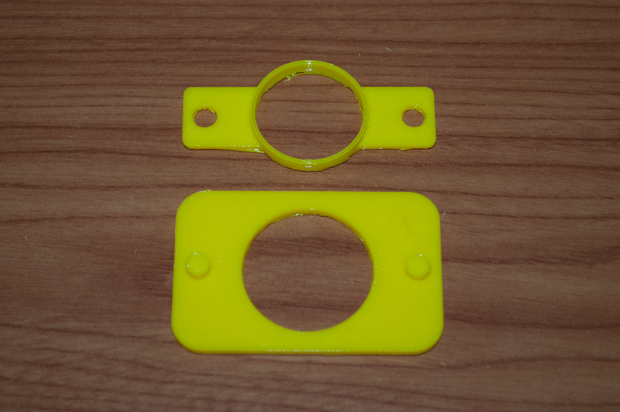
They clip together perfectly and secure a piece of speaker fabric nicely.
That'll work.
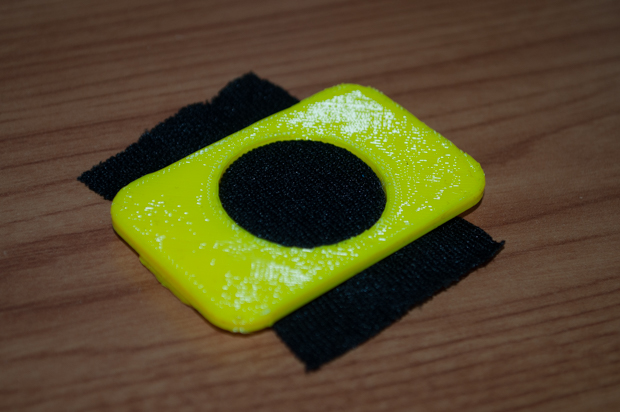
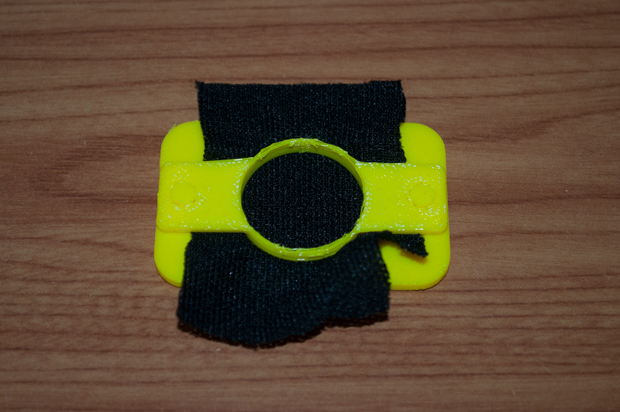
I incorporated the pieces into the design.
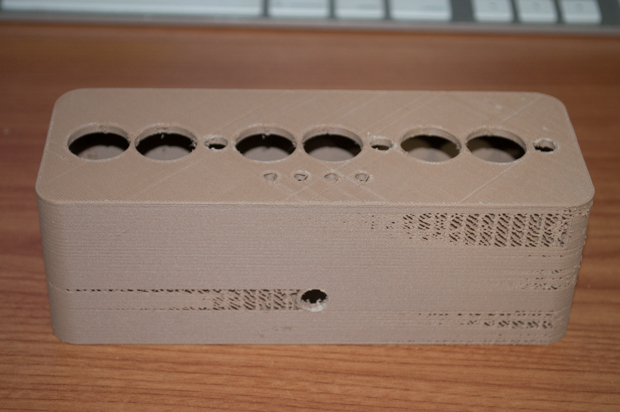
It was then time to print the final case in wood PLA. The bottom came out not too bad.
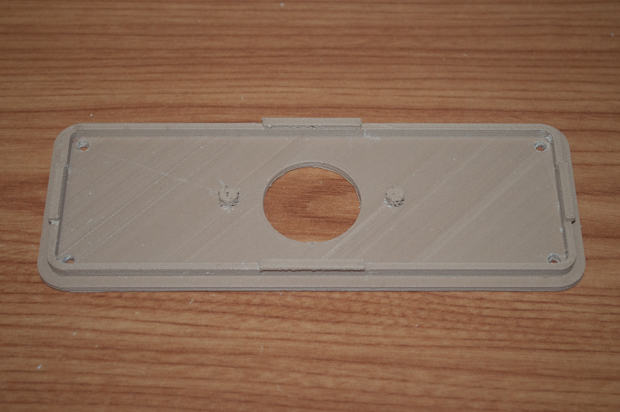
There's a few rough patches where the part didn't quite stick to the raft. I might be able to just sand those out. In any case, it's on the bottom, so I'm not too worried about it.
The speaker grommet fits perfectly.
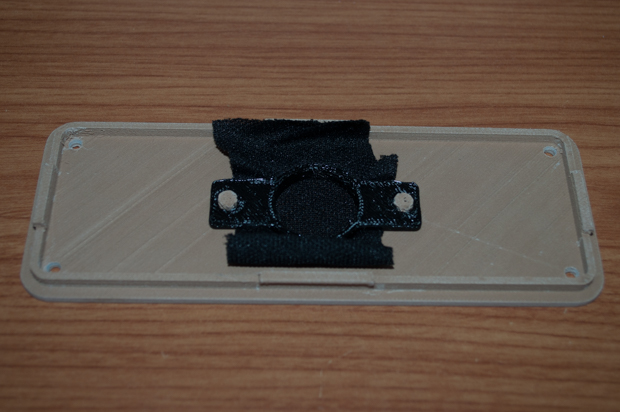
That will work nicely.
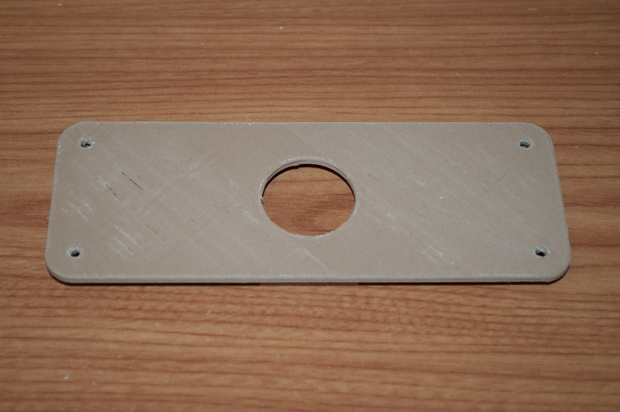
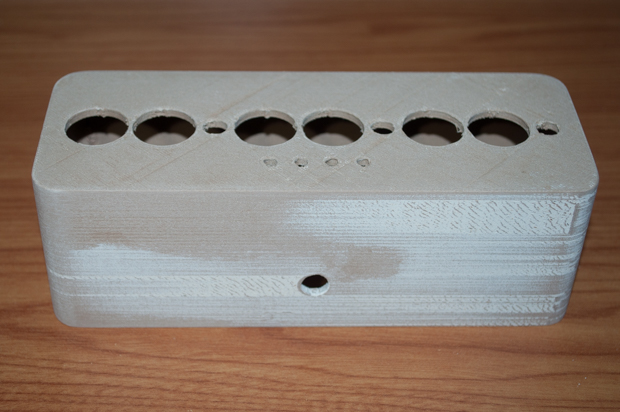
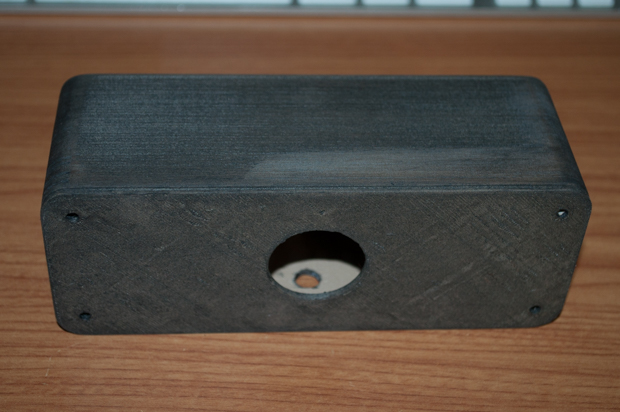
The rest of the case is a different story. While the front looks pretty good….

…the back is a complete horror show. I don't know what happened, but it's a mess.
I tried another one and made a few small tweaks to improve the print, but it was still a disaster.
I decided to try filling the holes with some wood filler.

I then gave it a nice sanding until everything was really smooth.
Well, the wood fill is supposed to be stainable, but it came out horrible. This is totally unusable.
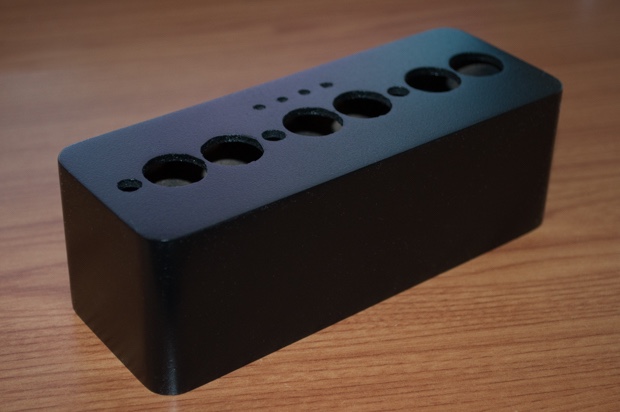
The bottom, however, clips on perfectly. I'm really happy with the way that it came out. It's almost seamless. It would be a shame to waste this one and print another one plastic.
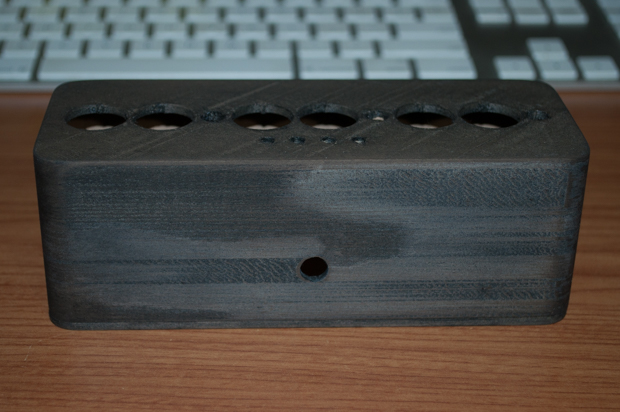
Rather than spend the next week printing enclosure after enclosure until I'm finally happy with one, I think I'm going to cut my loses and save both time and PLA. I'm going to just paint this one black and call it a day.
I gave it a few coats of black, followed by two clear coats. It came out really nice.
I then reassembled the boards inside the case. It was a pretty tight fit, but I managed it.
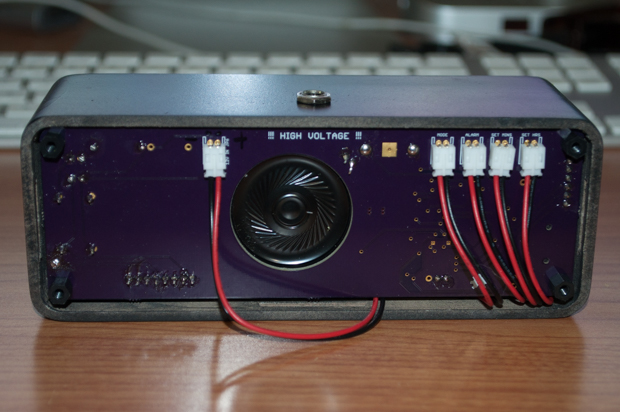
I then screwed the bottom cover on and powered it up. AWESOME!!!
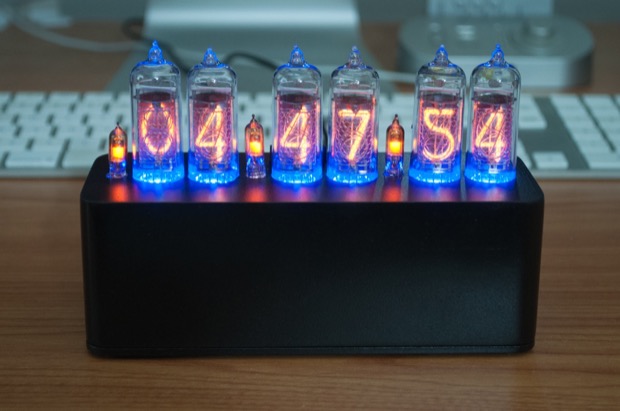
Here's the chime on the hour in action…
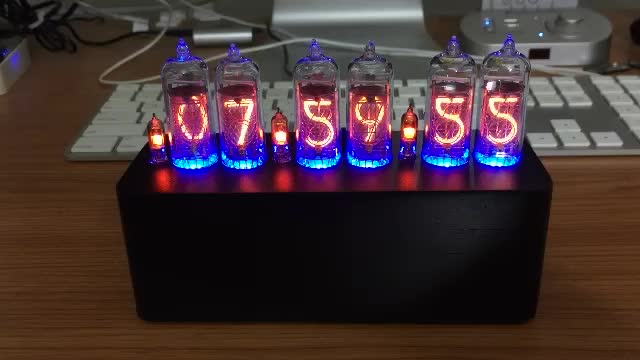
I'm really happy with the way that this clock came out. It's so much nicer than my
IN-12 clock.
See this project from start to finish:
IN-14 Nixie Tubes Nixie Clock V2 - Part I Nixie Clock V2 - Part II Nixie Clock V2 - Part III
Clock Button Panels
