I couldn't wait to start painting, but it rained for two days. What a pain! It seems like every time I need to paint something outside, it rains!
In any case, the weather got a little better and I was able to get the model outside and give it two coats of primer.
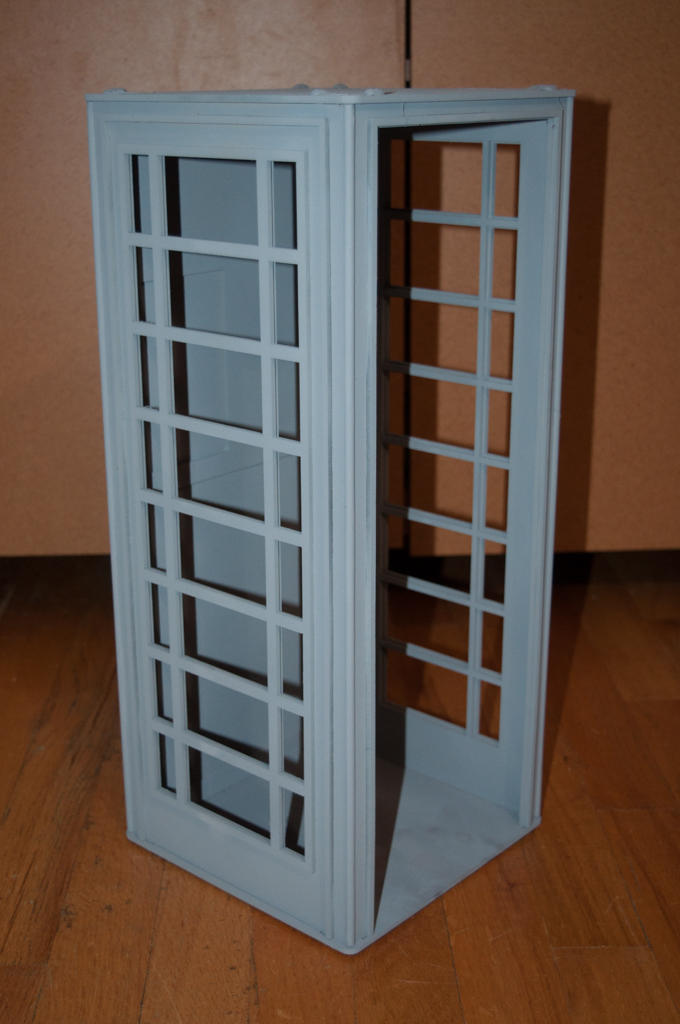
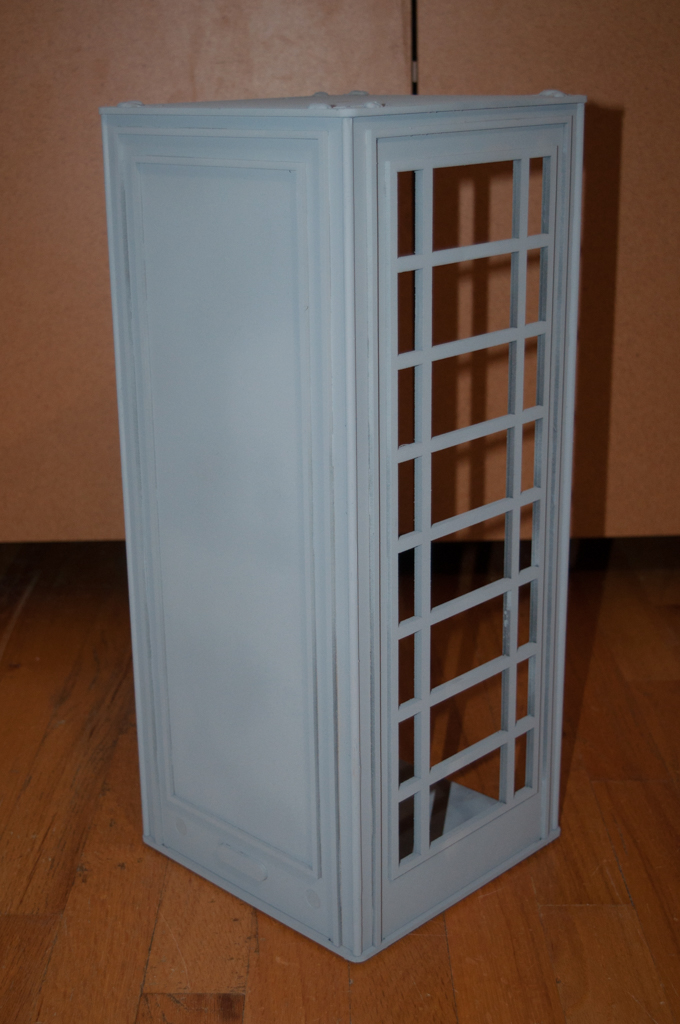
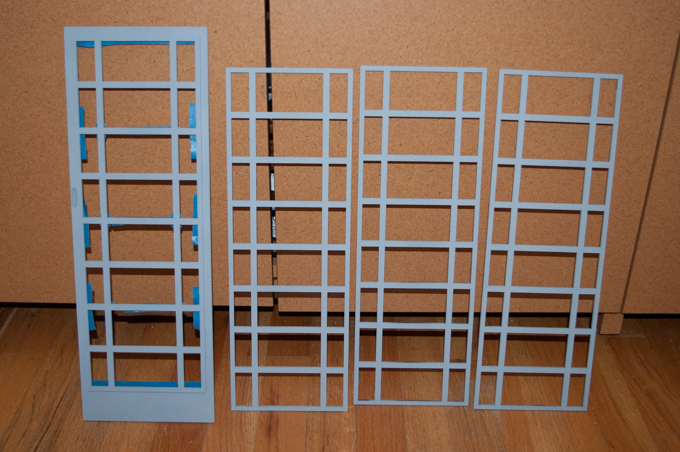
Once those dried, it was time for the red paint. I didn't go for the candy-apple red color; it's more of a royal red. My own personal touch.
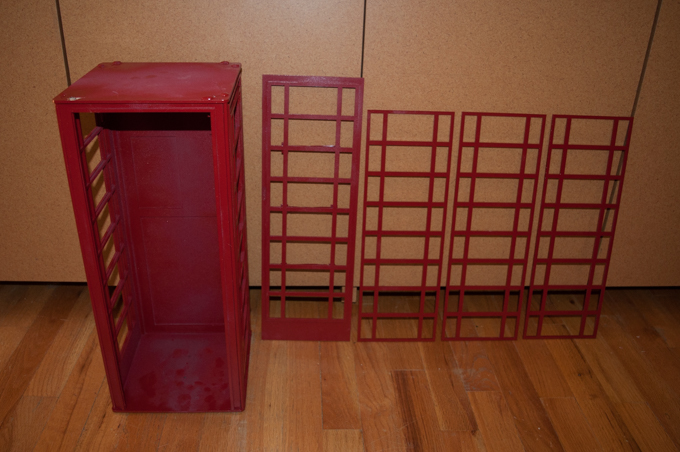
I have to admit, I screwed up the hinges. I thought I was just going to be able to glue them to the back of the door and the inside of the frame, but the middle of the hinge gets in the way. I needed to cut little notches out of the door to accommodate the hinges. I laser cut a template so that I could cut the notches out with my Dremel.
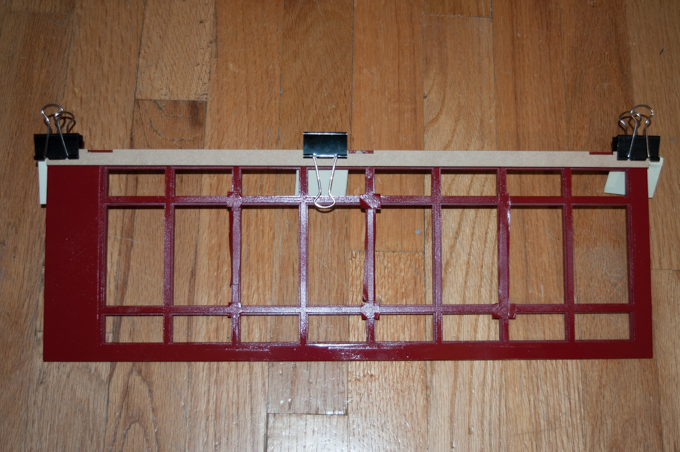
That should do the trick.
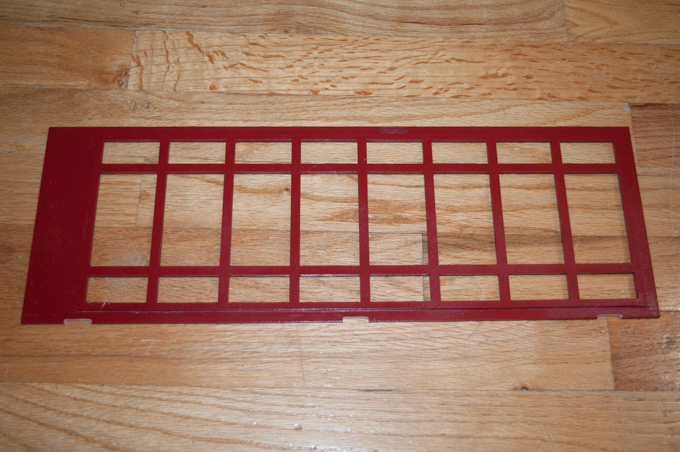
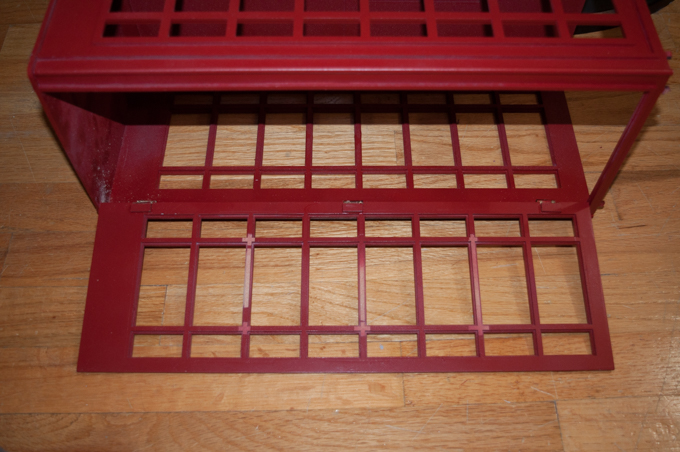
Gluing in the hinges was a real pain. I had to glue them twice. The first time wasn't a very good fit and I had a hard time closing the door. Note to self: next time, prototype the hinge assembly!
While glue and paint dried, I got to work on printing the top. This is going to be a pretty large print.

After about 40 hours, the print was complete.
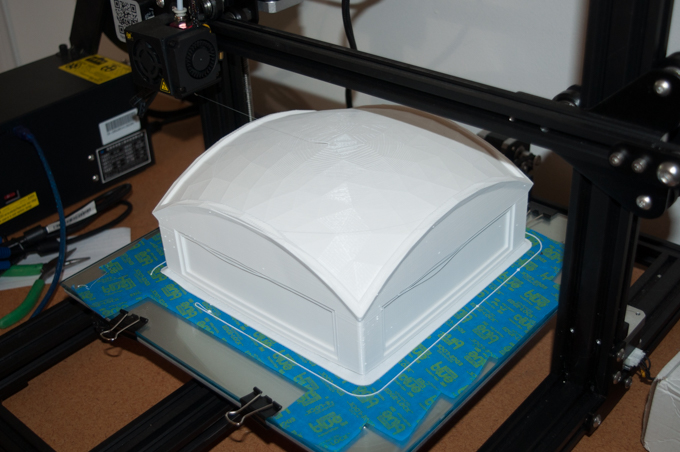
I was surprised to see how clean the underside was, despite forgetting to print it with support material. In any case, I decided to glue a piece of draftboard into the underside just to make it look a little nicer. I glued another piece of draftboard around the edges to help square off the sides.
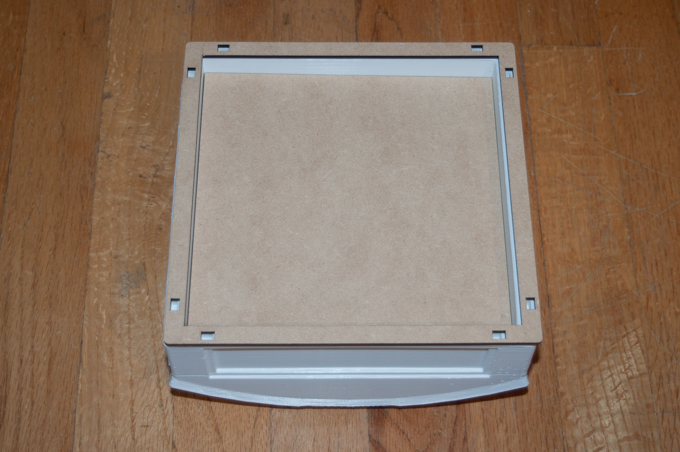
The corners lifted a little during the print. Gluing a flat piece of draftboard to the bottom will allow me to Bondo the corners.
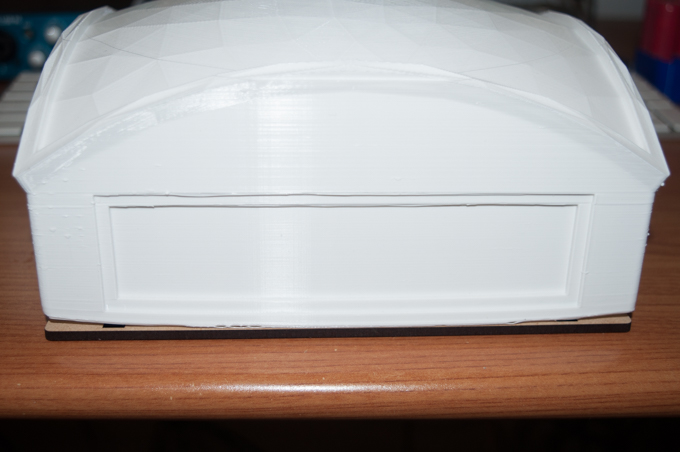
Nice. That looks really good. After a few coats of primer, you'll never know.
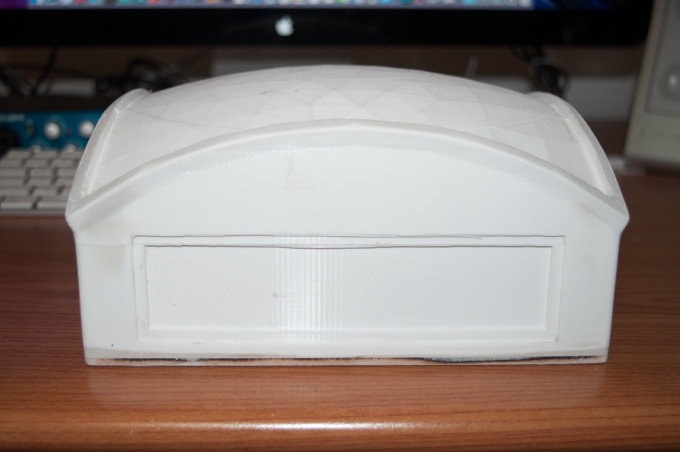
I gave it two coats of primer, but I was not happy with the results.
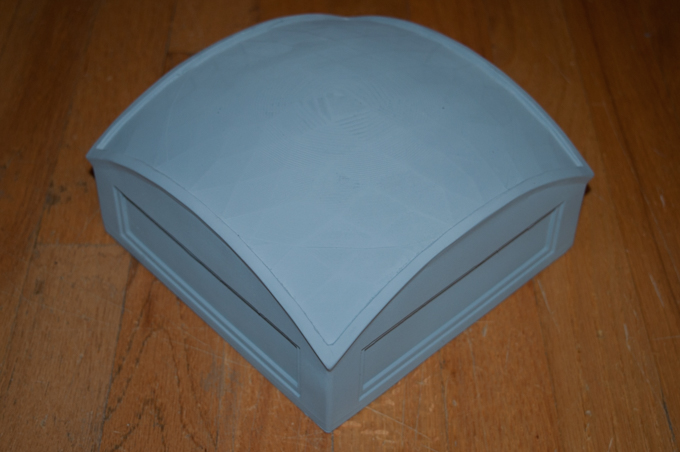
I'm not looking for a super-smooth finish. After all, the cast metal finish on the real thing is pretty rough. However, there is sort of a spiral pattern in the plastic that is very noticeable.
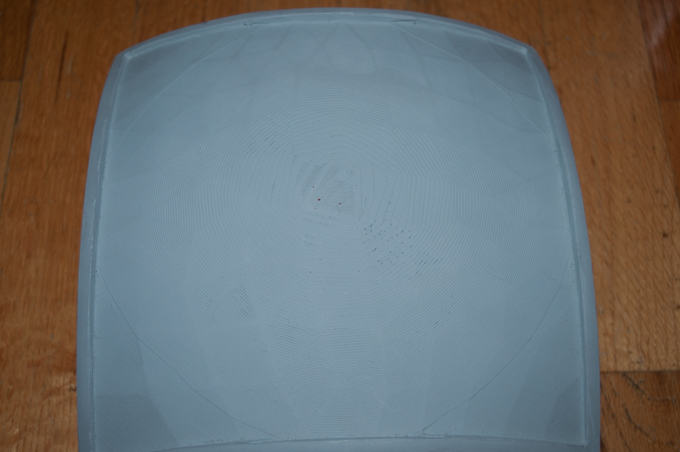
I smeared a thin layer of Bondo over the top and then sanded it smooth.
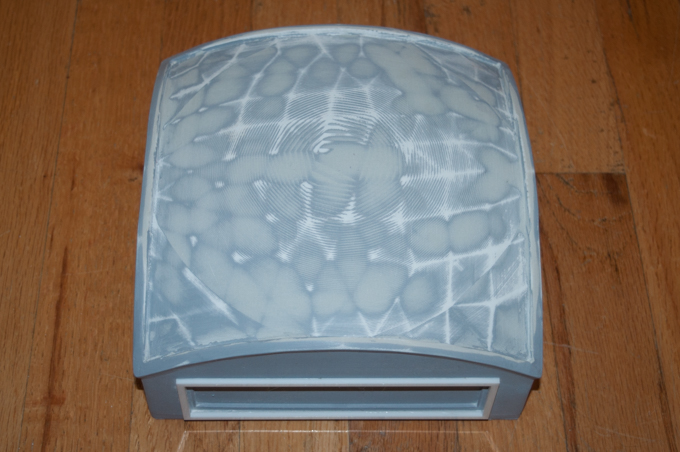
After another few coats of primer, it was looking much better.
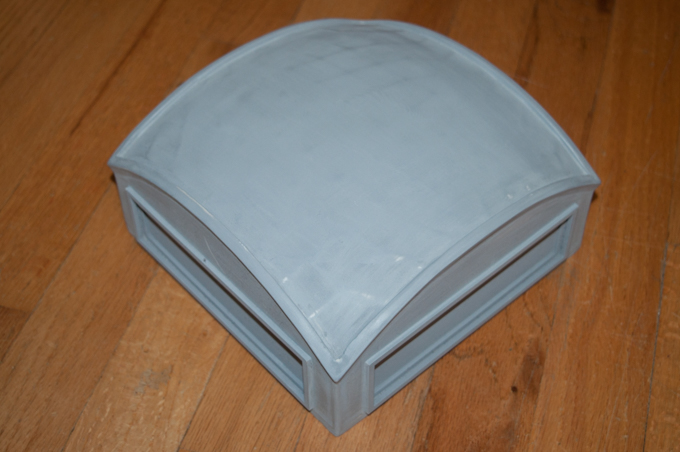
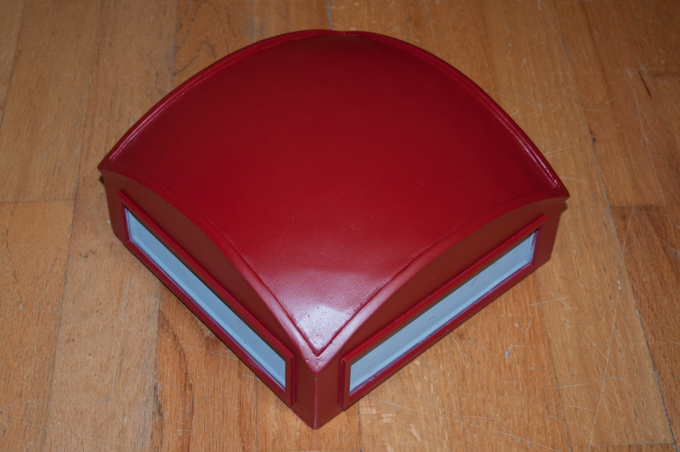
Lastly, I gave it two coats of red and two coats of clear. That. Looks. Awesome.
I designed these little crown emblems in Inkscape. What a pain it was. It took a few revisions and some test cuts on the Glowforge to get them right.
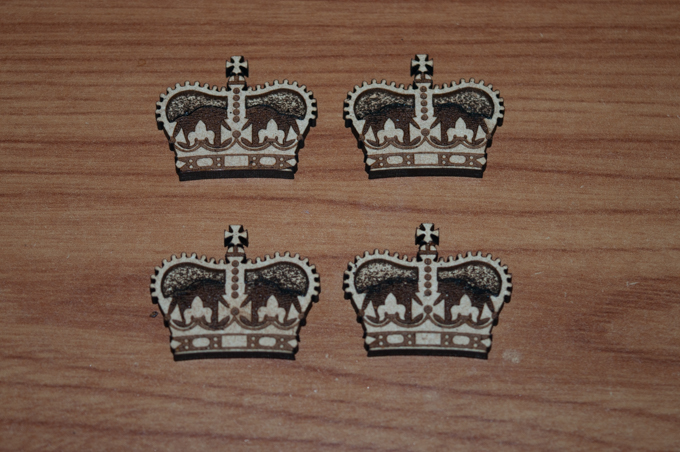
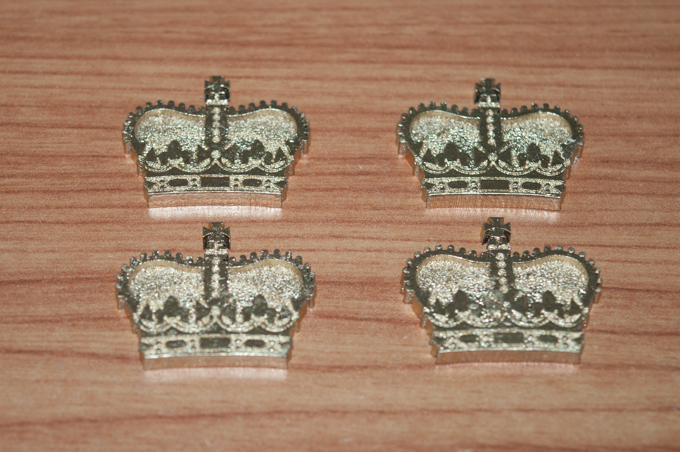
I then gave them a few coats of gold spray paint. They look awesome. Trust me, they look so much better in person.
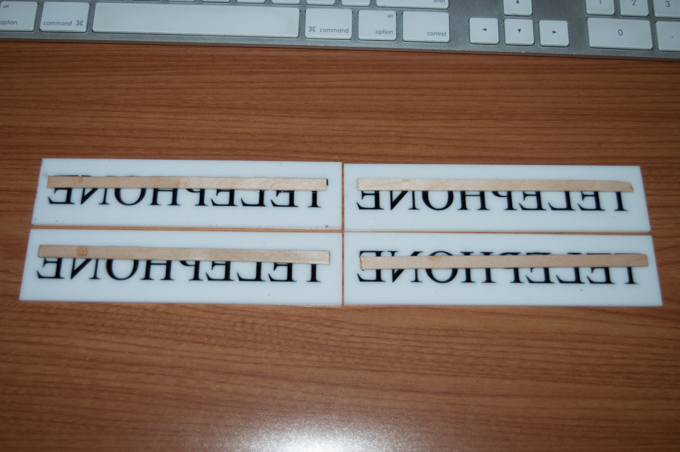
For the TELEPHONE signs that go on the sides, I laser cut them out of black and white acrylic. I then epoxied a wooden stick to the back to keep all the letters in place.
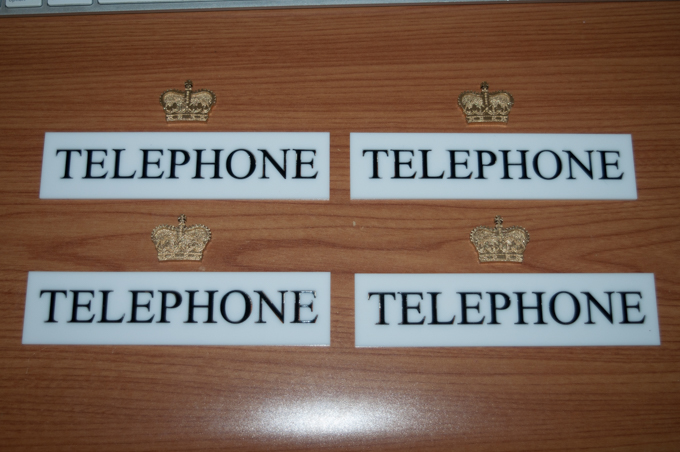
I just have to glue these into place and the top will be complete.
For the PUSH/PULL sign that goes in the front door, I cut a window out of white acrylic and spray painted it red. I then masked it off with painter's tape and engraved the text.
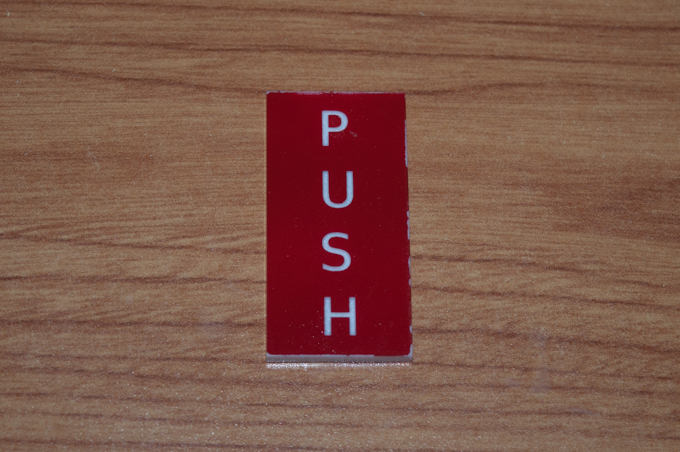
I then flipped it over and did the other side.
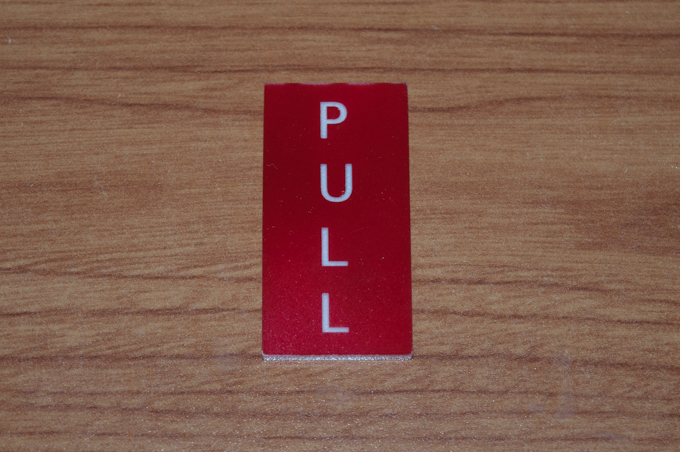
That worked out really well.
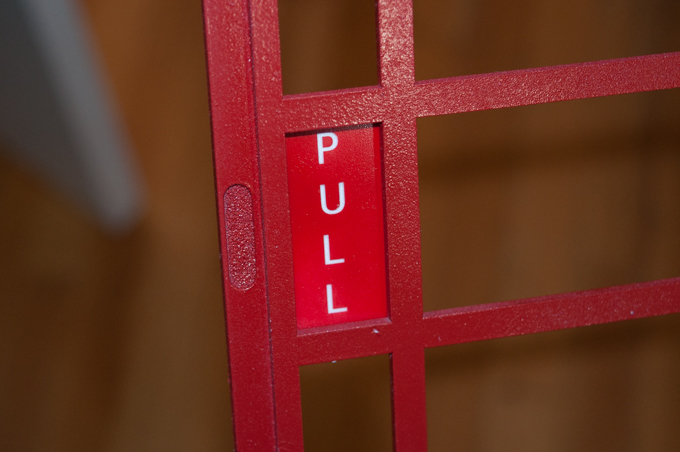
While I waited for paint to dry, I got to work on cutting out the 71 windows that I need.

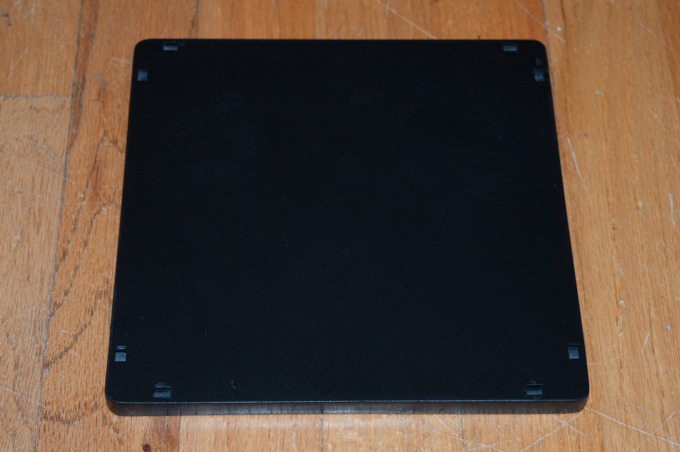
For the base, I glued the two 1/4" draftboard pieces together, cleaned up the sides with Bondo, and then spray painted it black.
I'm in the home stretch now. Next up, final assembly!
See this project from start to finish: British Telephone Box - Part I British Telephone Box - Part II
British Telephone Box - Part III


