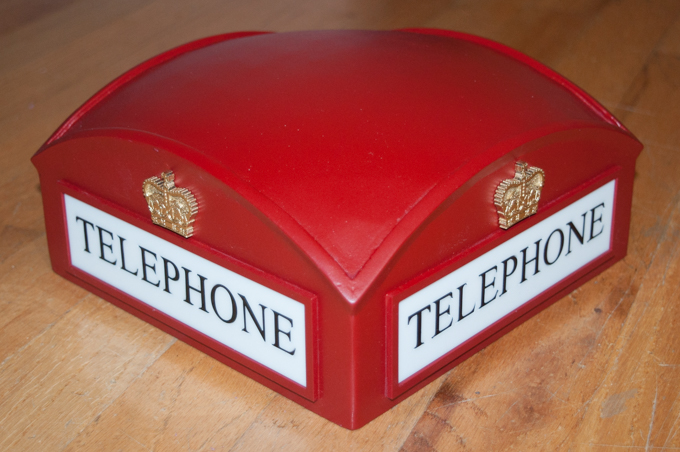
In order to make sure that the crown emblems are in the same spot on all four sides, I cut this little template out of poster board.
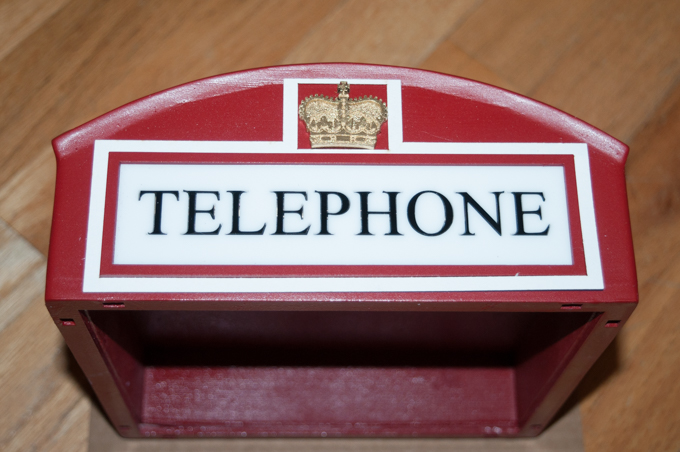
That worked perfectly! No glue was required for the TELEPHONE signs. They just snap right into place.
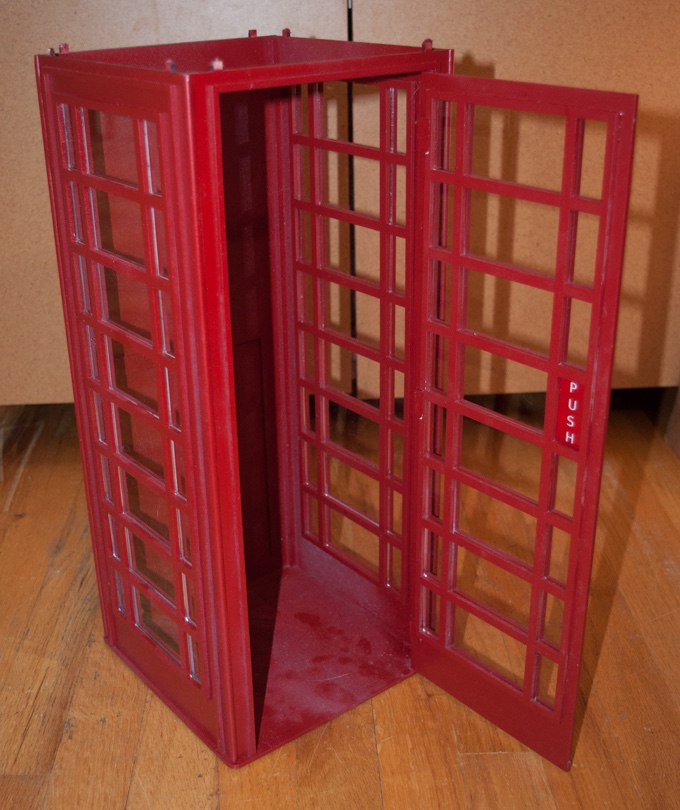
I installed all the windows and glued in the back frames to hold them in place.
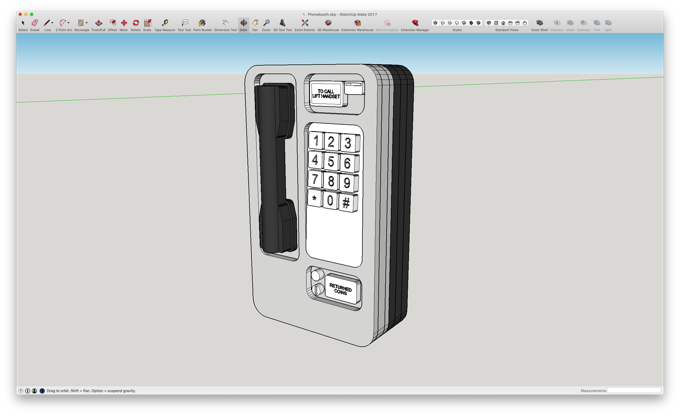
It's time to work on the interior. The original model for the phone that I designed was meant to be 3D printed. I decided to laser cut it. I thought printing it would require too much cleanup work. In addition, those buttons are pretty small. I don't think they'll come out very well.
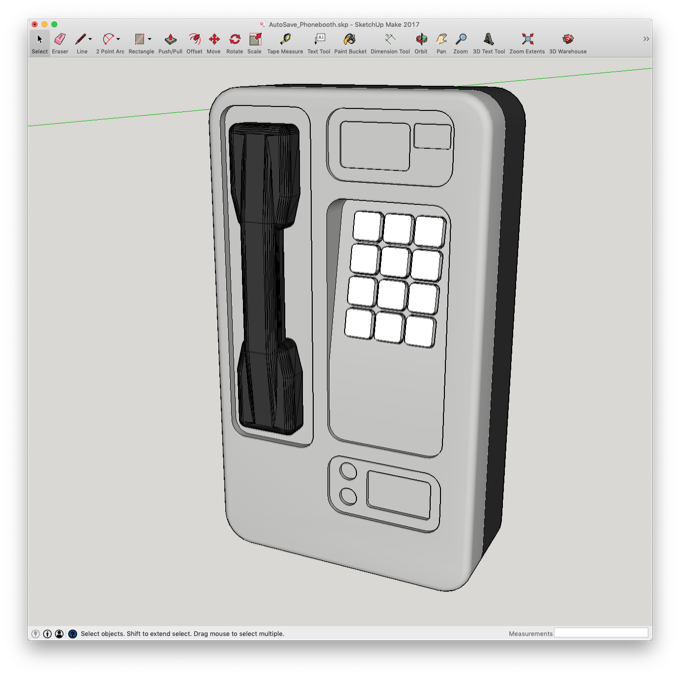
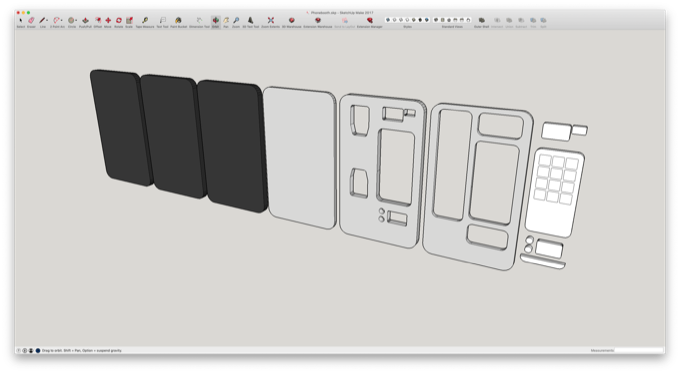
I redrew the model into layers to accommodate 1/4" and 1/8" draftboard and added some text.
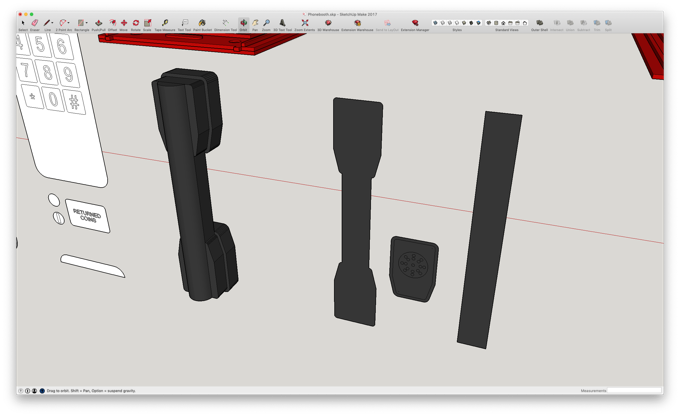
Even the handset is made up of layers of draftboard.
I then exported all the faces as SVGs.
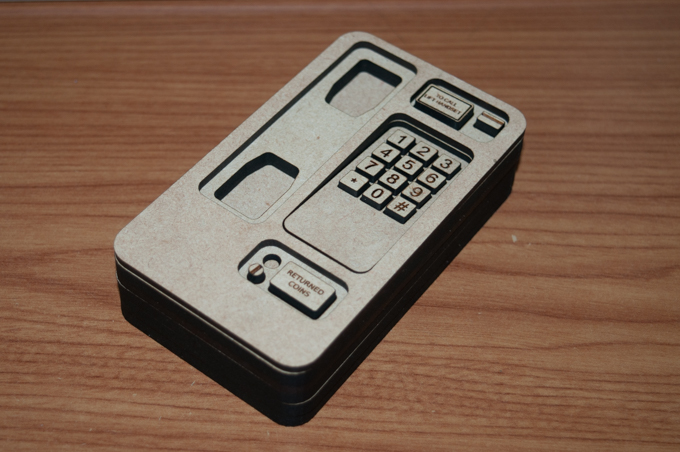
The parts came out awesome.

Here's the handset. I think I'll take some sandpaper and round-off all the edges.

That will do nicely.

Now all it needs is some paint and epoxy.
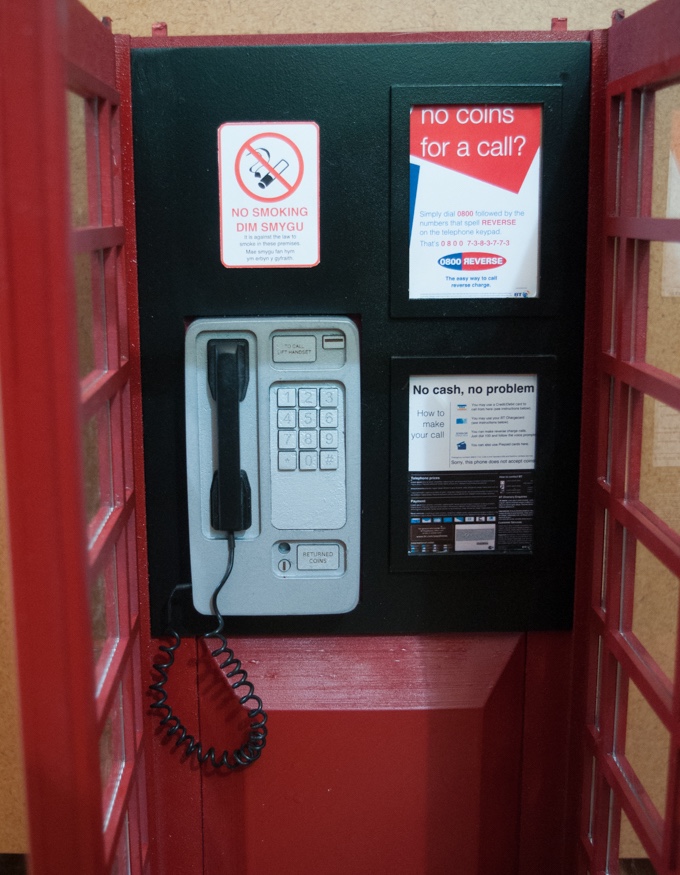
That came out really nice. The paint job is not perfect, but I think it looks really good.
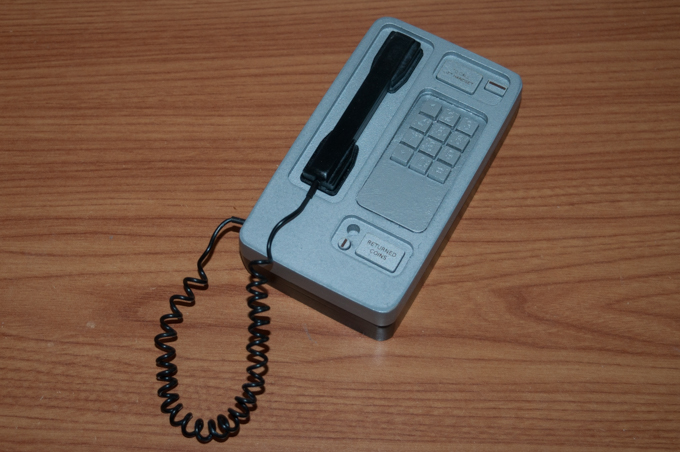
Compared to my reference image, it's a pretty convincing looking phone. Now it's time to work on the signs and the backboard.
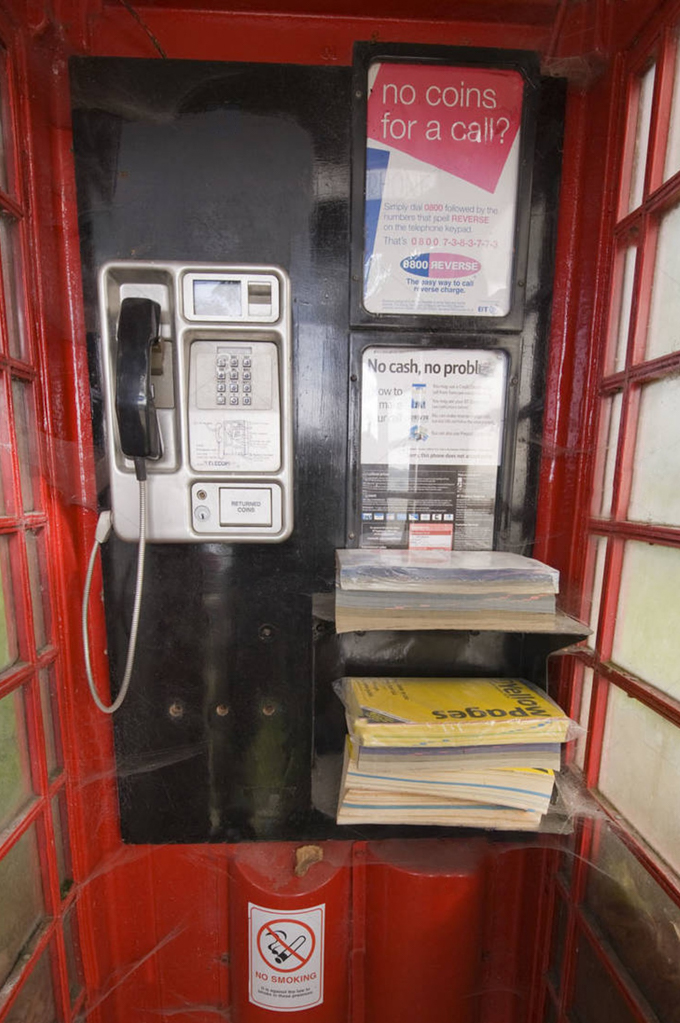
For the signs, I thought I could just crop some images I found online, do a little cleanup work, and just print them. However, they looked horrible when printed.
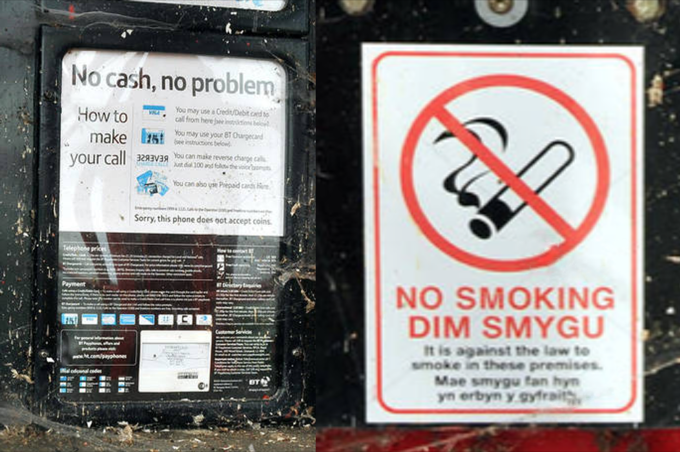
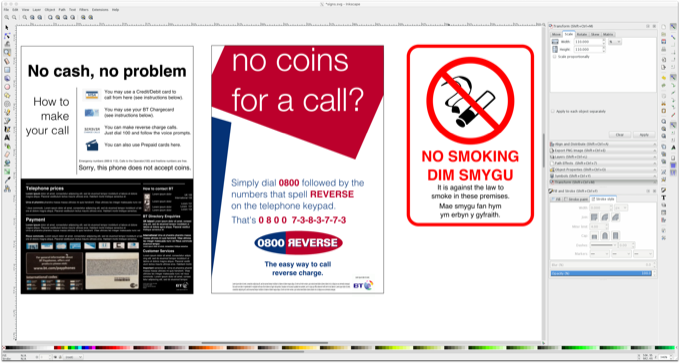
I decided to just recreate them as best as I could in Inkscape.
I cut out a backboard and made some frames for the signs. That looks really good.
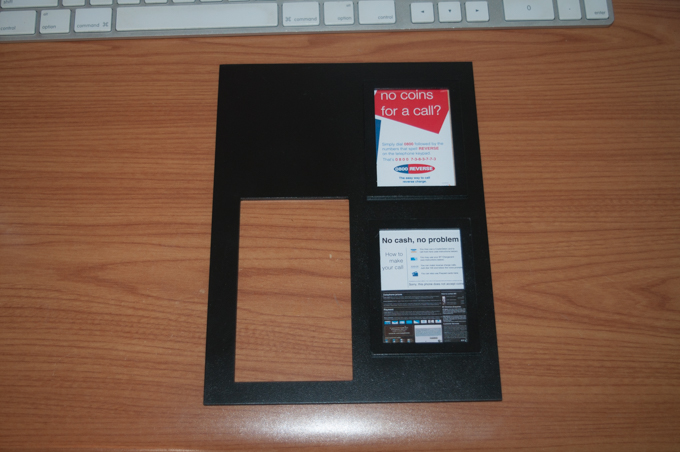
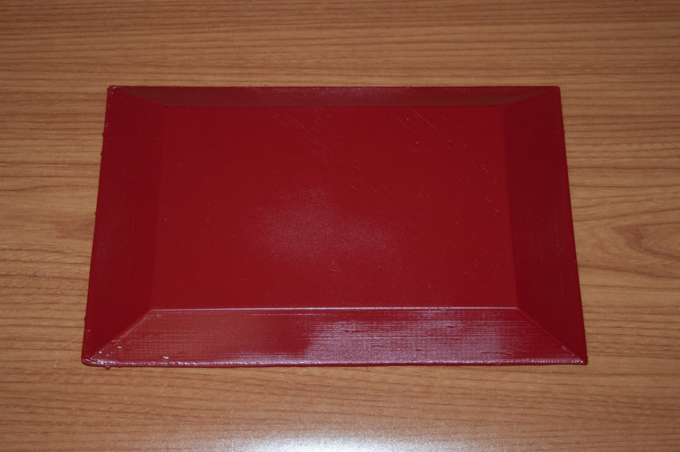
For the plate that goes under that, I 3D printed it.

After two coats of primer and two coats of red, it was good to go.
Time for final assembly! I replaced the temporary base with the black one.

I then glued in the interior pieces.
Finally, the top and the handle. Wow, I can't believe how nice it came out!
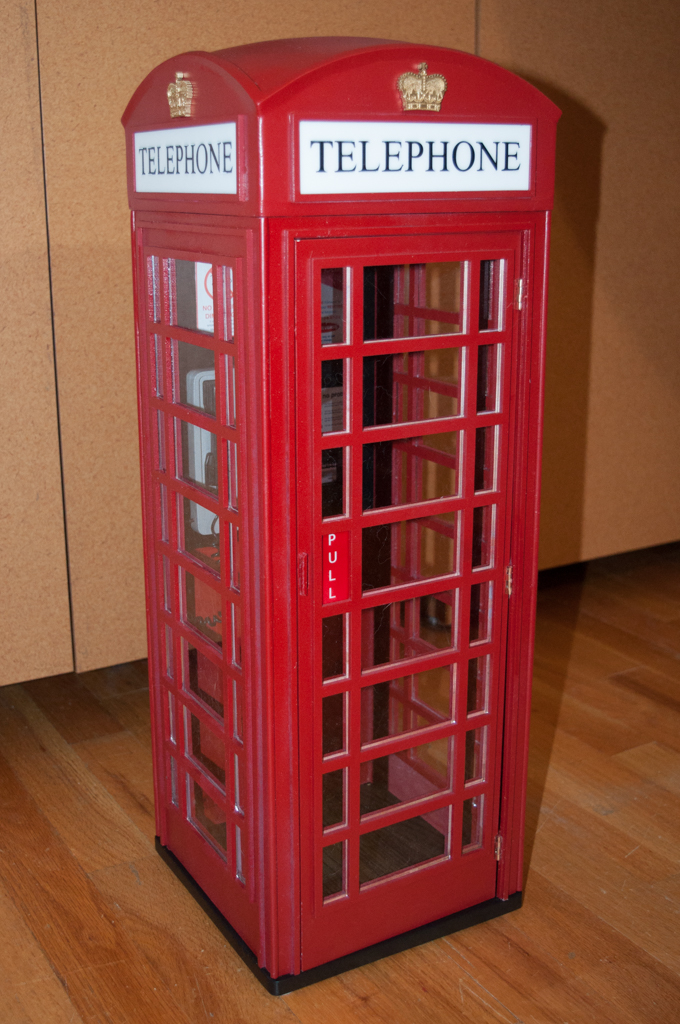
Now, at 22" tall, where am I going to put it?
See this project from start to finish: British Telephone Box - Part I British Telephone Box - Part II British Telephone Box - Part III

