If Google brought you here looking for the MegaMini by JK Devices, check here. If not, read on....I’d hate to spend a good $40 bucks on the PCB for my
GPS clock and find out that I screwed something up, or that I can’t solder an ATmega2560. I figured that I’d spare myself the possibility of wasting $100 bucks worth of hardware and chalk up a mini-board for the ATmega2560. Sort of a “bare bones” MEGA as a test-run.
I want to primarily test my ability to in-circuit bootload and program an ATmega2560. I could just put something together that basically blinks an LED as confirmation that it works, but that would be a complete waste of an $18 dollar AVR. They’re not cheap! I might as well make the board useful. If I pull it off, it’ll be nice to know that I’ll have 3 very capable MEGA MINIs for future projects.
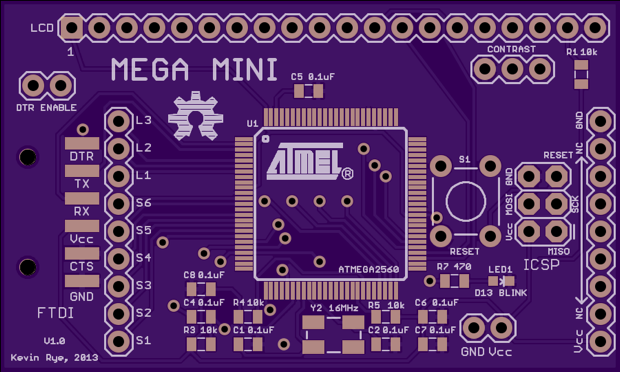
I started to design a small board that could drive a 128x64 LCD. (The same display that I’m using for the GPS clock.)
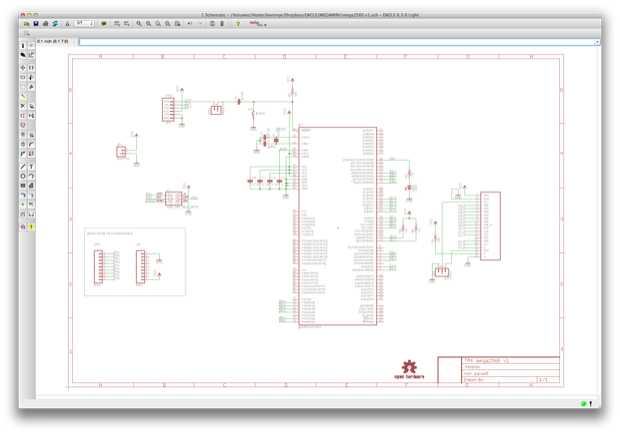
It has an ICSP header for burning the bootloader as well as an FTDI header for uploading new sketches. The two vertical headers are so that I can attach one of my mini
Button Breakout Boards so that I can interact with the LCD, bring up menus, etc., etc.
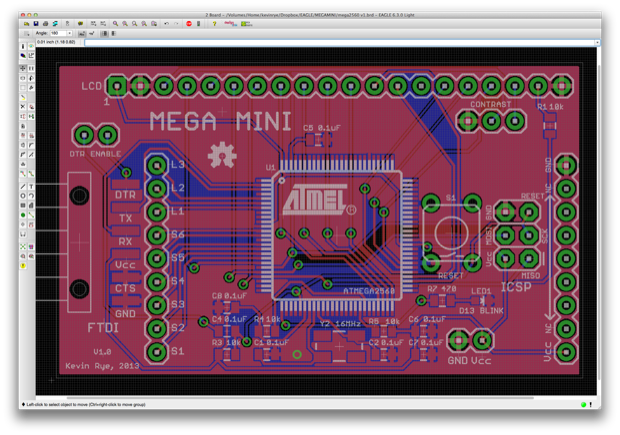
I printed out the PCB in order to verify that all my parts will fit OK.
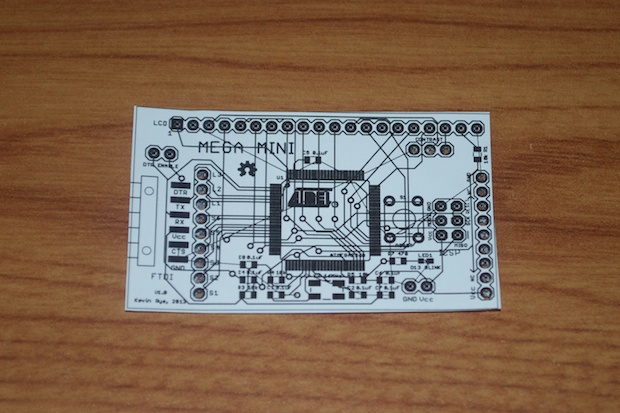
It’s really small. It’ll fit right behind the LCD with plenty of space to spare.
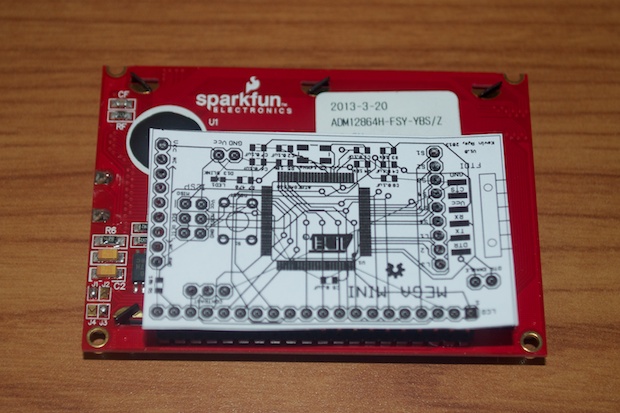
The best way to figure out if all your parts have the right amount of spacing and clearance is to stick them into a block of styrofoam. I guess you could just stick it on your breadboard too. I was concerned that the potentiometer for the LCD would sit too high for the mini button board.
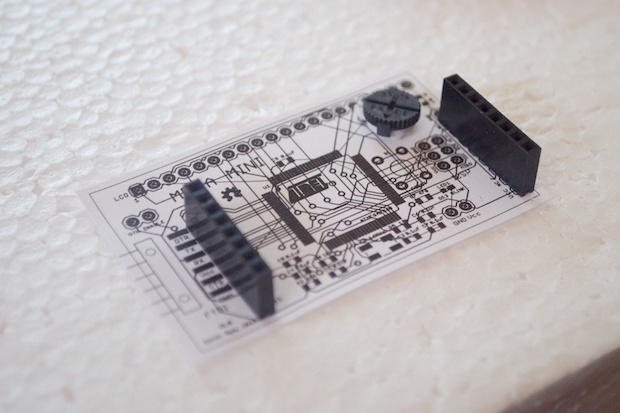
With some headers, there will be more than enough space to accommodate the potentiometer. In addition, using female heaters will allow me to remove the keypad in order to attached the 6-pin ICSP programming cable.
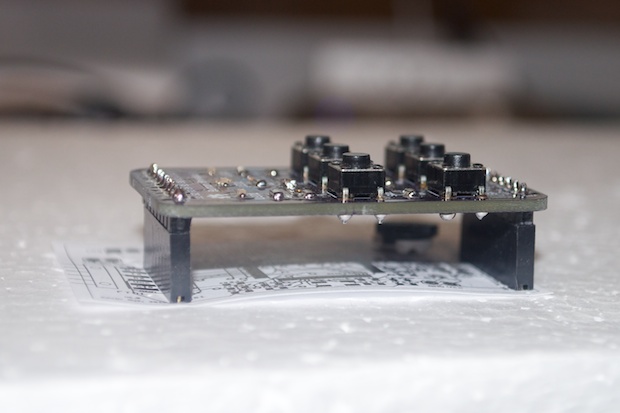
Everything looked great, so I went ahead and ordered my PCBs. It only cost $15.15 for all three. Five bucks a pop isn’t bad at all. I’m trying to keep these as cheap as possible. After all, adding the ATmega2560 and the other components will probably bring the cost to somewhere in the neighborhood of $25 a-piece.
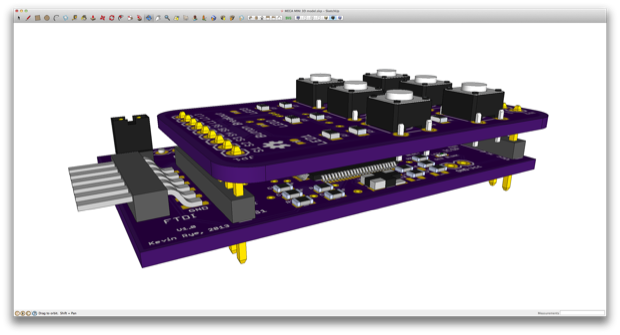
I even went as far as chalking up a 3D model to better visualize how everything would look once assembled. I think it’ll go together OK.
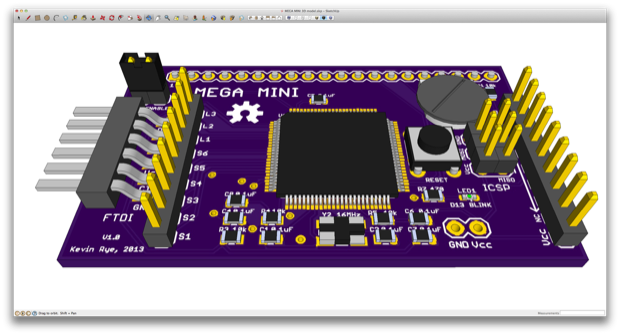
The Button Breakout should fit nicely too. I could either use a female header or just solder it a little higher up on the pins of a male header.
I ordered an
FTDI programmer from SparkFun as well as an
AVR programmer and a few ATmega2560s from Digi-Key. I can’t wait to bring everything together so I can play around with some in-circuit programming.
With any luck, I’ll be able to use this board design as the basis for the GPS clock. All I’ll have to do is move some things around, add a few more connections for the GPS board and RTC, and add all the audio stuff.
See this project from start to finish: The MEGA MINI v1.0
MEGA MINI Assembly, Part I MEGA MINI Assembly, Part II 


