Upgrading My Old 7490 Clock, Part V
Jul 23, 2014 Filed in:
Clocks | Arduino | Repairs | Upgrades | PCBs | TTLFinally! After 2 weeks of patiently waiting, my new PCBs arrived. I was so eager to put them together.
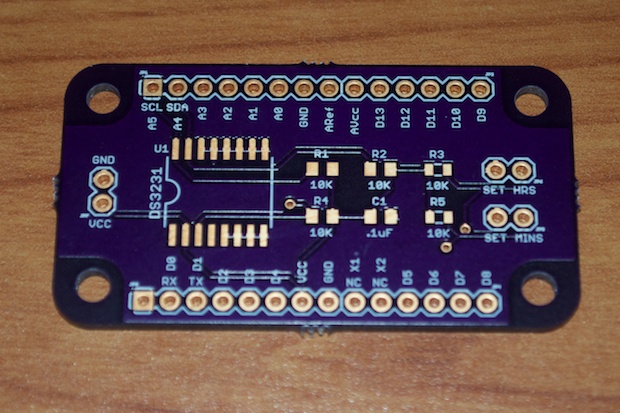
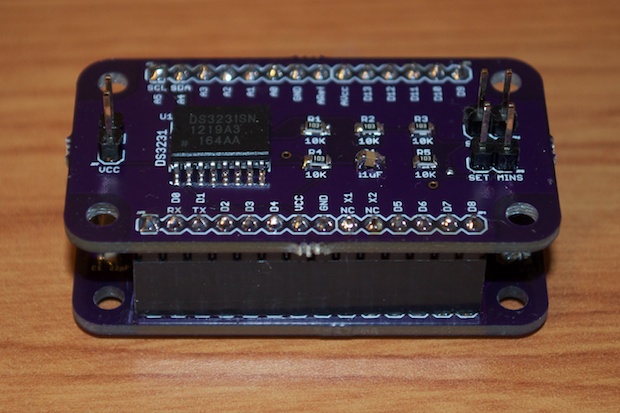
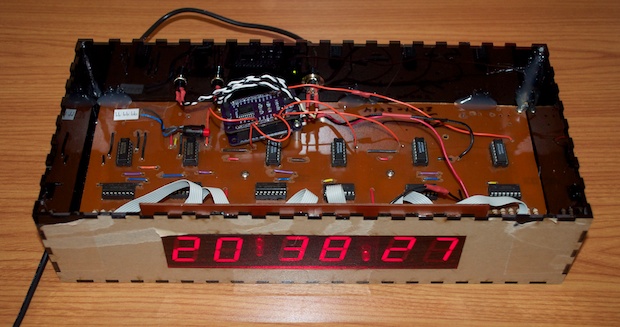
It was a pretty easy build. I popped the shield onto one of my
Bare Bones PCBs and it was up and running in no time.
I then soldered the connections to the seconds, minutes, and hours sections...
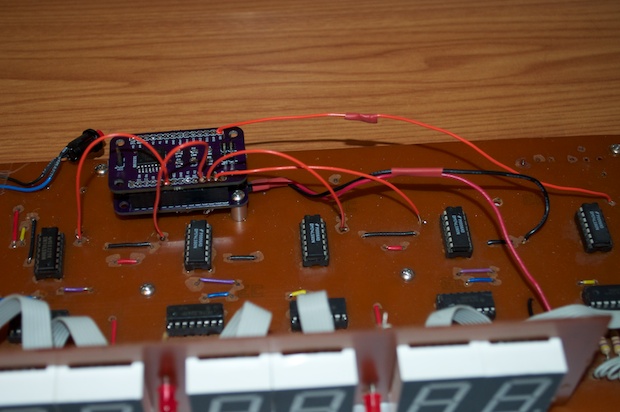
...followed by the set buttons and power. It works!
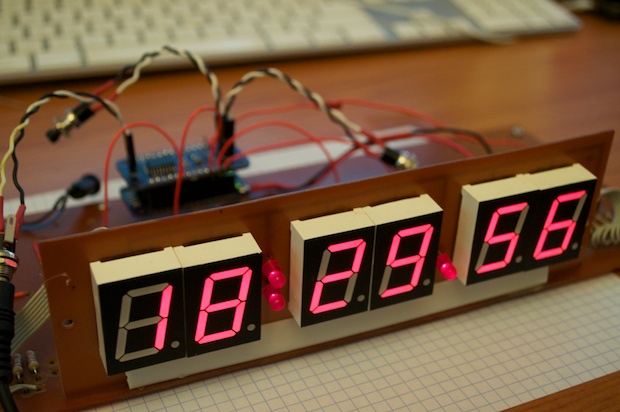
I then dropped the clock into the new enclosure and secured it with some hot glue. Before I peeled of the protective film, I wanted to burn it in for a day just to make sure that there were no kinks. If I had to open it back up and remove the guts, I didn’t want to risk scratching the acrylic. The plan was to take the film off when it was totally done.
After I was happy with the performance, I grabbed some rubber feet out of one of my parts cabinets.
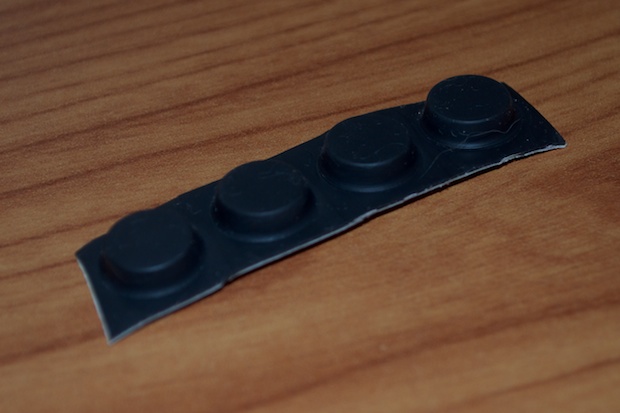
I then stuck the feet on, about 1/4” from each corner.
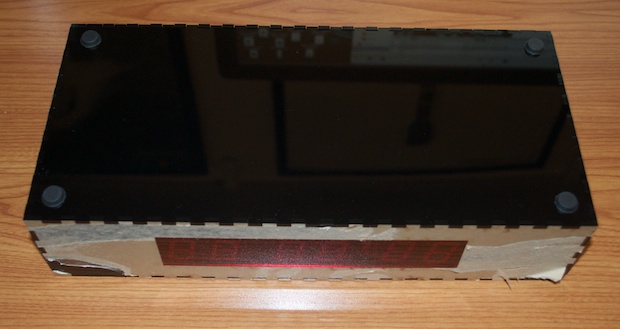
I then flipped it back over and peeled off the remaining protective film.
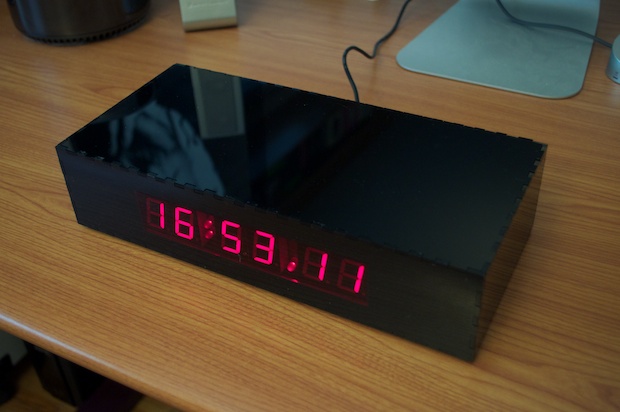
I think it came out amazing. I just can’t believe after all these years that this clock finally looks like something I can be proud to display. I’m really happy with the results.
See this project from start to finish: Digital Clock 1.0 Upgrading My Old 7490 Clock, Part I Upgrading My Old 7490 Clock, Part II Upgrading My Old 7490 Clock, Part III Upgrading My Old 7490 Clock, Part IV Upgrading My Old 7490 Clock, Part V

