I successfully digitized my parents
medium format negatives using a DIY homebrew contraption. They came out great. The next step in digitizing the family photo library involves scanning all the 110 and 35 mm negatives. My HP flatbed scanner has a slot for doing negatives, but it’s very slow and cumbersome. It would take me years to scan all the negatives that I have to do. I needed something faster. I hopped on Amazon and looked at the negative scanners they had.
There’s definitely no shortage of scanners to pick from. Everyone calls them “scanners”, but that’s a misnomer. They’re not really scanners at all. They don’t “scan” your negatives like a flatbed scanner would. They basically take a picture of your negative and invert it through software. It’s basically a cellphone camera in a box. I’ve seen people make their own using a DSLR, but I didn’t want to go through all that. I wanted something that I could use, and put a way in a box when I’m done with it. I have so many negatives to do that it’s going to take multiple session to scan them all, so I didn’t want to have a big contraption sitting around for a year.
It just seemed so much easier and more convenient to just spend the $100 bucks on a really good “Digital Converter”. I settled on the Wolverine 20 MP model. It had really good reviews on Amazon, and it was one of the few that I found with a display that also did 110 film. Although, Amazon did not have the 110 negative tray for sale. I had to spend another $10 and order that directly from Wolverine’s website.
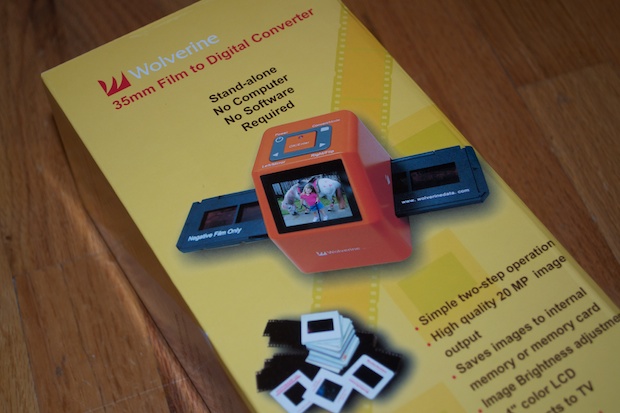
Pretty snazzy in orange. Other than my
Speak & Spell, I think it’s the only orange electronic device I’ve ever owned.
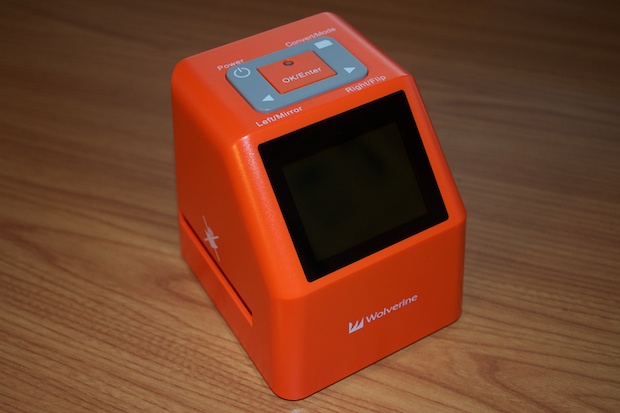
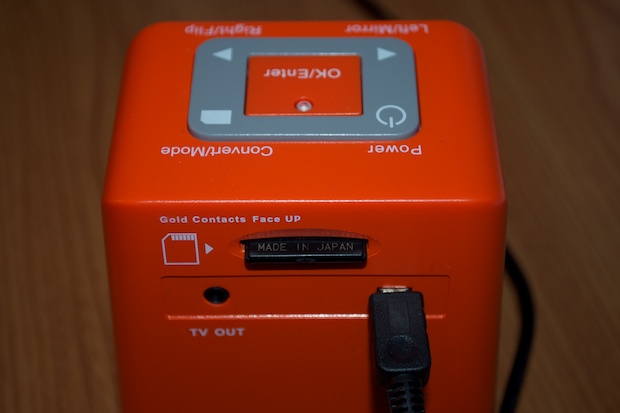
You can insert an SD card and save your pictures directly to it. That’s a great feature because you can scan away while watching a movie or something and you don’t have to be tied to the computer. When you’re done, you can just connect the Wolverine to your computer via the included USB cable and your computer will treat it like a USB drive.
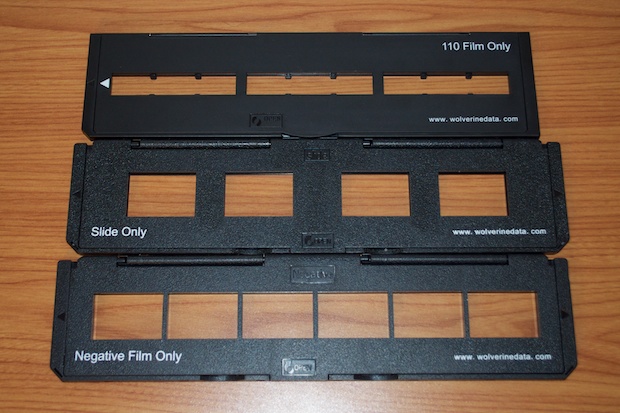
The Wolverine comes with one 35mm tray and one slide tray. The 110 film tray has to be purchased separately.
It’s very easy to use. You just power it on and select what it is you’re scanning.
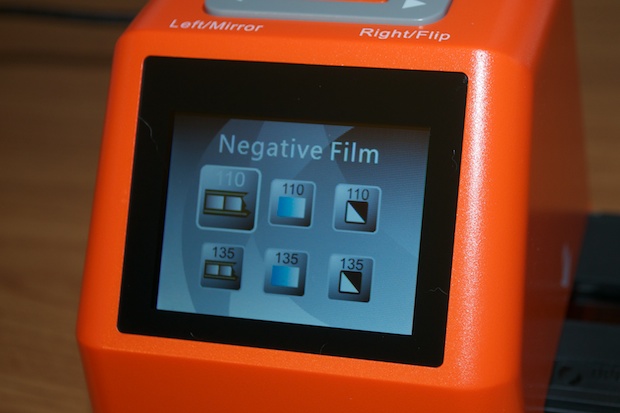
You then load the negative tray with a strip of negatives...
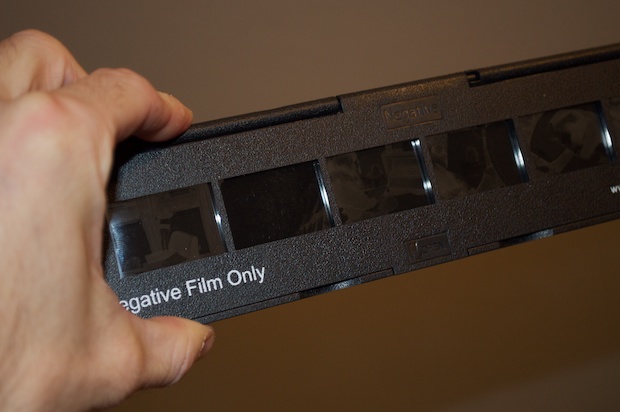
…and slide it in through the side. Once you have the negative in position, you just press the “convert” button on top. It takes about 3 seconds to save to the SD card. I scanned this entire strip of negatives in about 20 seconds.
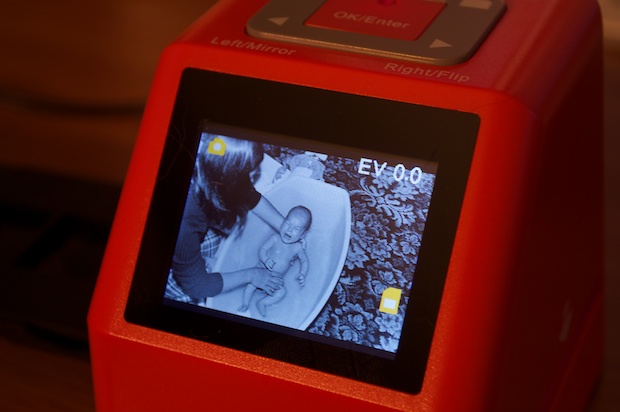
The resulting image is saved with a resolution of 5472x3648. That’s 19,494 pixels. Divide that by 1024 and you get 19.04 Megapixels. The box advertises 20 MP, so I guess they’re rounding up. Close enough. In any case, it’s more than adequate for having 4x6s printed. Actually, according to Snapfish’s requirement, that’s twice the resolution needed to print a 20” x 30” poster.
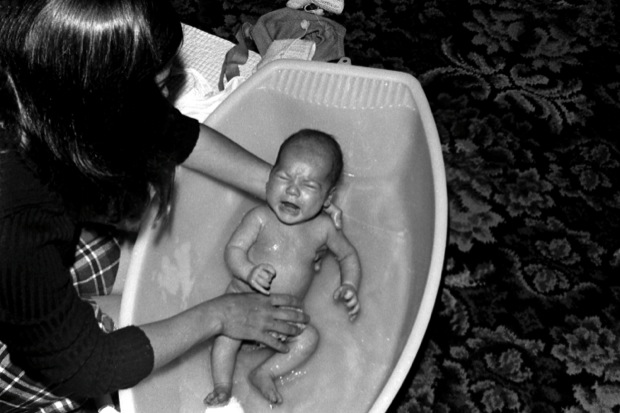
That’s me almost 40 years ago. I don’t look very happy about taking a bath.
For slides, it’s the same. You can fit 4 slides in the tray.
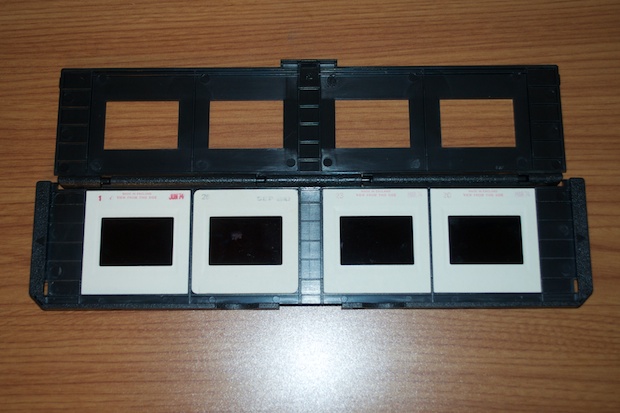
I only had about 50 slides to do, so I did most of them all on my flatbed scanner. There were about 10 or so that were just too dark for the scanner to pick up. I guess the flash didn’t go off on those shots. I figured I’d give them another try with the Wolverine.
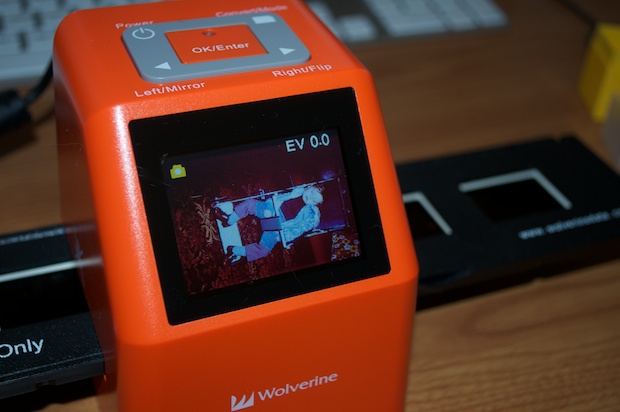
They’re still pretty dark, but the images are way better than what my flatbed produced. Still, not bad for a picture no one’s seen in 40 years.
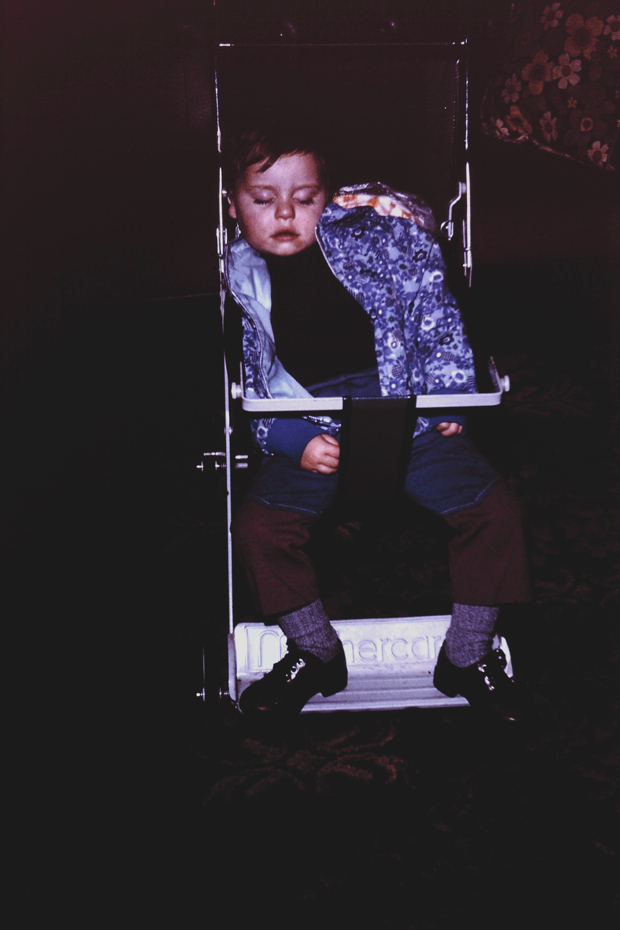
This is going to be great. I should be able to just plop down somewhere and scan away all day. The most time consuming part of it will be the post work to remove some of the dust and scratches, but I might be able to treat that like a hobby and just do them in batches as I have time. I might just cherry pick them and only clean up the ones that are worth it. I’m sure some of these old 35mm shots aren’t exactly “keepers”, but we’ll see. I’m a little of the opinion that any picture you haven’t seen for over 30 years automatically makes it a “keeper”.


