If you’re following along with the
Word Clock 2 build, I left off with ordering my PCBs and the necessary components.
After about 2 weeks, I had all my parts. The PCBs look awesome.
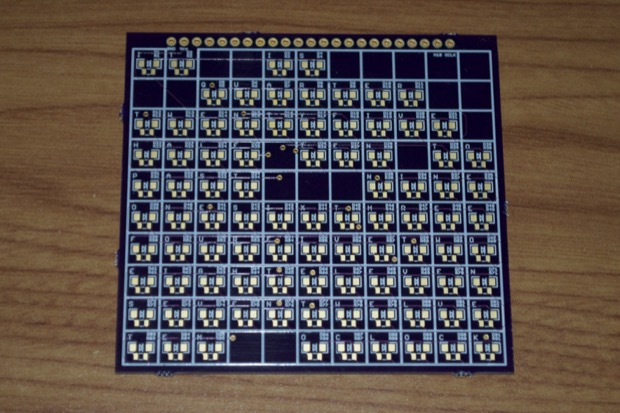
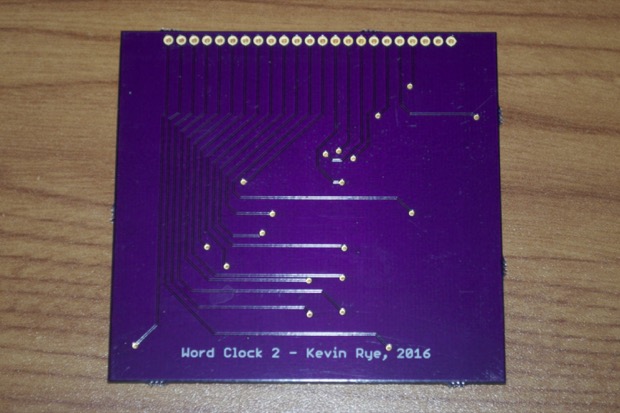
I can’t believe how small I managed to shrink this board.
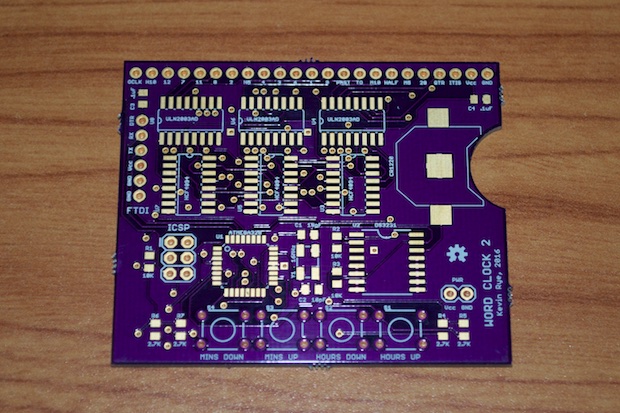
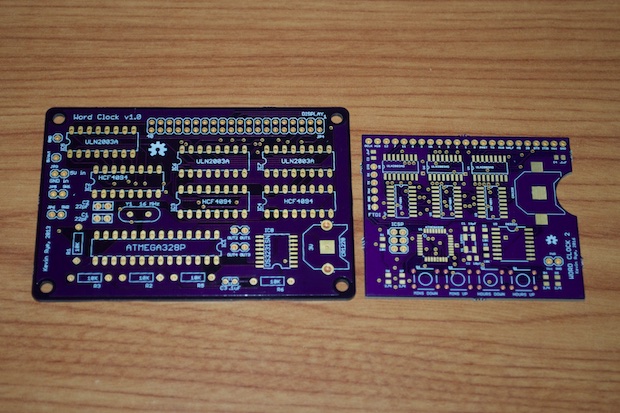
I mentioned in my last post that there was a huge size reduction with this version of the controller board. I think you need to see the old and the new side-by-side to really appreciate the difference. It’s amazing what going all-SMD can do to shrink a project.
This is going to be a pretty hardcore solder job. It has 209 components with a total of exactly 600 solder points!
I started with the ATmega and the necessary components to support it. I connected my Arduino UNO and burned the bootloader.
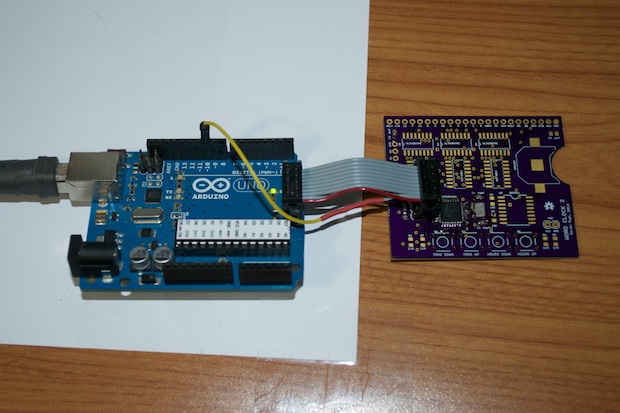
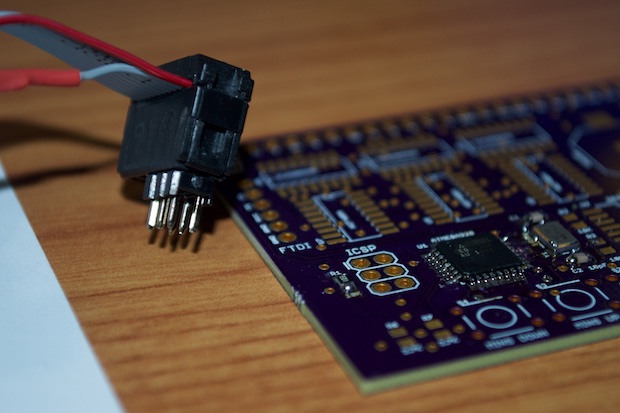
I used
Nick Gammon’s code and my makeshift pogo pin adapter.
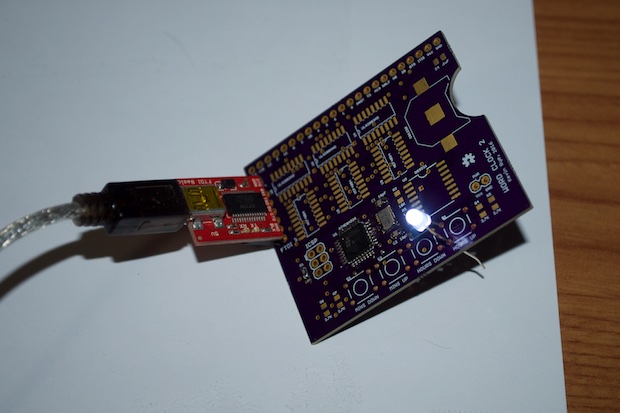
Once the bootloader was good to go, I used my FTDI adapter to upload a blink sketch. I jammed an LED into one of the button pads and set that I/O pin to blink. Success.
The ATmega is good to go. I then soldered in the DS3231 RTC along with the necessary caps, resistors, and battery backup.
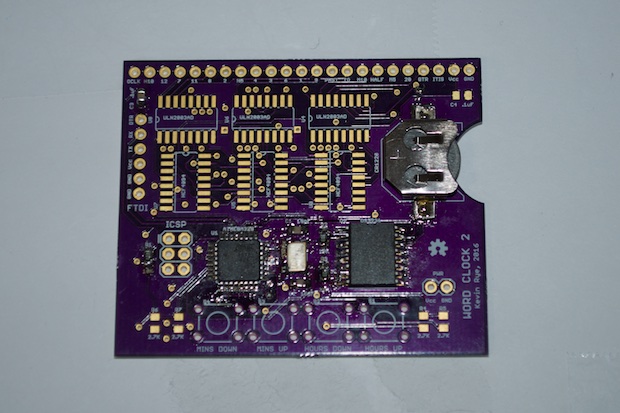
Again, I uploaded a sketch to make sure everything worked. Success!
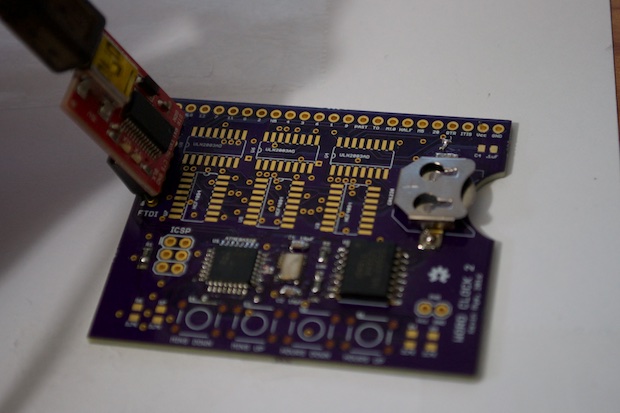
Never build your entire project all at once. Build and test as you go. This way you can easily troubleshoot it if something doesn’t work. That, and save on components if the board ends up being a dud.
With the ATmega and RTC stuff working, I went ahead and soldered in the rest of the components.
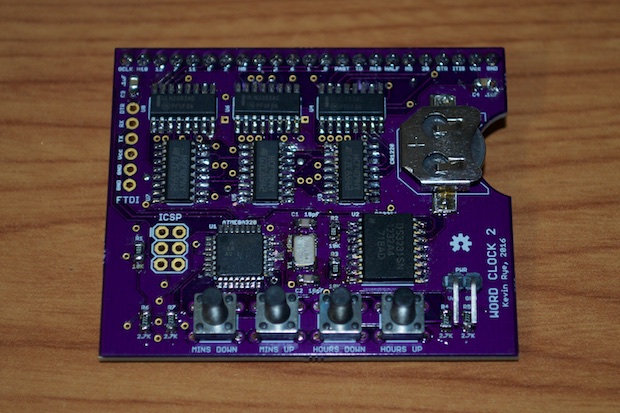
This is the most SMD chips that I’ve ever soldered on one board. It was a little challenging, but not impossible. All in all, it took just about 2 hours to assemble and test the board.
Time for the display board. This should be fun!
I started out by testing all 91 LEDs. I did get these off eBay on the cheap, so better to be safe than sorry. I used by handy-dandy
LED tester. Surprisingly, they were all good.
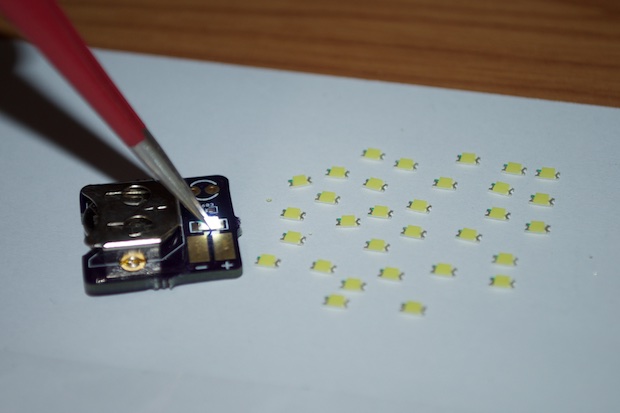
Just like the controller board, it took just about 2 hours to solder all 182 components.
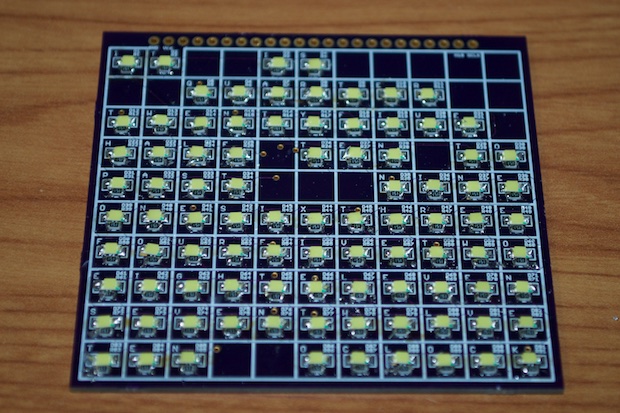
To test that I didn’t have any bad connections, I just applied power to each of the pins on the 23-pin header and made sure that all the LEDs came on. After I knew everything was OK, I applied a small piece of 3M adhesive foam to the back of the display. This will help add a little cushion under the leads of the 4 set buttons.
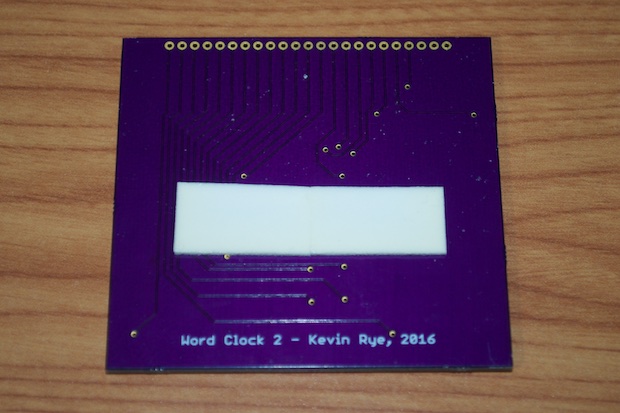
I then soldered the controller board to the display board.
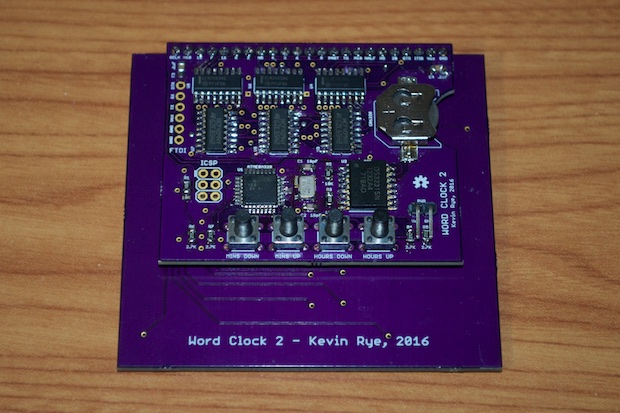
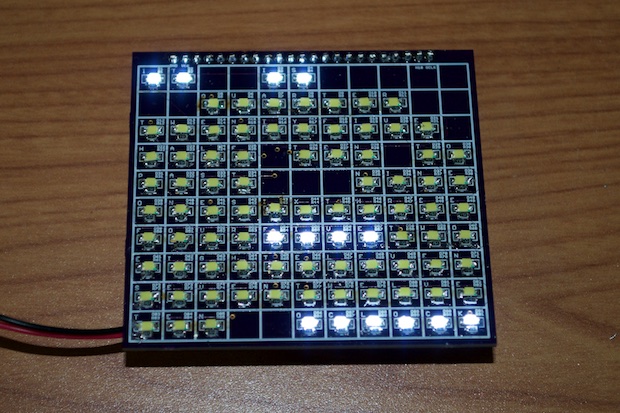
For the moment of truth, I uploaded a sample sketch that runs through all the LED “words” then displays “IT IS FIVE OCLOCK”. It works!
Here is a video of it in action:
All that's left to do is make some code tweaks for the set buttons and 3D print the case.
See this project from start to finish: Word Clock 2 - Part I Word Clock 2 - Part II
Word Clock 2 - Part III Word Clock 2 Case Upgrade


